Publish HASS events to your Elasticsearch cluster!
- Efficiently publishes Home-Assistant events to Elasticsearch using the Bulk API
- Automatically maintains Indexes and Index Templates using Index Lifecycle Management ("ILM")
- Supports X-Pack Security via optional username and password
- Exclude specific entities or groups from publishing
- Elasticsearch 8.0+, 7.11+ (Self or Cloud hosted). Version
0.4.0includes support for older versions of Elasticsearch. - Elastic Common Schema version 1.0.0
- Home Assistant Community Store
- Home Assistant 2023.2+
Some usage examples inspired by real users:
- Utilizing a Raspberry Pi in kiosk mode with a 15" display, the homeassistant-elasticsearch integration enables the creation of rotating fullscreen Elasticsearch Canvas. Those canvas displays metrics collected from various Home Assistant integrations, offering visually dynamic and informative dashboards for monitoring smart home data.
- To address temperature maintenance issues in refrigerators and freezers, temperature sensors in each appliance report data to Home Assistant, which is then published to Elasticsearch. Kibana's alerting framework is employed to set up rules that notify the user if temperatures deviate unfavorably for an extended period. The Elastic rule engine and aggregations simplify the monitoring process for this specific use case.
- Monitoring the humidity and temperature in a snake enclosure/habitat for a user's daughter, the integration facilitates the use of Elastic's Alerting framework. This choice is motivated by the framework's suitability for the monitoring requirements, providing a more intuitive solution compared to Home Assistant automations.
- The integration allows users to maintain a smaller subset of data, focusing on individual stats of interest, for an extended period. This capability contrasts with the limited retention achievable with Home Assistant and databases like MariaDB/MySQL. This extended data retention facilitates very long-term trend analysis, such as for weather data, enabling users to glean insights over an extended timeframe.
The Elasticsearch component requires, well, Elasticsearch! This component will not host or configure Elasticsearch for you, but there are many ways to run your own cluster. Elasticsearch is open source and free to use: just bring your own hardware! Elastic has a great setup guide if you need help getting your first cluster up and running.
If you don't want to maintain your own cluster, then give the Elastic Cloud a try! There is a free trial available to get you started.
This component is available via the Home Assistant Community Store (HACS) in their default repository. Visit https://hacs.xyz/ for more information on HACS.
Alternatively, you can manually install this component by copying the contents of custom_components to your $HASS_CONFIG/custom_components directory, where $HASS_CONFIG is the location on your machine where Home-Assistant lives.
Example: /home/pi/.homeassistant and /home/pi/.homeassistant/custom_components. You may have to create the custom_components directory yourself.
This component supports interactive configuration via Home Assistant's integration configuration page. This will be the only supported configuration method in the future.
- Restart Home-assistant once you've completed the installation instructions above.
- From the
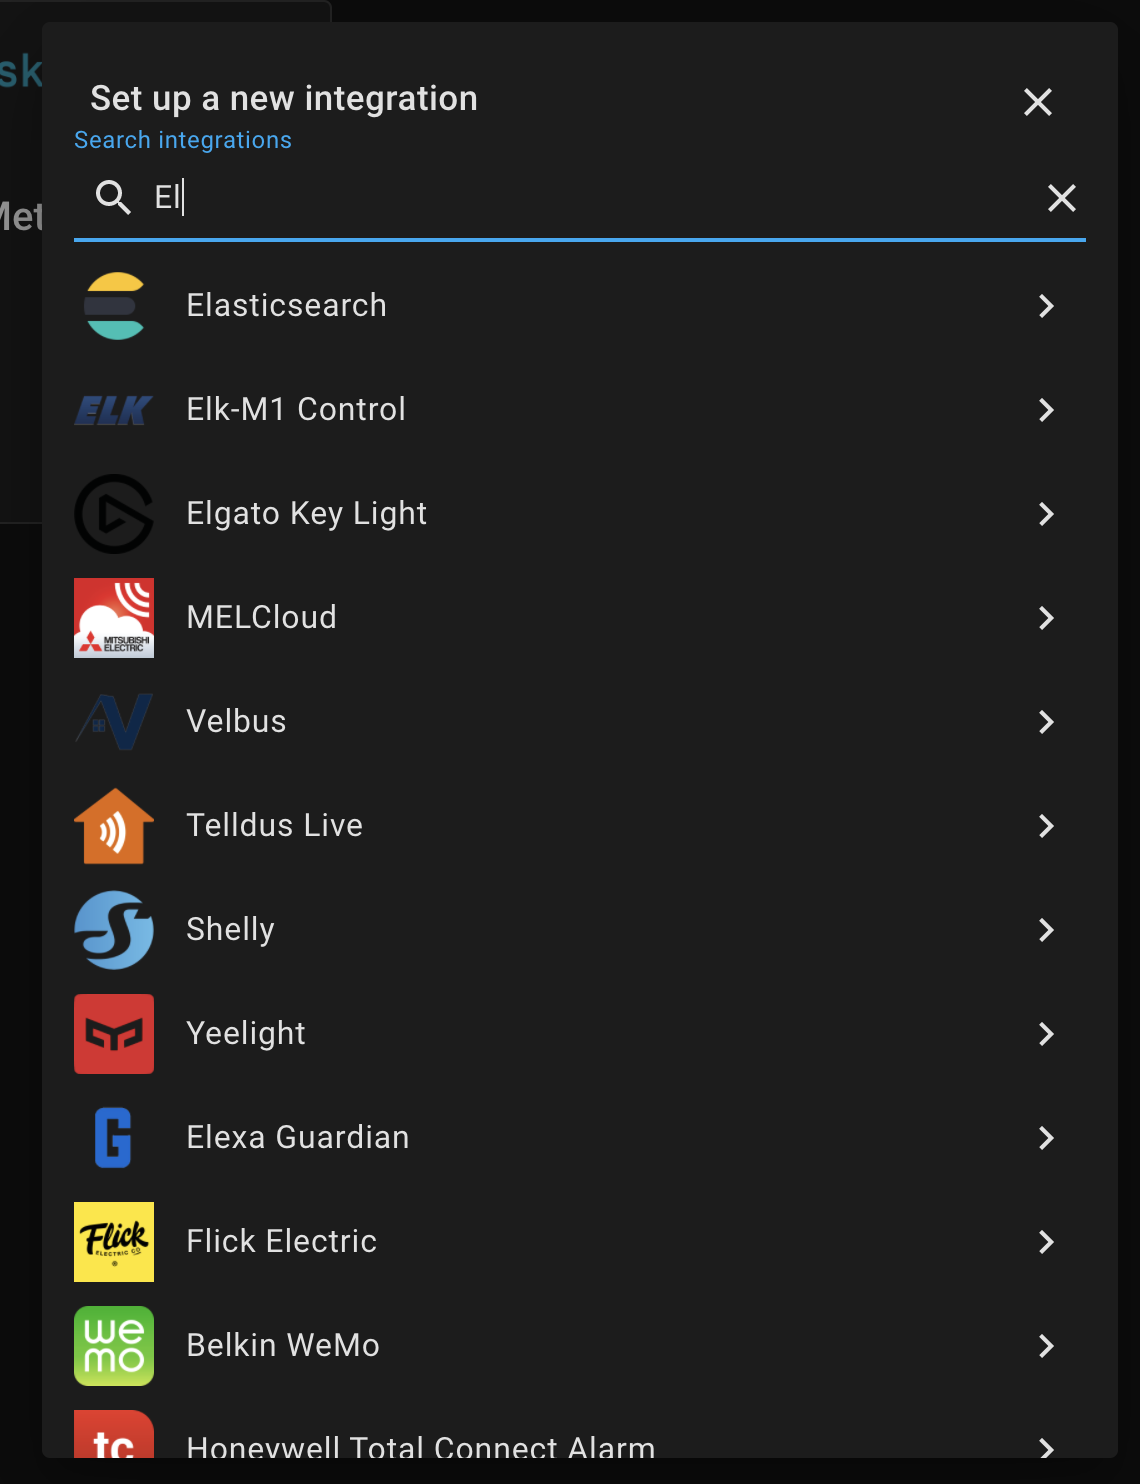
Integrationsconfiguration menu, add a newElasticsearchintegration.
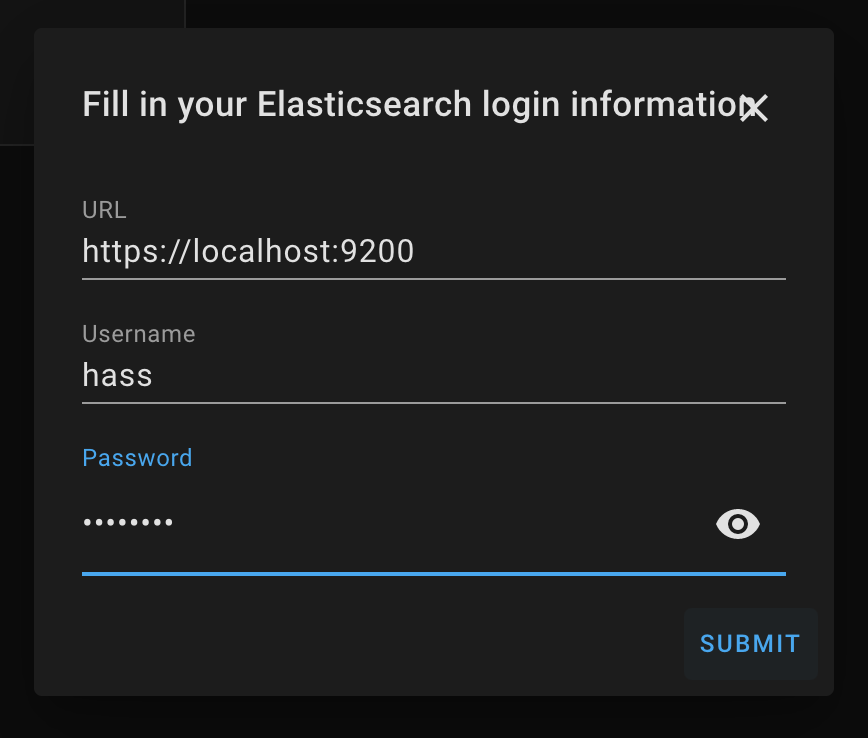
- Provide connection information and optionally credentials to begin setup.

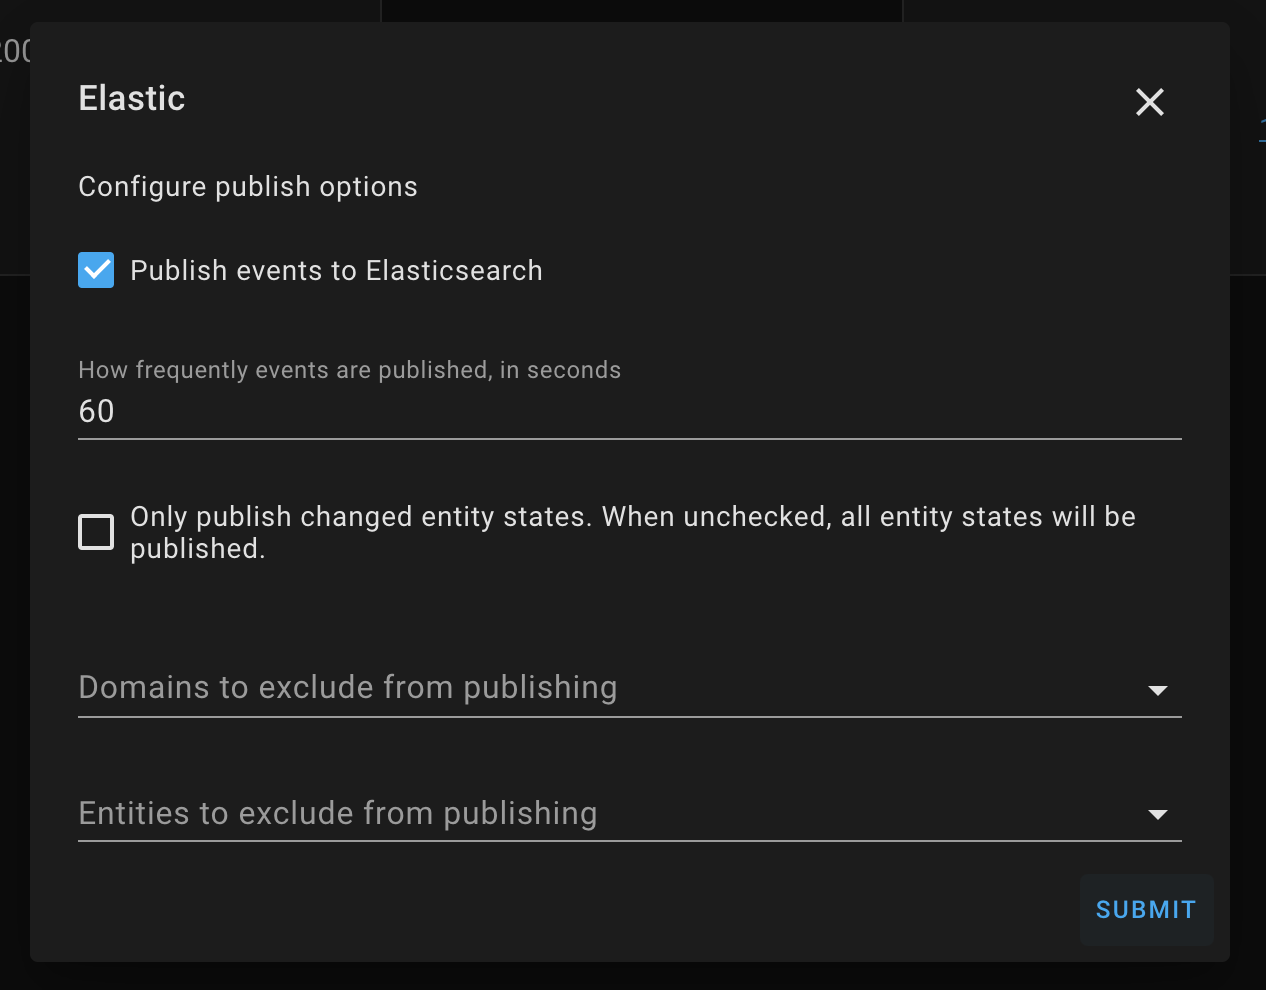
- Once the integration is setup, you may tweak all settings via the "Options" button on the integrations page.

This component supports yaml-based configuration, but this is deprecated, and will be removed in a future release. Please migrate to the UI-based approach outlined above. Please file an issue if you have any trouble migrating to the new setup process.
- Copy the contents of
custom_componentsto your$HASS_CONFIG/custom_componentsdirectory, where$HASS_CONFIGis the location on your machine where Home-Assistant lives. Example:/home/pi/.homeassistantand/home/pi/.homeassistant/custom_components. You may have to create thecustom_componentsdirectory yourself. - Configure the component in
$HASS_CONFIG/configuration.yaml(see Configuration section below) - Restart Home-Assistant
.homeassistant/
|-- custom_components/
|   |-- elasticsearch/
|       |-- __init__.py
|       |-- const.py
|       |-- es_doc_publisher.py
|       |-- ...etc...
|       |-- index_mapping.json
|       |-- sensor.py
This is the bare-minimum configuration you need to get up-and-running:
elasticsearch:
  # URL should point to your Elasticsearch cluster
url: http://localhost:9200All variables are optional unless marked required.
- url (Required): The URL of your Elasticsearch cluster
- username: If your cluster is protected with Basic Authentication via X-Pack Security, then provide a username here
- password: If your cluster is protected with Basic Authentication via X-Pack Security, then provide a password here
- timeout (default:
30): Elasticsearch connection timeout (in seconds) for all outbound requests. - exclude:
- domains: Specify an optional array of domains to exclude from publishing
- entities: Specify an optional array of entity ids to exclude from publishing
- tags (default: [
hass]): Specify an array of tags to include in each published document.
- verify_ssl (default:
true): Set tofalseto disable SSL certificate verification. - ssl_ca_path (default:
None): Optional path to PEM encoded certificate authority bundle. - index_format (default:
"hass-events"): The format of all index names used by this component. The format specified will be used to derive the actual index names. Actual names use the Rollover API convention of appending a 5-digit number to the end. e.g.:hass-events-00001 - alias (default:
"active-hass-index"): The index alias which will always reference the index being written to. - publish_frequency (default:
60): Specifies how often, in seconds, this component should publish events to Elasticsearch. - only_publish_changed (default:
false): Specifies that only entities that underwent a state change should be published. Whenfalse, all entity states are published. - ilm_enabled (default:
true): Enables Index Lifecycle Management - ilm_policy_name (default:
home-assistant): The ILM policy name. - ilm_max_size (default:
30gb): Specifies themax_sizecondition of the ILM rollover action. - ilm_delete_after (default:
365d): Specifies how long to retain documents after rolling over.
Exclude all groups from publishing:
elasticsearch:
  # URL should point to your Elasticsearch cluster
  url: http://localhost:9200
  exclude:
    domains: ["group"]
Exclude a specific switch from publishing:
elasticsearch:
  # URL should point to your Elasticsearch cluster
  url: http://localhost:9200
  exclude:
    entities: ["switch.living_room_switch"]
Multiple exclusions:
elasticsearch:
  # URL should point to your Elasticsearch cluster
  url: http://localhost:9200
  exclude:
    domains: ["group", "automation"]
entities: ["switch.living_room_switch", "light.hallway_light"]There are two ways to connect to a secured Elasticsearch cluster: via API Key (recommended), or via traditional username/password.
You must first create an API Key with the appropriate privileges.
Note that if you adjust the index_format or alias settings that the role definition must be updated accordingly:
POST /_security/api_key
{
  "name": "home_assistant_component",
  "role_descriptors": {
    "hass_writer": {
      "cluster": [
        "manage_index_templates",
        "manage_ilm",
        "monitor"
      ],
      "indices": [
        {
          "names": [
            "hass-events*",
            "active-hass-index-*",
            "all-hass-events"
          ],
          "privileges": [
            "manage",
            "index",
            "create_index",
            "create"
          ]
        }
      ]
    }
  }
}You need to create a user and role with appropriate privileges.
Note that if you adjust the index_format or alias settings that the role definition must be updated accordingly:
# Create role
POST /_security/role/hass_writer
{
  "cluster": [
    "manage_index_templates",
    "manage_ilm",
    "monitor"
  ],
  "indices": [
    {
      "names": [
        "hass-events*",
        "active-hass-index-*",
        "all-hass-events"
      ],
      "privileges": [
        "manage",
        "index",
        "create_index",
        "create"
      ]
    }
  ]
}
# Create user
POST /_security/user/hass_writer
{
"full_name": "Home Assistant Writer",
"password": "changeme",
"roles": ["hass_writer"]
}Versions prior to 0.6.0 included a cluster health sensor. This has been removed in favor of a more generic approach. You can create your own cluster health sensor by using Home Assistant's built-in REST sensor.
# Example configuration
sensor:
  - platform: rest
    name: "Cluster Health"
    unique_id: "cluster_health" # Replace with your own unique id. See https://www.home-assistant.io/integrations/sensor.rest#unique_id
    resource: "https://example.com/_cluster/health" # Replace with your Elasticsearch URL
    username: hass # Replace with your username
    password: changeme # Replace with your password
    value_template: "{{ value_json.status }}"
    json_attributes: # Optional attributes you may want to include from the /_cluster/health API response
      - "cluster_name"
      - "status"
      - "timed_out"
      - "number_of_nodes"
      - "number_of_data_nodes"
      - "active_primary_shards"
      - "active_shards"
      - "relocating_shards"
      - "initializing_shards"
      - "unassigned_shards"
      - "delayed_unassigned_shards"
      - "number_of_pending_tasks"
      - "number_of_in_flight_fetch"
      - "task_max_waiting_in_queue_millis"
- "active_shards_percent_as_number"This project is not endorsed or supported by either Elastic or Home-Assistant - please open a GitHub issue for any questions, bugs, or feature requests.
Contributions are welcome! Please see the Contributing Guide for more information.
