So far we've learned how to set up and structure a HTML file. Now we'll make it look pretty! This an introductory lesson to CSS. We'll touch on very basic topics ranging from positioning to coloring!
- Learn how to link stylesheets
- Learn how to position elements
- Learn parent child relationships
- Learn CSS specificity

- Fork and Clone this repository OR you can start from the code we made in the HTML lesson
- Open this lesson in your code editor
- Open the
index.htmlfile in your browser (Refer to the prior lesson on how to do so)

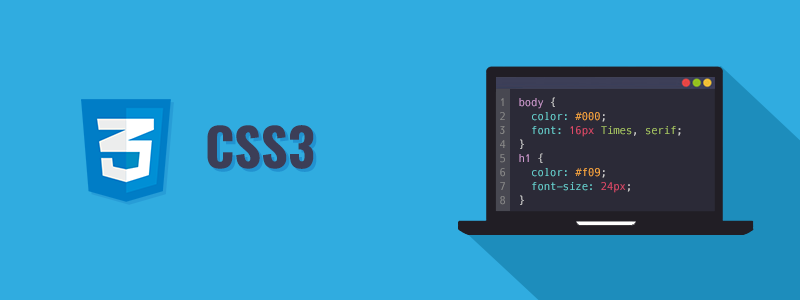
CSS stands for cascading style sheets. This means that when the file is read, it is being read from top to bottom. (We'll see how this works in just a bit)
CSS describes how HTML elements are to be displayed on screen, paper, or in other media.
CSS saves a lot of work. It can control the layout of multiple web pages all at once.
From W3Schools:
HTML was NEVER intended to contain tags for formatting a web page!
HTML was created to describe the content of a web page, like:
<h1>This is a heading</h1>
<p>This is a paragraph.</p>When tags like
<font>, and color attributes were added to the HTML 3.2 specification, it started a nightmare for web developers. Development of large websites, where fonts and color information were added to every single page, became a long and expensive process.To solve this problem, the World Wide Web Consortium (W3C) created CSS.
The style definitions are normally saved in external .css files.
With an external stylesheet file, you can change the look of an entire website by changing just one file!

You've been provided an index.html file, the contents may be familiar to you, we built it in the previous lesson!
First things first, let's create a style.css file in this lesson folder.
You can do this by either using the touch command:
touch style.css
Or by using the new file button in VSCode.
In order for our style.css file to be used by our html file, we need to link the two of them together. We can accomplish this by using a link tag in our index.html.
Open your index.html, add the following to the head section in the HTML file:
<link rel="stylesheet" href="./style.css" />rel stands for relationship. The relationship of the linked file to our HTML page.
href stands for hypertext reference. The location of the file we're linking.
NOTE: Place this tag before the opening title tag in the HTML file.
Your head section should look like the following:
<head>
  <meta charset="UTF-8" />
  <meta name="viewport" content="width=device-width, initial-scale=1.0" />
  <link rel="stylesheet" href="./style.css" />
  <title>Document</title>
</head>Quick Questions:
- Why do we link CSS files in the head section?
- Can you link multiple CSS files?
- Can you link external CSS files?
Open your style.css file and add in the following:
body,
html {
  margin: 0;
  padding: 0;
}
This is a basic CSS reset. By default padding and margins are applied to your HTML by the browser.
Let's style the nav element. Add the following to your CSS file:
nav {
  background-color: #b39ddb;
  padding: 10px 0;
}
Notice the syntax for padding, this is shorthand for applying padding on an element. Padding, margin and a few other properties follow the convention of applying styles in a clockwise direction. For example:
element {
  padding: 1px 2px 2px 1px;
}
This will apply padding from top, right, bottom, left.

In the case of our shorthand syntax, it combines the properties to apply them to the horizontal and vertical axis of the element.
You'll notice that our navigation links are not very pretty, let's fix that.
Add in the following styles:
ul {
  list-style: none;
}

li {
  display: inline;
  margin: 0 10px;
}
With the ul selector, we are overriding the default styles for unordered lists.
By applying the display:inline property to the li elements, we are changing them from a block type element, which stacks vertically, to an inline element which stacks horizontally.
Your task is to finish implementing the provided design.
- Center the text in the section
- Make both of the
div's with a class ofboxstack horizontally. - Apply some color and borders to the boxes
Here are some links to help you along your journey:
Keep in mind, class styling properties can be shared with multiple elements with the same class.
In this lesson we touched on the basics of CSS. We linked our stylesheet and implemented some styling to our HTML.