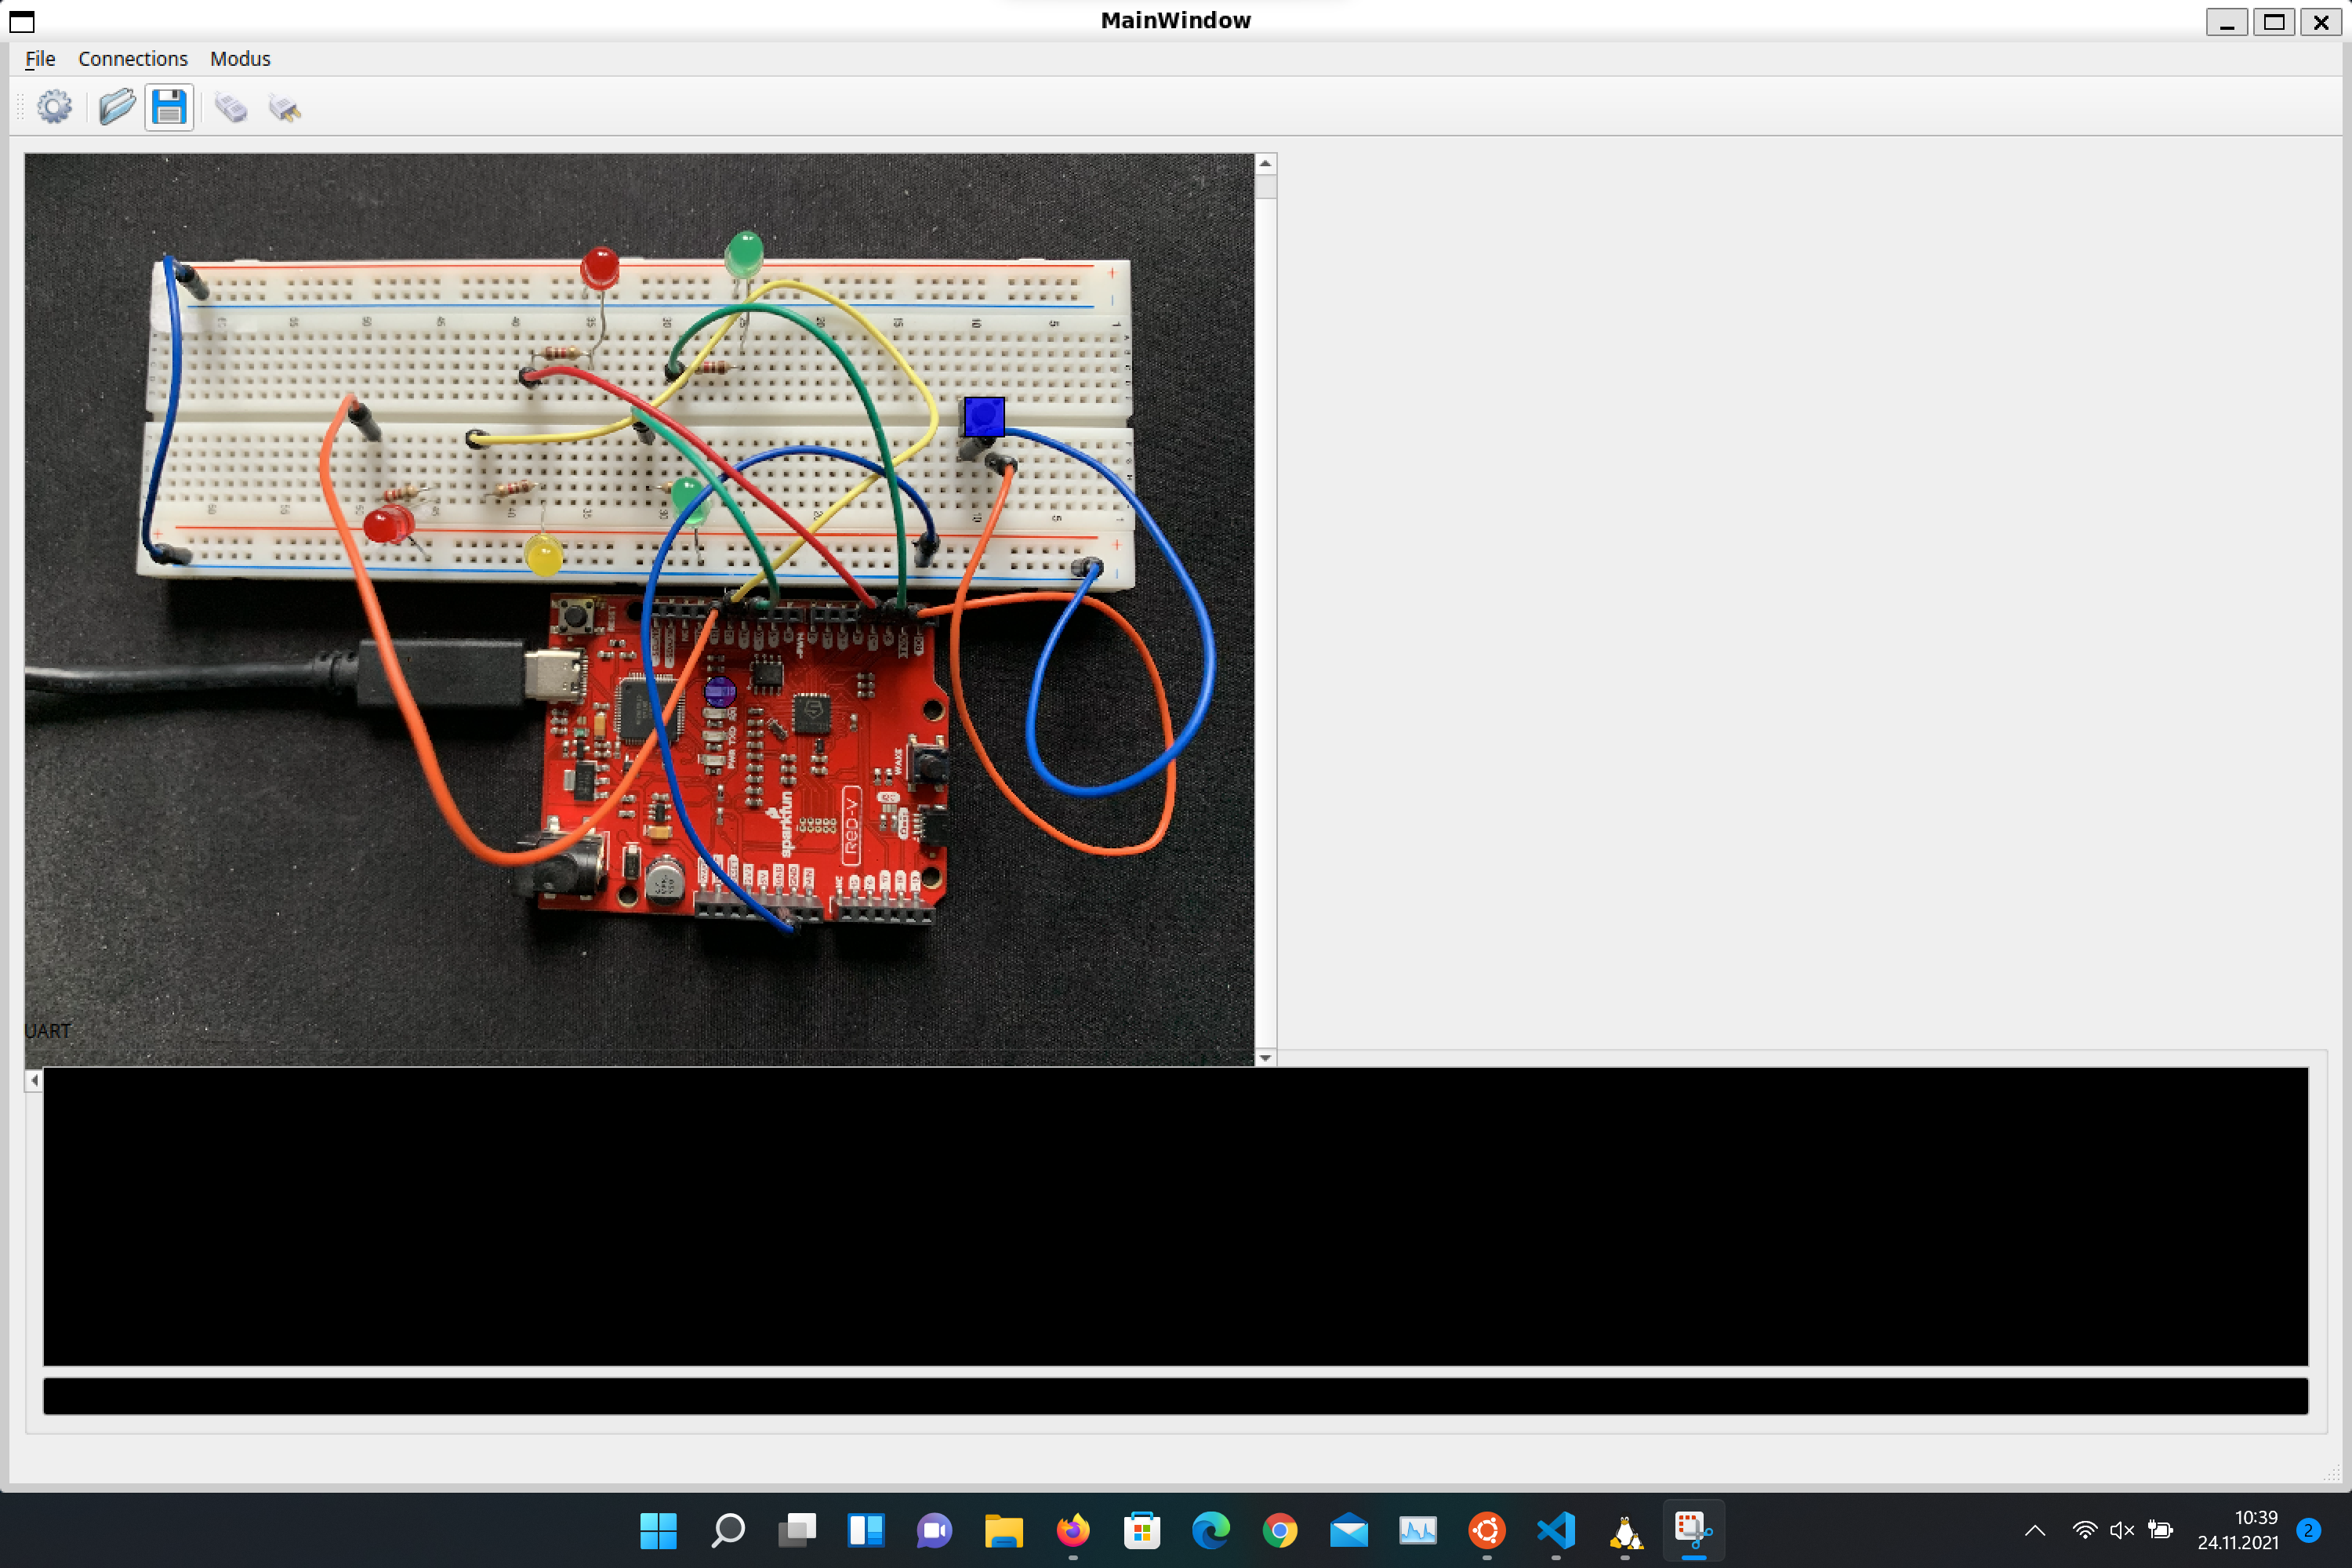
The aim of this repository is to provide a solution for lab assignments relating to distance teaching of the embedded systems course at the Bielefeld University of Applied Sciences, Campus Minden.
For further information, please vision https://www.iot-minden.de.
We use the RISC-V based virtual prototyp of AGRA Uni Bremen (https://github.com/agra-uni-bremen/riscv-vp) so that we have a virtual embedded system with breadboard. Further, we provide examples based on parts of FreeRTOS and of SiFive Freedom-E-SDK. You find the corresponding licenses of these and their examples in their directories.
-
We require a running Linux system (though macOS would work, too). Hence, a native Linux or a Linux virtual machine has to be set up. We give no support for setting up a Linux machine. The following packages should be installed: autoconf automake autotools-dev curl libmpc-dev libmpfr-dev libgmp-dev gawk build-essential bison flex texinfo gperf libtool patchutils bc zlib1g-dev libexpat-dev libboost-iostreams-dev qt5-default
-
We use Visual Studio Code (vscode) with various extensions, namely:
-
C/C++ IntelliSense
-
PlatformIO IDE
-
RISC-V Venus Simulator The following extension are useful but optional:
-
GNU Linker Map files
-
hexdump for VSCode
-
Intel HEX format
-
LinkerScript
-
RISC-V Support
-
C/C++ Advanced Lint
Please install vscode with the extensions (e.g. see instructions on the vscode website).
-
-
Install the SiFive framework with the PlatformIO in vscode.
code
Goto Platforms on PIO Home and search for SiFive under Embedded and install. Leave vscode.
-
Clone this project with submodules (in a terminal shell, use bash). We put everything in the home directory. Adapt the following steps for another destination.
cd ~
git clone https://github.com/U2654/embedded.git
cd embedded
git submodule update --init riscv-vp
cd riscv-vp
git submodule update --init vp/src/core/common/gdb-mc/libgdb/mpc
-
Build the virtual prototyp of a embedded board with the steps:
- riscv-vp
cd ../riscv-vp/vp/dependencies
./build_systemc_233.sh
./build_softfloat.sh
cd ..
mkdir build
cd build
cmake ..
make install
- vp-breadboard
cd ../../env/redv/vp-redboard qmake make -
Set environment variables (for bash, append to .bashrc in home).
export PATH=~/.platformio/packages/toolchain-riscv/bin:$PATH
export PATH=~/embedded/riscv-vp/vp/build/bin:$PATH
export PATH=~/embedded/riscv-vp/env/redv/vp-redboard:$PATH
-
Again in the shell, check if everything works and build an example project. Start a vp-breadboard and vscode in the shell.
vp-redboard &
code &
In vscode, open the folder ~/embedded/workspace/led and then the file led.c. Run the example using the gui (piodebug).
Open the preferences using the gui in vp-redboard. Choose the data path where config files etc. is located, this should be
~/embedded/risc-vp/env/redv/and click ok. Open theblink.jsonfile. Push the connect button (second from left hand side). You should see a blinking led in the vp-redboard.
WSLg is the Linux subsystem for Windows 11 and allows various Linux distributions to run natively on Windows.
There is also the Linux subsystem for Window 10, which is called WSL2, but this has no automatic graphical output.
Even though Linux-programs in Windows can be started with graphical output using WSLg, some still prefer a classic desktop. With the help of RDP this can be achieved.
From now on you can simply follow the Linux instructions.
Tip: The Windows version of Visual Studio Code can also be used for Linux.
