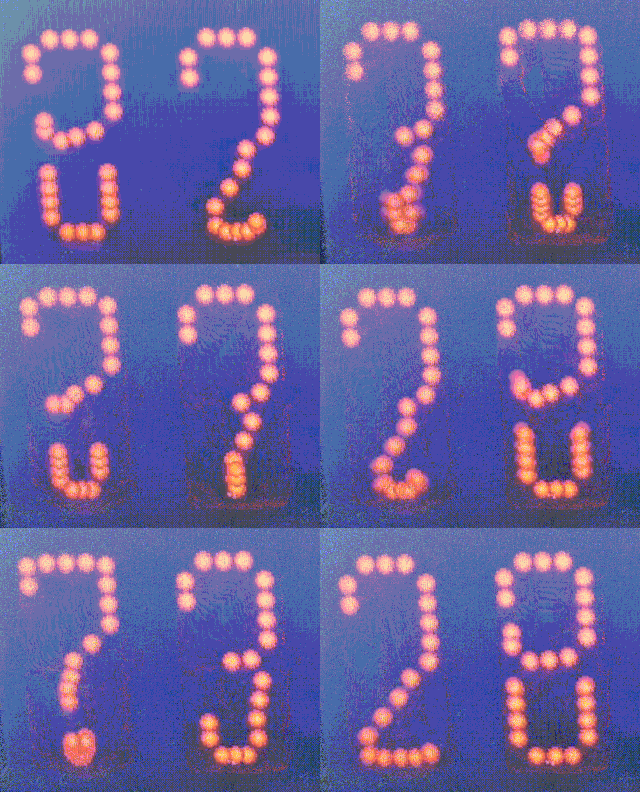
One day, looking at the matrix display, I got the idea that it wouldn’t be bad if the text changes were animated. It became interesting to try. Animation prototype. I liked the look of the font so much that I decided to make a watch based on it.
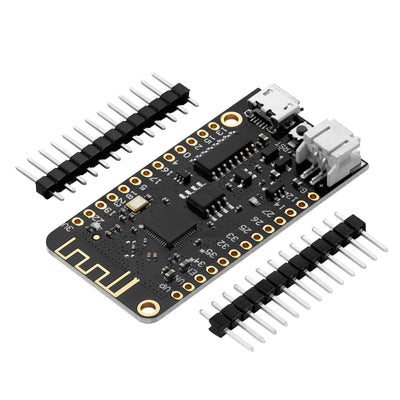
I chose the ESP32 microcontroller because it has WiFi, which allows you to synchronize the clock with time servers and receive information about the current weather and forecast. The microcontroller is very versatile, powerful and not expensive.
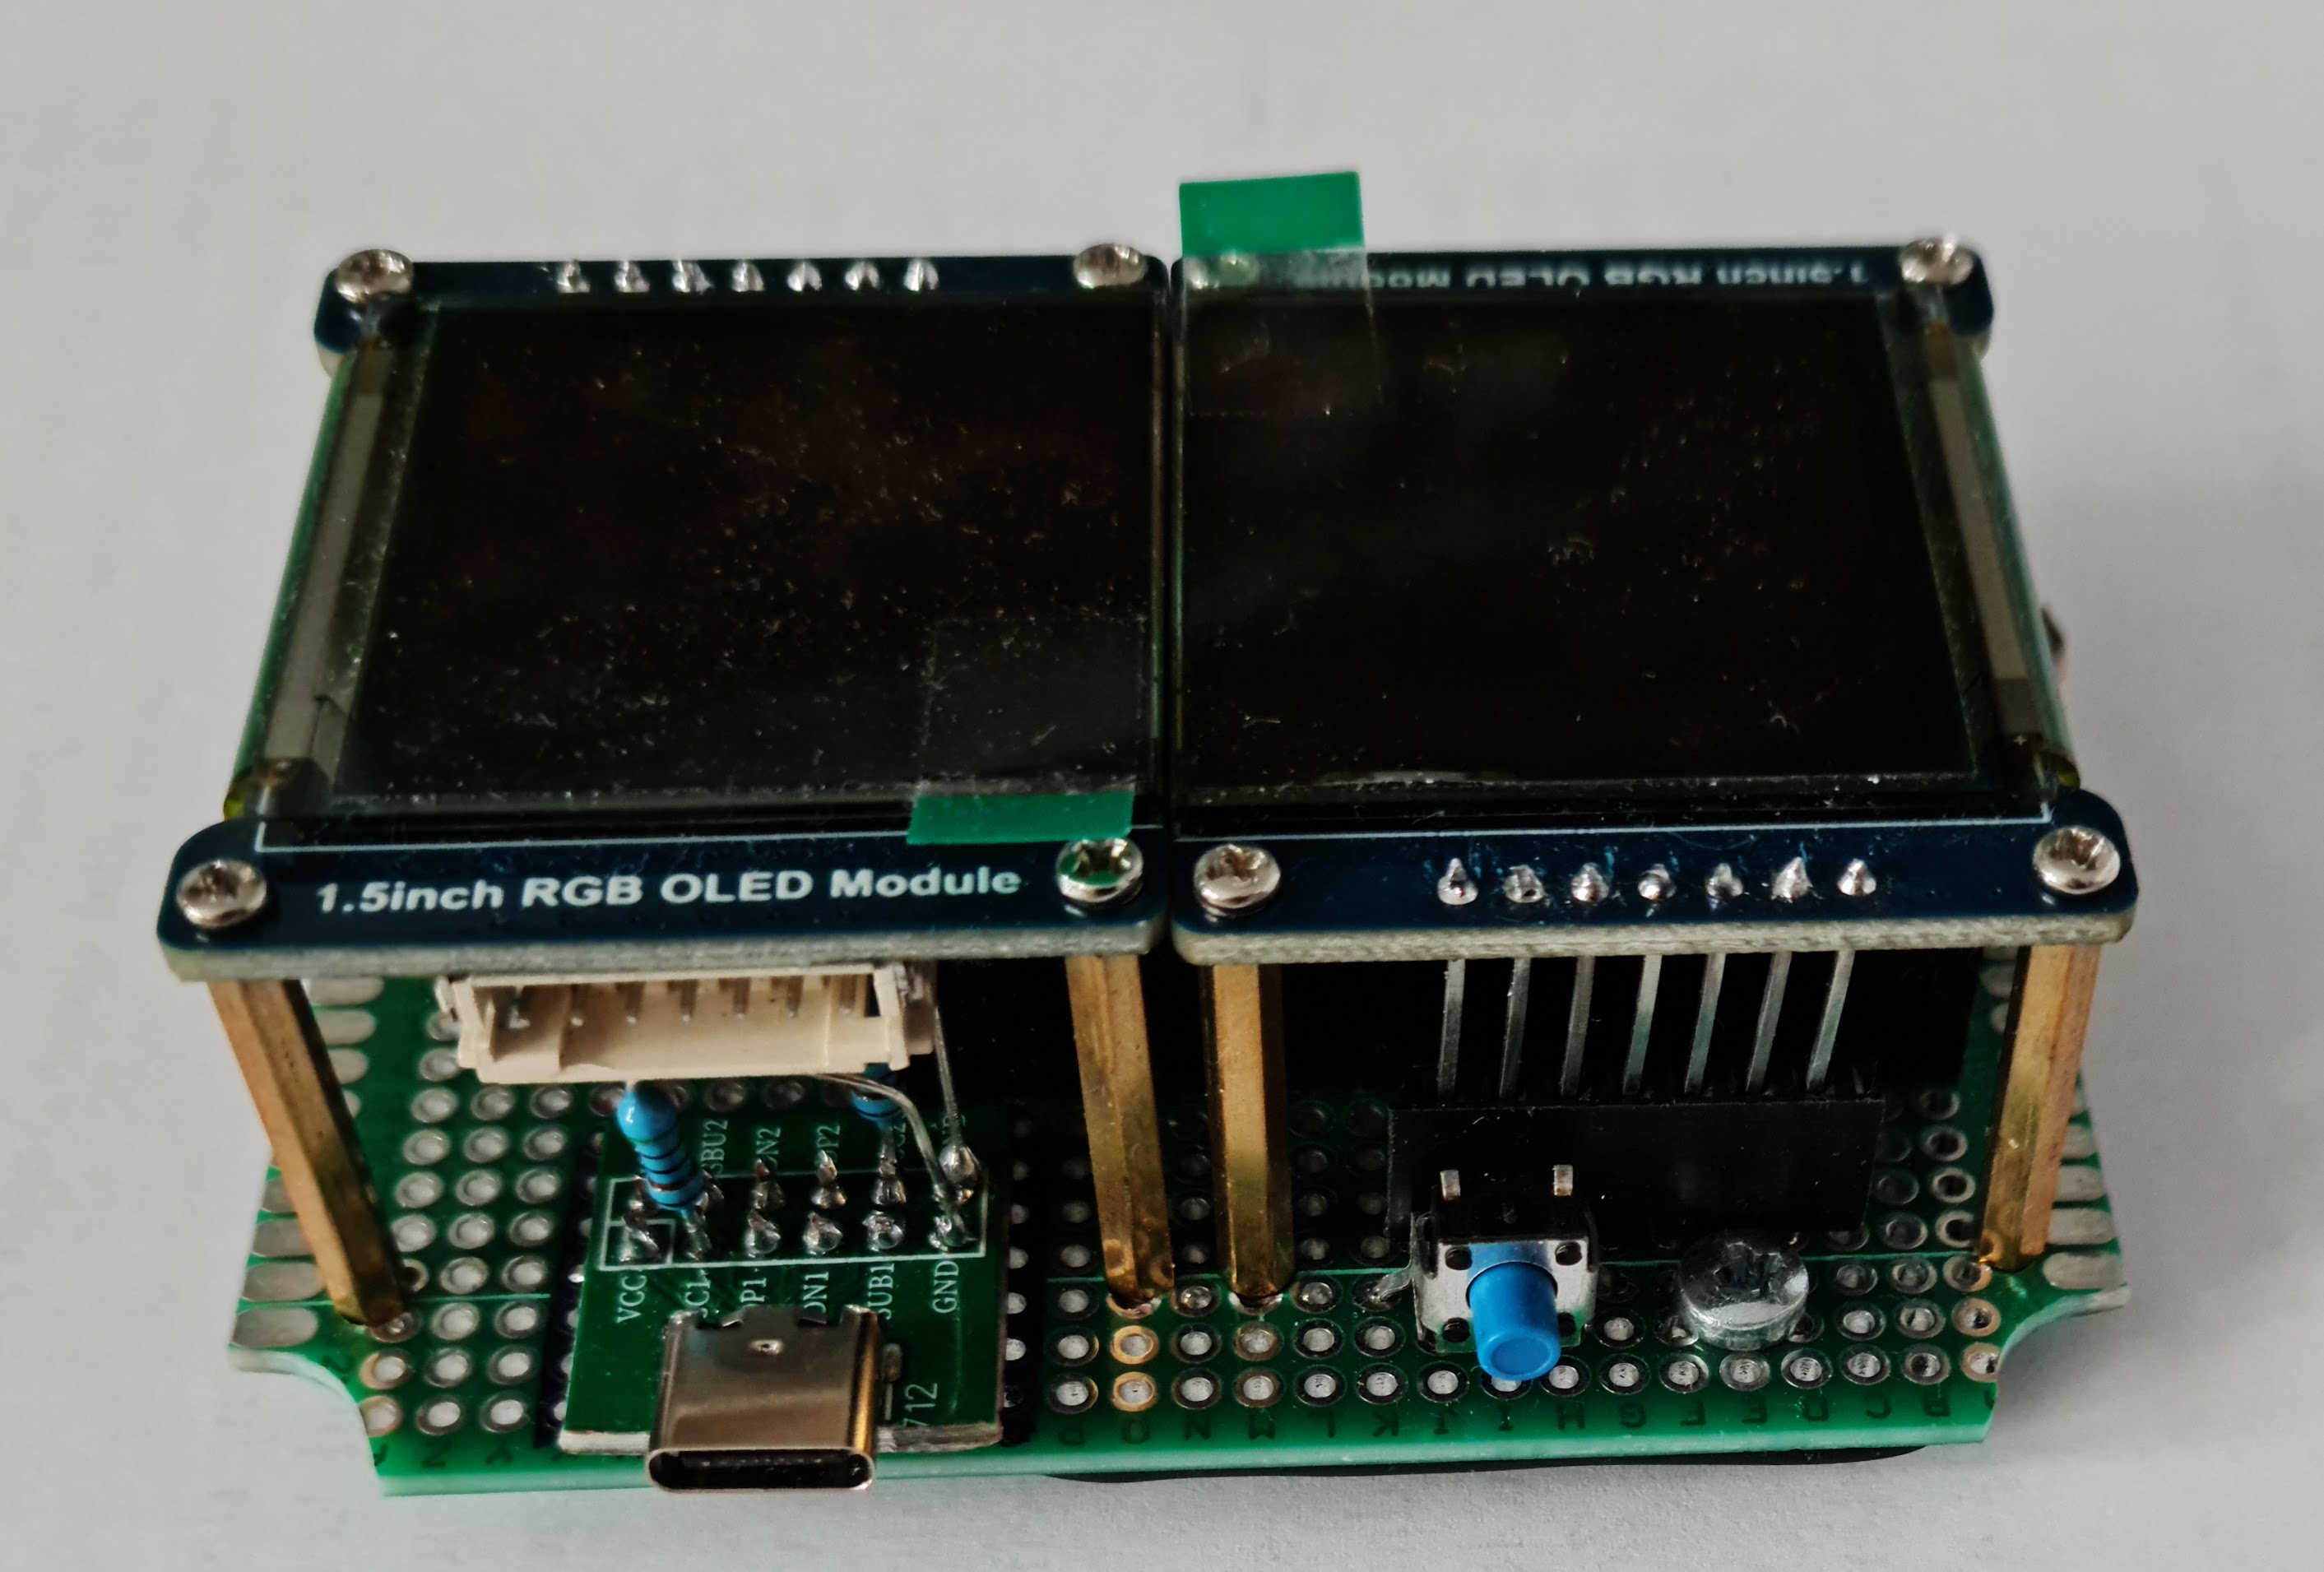
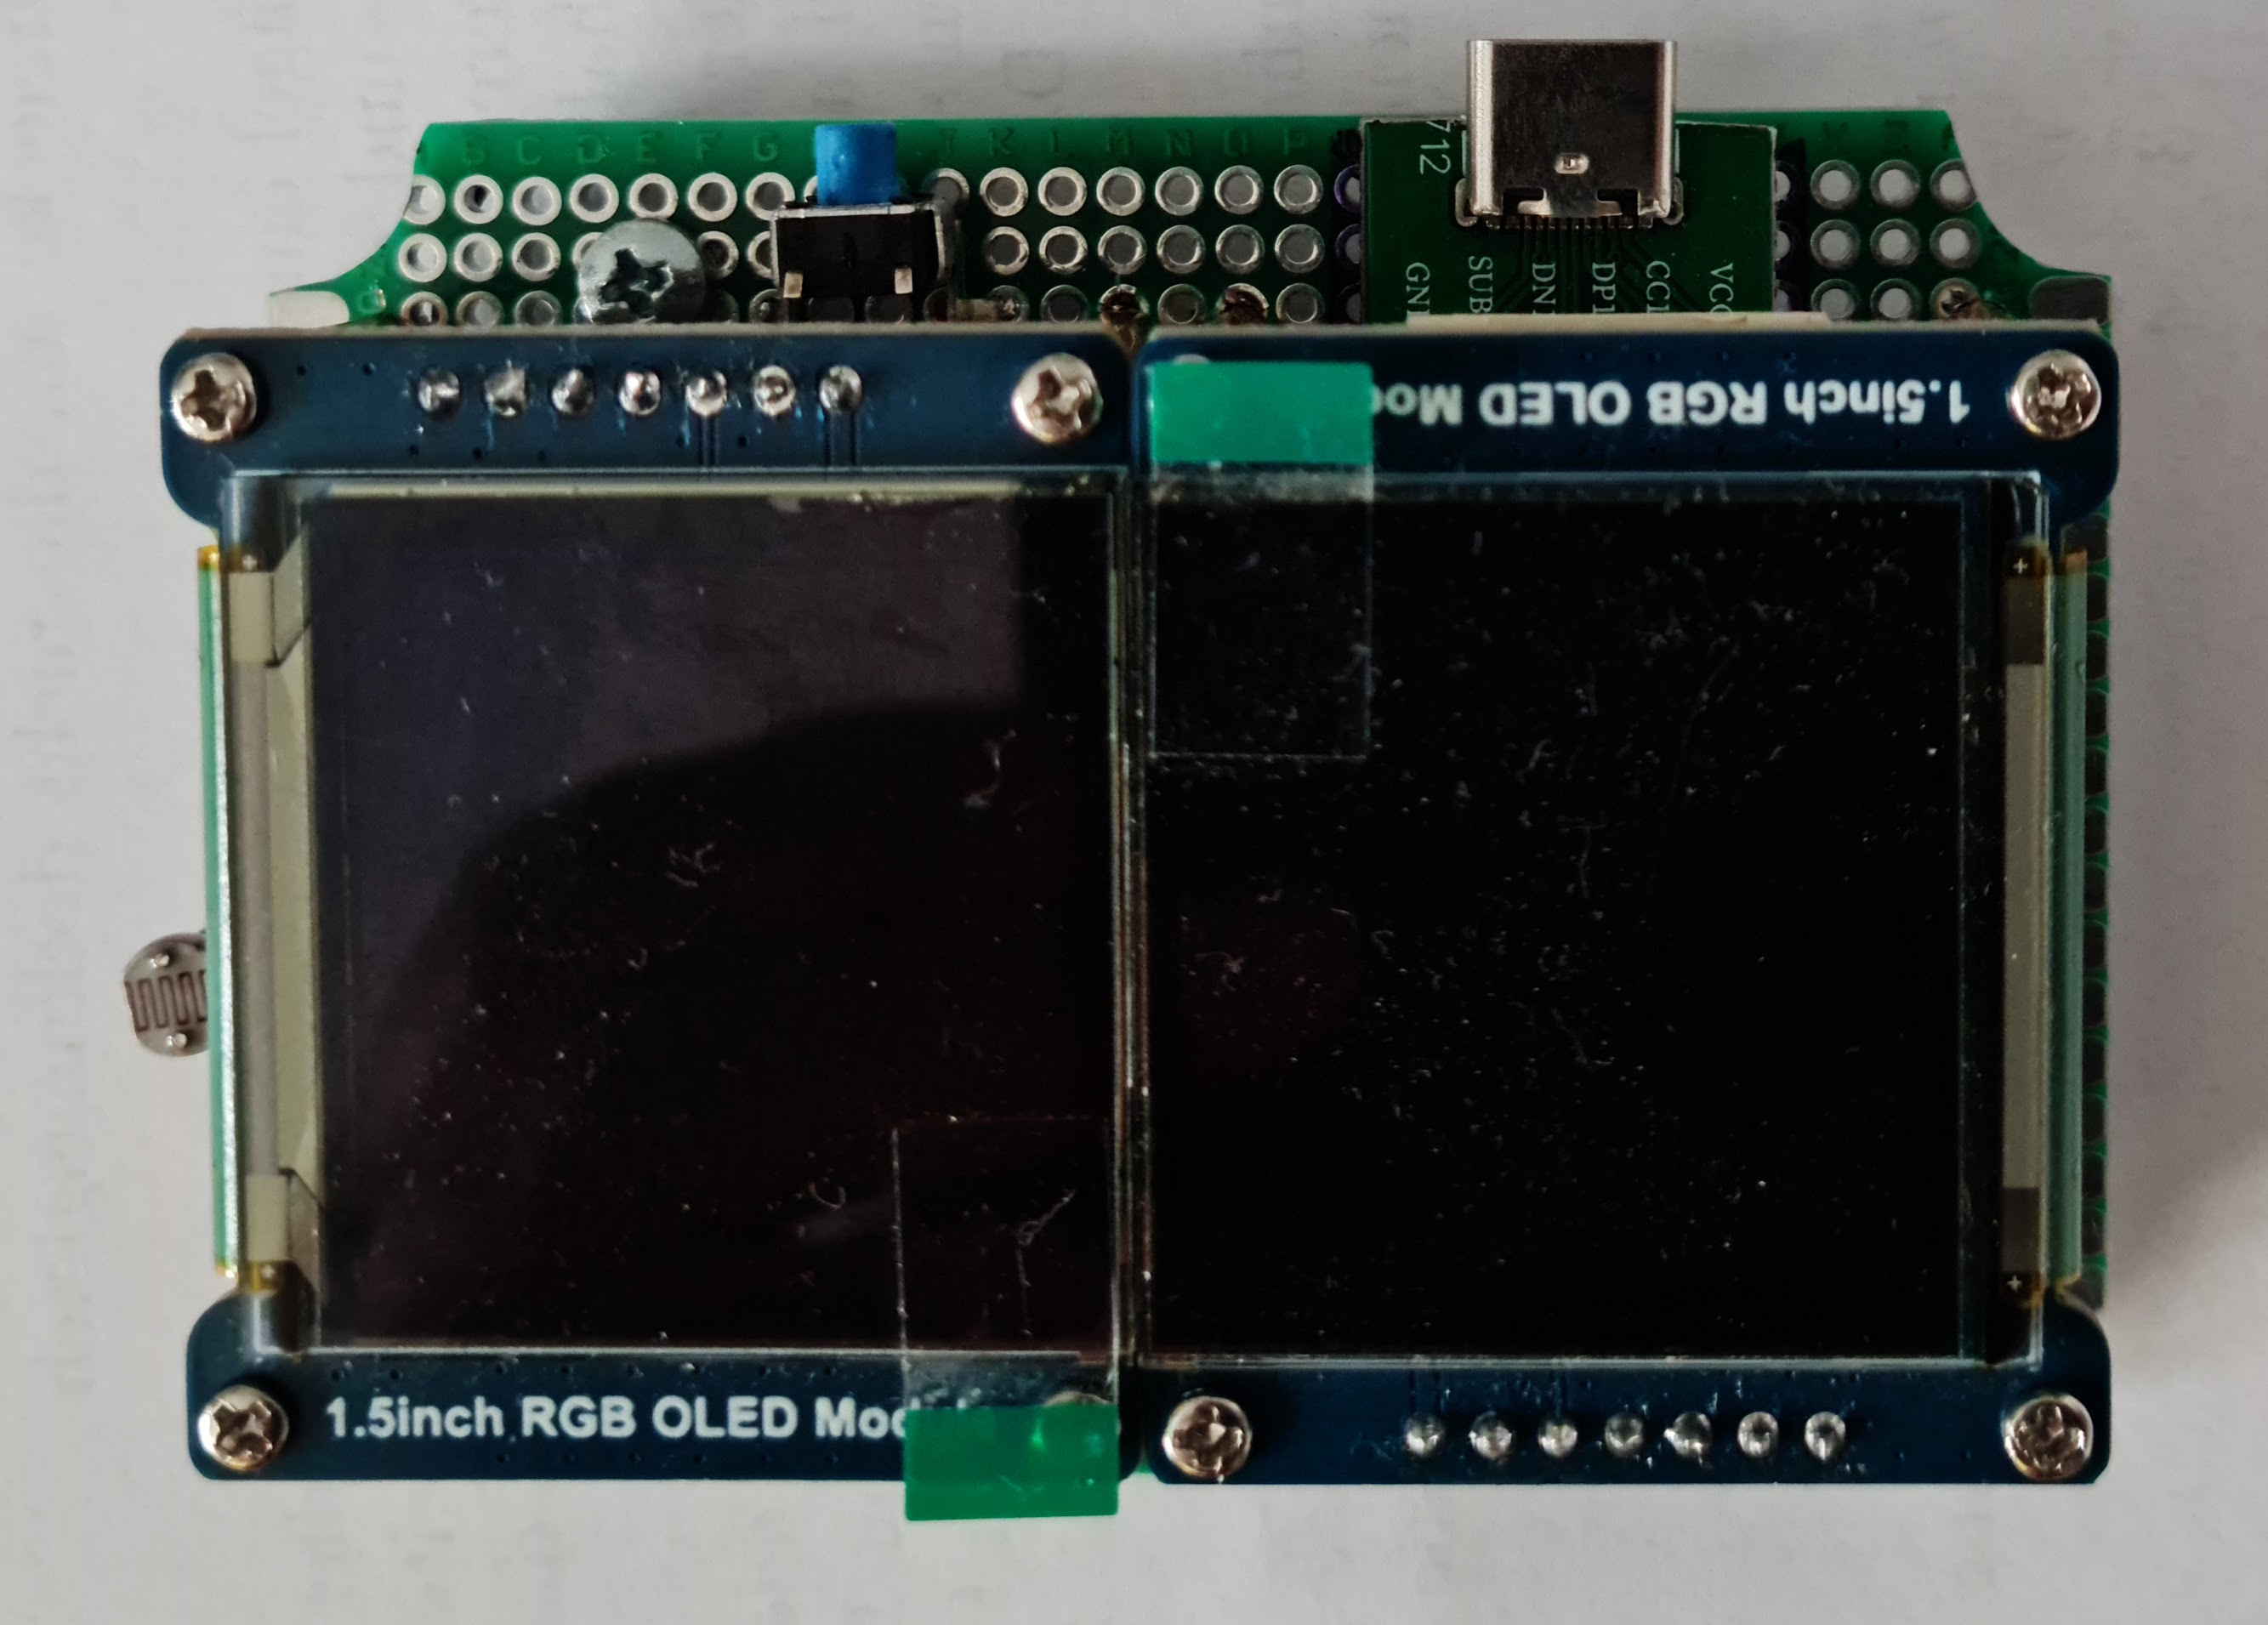
I tried several different displays. As a result, I came to the conclusion that if you want to watch the clock at night, then the illumination should be minimal, or better yet, none. All the hobby displays I've passed through my hands have had a severe backlight problem, except OLED. Light exposure becomes an important criterion when the watch is planned to be seen at night, when there is no other light except from the watch. Unfortunately, the problem with OLED displays is that it is difficult to find the right one in size, resolution and price. The display resolution should not be very large; you don’t want to spend a lot of memory on a virtual screen; on the contrary, you want larger sizes so that you can see the image from afar. I took advantage of the fact that the information on the screen can be divided in half - hours on one side, minutes on the other. Thus, the watch screen consists of two 1.5" OLED displays with a resolution of 128x128 each.
Additionally, I decided to use a photoresistor to measure the ambient light in order to automatically adjust the brightness of the image to the lighting.
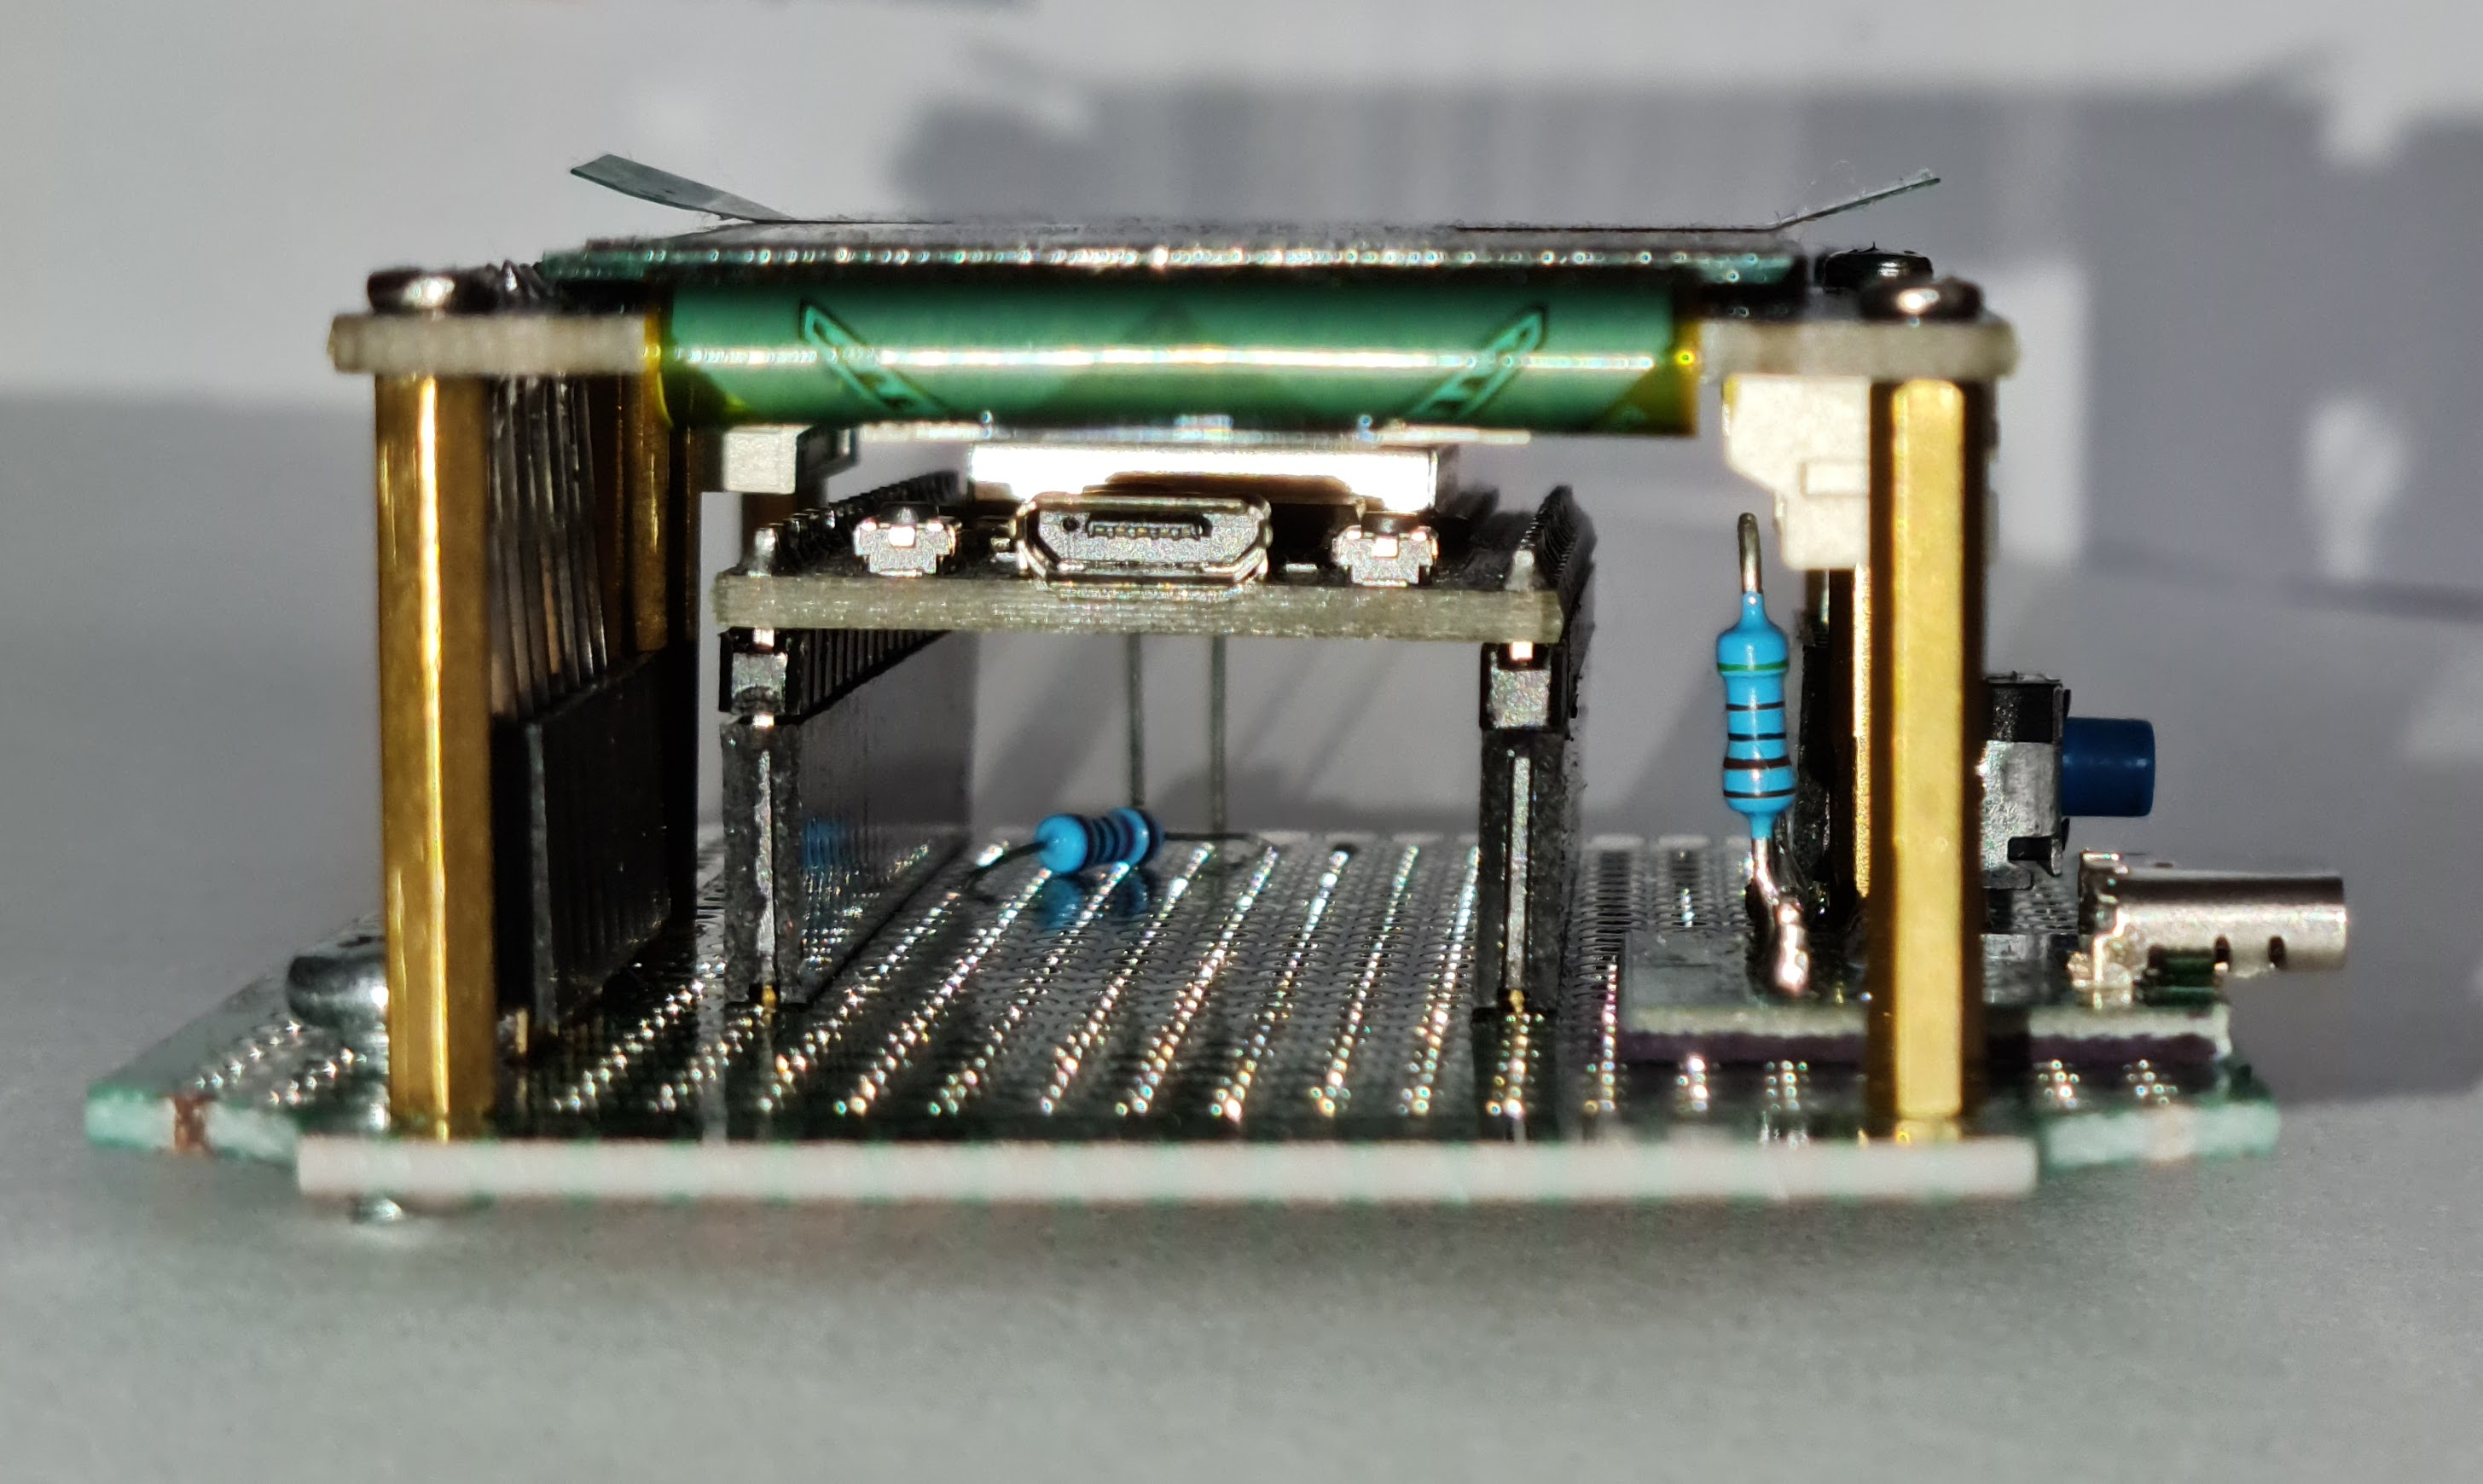
Everything is mounted on a breadboard.
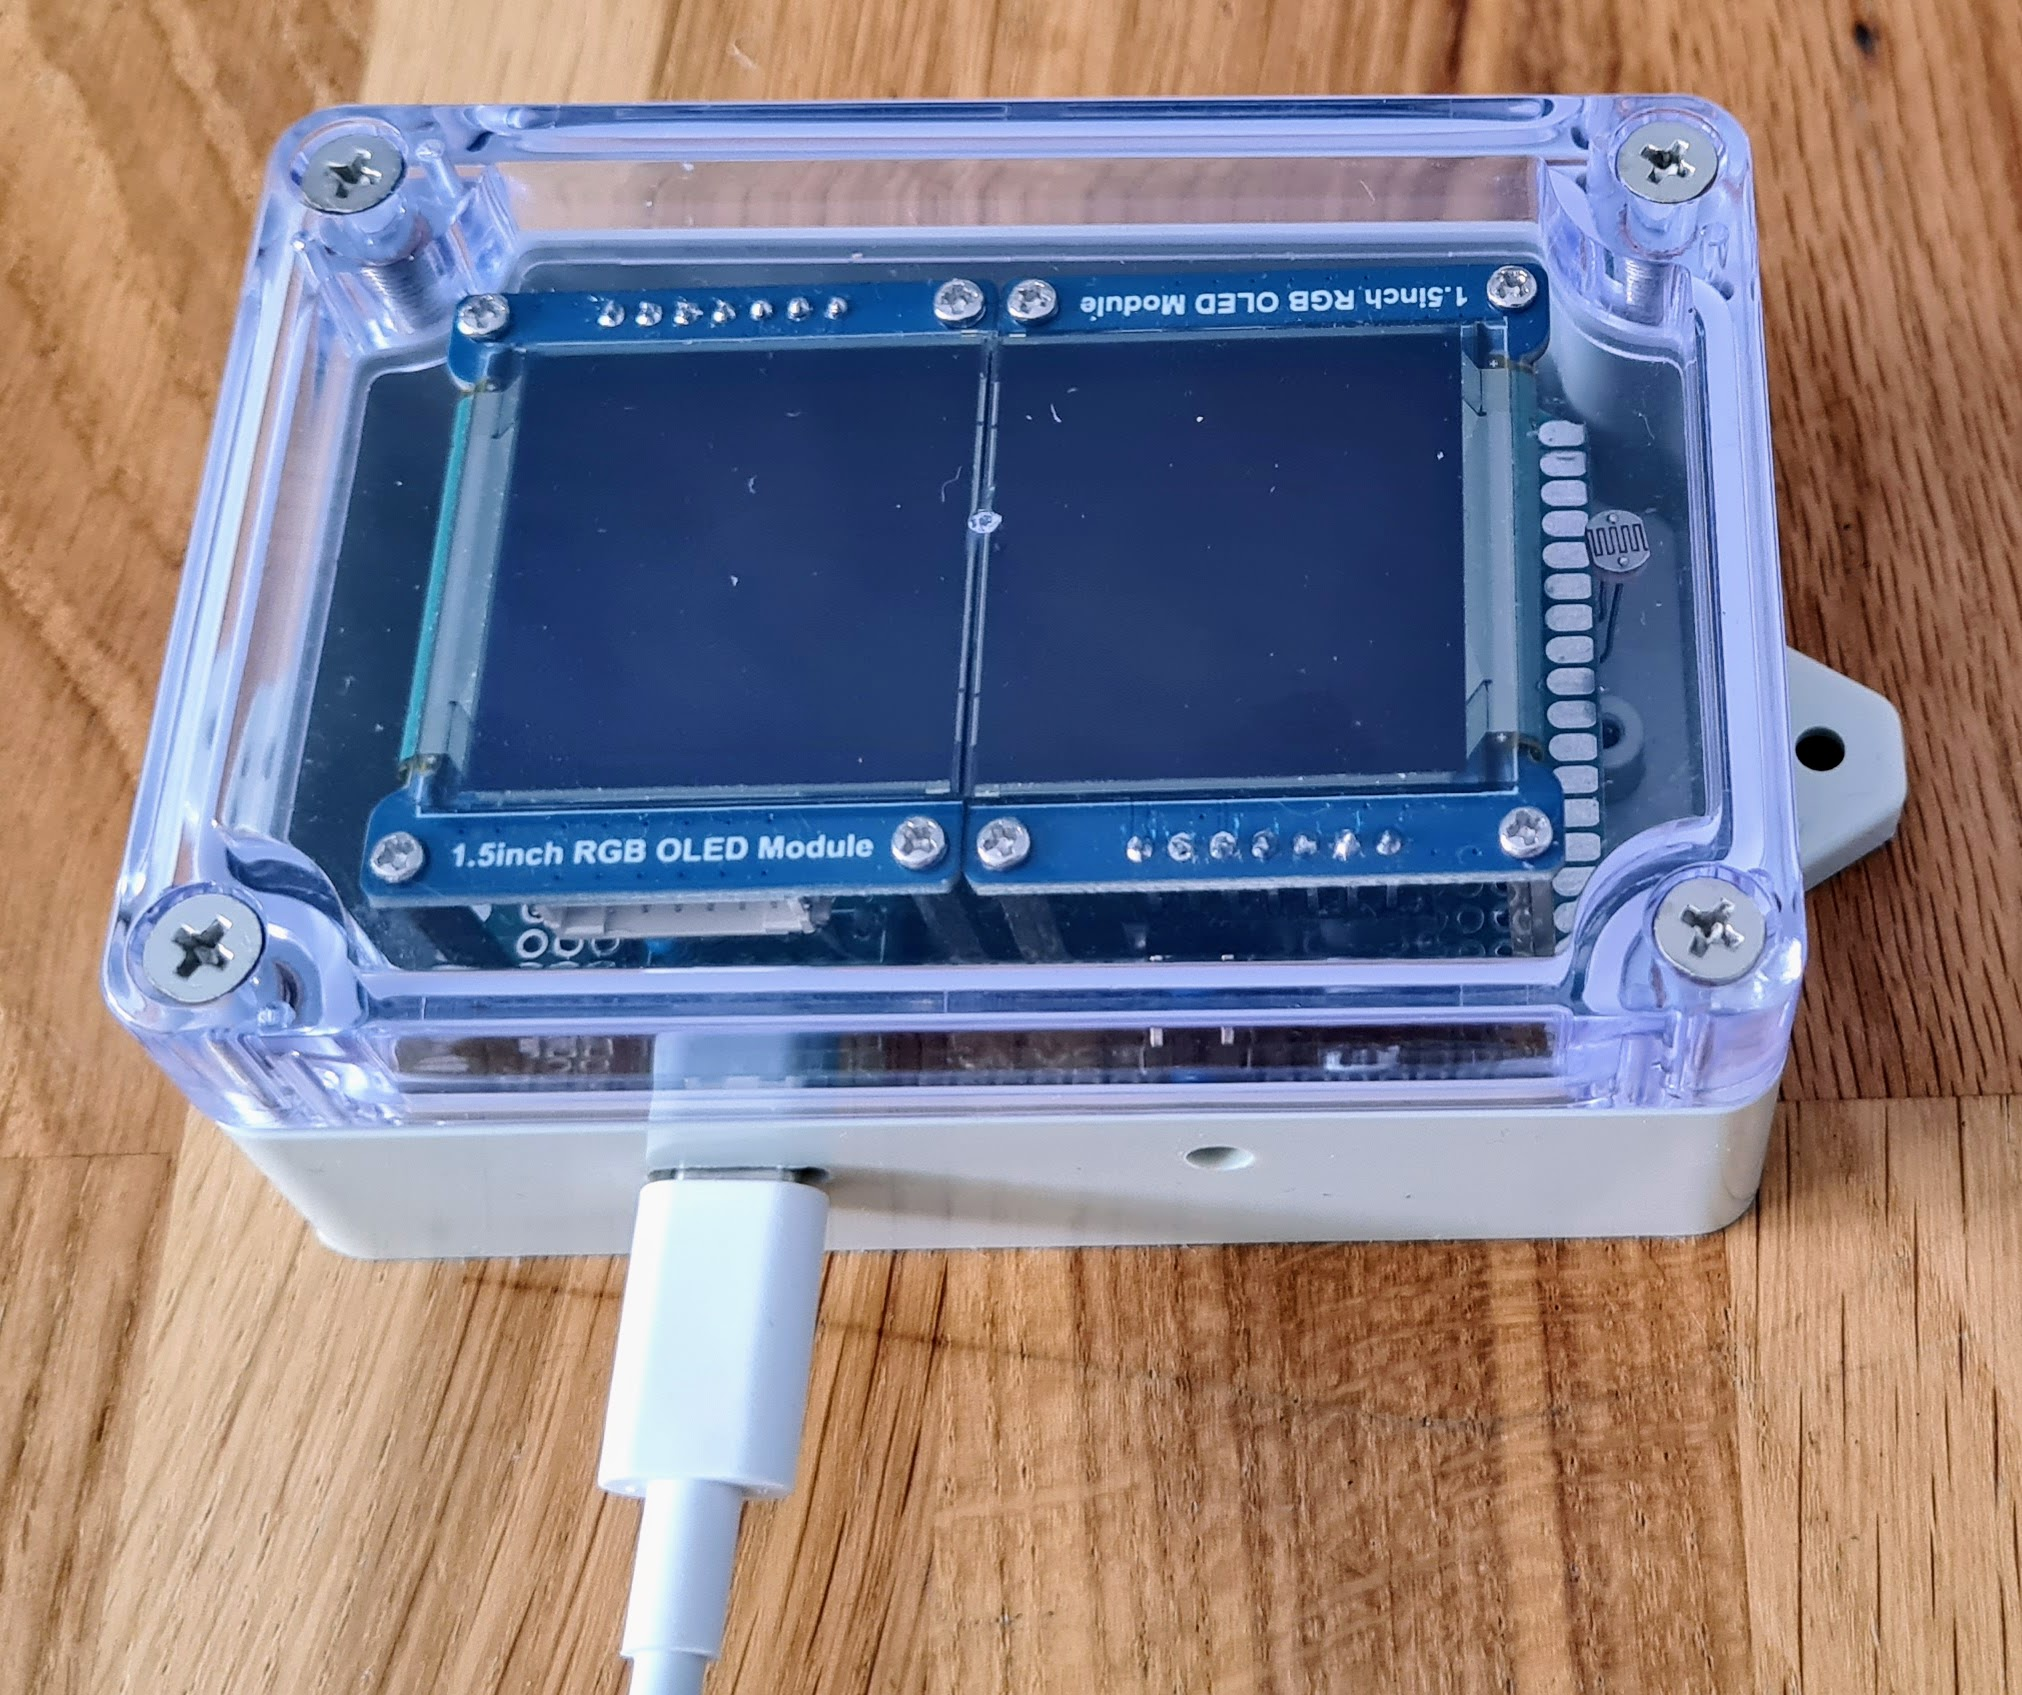
The first case I came across with a transparent cover in which the clock is placed. Bought on Amazon for about 10 euros.

When you first turn on the program, it will detect that there is no data to connect to the network and will display a QR code for the program ESP SoftAP Provisioning, which is available both in the Google Play Market and in the App Store. After setting up Wifi, the program will want to receive data about its location in order to find out the time zone and location in order to correctly show the time and weather. Since there is no data initially, they must be entered via the web interface. To turn on the web interface, you need to press the button on the back of the watch; a QR code with the website address will appear on the left screen, and the same address in regular symbolic form will appear on the right screen. By going to the address and filling in the data using the API key from the weather site openweathermap.org, as well as either manually entering the location and selecting the time zone or entering the API key [ipinfo.io] (https://ipinfo.io), then the program will determine its location automatically.
Immediately after sending the data, the web interface turns off and the watch returns to normal mode.
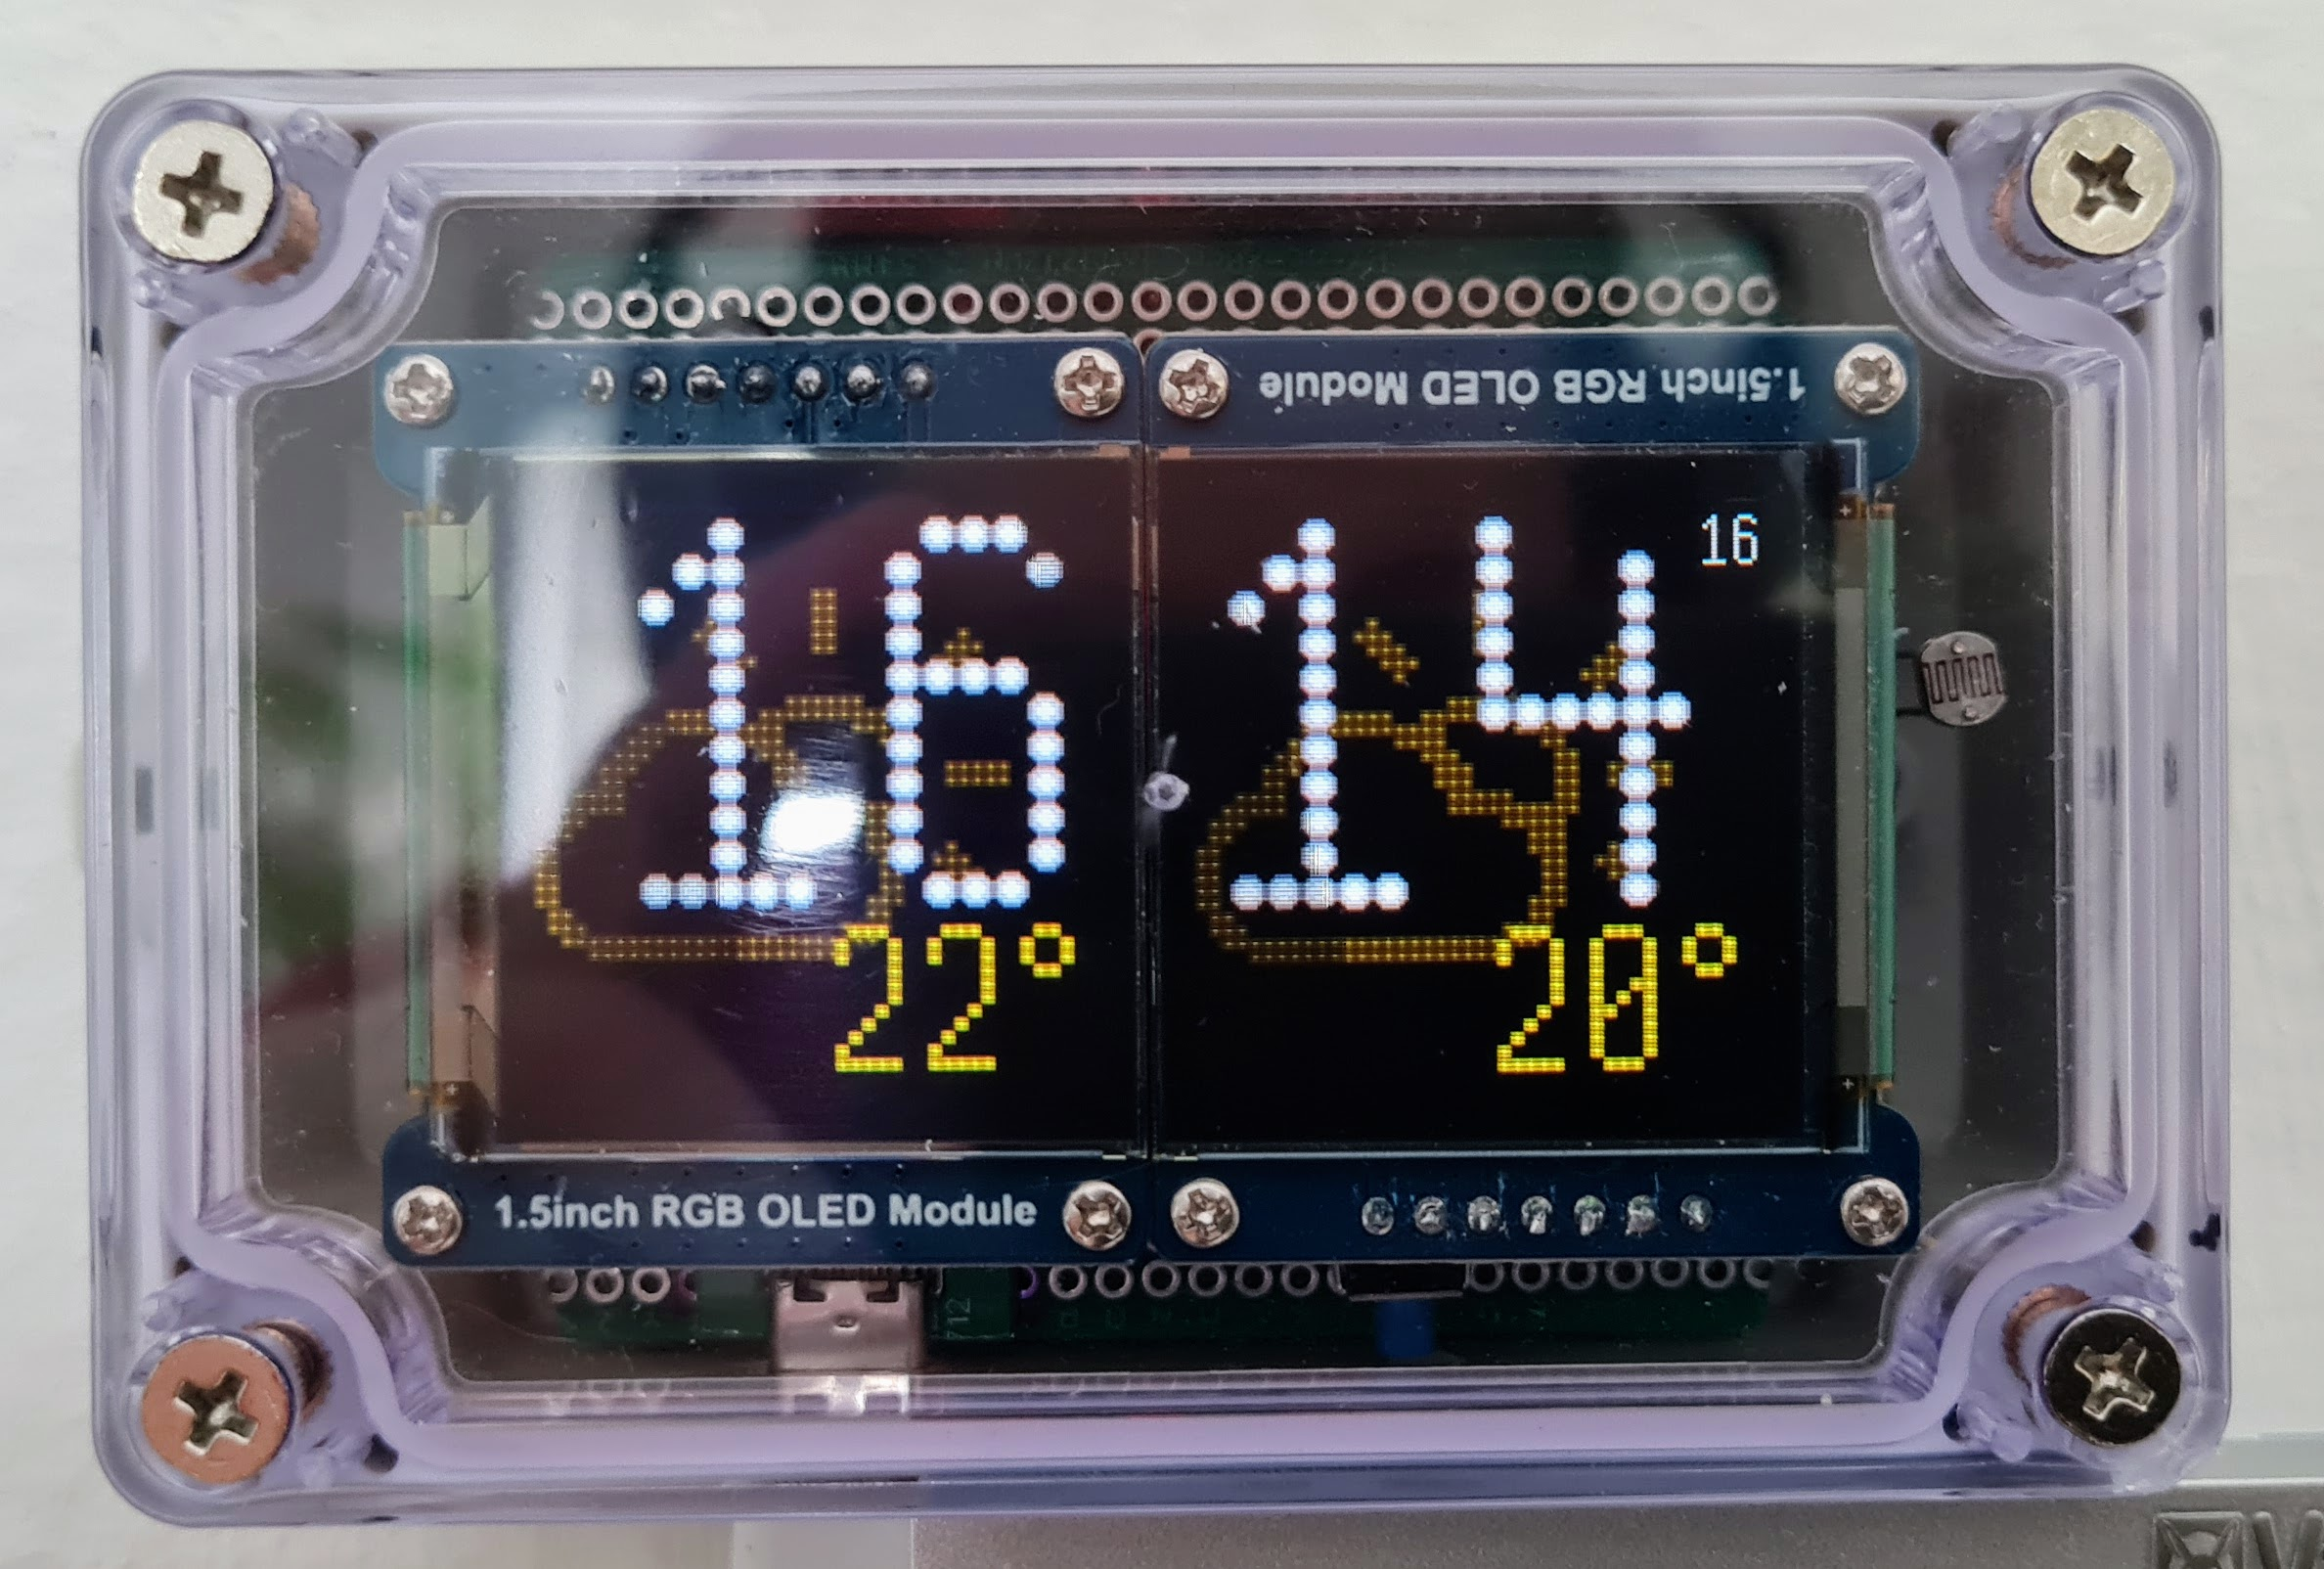
Having determined its location and adjusted the time zone accordingly, the watch regularly polls a weather site, from which it receives sunrise and sunset times for the location. From this the color of the time digits is calculated. At night the color should be copper, during the day white, the transition from one to another is smooth. The color of weather symbols and temperature numbers is calculated from the temperature. When it's cold, the color turns blue; when it is moderately warm, it is green; hot weather is shown in red. Formulas for converting temperature to color were invented independently; for some reason there is nothing ready-made anywhere. On the left screen the symbol for the current weather is shown in the background, on the right the forecast for the next three hours. Convenient in the morning to know what to count on before leaving home for work.
The program is written using the proprietary ESP-IDF framework from Espresiff in pure C.
The mjson library was also used to parse accepted responses from API services. I had to use a third-party library that was not even ported to the ESP32, since the cJSON component supplied with ESP-IDF, when parsing a 16 kilobyte weather forecast response, could require more memory than was free in the heap.
To work with displays, I wrote my own component. When writing, the emphasis was on versatility, efficiency, ease and extensibility. Adding a virtual screen, the image from which is displayed on two physical screens simultaneously, took several dozen lines. The frame rate, taking into account that the information must first be drawn on the virtual screen, is approximately 58.5 frames/sec. The component also supports fonts presented in various formats, such as BITSTREAM, as in libraries from Adafruit, as well as characters specified by the coordinates of points in the matrix. Unicode character encoding is supported, only the necessary character sets can be loaded into the program, the number of sets is clearly not limited. The component is under constant development according to my needs. Drivers for different displays on different possible buses, with different color depths and memory organization, virtual screens and their combinations are supported.
We can say that the fonts in this project are the main feature. I've done projects before where fonts were described using cubic Bezier curves. Description with curves allows you to describe symbols with a small number of anchor points, but at the same time easily scale to any size. An example of such a project is Weather clock. Demo video of that project: Bezier Curves Clock.
As the name suggests, dotted font is made up of dots. The points represent matrices, the size of which depends on the selected scale. Matrices of sizes from 1 to 5 are selected by hand, the rest are created by automatically drawn circles with decreasing brightness from the center to the edge. The matrices are monochrome. When outputting, you can specify a color map. Thanks to this approach, the font will look good at any scale.
To animate the transition from one character to another, several steps are performed. Two arrays of coordinates of points of each symbol are created: from which the transformation occurs and into which the transformation occurs. Then, the number of elements in these arrays is equalized by completing the missing elements by multiplying the last element in the corresponding array. The function that performs the transformation calculates the shift of each point along the line from old coordinates to new ones depending on the parameter t ∈ [0, 1], where t = 0 means the coordinates of the original symbol, and t = 1 - the coordinates of the final symbol. The t parameter is calculated in time so that the entire interval from 0 to 1 passes in half a second. The starting point is selected half a second before the next second.
I made the first 10 characters representing the numbers, plus a couple of additional ones to show the degrees, on my own. As a basis for the symbols of the weather image, I took a font containing icons of weather symbols and modified them with my hands in the [FontCreator] editor (https://github.com/Llerr/FontCreator ). In order for the animation of symbols not to look like a random movement of points from one coordinate to another, they must be arranged in a certain order so that the unchangeable parts remain in the same places during the transition, and the changeable ones preferably change so that they intersect less with other points when moving. FontCreator allows you to specify the index of each point when editing a symbol.
All components are installed on a breadboard. The NodeMCU-P32S development board is installed in the bed. There are two displays above the board. Power is supplied via an external USB-C connector. Additional installed button to enable configuration mode via the web interface and a photoresistor to adjust the brightness to ambient lighting.
