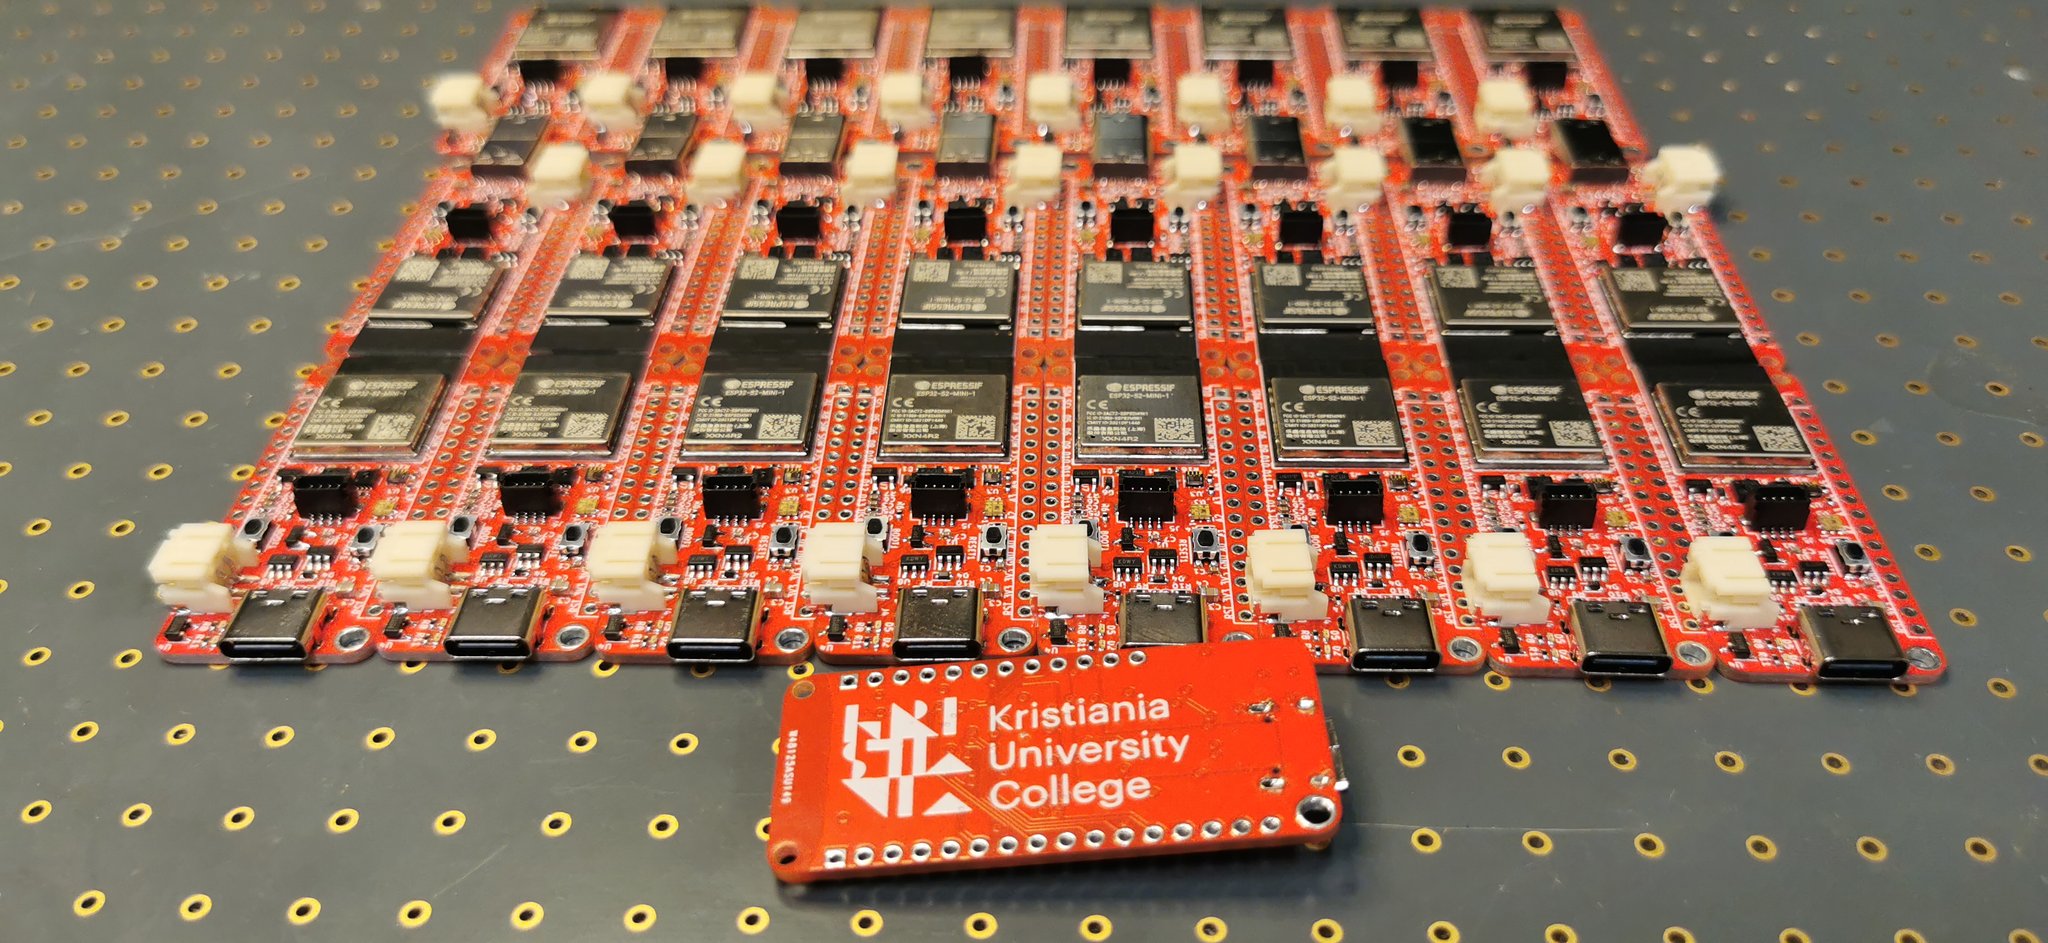
A Feather dev board based on ESP32-S3, made for lecturing Embedded Systems (PG5501), M2M (TEK303) and Edge To App (PGR212) at Kristiania University. Feel free to use these Kicad files to make your own boards for use in your own lectures.
This board is based on the Feather ESP32-S3 from Adafruit and while I have remade the project in Kicad, the job was so much easier thanks to all the great work and research by Adafruit. Thus I'm keeping with the CC-BY-SA3.0 license so be sure to share if you redistribute/remake.
This board will make it really easy for my students to extend the base functionality using FeatherWings and Stemma sensors from Adafruit. I highly recommend Adafruit products and they do fantastic work for the hardware commmunity.
To use the board, set the Arduino IDE, PlatformIO or another IDE to use the board named "Adafruit ESP32-S2 Feather". This will ensure proper operation so that defines such as LED_BUILTIN and auto-programming will work. Refer to the original Adafruit Guide for details.
As in the Adafruit design, special features are on these pins:
- I2C is on IO03 and IO04. Initiate I2C using wire.begin(3,4);
- Separate power supply for I2C devices are on IO07. Set this low before going into low power mode.
- LED_BUILTIN is on IO13
Here are some differences from the Adafruit design:
- Light/lux sensor (LTR-329) on I2C address 0x29
- Temperature/moisture sensor (SHT31) on I2C address 0x44
- Accelerometer (LIS3DH) on I2C address 0x18
- The Hall sensor (MT8691AT) is on IO01. Larger ESP modules have this builtin, but the Mini modules do not, so I added this.
- I've also swapped the Neopixel (ws2812-type) to a Dotstar (APA102-2020). This is using IO33 for data and IO21 for clock.
- I've removed the LC709203 battery monitor as that wasn't available for months and I could not easily find a good alternative.
- Version 1.0 had the Temperature sensor placed too close to the ESP32 module. This caused Temperature readins to be off by quite a bit. For Version 1.1 the sensor was moved further away, but it's still reading too high. Next version should move it all the way back to the USB connector as well as add cutouts to reduce coupling to the copper planes on the PCB.
- The board is pin compatible with both S2 and S3 MINI modules. The choice of using S3 modules in 2023 is the one I've regretted the most since tooling just isn't there for the alternate USB mode. This requires lots of custom setup to work well. I made a writeup on solving the ESP32-S3 issues for PlatformIO, but there are issues for Arduino as well. I've tried solving some of these with the tooling, but I'm having a hard time explaining to the maintainers what is S3 issues vs my custom board. They seem to (rightfully) think that anyone commenting on a board programming issue don't know what they're talking about, so this may take time. Use the S2 for less tooling problems is my current suggestion.
- I'm thinking on adding one more sensor in the next version of the board. I'm open to suggestions on what to add, so find my email on my blog and message me.
The PCB folder holds all the Kicad files I've used for making my boards. Please do not include any logos if you remake this board. Here you'll also find the Errata for versions of this board.
The Example folder holds a single .ino file that will test all the features of the board. Lots of libraries are required, so be sure to read the Include section of the file. Project file for PlatformIO used for default firmware can be found here.
Please note that to make ESP32-S3 work painless in PlatformIO ref, we need to add the following two lines to platformio.ini:
monitor_speed = 115200
build_flags = -DARDUINO_USB_MODE=1
Note that if you use PlatformIO, I wrote up a long article on how to solve the most common issues with the ESP32-S3 for PlatformIO on my blog.
The HTML BOM lists all the components used in the design and shows their position on the board. Great for curious students that want to know it all.
