See this demo in action!
LlamaIndex is an open-source framework that lets you build AI applications powered by large language models (LLMs) like OpenAI's GPT-4. This application is a demonstration of how to do that, starting from scratch to a fully deployed web application. We'll show you how to run everything in this repo and then start customizing it for your own needs.
In this example, we'll be using MongoDB as a data store and a vector store. Our back end will be a Python API powered by Flask, and our front end will be a JavaScript web app written in Next.js.
The app will load a series of tweets (loaded from a Twitter archive export) and then index them to answer questions about the author and their opinions.
The basic steps of this demo are:
- Get data from a JSON file into a Mongo database (this step is optional if you already have data in Mongo)
- Index the data using LlamaIndex. This will use OpenAI's gpt-3.5-turbo under the hood and convert your text into vector embeddings, so you'll need an OpenAI API key, and it can take some time depending how much data you have
- Store the embedded data back into MongoDB. LlamaIndex will do this for you automatically.
- Create a Vector Search Index in MongoDB. This is a manual step you'll need to perform in the MongoDB UI.
- Query the data! This will demonstrate that the data is now queryable. Then you'll want to build an app on top of it.
- Set up a Flask API in Python to answer questions about the data, hosted on Render.
- Set up a Next.js front-end in JavaScript, also hosted on Render. This will accept user questions, pass them to the API, and display the results.
You can either use these instructions as a tutorial and rebuild the application from scratch, or clone the repo and use it as a template.
We'll assume you have the current version of Python installed (3.11.6 or better), as well as Node.js for the front-end (version 20 or better) and git for source control.
First clone this repo
git clone git@github.com:run-llama/mongodb-demo.git
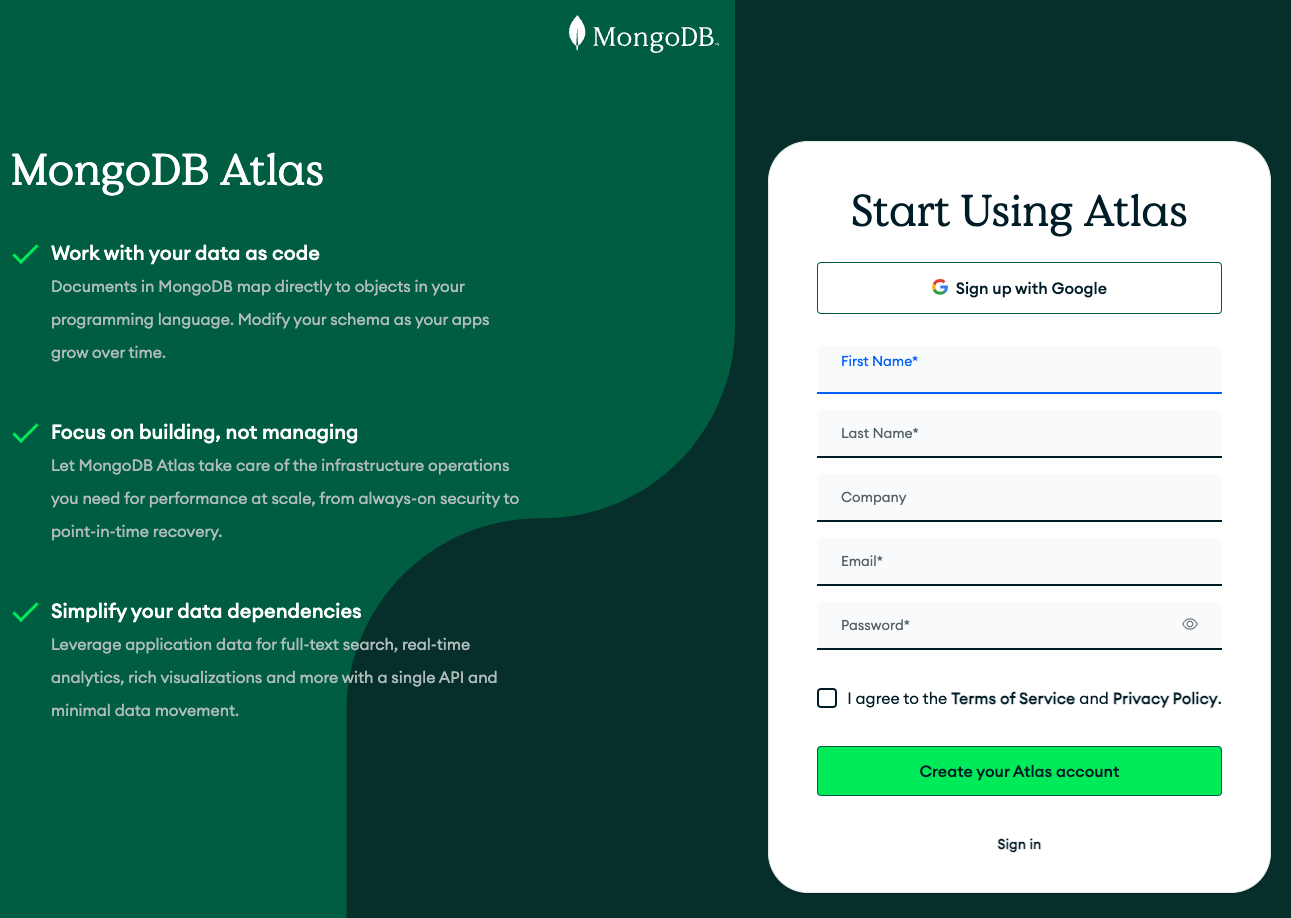
We'll be using MongoDB's hosted database service, MongoDB Atlas. You can sign up for free and get a small hosted cluster for free:
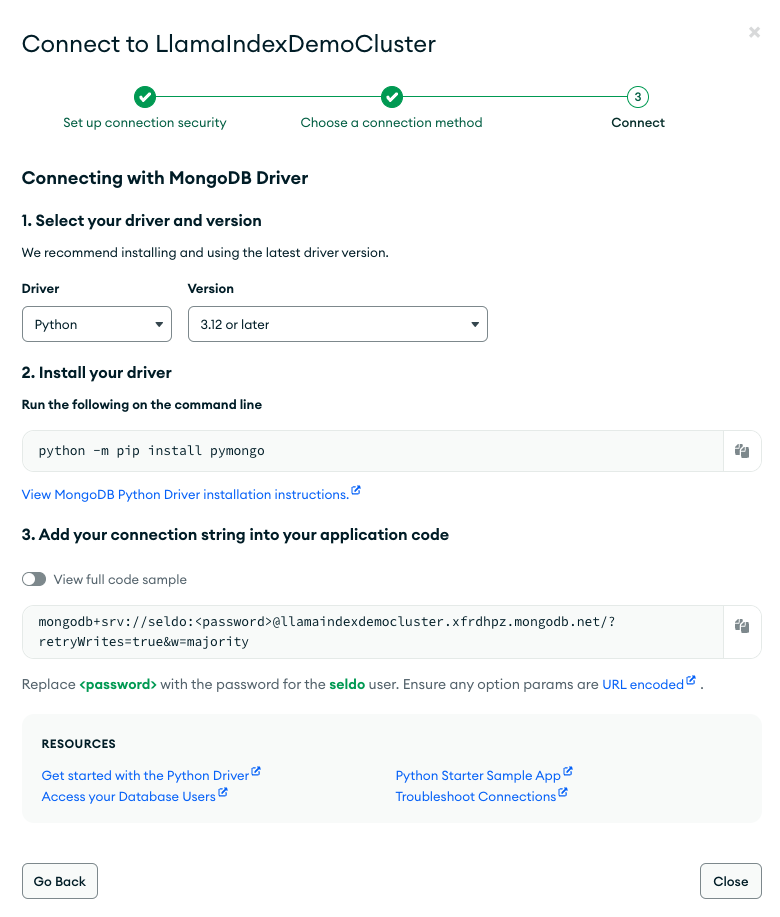
The signup process will walk you through the process of creating your cluster and ensuring it's configured for you to access. Once the cluster is created, choose "Connect" and then "Connect to your application". Choose Python, and you'll be presented with a connection string that looks like this:
Copy the connection string (make sure you include your password) and put it into a file called .env in the root of this repo. It should look like this:
MONGODB_URI=mongodb+srv://seldo:xxxxxxxxxxx@llamaindexdemocluster.xfrdhpz.mongodb.net/?retryWrites=true&w=majority
You will also need to choose a name for your database, and the collection where we will store the tweets, and also include them in .env. They can be any string, but this is what we used:
MONGODB_DATABASE=tiny_tweets_db
MONGODB_COLLECTION=tiny_tweets_collection
To avoid colliding with other Python dependencies, it's a good idea to create a python virtual environment to work in. There are lots of ways to do this, but the way we did it is to run this in the root of the repo:
python3 -m venv .venv
source .venv/bin/activate
Now we'll install all the dependencies we need in one go with pip:
pip install -r requirements.txtThis installs the MongoDB drivers, LlamaIndex itself, and some utility libraries.
You are now ready to import our ready-made data set into Mongo. This is the file tinytweets.json, a selection of approximately 1000 tweets from @seldo on Twitter in mid-2019. With your environment set up you can do this by running
python 1_import.py
If you're curious, the code is below. If you don't want to use tweets, you can replace json_file with any other array of JSON objects, but you will need to modify some code later to make sure the correct field gets indexed. There is no LlamaIndex-specific code here; you can load your data into Mongo any way you want to.
json_file = 'tinytweets.json'

# Load environment variables from local .env file
from dotenv import load_dotenv
load_dotenv()

import os
import json
from pymongo.mongo_client import MongoClient
from pymongo.server_api import ServerApi

# Load the tweets from a local file
with open(json_file, 'r') as f:
    tweets = json.load(f)

# Create a new client and connect to the server
client = MongoClient(os.getenv('MONGODB_URI'), server_api=ServerApi('1'))
db = client[os.getenv("MONGODB_DATABASE")]
collection = db[os.getenv("MONGODB_COLLECTION")]

# Insert the tweets into mongo
collection.insert_many(tweets)Now we're ready to index our data. To do this, LlamaIndex will pull your text out of Mongo, split it into chunks, and then send those chunks to OpenAI to be turned into vector embeddings. The embeddings will then be stored in a new collection in Mongo. This will take a while depending how much text you have, but the good news is that once it's done you will be able to query quickly without needing to re-index.
We'll be using OpenAI to do the embedding, so now is when you need to generate an OpenAI API key if you haven't already and add it to your .env file like this:
OPENAI_API_KEY=sk-xxxxxxxxxxxxxxxxxxxxxxxxxxxxxxxxxxxxxx
You'll also need to pick a name for the new collection where the embeddings will be stored, and add it to .env, along with the name of a vector search index (we'll be creating this in the next step, after you've indexed your data):
MONGODB_VECTORS=tiny_tweets_vectors
MONGODB_VECTOR_INDEX=tiny_tweets_vector_index
If the data you're indexing is the tweets we gave you, you're ready to go:
python 2_load_and_index.pyYou can view the full source code of this script, but let's highlight a few important parts:
query_dict = {}
reader = SimpleMongoReader(uri=os.getenv("MONGODB_URI"))
documents = reader.load_data(
    os.getenv("MONGODB_DATABASE"),
    os.getenv("MONGODB_COLLECTION"),
    field_names=["full_text"],
    query_dict=query_dict
)
What you're doing here is creating a Reader which loads the data out of Mongo in the collection and database specified. It looks for text in a set of specific keys in each object. In this case we've given it just one key, "full_text". The final parameter is a mongo query document, a JSON object you can use to filter your objects down to a subset. We're leaving it empty because we want all the tweets in the collection.
# Create a new client and connect to the server
client = MongoClient(os.getenv("MONGODB_URI"), server_api=ServerApi('1'))

# create Atlas as a vector store
store = MongoDBAtlasVectorSearch(
    client,
    db_name=os.getenv('MONGODB_DATABASE'),
    collection_name=os.getenv('MONGODB_VECTORS'),
    index_name=os.getenv('MONGODB_VECTOR_INDEX')
)
Now you're creating a vector search client for Mongo. In addition to a MongoDB client object, you again tell it what database everything is in. This time you give it the name of the collection where you'll store the vector embeddings, and the name of the vector search index you'll create in the next step.
This process can take a while, so when we kick it off we set the show_progress parameter to True, which prints a convenient little progress bar:
storage_context = StorageContext.from_defaults(vector_store=store)
index = VectorStoreIndex.from_documents(
    documents, storage_context=storage_context,
    show_progress=True
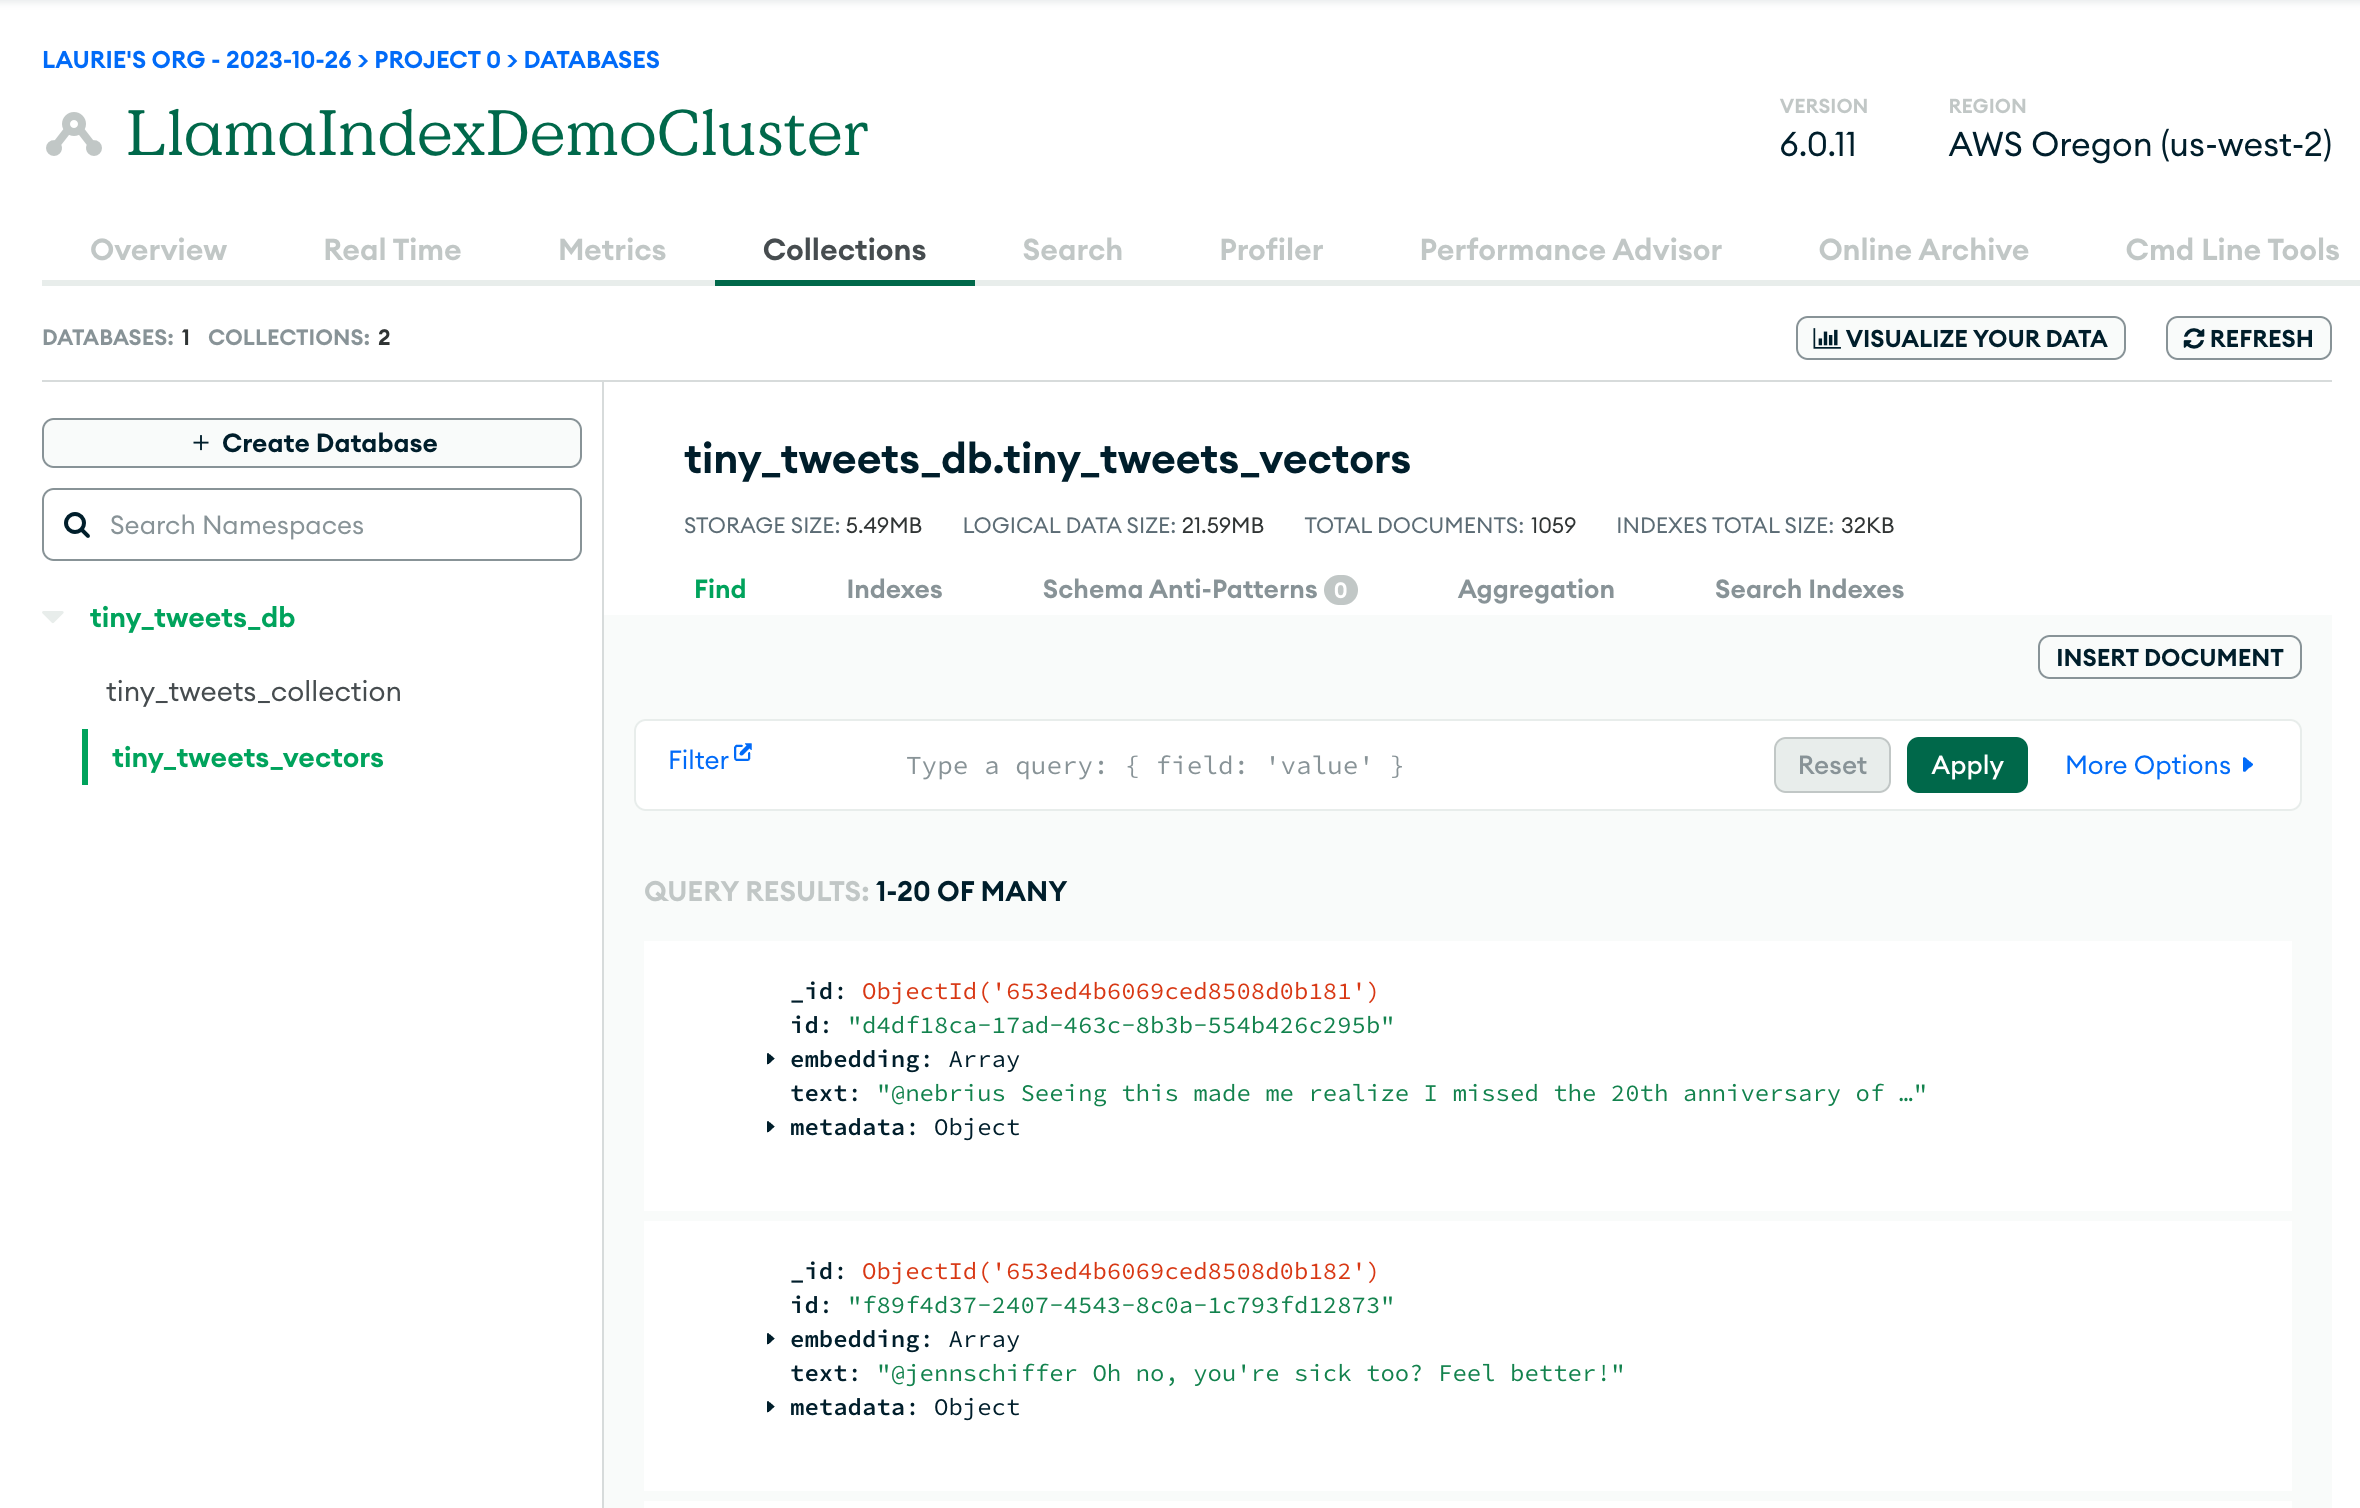
)Now if all has gone well you should be able to log in to the Mongo Atlas UI and see two collections in your database: the original data in tiny_tweets_collection, and the vector embeddings in tiny_tweets_vectors.
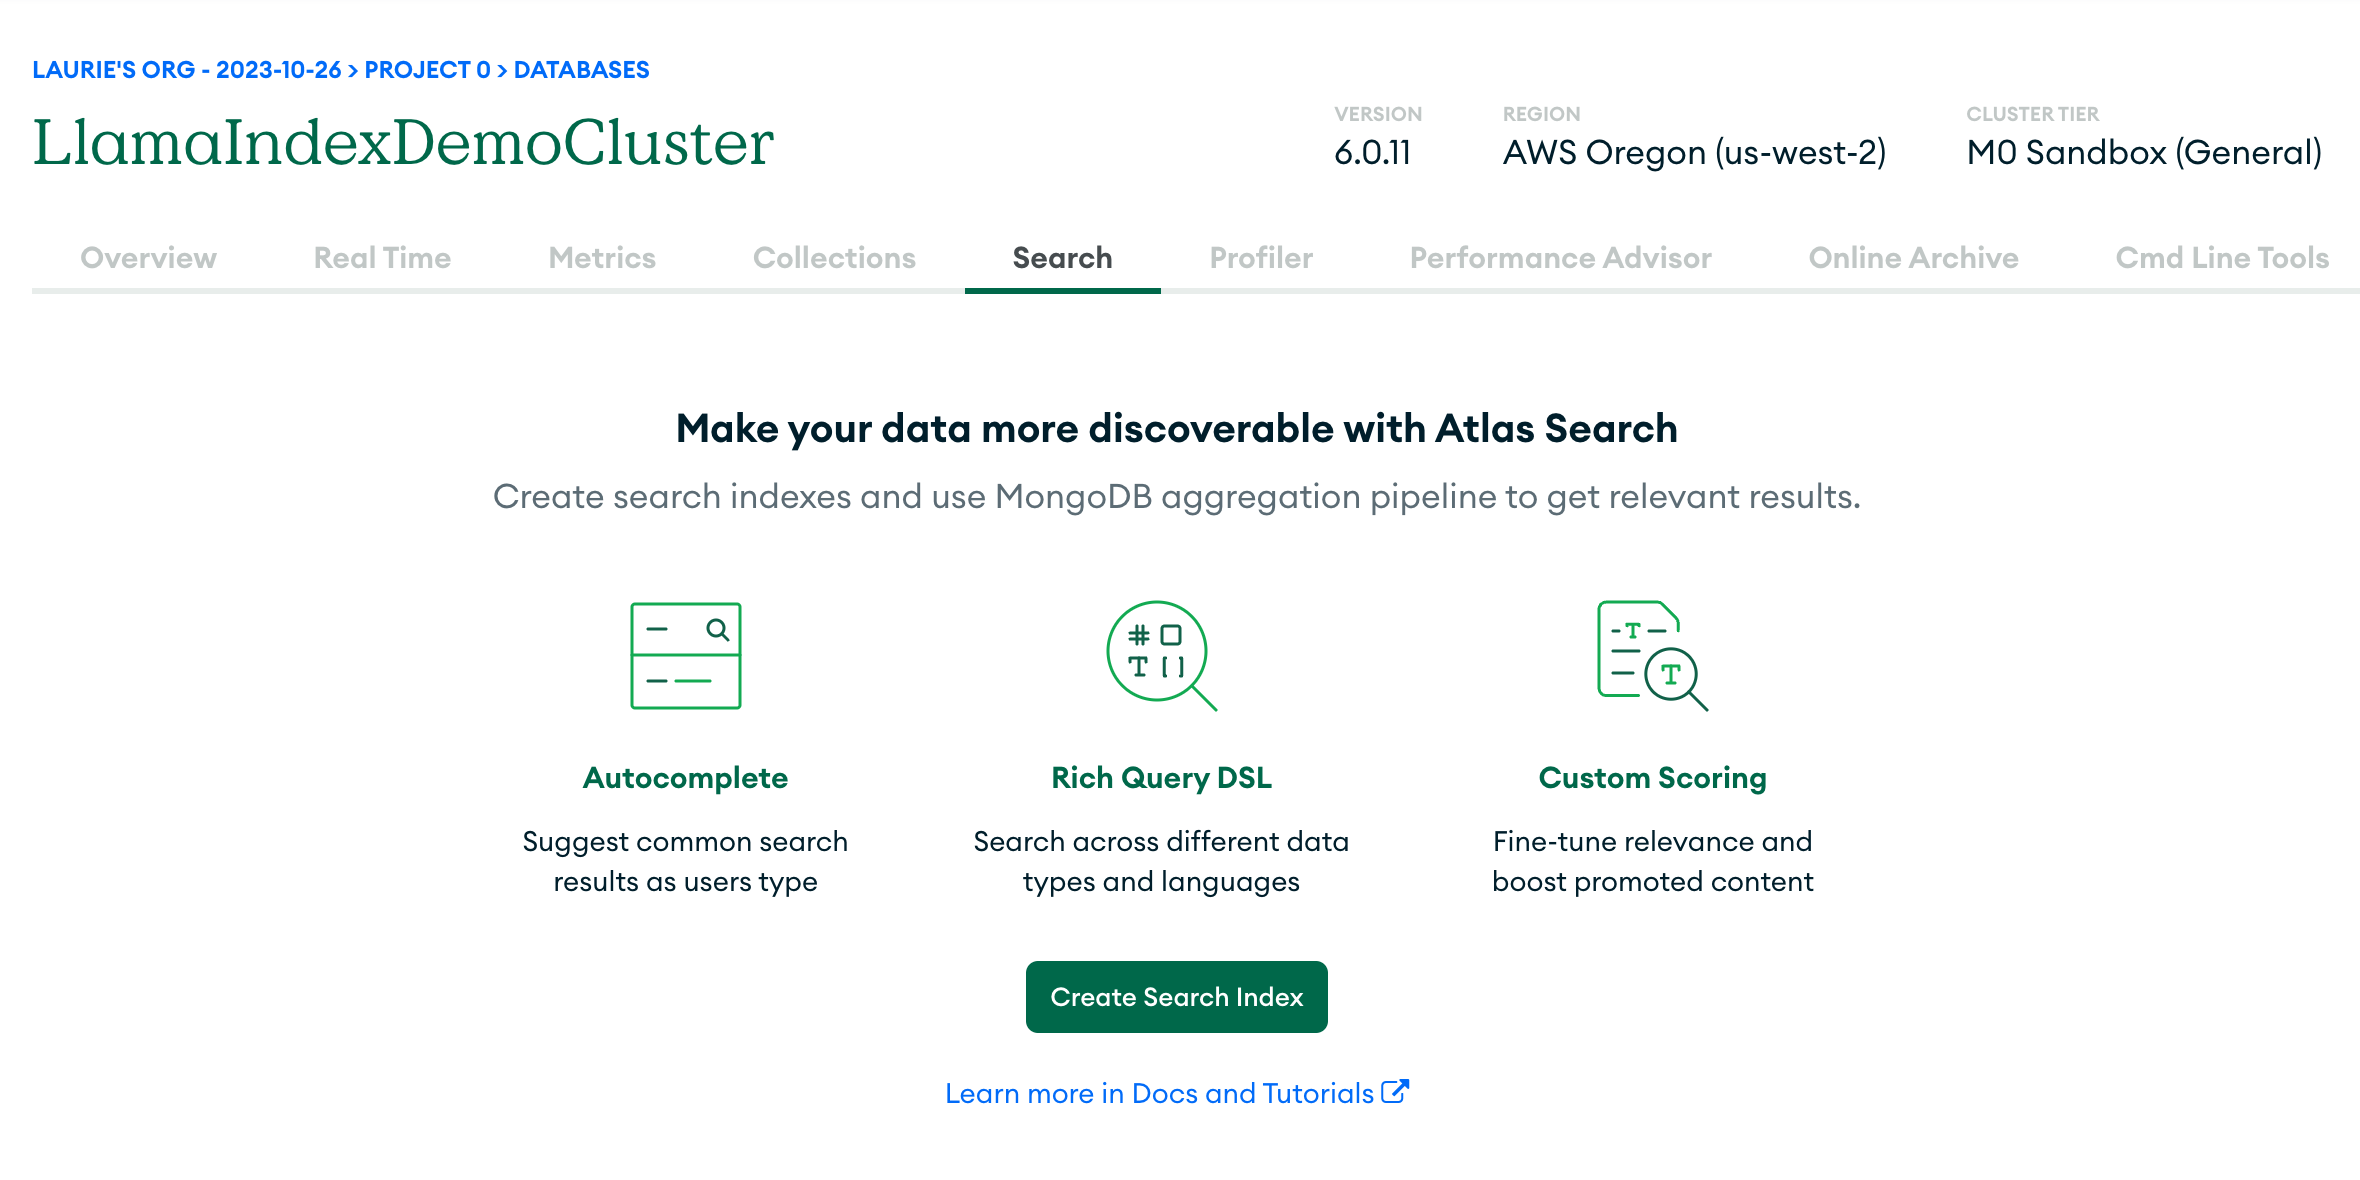
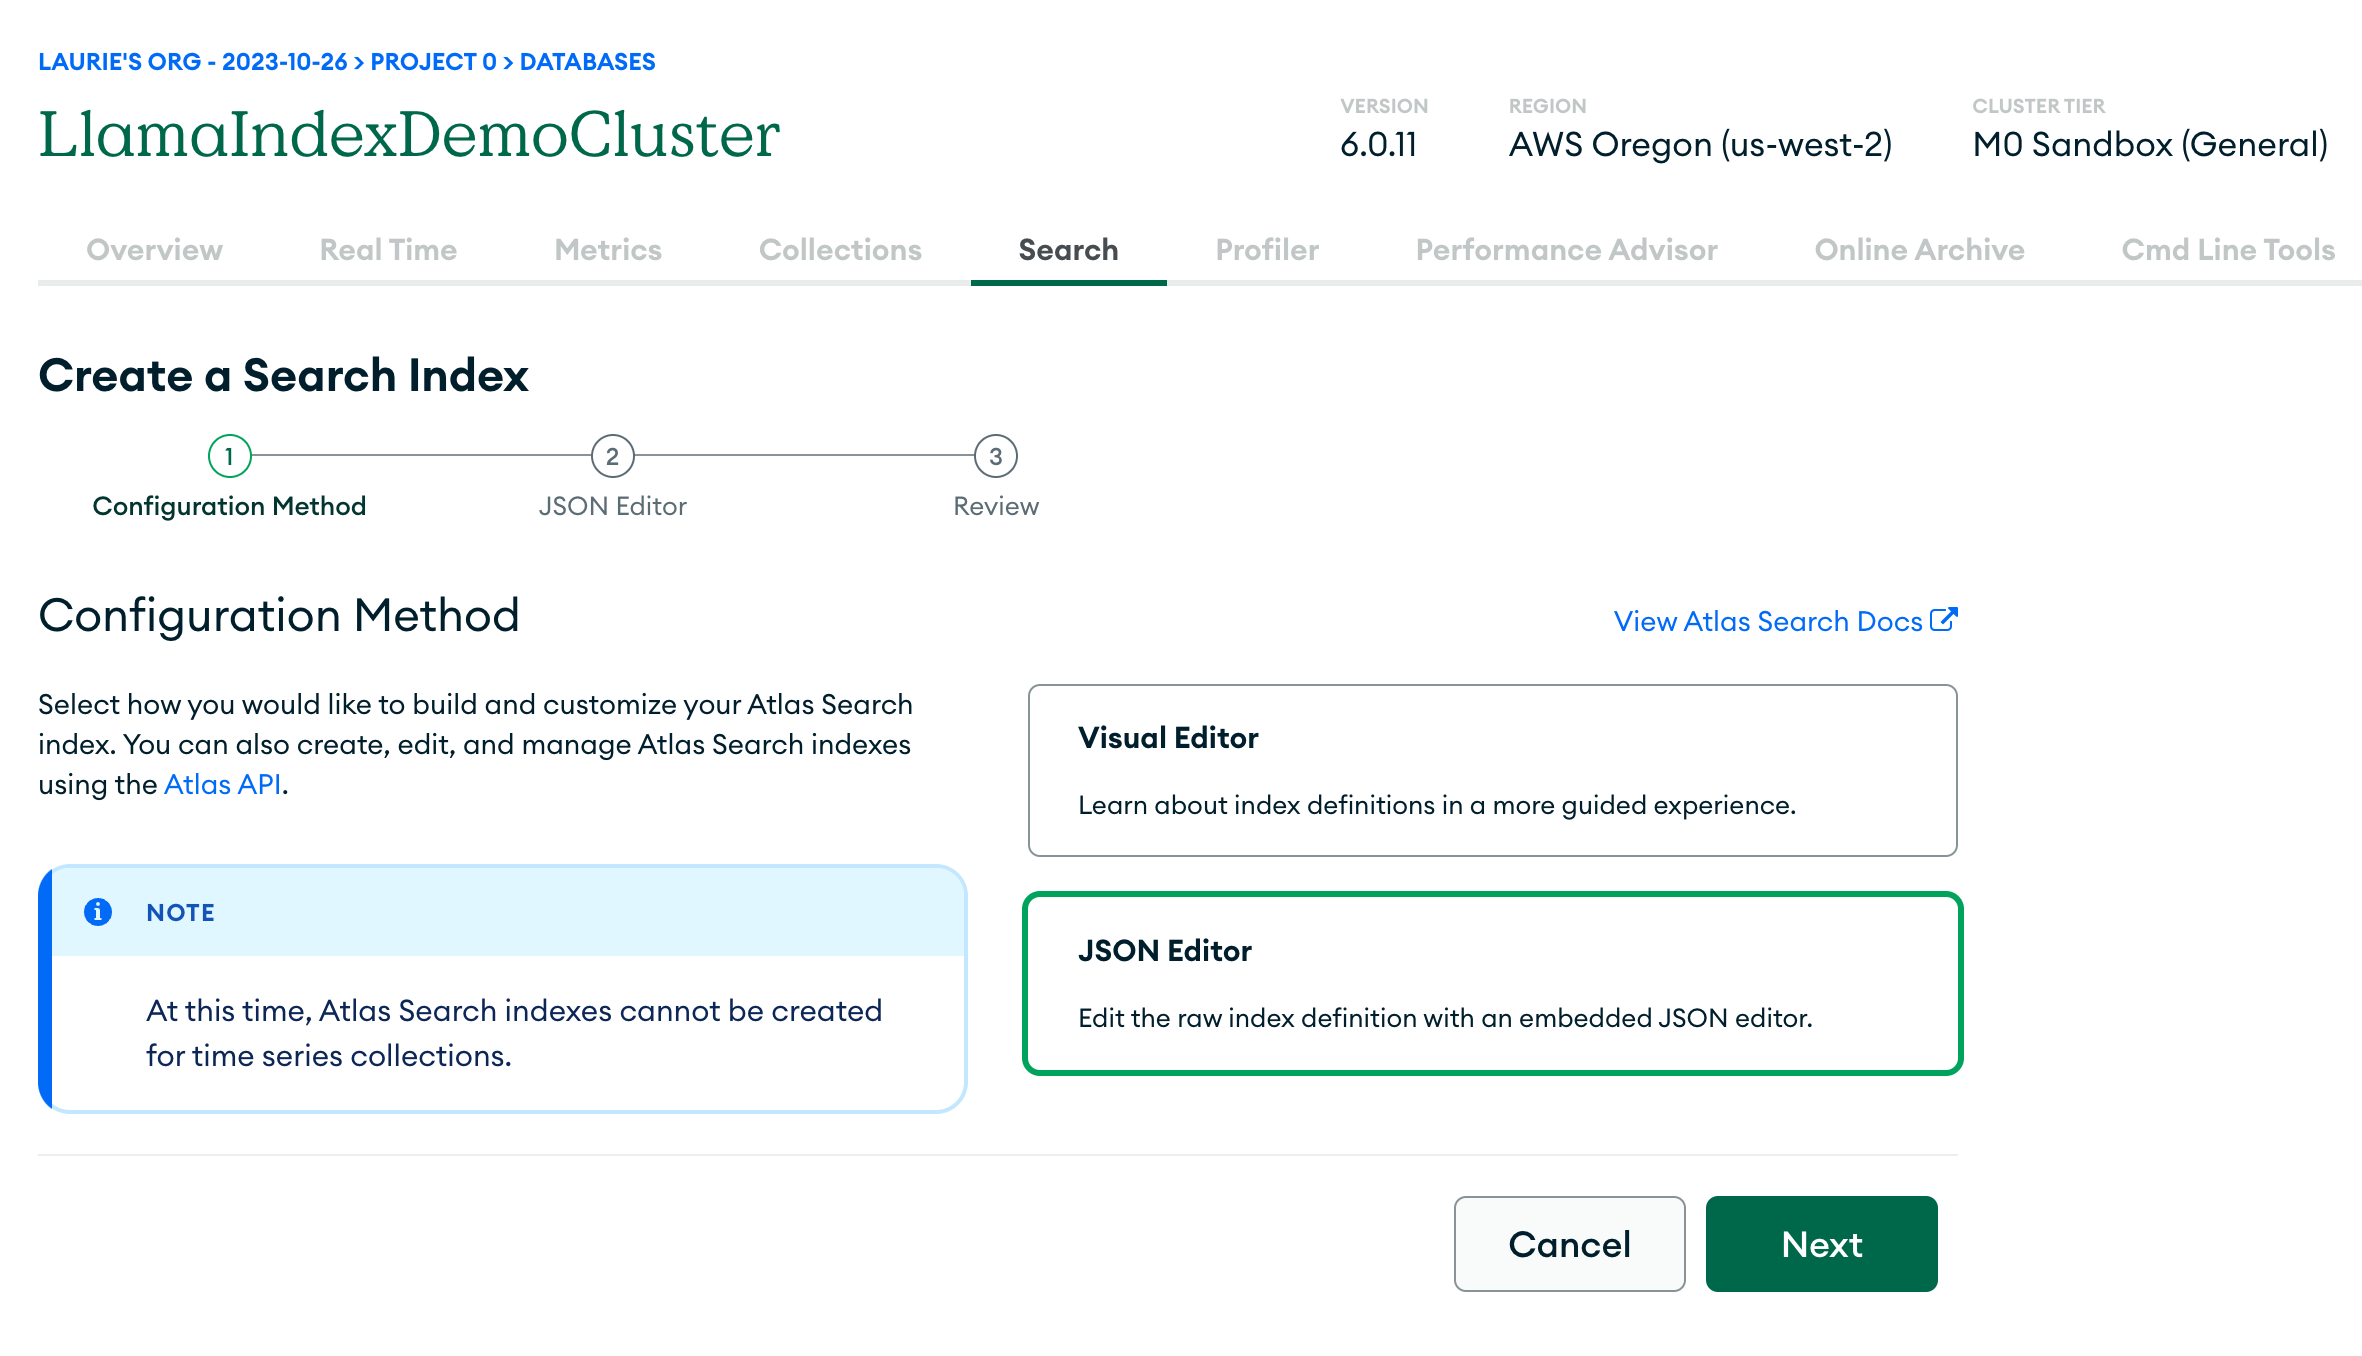
Now it's time to create the vector search index so that you can query the data. First, click the Search tab, and then click "Create Search Index":
It's not yet possible to create a vector search index using the Visual Editor, so select JSON editor:
Now under "database and collection" select tiny_tweets_db and within that select tiny_tweets_vectors. Then under "Index name" enter tiny_tweets_vector_index (or whatever value you put for MONGODB_VECTOR_INDEX in .env). Under that, you'll want to enter this JSON object:
{
  "mappings": {
    "dynamic": true,
    "fields": {
      "embedding": {
        "dimensions": 1536,
        "similarity": "cosine",
        "type": "knnVector"
      }
    }
  }
}
This tells Mongo that the embedding field in each document (in the tiny_tweets_vectors collection) is a vector of 1536 dimensions (this is the size of embeddings used by OpenAI), and that we want to use cosine similarity to compare vectors. You don't need to worry too much about these values unless you want to use a different LLM to OpenAI entirely.
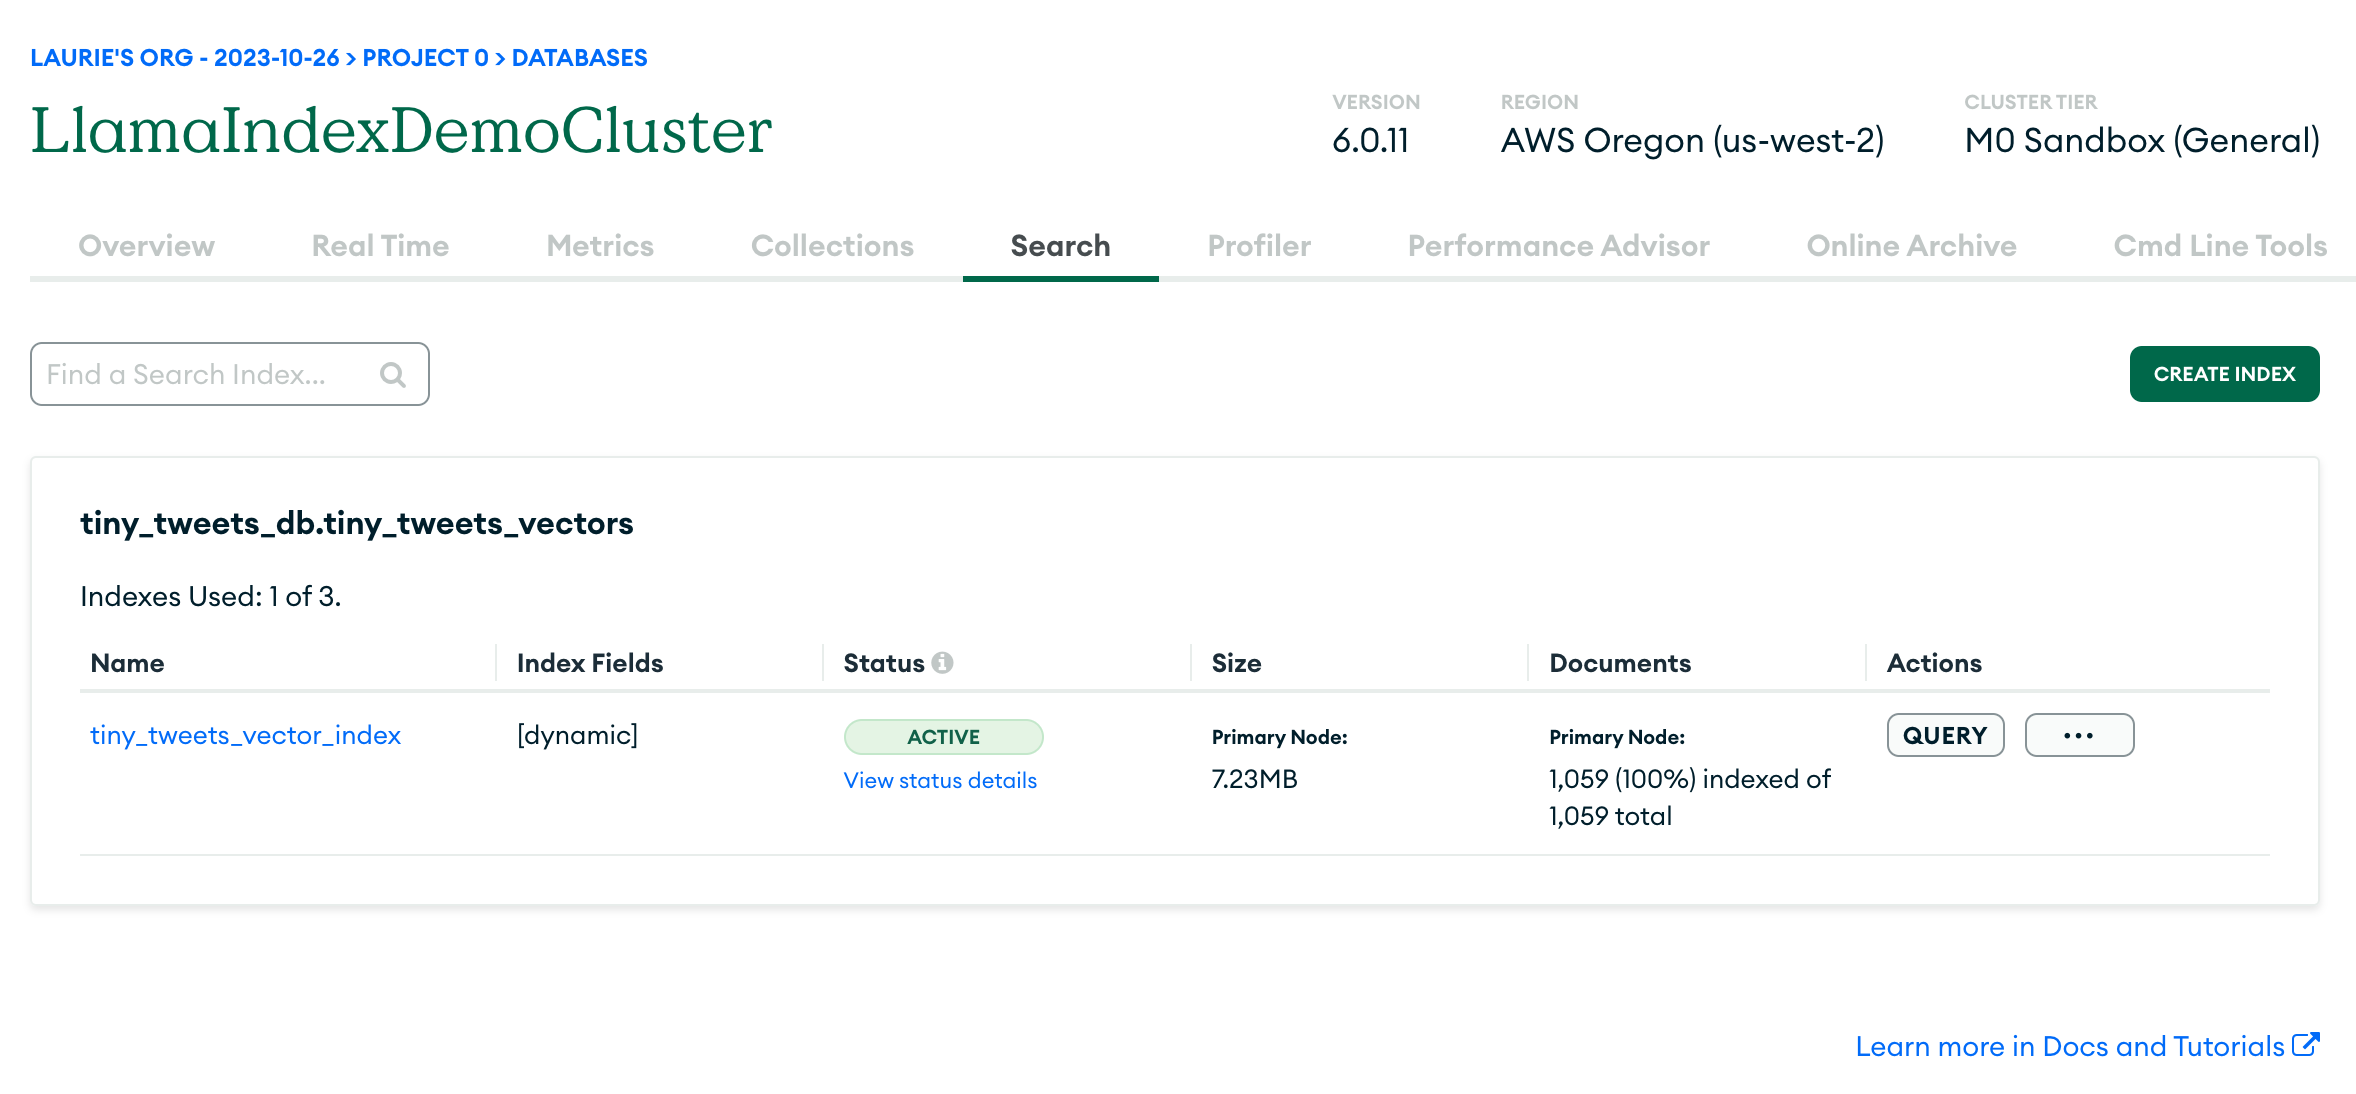
The UI will ask you to review and confirm your choices, then you need to wait a minute or two while it generates the index. If all goes well, you should see something like this screen:
Now you're ready to query your data!
You can do this by running
python 3_query.pyThis sets up a connection to Atlas just like 2_load_and_index.py did, then it creates a query engine and runs a query against it:
query_engine = index.as_query_engine(similarity_top_k=20)
response = query_engine.query("What does the author think of web frameworks?")
print(response)
If all is well, you should get a nuanced opinion about web frameworks.
Now we have a way to quickly query our data using an LLM. But we want an app! To do that, we're going to set up a Python Flash API as a backend and a JavaScript Next.js app as a front-end. We're going to deploy both of them to Render, and to do that we need them to be in a GitHub repo. So let's do that:
- Create a new public GitHub repository
- Clone it to your local machine
- Copy all the files from this repo to the new repo (make sure you don't include the
.gitfolder) - Commit and push the files to GitHub
For the rest of this tutorial we're going to assume you're working in the folder you just created, attached to a repo you control.
The details of creating a Flask app are out of scope for this tutorial, but you can find one already set up for you in flask_app in the repo. It sets up a Mongo Atlas client just like we did in 3_query.py, and it has one real method, process_form, which accepts a query parameter:
@app.route('/process_form', methods=['POST'])
@cross_origin()
def process_form():
    query = request.form.get('query')
    if query is not None:
        # here we have customized the number of documents returned per query to 20, because tweets are really short
        query_engine = index.as_query_engine(similarity_top_k=20)
        response = query_engine.query(query)
        return jsonify({"response": str(response)})
    else:
        return jsonify({"error": "query field is missing"}), 400
(The @cross_origin() decorator is necessary to allow the front-end to make requests to the API.)
You can run it locally by running
flask runAnd you can check it's running by going to http://127.0.0.1:5000 in your browser. You should get a "Hello, world!" response.
Set up a Render account (we recommend logging in with your GitHub account, to simplify things) and create a new web service:
- Select "build and deploy from a github repository" then select the repo you created above.
- Give the service a unique name
- Set the root directory to
flask_app - Set the runtime to Python 3
- Select the Free tier
Important: set PYTHON_VERSION. Your first deploy will fail because some packages will not be found, to fix this, set your python version to the same one you're using locally:
- Go to "Environment"
- Select "Add environment variable"
- Set the
keytoPYTHON_VERSIONand the value to3.11.6(or whatever version you're using locally) - Click "save changes"
- Go to the "Deploy" button in the top right and select "deploy latest commit". It should now deploy successfully.
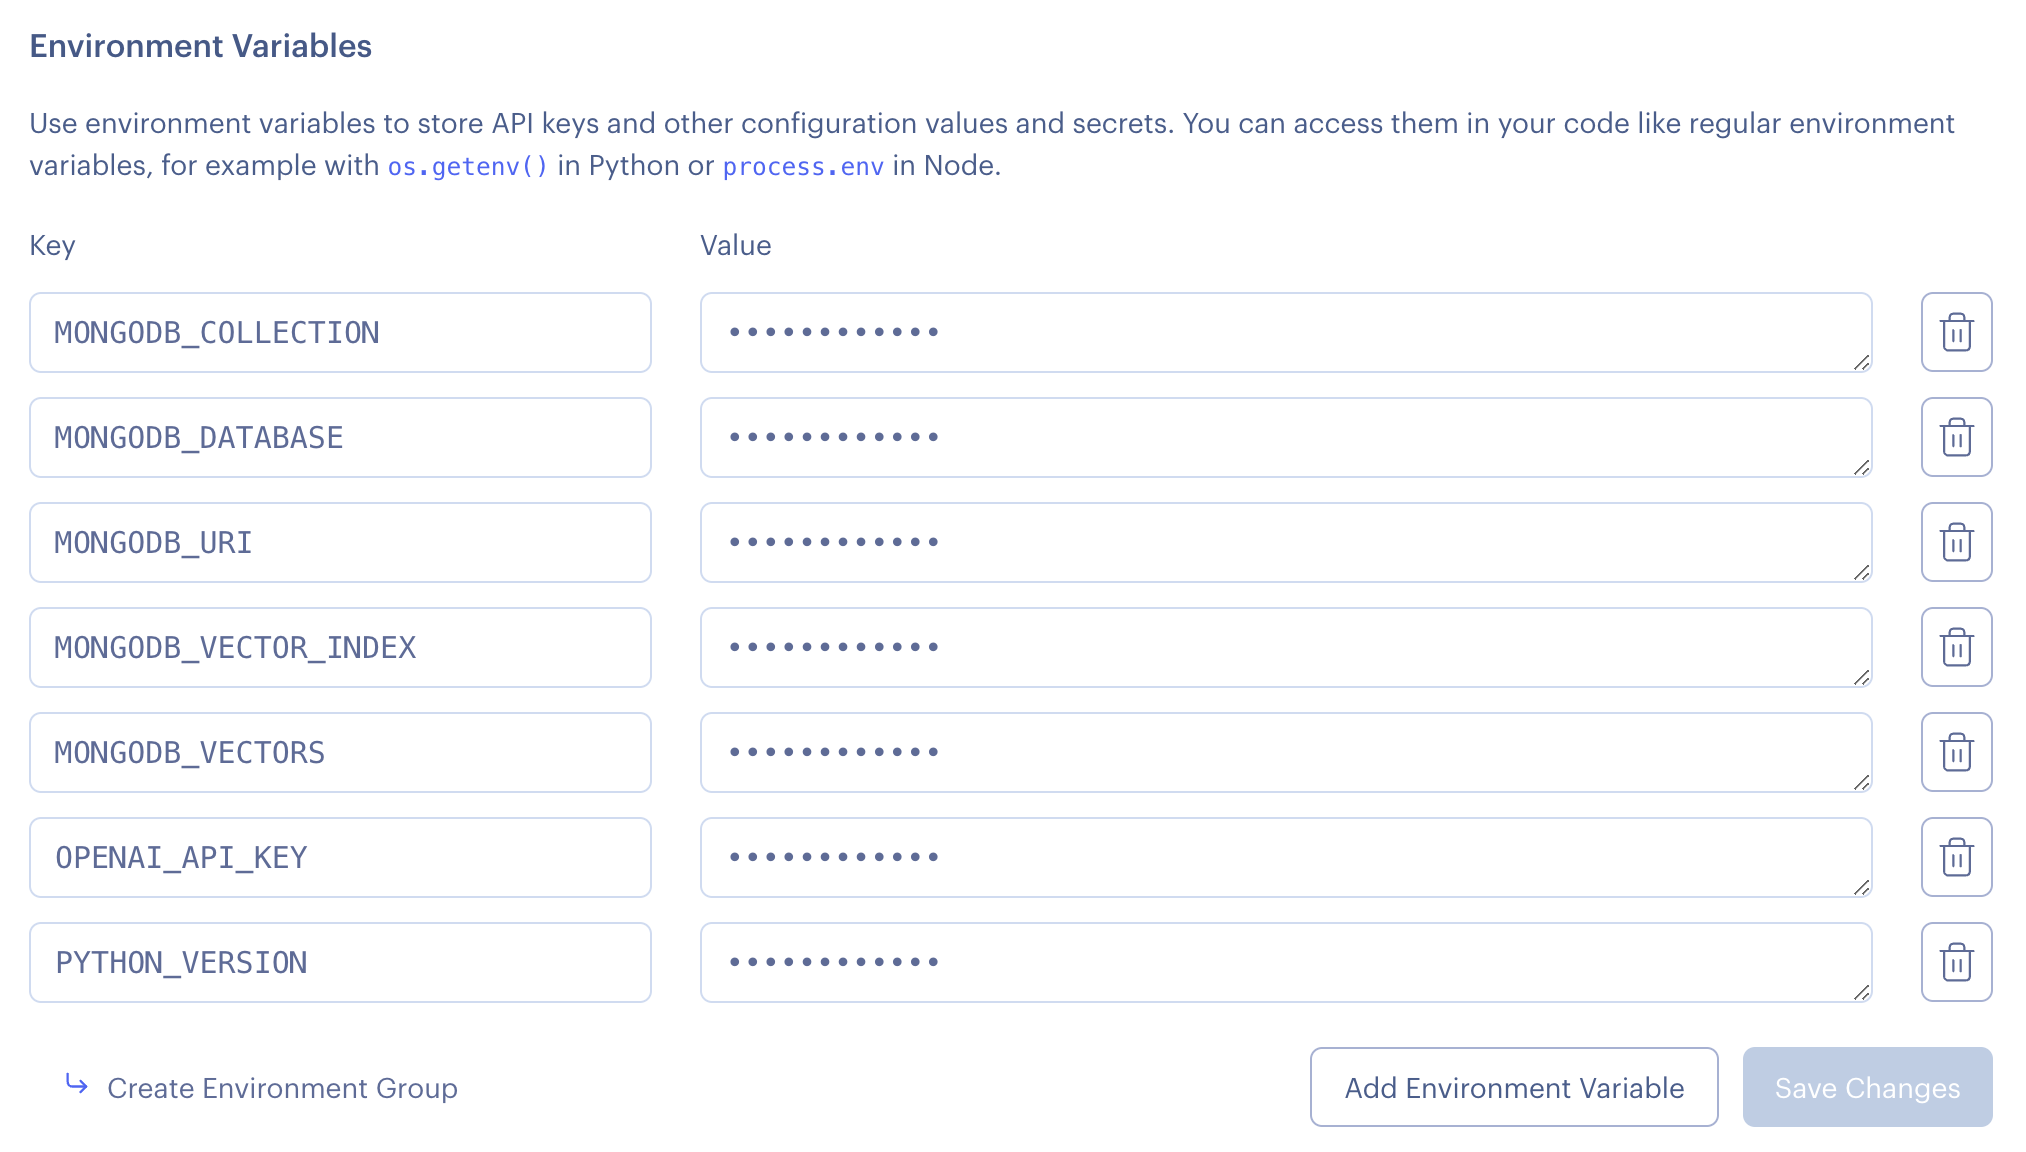
In the same way that you set PYTHON_VERSION you should now set all the other environment variables from your .env file in your Render environment. Your code needs to know where to connect to Mongo, etc.. So it should eventually look like this:
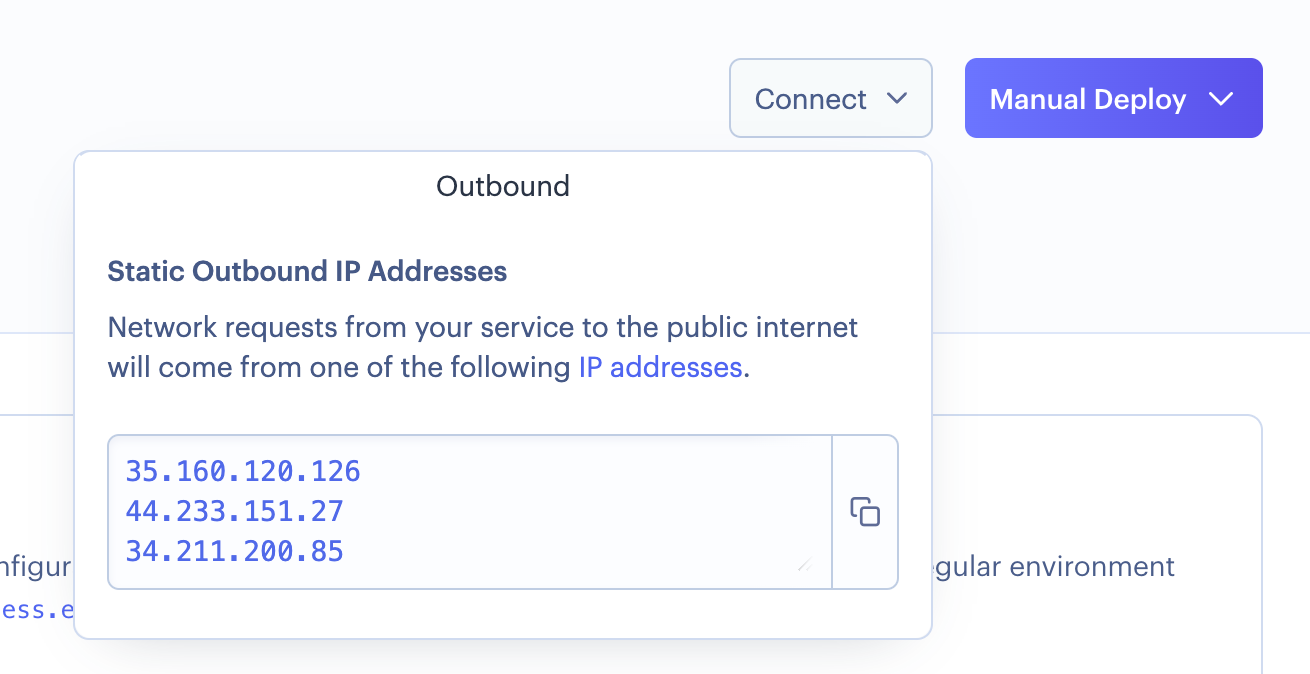
To allow your API to connect to MongoDB, you need to add its IP addresses to the list of IPs allowed to connect by Mongo. You can find the IPs in the "Connect" button in the top right of Render.
Go to MongoDB's UI and select "Network Access" from under "Security" in the menu on the left. Click "Add IP address" three times and add one of the IPs supplied by Render each time.
With all this done, your API should now be up and running and able to connect to MongoDB. Time to build a frontend!
Just like the Flask app, we've already done the heavy lifting for you and you can find the app in next_app. To get it going locally, run these in the root of the Next app:
npm install
npm run dev
This will give you a local server on http://127.0.0.1:3000. If you're already running the Flask API, you should be able to run queries!
Just like the Flask app, we're going to deploy the Next.js app to Render on the free plan. The steps are very similar:
- Select "build and deploy from a github repository" then select the repo you created above.
- Give the service a unique name
- Set the root directory to
next_app - Set the runtime to Node.js
- Select the Free tier
Just as with Python, you're going to need to set an environment variable called NODE_VERSION to 20 and rebuild your first deploy.
You're also going to need to tell it where to find the Flask API. To do this, create an environment variable called NEXT_PUBLIC_API_HOST and set it to the hostname on Render of your Flask API (in our case, that was https://mongodb-demo-zpxu.onrender.com/).
You don't need to set any of the other environment variables, only your Flask API needs to know how to connect to Mongo.
Redeploy your Next.js application.
If all is well, you should now have a demo app just like ours! You can begin customizing it to your use-case.
