LevelEditor
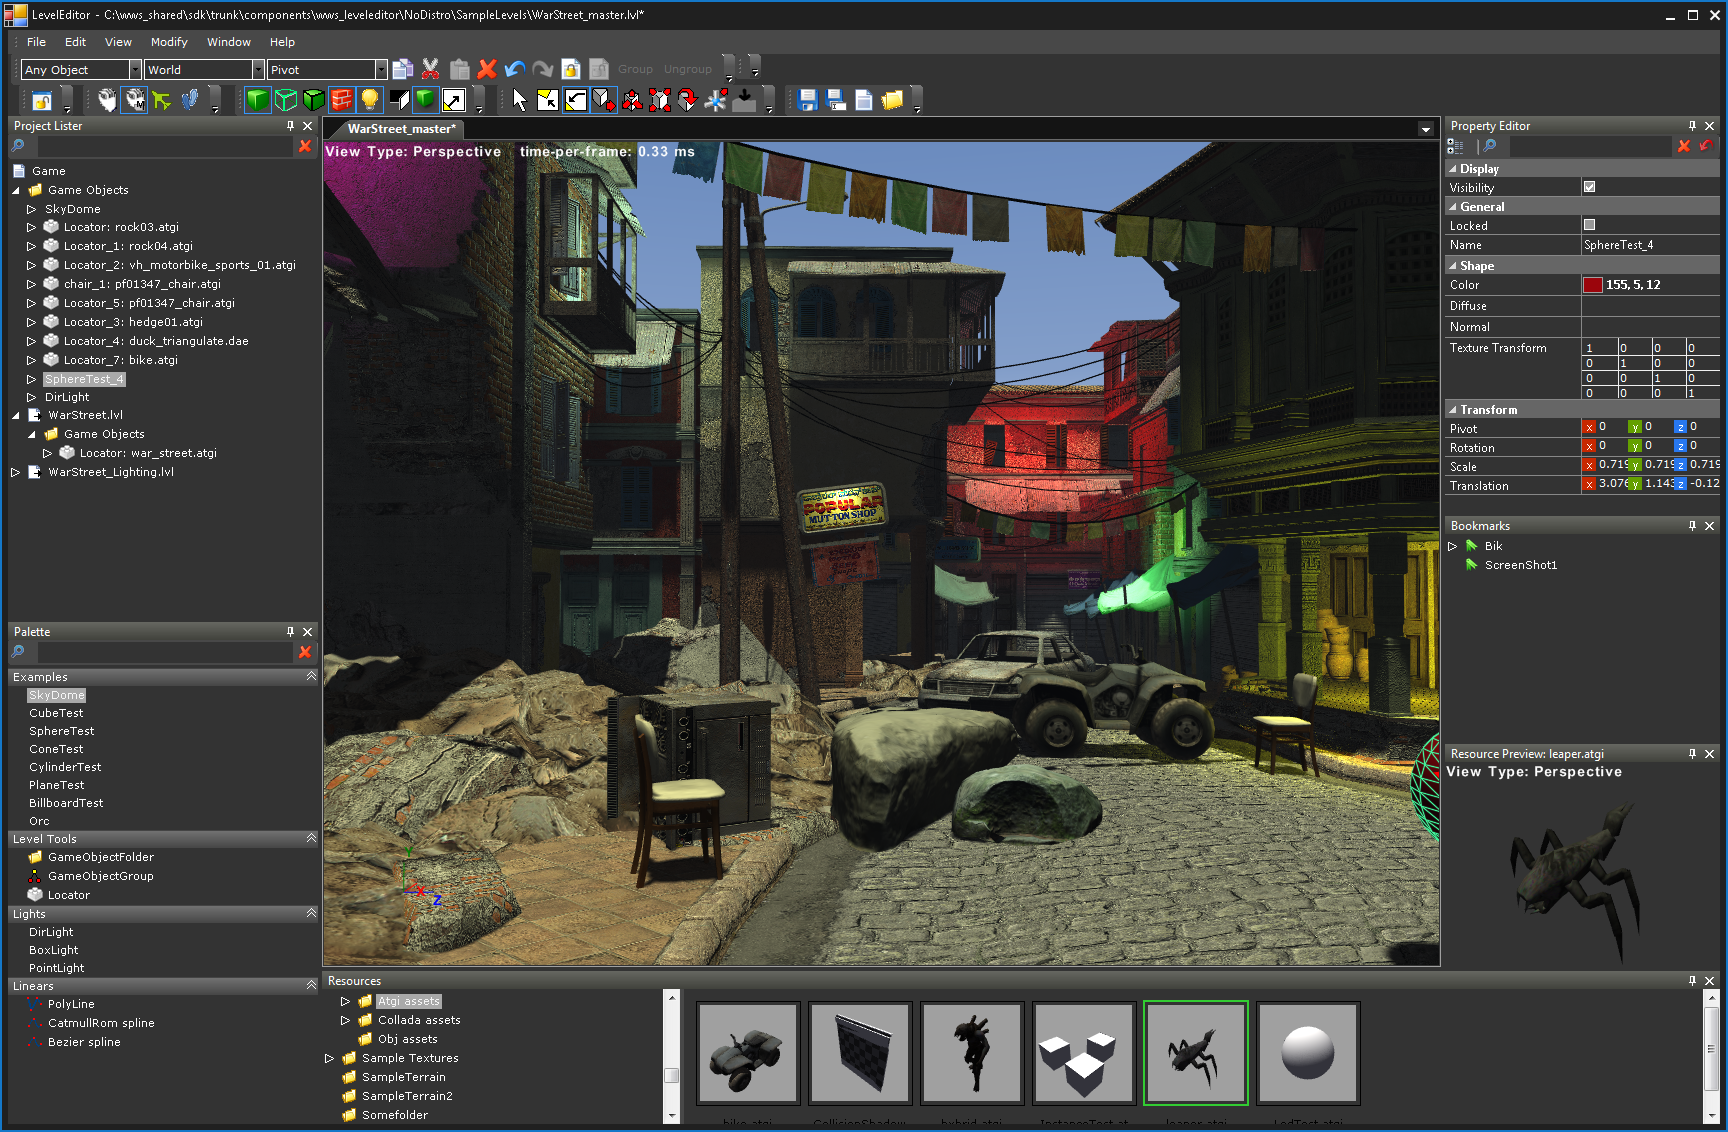
The LevelEditor is a software tool used to design levels (maps, campaigns, and virtual worlds) for a video game. A level editor is used by a game designer.
The standalone LevelEditor is a fully functional modern level editor. Using the LevelEditor, you can design a game world for any video game engine. You can create and lay out terrain, place static game objects in the world (such as rocks, plants, street lights, or buildings), place light sources for game objects, and place Linears for dynamic game objects.
The LevelEditor leverages the Authoring Tools Framework and C# for user interface and data management, and leverages the power of C++ and Microsoft® DirectX® 11 for 3D rendering.
Originally built from the Authoring Tools Framework, the LevelEditor offers a WYSIWYG interface and a variety of features that support asset management, game object creation, scene layout, and cross-team development. The LevelEditor can also be customized and extended by creating plug-ins. For more about the Level Editor's capabilities, see LevelEditor Features & Benefits.
The following LevelEditor features help you construct game levels efficiently and collaboratively:
- Work with a variety of file formats
- Associate assets with game objects
- Position, rotate, scale, and snap game objects precisely
- Edit game object properties
- Show or hide groups of game objects to unclutter the view as you work
- Construct Linears (lines and curves)
LevelEditor Minimal System Requirements
- Microsoft Windows® 7 64-bit SP1 with platform update or newer.
- Microsoft DirectX® 10 compatible graphics card or newer.
Development Environment:
- Microsoft Visual Studio 2010 Pro ** Windows SDK 8.1 installed at default location.
- Or Visual Studio 2013 Pro
Getting Started
To build/run LevelEditor:
- Open the solution Leveleditor\build\LevelEditor.vs2010.sln in Visual Studio 2010 or later.
- Change the configuration to Release and then build LevelEditor.
- Navigate to the directory in which LevelEditor is built and double-click the file LevelEditor.exe to start LevelEditor.
- After LevelEditor starts, select Edit->Preferences and use the Preferences dialog to set the resource root to a location that contains a few ATGI or Collada files and then restart LevelEditor. (Restart LevelEditor just in case).
- Drag/drop a few 3D assets from the Resources windows to either the DesignView or the Project lister.
Important note about performance: The release build of LvEdRenderingEngine.dll is much faster than the debug build when loading levels and rendering.
More Info
LevelEditor wiki pages: https://github.com/SonyWWS/LevelEditor/wiki
