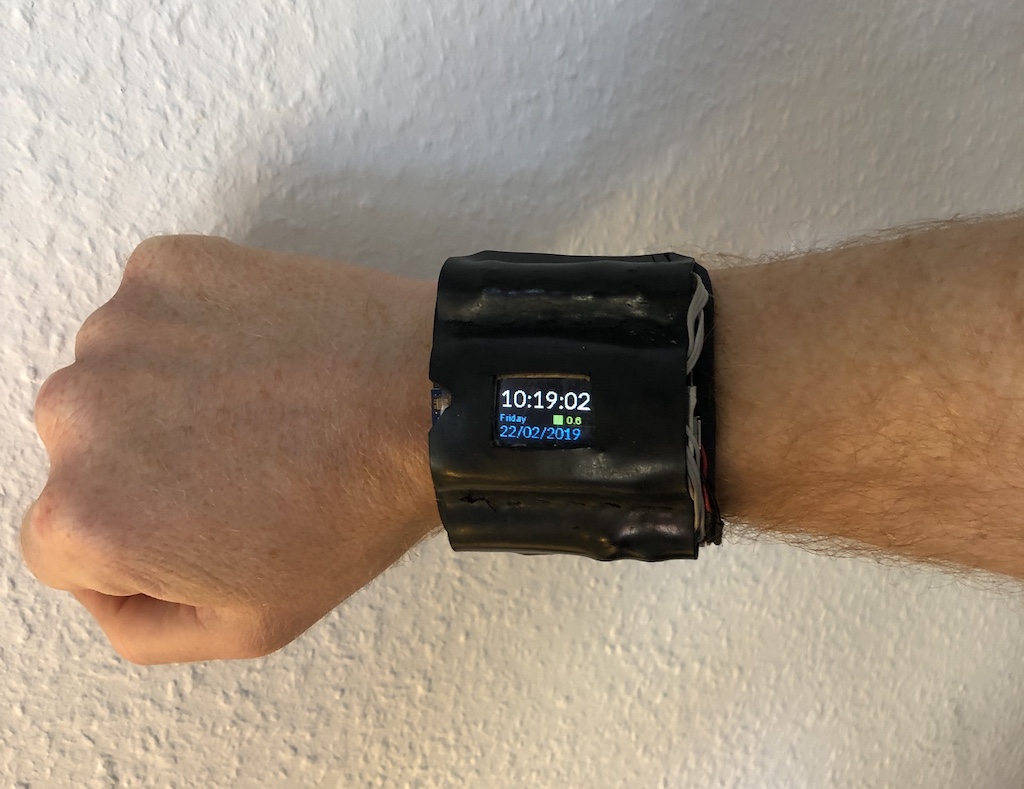
Want to run your Arduino code anywhere, any time? How about running a webserver from your wrist? This is a smartwatch running on the ESP32 + Arduino + 0.96' OLED (color or monochrome). Designed to run on cheap boards that have inbuilt LiPo battery circuitry and an OLED screen. It makes for quite a chunky watch, but the "always on" glow looks very cool, and a 500mAH battery currently lasts 10+ hours without any optimisation. The whole prototype was built for $12.
Currently, the code uses your WiFi to sync with an NTP server, then show the time and date. I'll improve this project as I need features and find time.
The "flash" button on the GPIO0 of the development board is repurposed as a function button for the watch.
- Flashlight, Stopwatch, Timer, Wifi Scan, UV Sensor with daily exposure graph
- BLE connection with message notifications
- Hardcoded calendar functionality, which will remind you when you need to catch buses, etc.
- Screen off button, goes into sleep mode
- Switch between color or B&W display on the application level, via a high-level UI interface.
Install the following dependencies:
- Time (from Arduino library manager)
git clone https://github.com/mgo-tec/ESP32_SSD1331(for the color SSD1331 display)git clone https://github.com/Smartphone-Companions/ESP32NotificationsLib.git(for the Bluetooth LE notifications)
You need to create a file called "secrets.h" which has your WiFi SSID and password:
const char ssid[] = "my access point"; // your network SSID (name) const char pass[] = "MyPassword12345"; // your network password
If you have an SSD1306 monochrome display, remove the #define COLOR_SCREEN. If you have an SSD1331 color display, set that define. Make sure you have the correct pins set in layout.cpp.
- On OSX Catalina you might have trouble getting the "TTGO ESP32 OLED" board recognised by Arduino. If so, try installing the driver for the USB chip. https://www.silabs.com/products/development-tools/software/usb-to-uart-bridge-vcp-drivers
The SVG file can be printed out, and the pieces cut from 1.5mm rubber. For attaching rubber, here are the methods tried (1 star fail, 5 star excellent):
- Stitching with nylon thread *****
- Double-sided tape ***
- Vulcanising rubber cement **
- Electrical tape **
- Hot glue * The best method was to stick pieces with double-sided tape, and then stitch any load-bearing joins.
- Big refactor of messy prototype code
- Reduce power consumption (i.e. deep sleep when not changing display)
- Piezo chime or vibrate
