[ Intro ] -- [ Set Up RasPi ] -- [ Install Go ] -- [ Install Geth ] -- [ Run Geth ] -- [ FAQ ] -- [ Updates ]
- Help out the Ethereum network (Though I personally believe there are already enough nodes for network security, the network will need more nodes to support light clients (e.g. digital wallets) and just to have more node redundancy)
- Instead of connecting to another node using RPC connection, you have direct access to Ethereum blockchain by running a node
- Verify your own transactions. You are your own bank!
- 100X your cool points
- Low cost
- Low power consumption
- Noise free
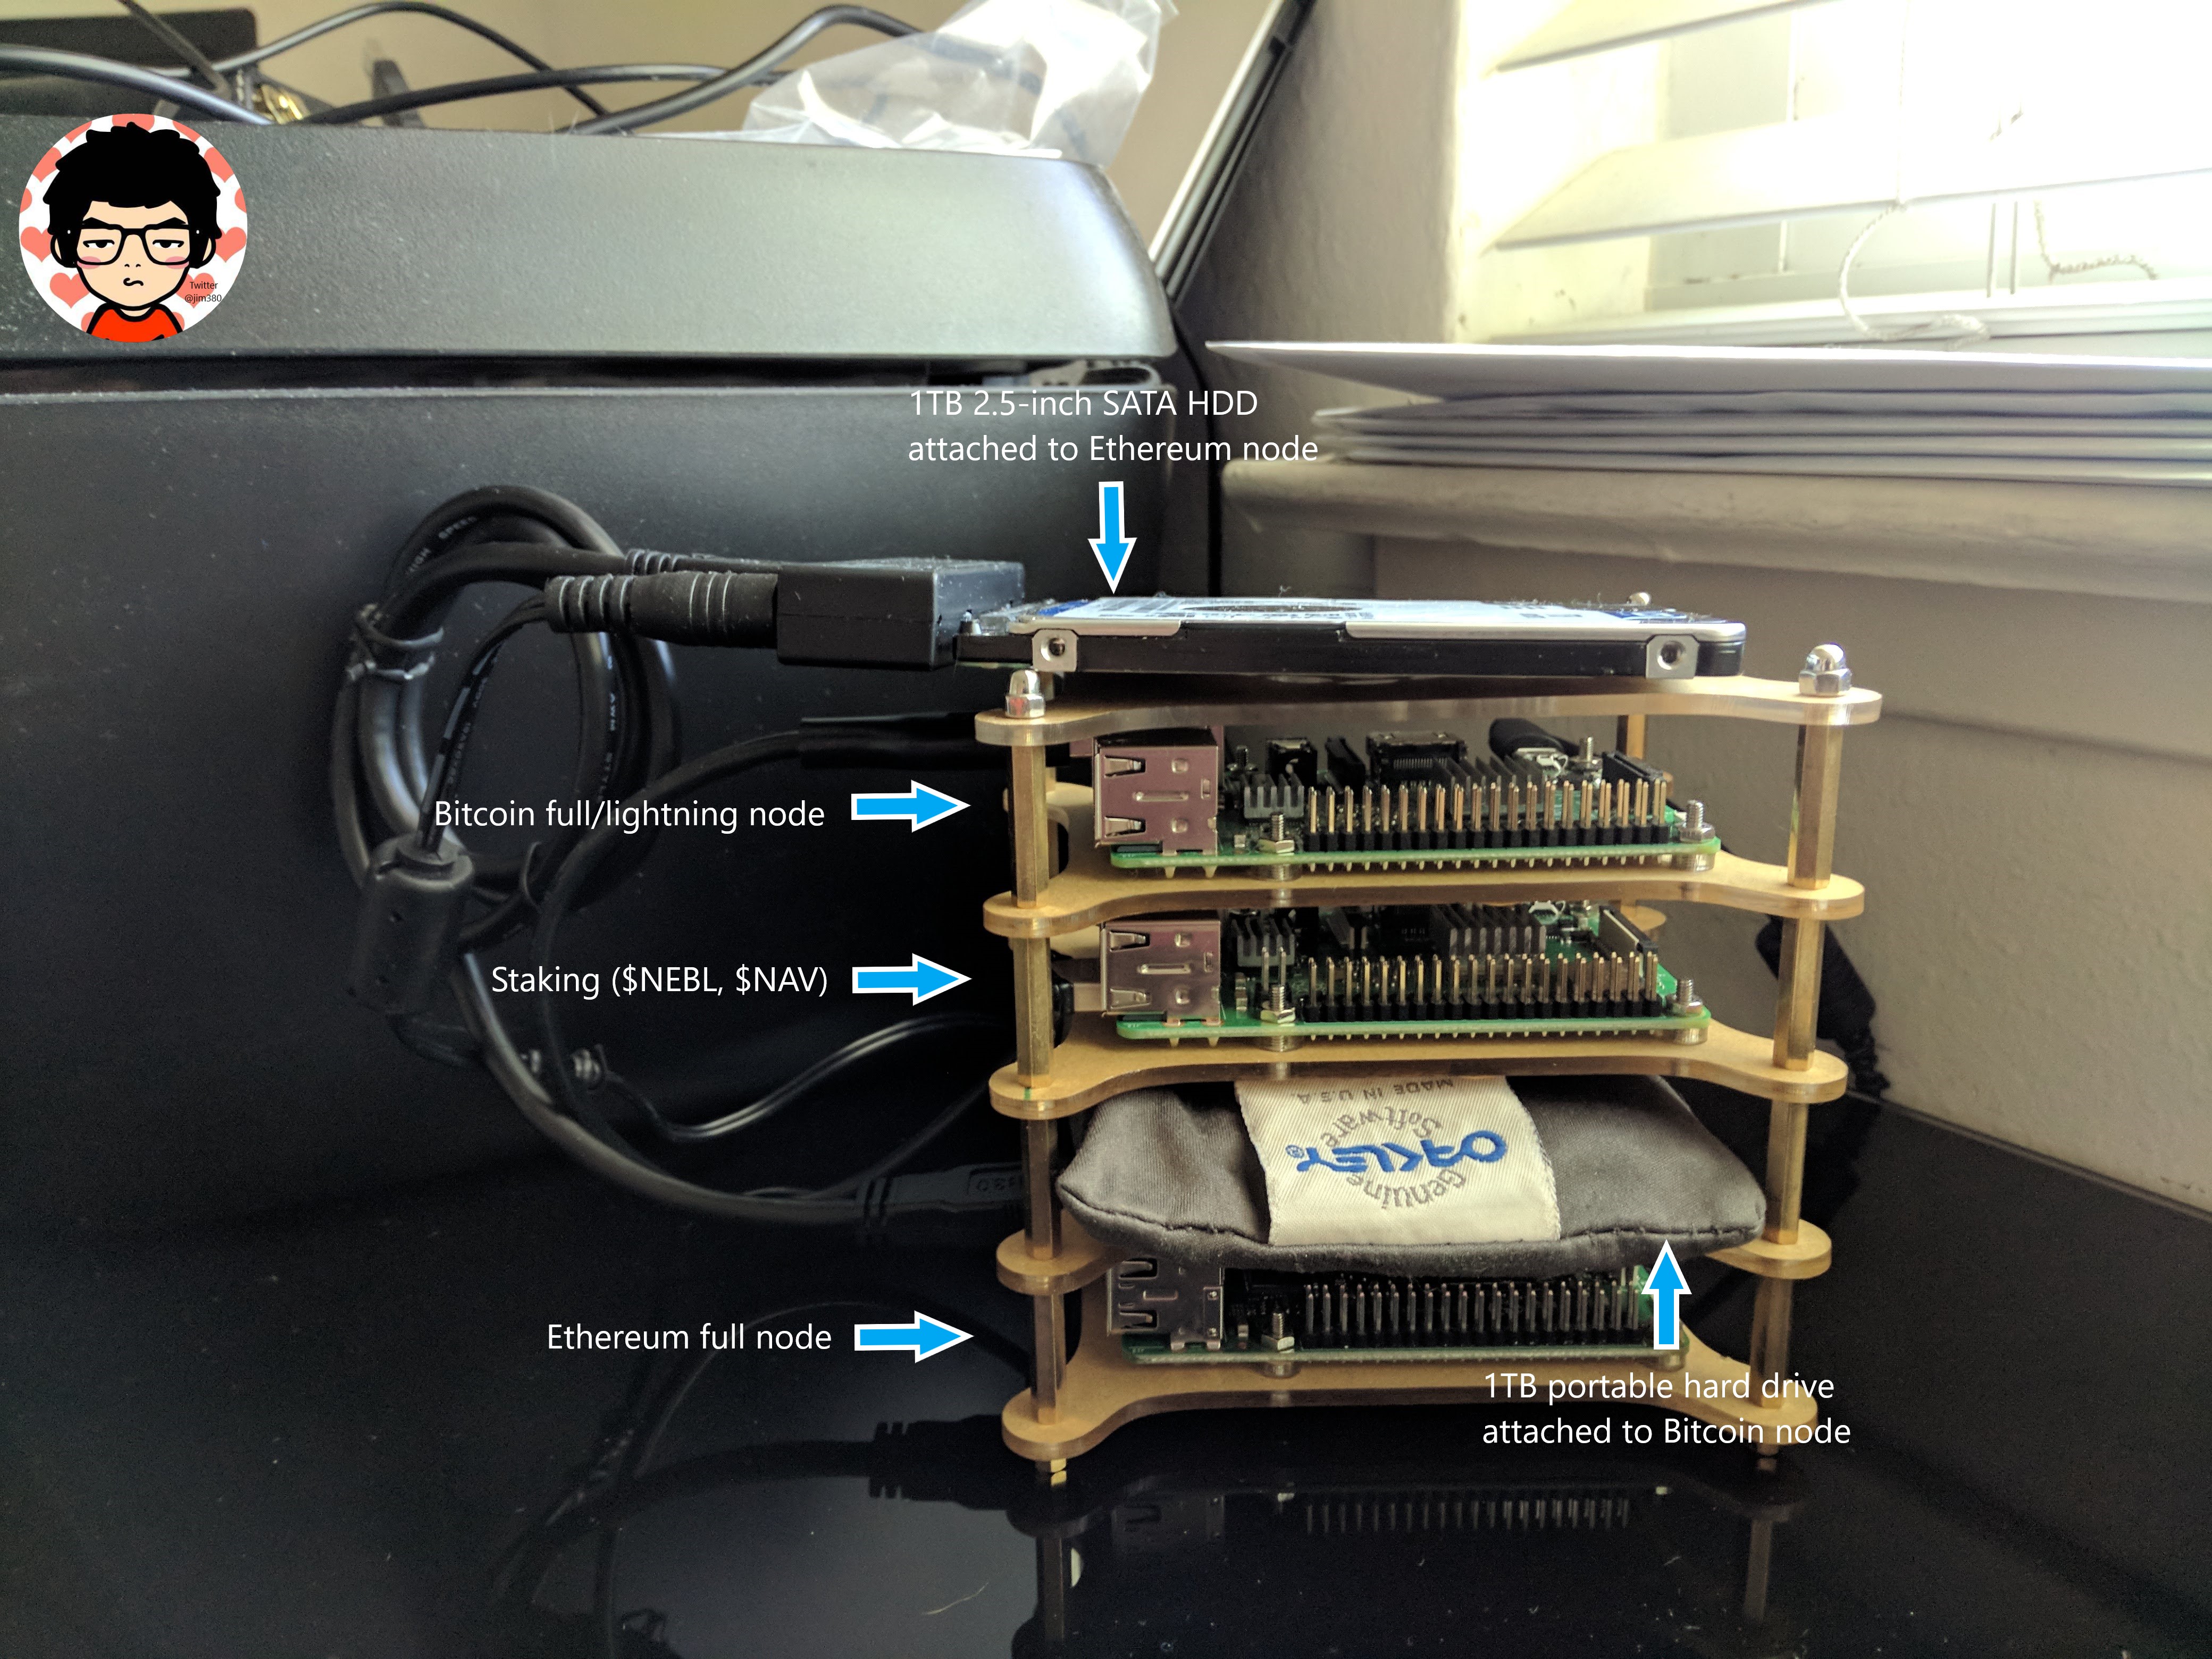
- It looks cool
- Got a few for free from past projects. Might as well lol
- Encourage people to actually interact with the Ethereum technology
- Most tutorials that are already available online are either for other operating platforms (i.e. Windows, MacOS etc.), or not up to date
If you don't have a Raspi and want to install on another Linux Distro, simply skip Step 2
- Intro (this page)
- Set Up RasPi: set up and configure the Pi as a secure Linux server.
- Install Go: download Go binary discribution and install.
- Install Geth: build Geth from source code
- Run Geth: run Geth client, and learn Geth commands
- Updates: keep track of changes
Not a financial advisor. Cypher Core to the moon though. hint hint
This tutorial would not have possible without these amazing people:
- The Ethereum team (https://github.com/ethereum)
- Raspnode (http://raspnode.com/)
- Go Ethereum (https://geth.ethereum.org/)
- Stadicus (https://github.com/Stadicus)
- David Busby (https://gist.github.com/Oneiroi)
and more
BTC: 1D5eE8FVF5R4JcvSArh4s1UiVnuwvp3j8R
ETH: 0xfb0f38F077E13F72eBf8248F03866743355A146B
Let's get started: Set Up RasPi
