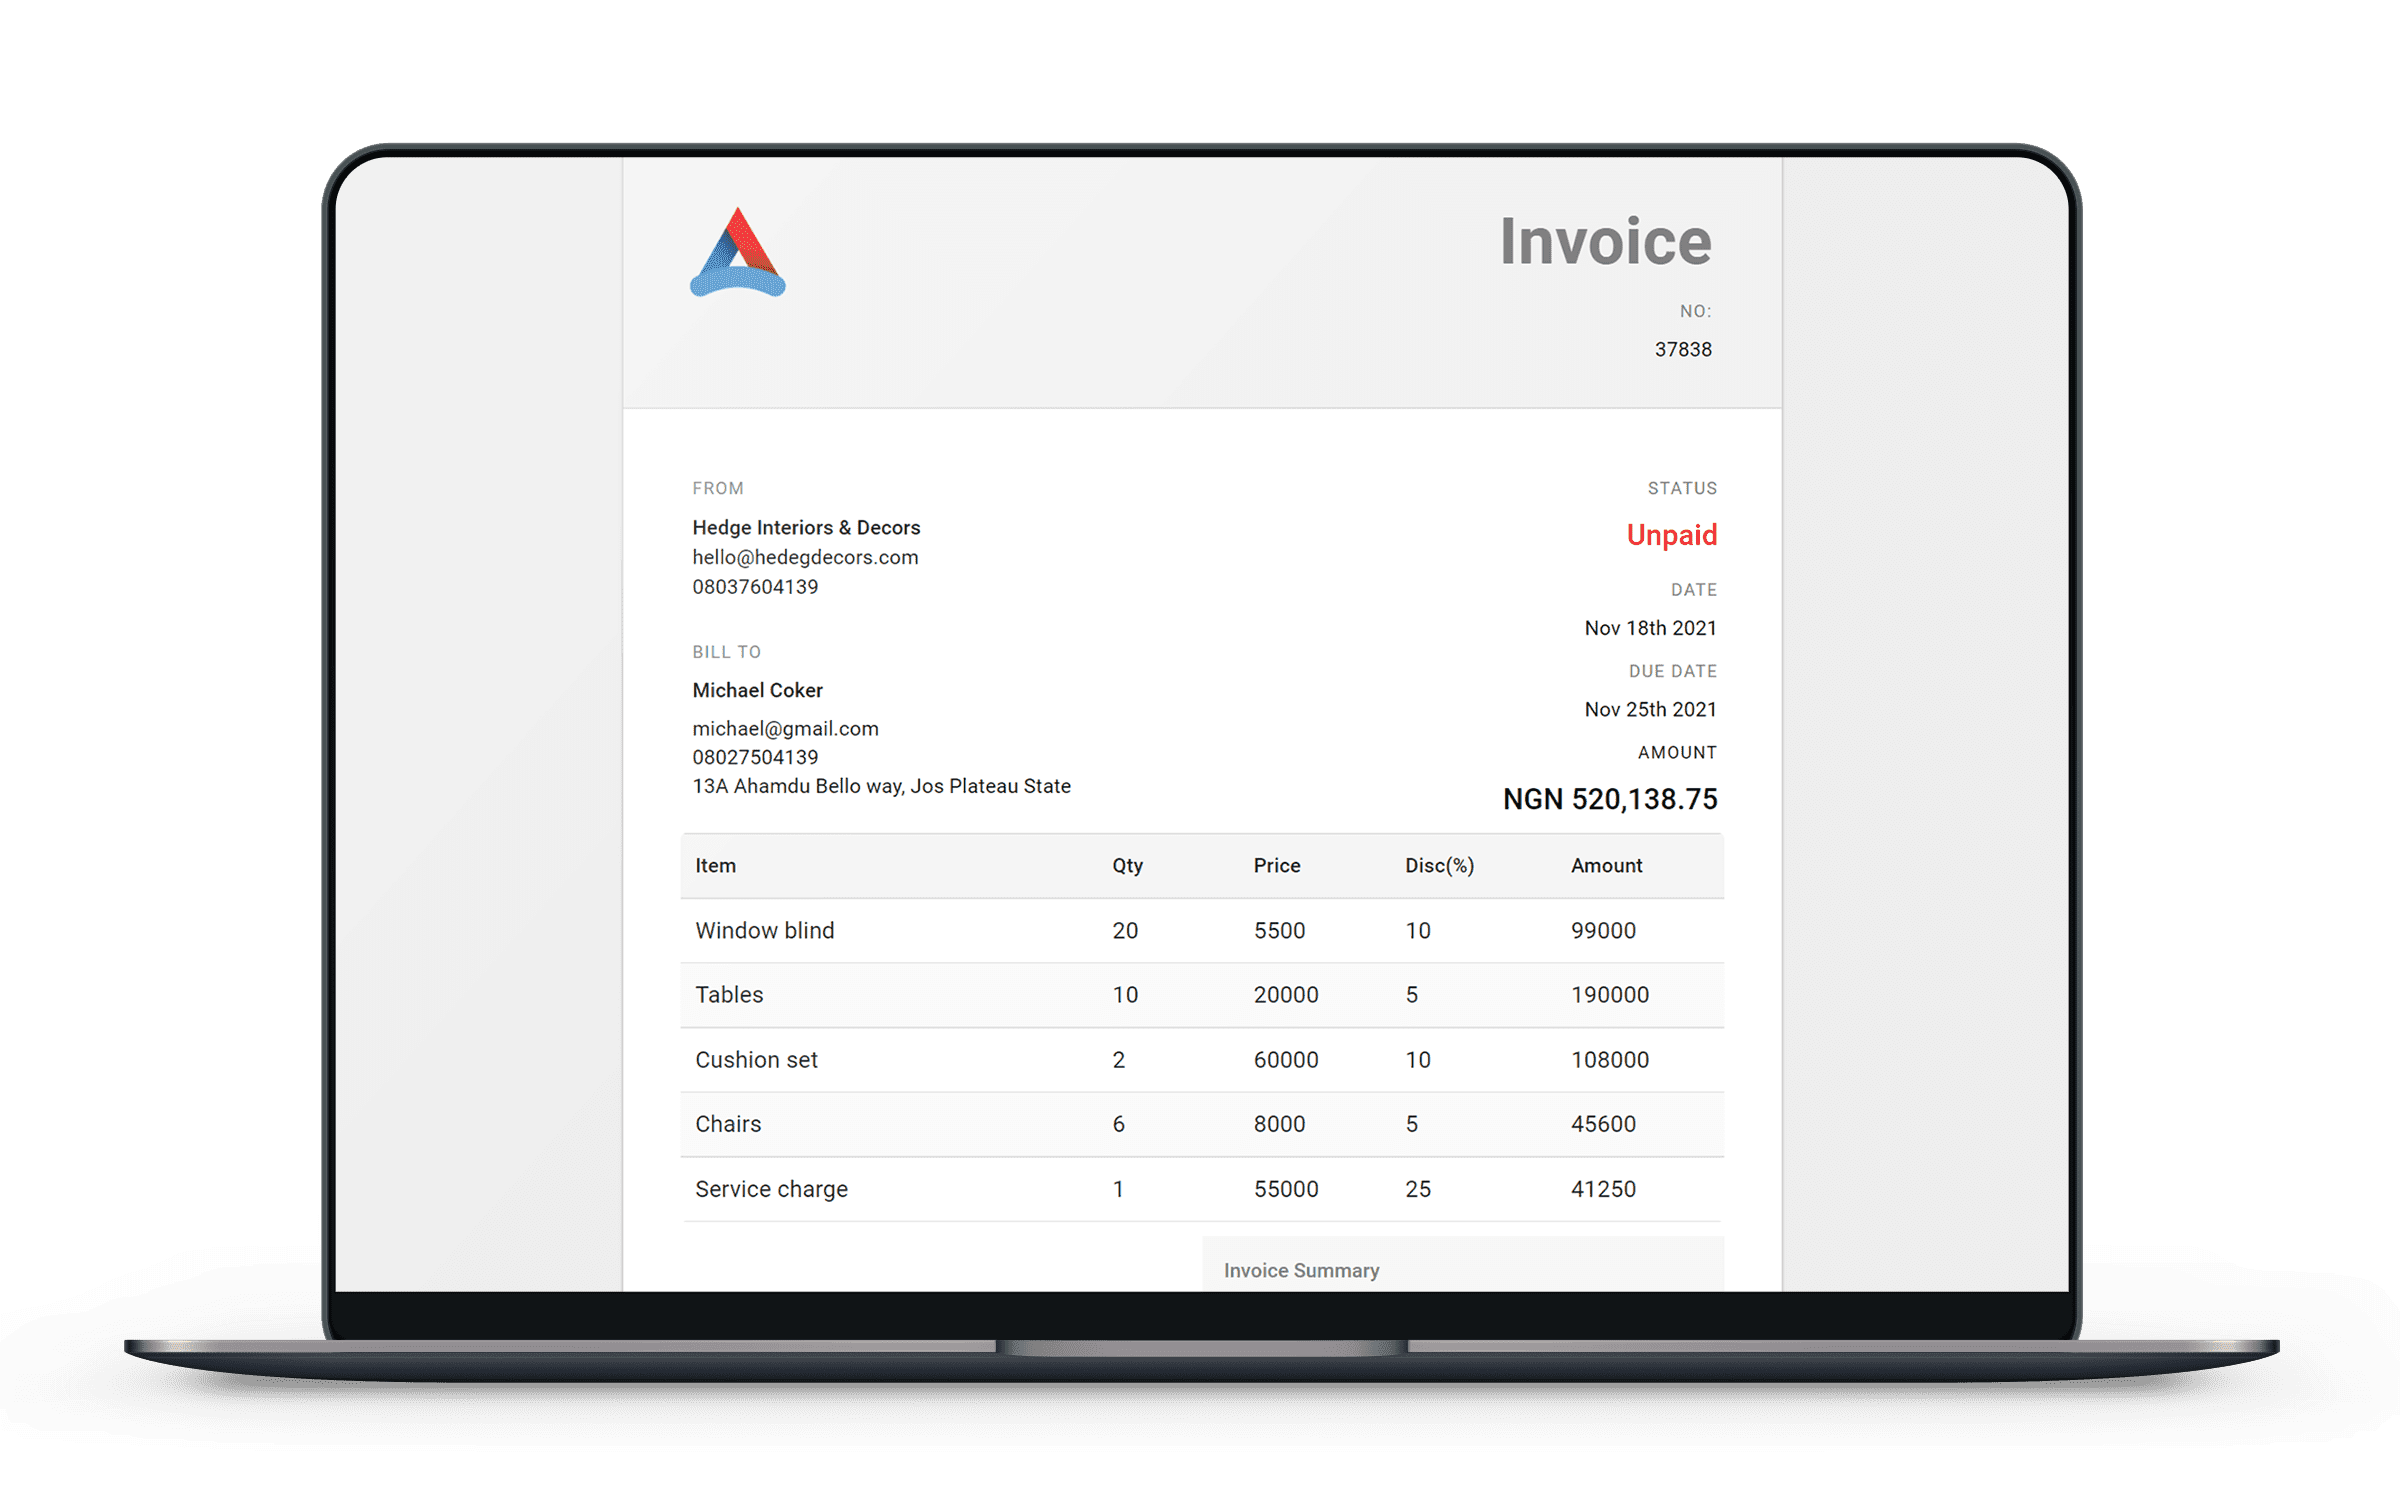
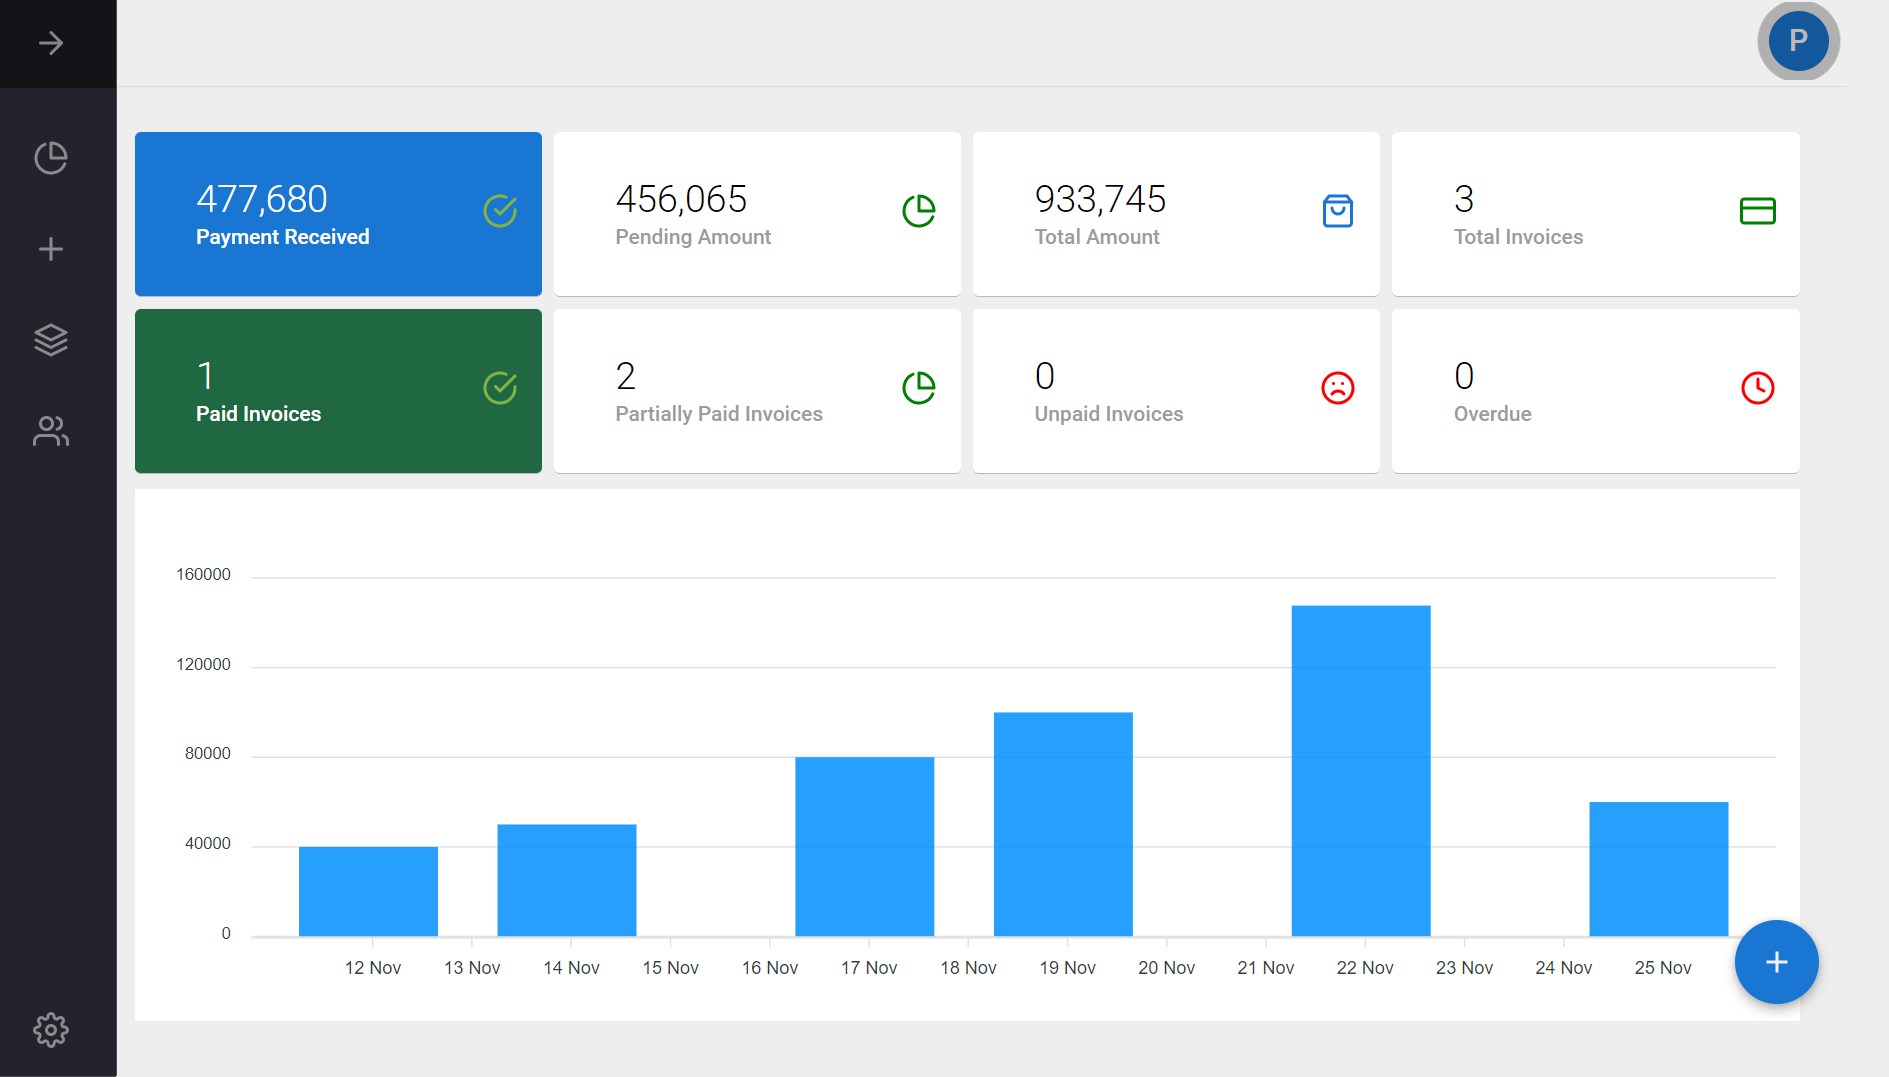
Built with the MERN stack (MongoDB, Express, React and NodeJS).
I am pleased to inform you that the name of this repository has been changed from Arc Invoice to Accountill. There are so many things coming! Stay tuned!!
This is a side project I've been working on. A full stack invoicing application made using the MERN stack (MongoDB, Express, React & Nodejs), specially designed for freelancers and small businesses, but can be used for almost any type of business need. With this application, you can send beautiful invoices, receipts, estimates, quotes, bills etc to your clients. Jump right off the Live App and start sending invoice or download the entire Source code and run it on your server. This project is something I've been working on in my free time so I cannot be sure that everything will work out correctly. But I'll appreciate you if can report any issue.
- Send invoices, receipts, estimates, quotations and bills via email
- Generate and send/download pdf invoices, receipts, estimates, quotations and bills via email
- Set due date.
- Automatic status change when payment record is added
- Payment history section for each invoice with record about payment date, payment method and extra note.
- Record partial payment of invoice.
- Clean admin dashboard for displaying all invoice statistics including total amount received, total pending, recent payments, total invoice paid, total unpaid and partially paid invoices.
- Multiple user registration.
- Authentication using jsonwebtoken (jwt) and Google auth
This project was created using the following technologies.
- React JS
- Redux (for managing and centralizing application state)
- React-router-dom (To handle routing)
- Axios (for making api calls)
- Material UI & CSS Module (for User Interface)
- React simple Snackbar (To display success/error notifications)
- Cloudinary (to allows users to upload their business logo)
- Apex Charts (to display payment history)
- React-google-login (To enable authentication using Google)
- Express
- Mongoose
- JWT (For authentication)
- bcryptjs (for data encryption)
- Nodemailer (for sending invoice via email)
- html-pdf (for generating invoice PDFs)
MongoDB (MongoDB Atlas)
In order to run this project locally, simply fork and clone the repository or download as zip and unzip on your machine.
- Open the project in your prefered code editor.
- Go to terminal -> New terminal (If you are using VS code)
- Split your terminal into two (run the client on one terminal and the server on the other terminal)
In the first terminal
- cd client and create a .env file in the root of your client directory.
- Supply the following credentials
REACT_APP_GOOGLE_CLIENT_ID =
REACT_APP_API = http://localhost:5000
REACT_APP_URL = http://localhost:3000
To get your Google ClientID for authentication, go to the credential Page (if you are new, then create a new project first and follow the following steps;
- Click Create credentials > OAuth client ID.
- Select the Web application type.
- Name your OAuth client and click Create
- Remember to provide your domain and redirect URL so that Google identifies the origin domain to which it can display the consent screen. In development, that is going to be
http://localhost:3000andhttp://localhost:3000/login - Copy the Client ID and assign it to the variable
REACT_APP_GOOGLE_CLIENT_IDin your .env file
$ cd client
$ npm install (to install client-side dependencies)
$ npm start (to start the client)
In the second terminal
- cd server and create a .env file in the root of your server directory.
- Supply the following credentials
DB_URL =
PORT = 5000
SECRET =
SMTP_HOST =
SMTP_PORT =
SMTP_USER =
SMTP_PASS =
Please follow This tutorial to create your mongoDB connection url, which you'll use as your DB_URL
$ cd server
$ npm install (to install server-side dependencies)
& npm start (to start the server)
If you're getting error while trying to send or download PDF, please run the following in your server terminal.
$ npm install html-pdf -g
$ npm link html-pdf
$ npm link phantomjs-prebuilt
Using docker is simple. Just add the .env contextualized with the docker network.
e.g:
goes to path "server/.env"
DB_URL = mongodb://mongo:27017/arch
PORT = 5000
SECRET =
SMTP_HOST =
SMTP_PORT =
SMTP_USER =
SMTP_PASS =
goes to path "client/.env"
REACT_APP_GOOGLE_CLIENT_ID =
REACT_APP_API = http://localhost:5000
REACT_APP_URL = http://localhost
And run
docker-compose -f docker-compose.prod.yml build

And then

docker-compose -f docker-compose.prod.yml up
I intend to keep adding more features to this application, so if you like it, please give it a star, that will encourage me to to keep improving the project.
- This project is MIT licensed.

