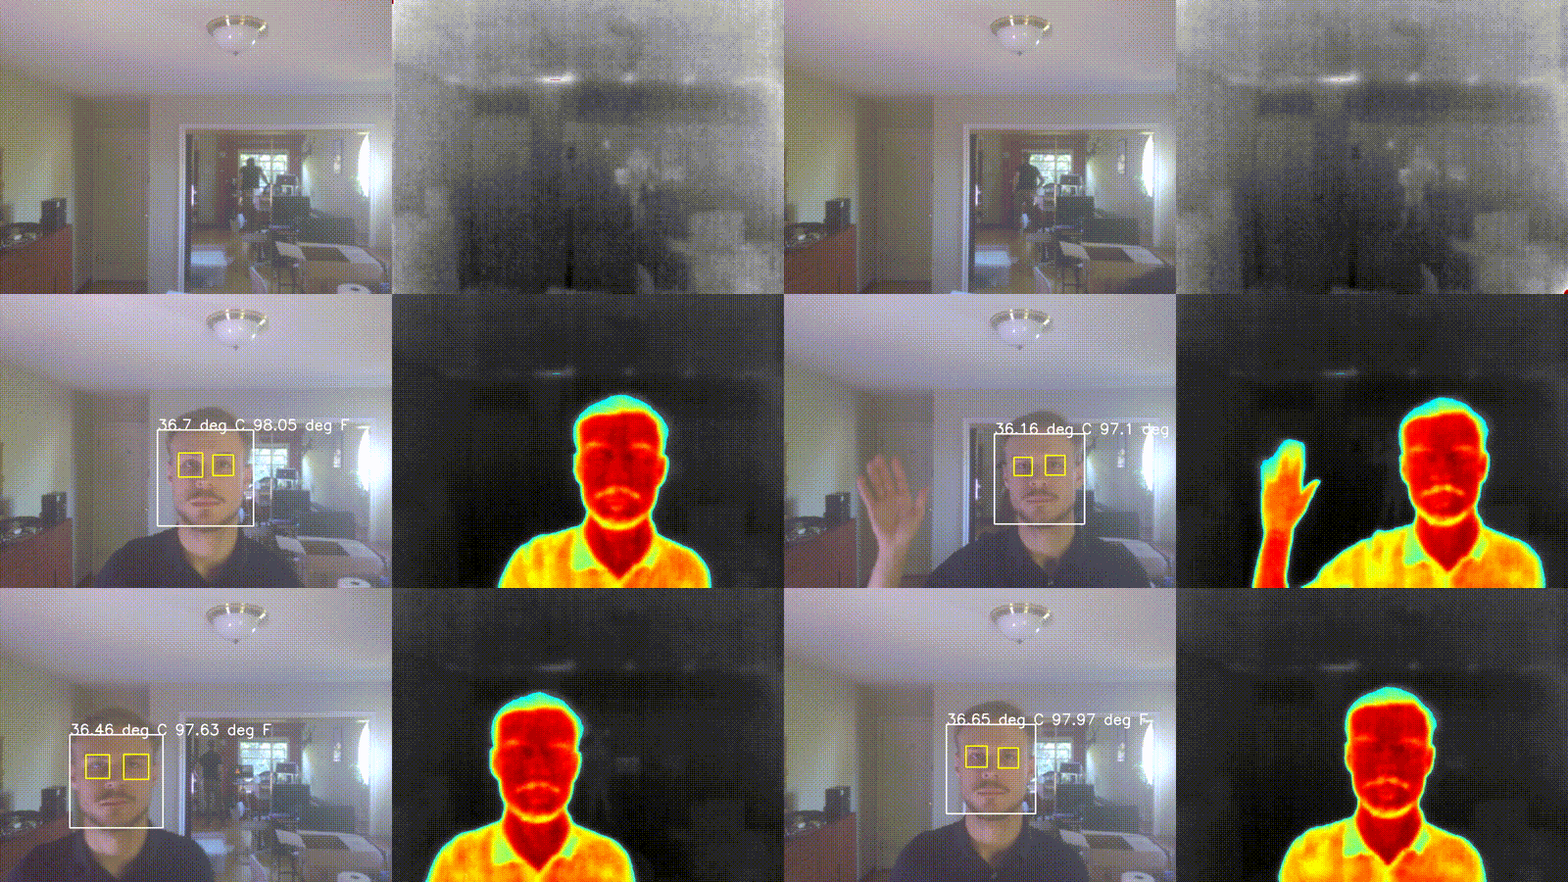
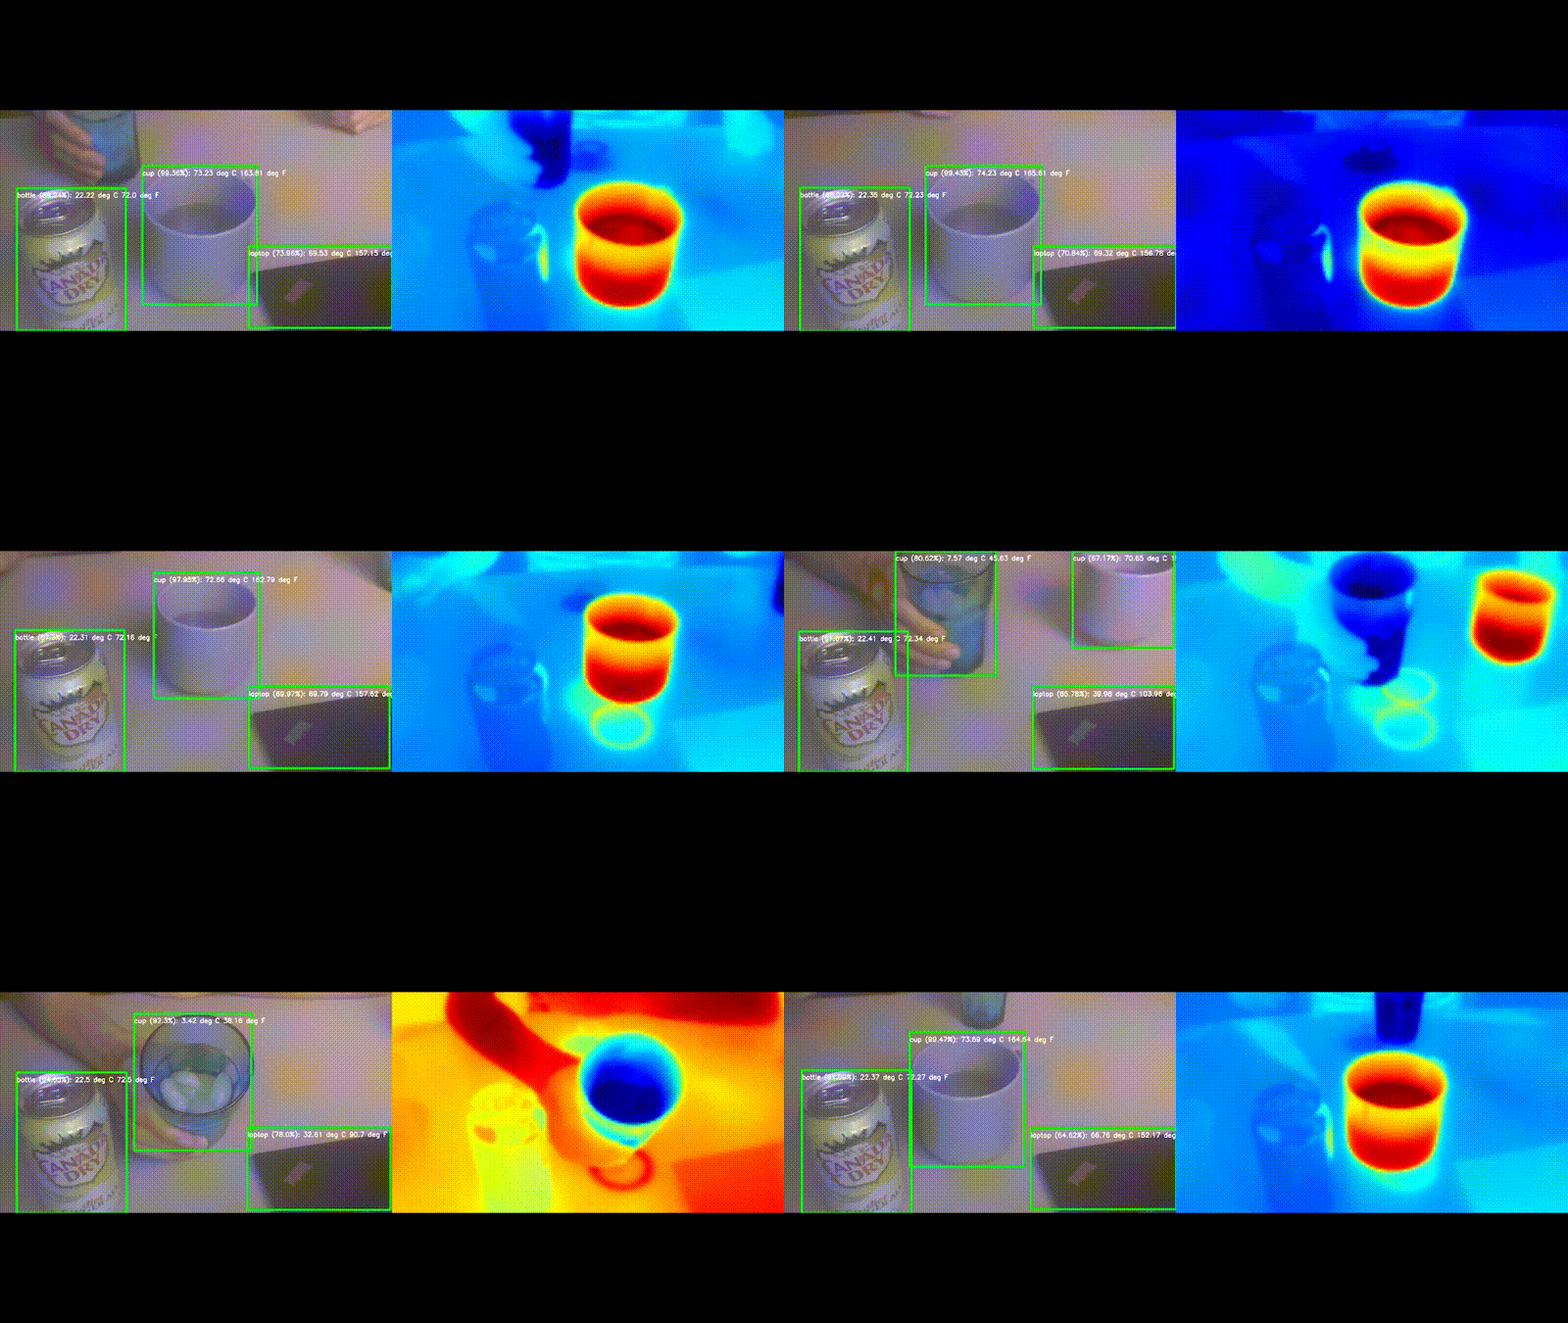
Video coming soon!
Watch full video: https://www.youtube.com/watch?v=j9eo9Cs8J8I
Watch full video: https://www.youtube.com/watch?v=i2XMtshdjn8
Make sure you have the newest Nvidia JetPack to avoid issues.
- Update package manager
sudo apt update && sudo apt upgrade- You will need OpenCV 4.4+ for CUDA DNN support. Install it with this script:
wget https://raw.githubusercontent.com/mdegans/nano_build_opencv/master/build_opencv.sh
./build_opencv.sh- Download AI Thermometer
git clone https://github.com/tomek-l/ai-thermometer
cd ai-thermometer- Run AI Thermometer
export DISPLAY=:0 # (if accessing via ssh). It might also be DISPLAY=:1
python3 main.pyFor a quick and dirty solution do:
echo 'SUBSYSTEM=="usb",  ENV{DEVTYPE}=="usb_device", GROUP="plugdev", MODE="0664"' | sudo tee /etc/udev/rules.d/10-libuvc.rules
sudo udevadm trigger
(this gives camera access to all users)
For a better, fine-grained permission setup, create a new group, give permissions to that group only and your user to the newly created group. You can read more here.
It is a custom version of libuvc that supports Y16 video format. If you're using different architecture, you will need to build the library from source:
git clone https://github.com/groupgets/libuvc
cd libuvc
mkdir build
cd build
cmake ..
make
cp libuvc.so ~/ai-thermometer/ir/libuvc_wrapper
