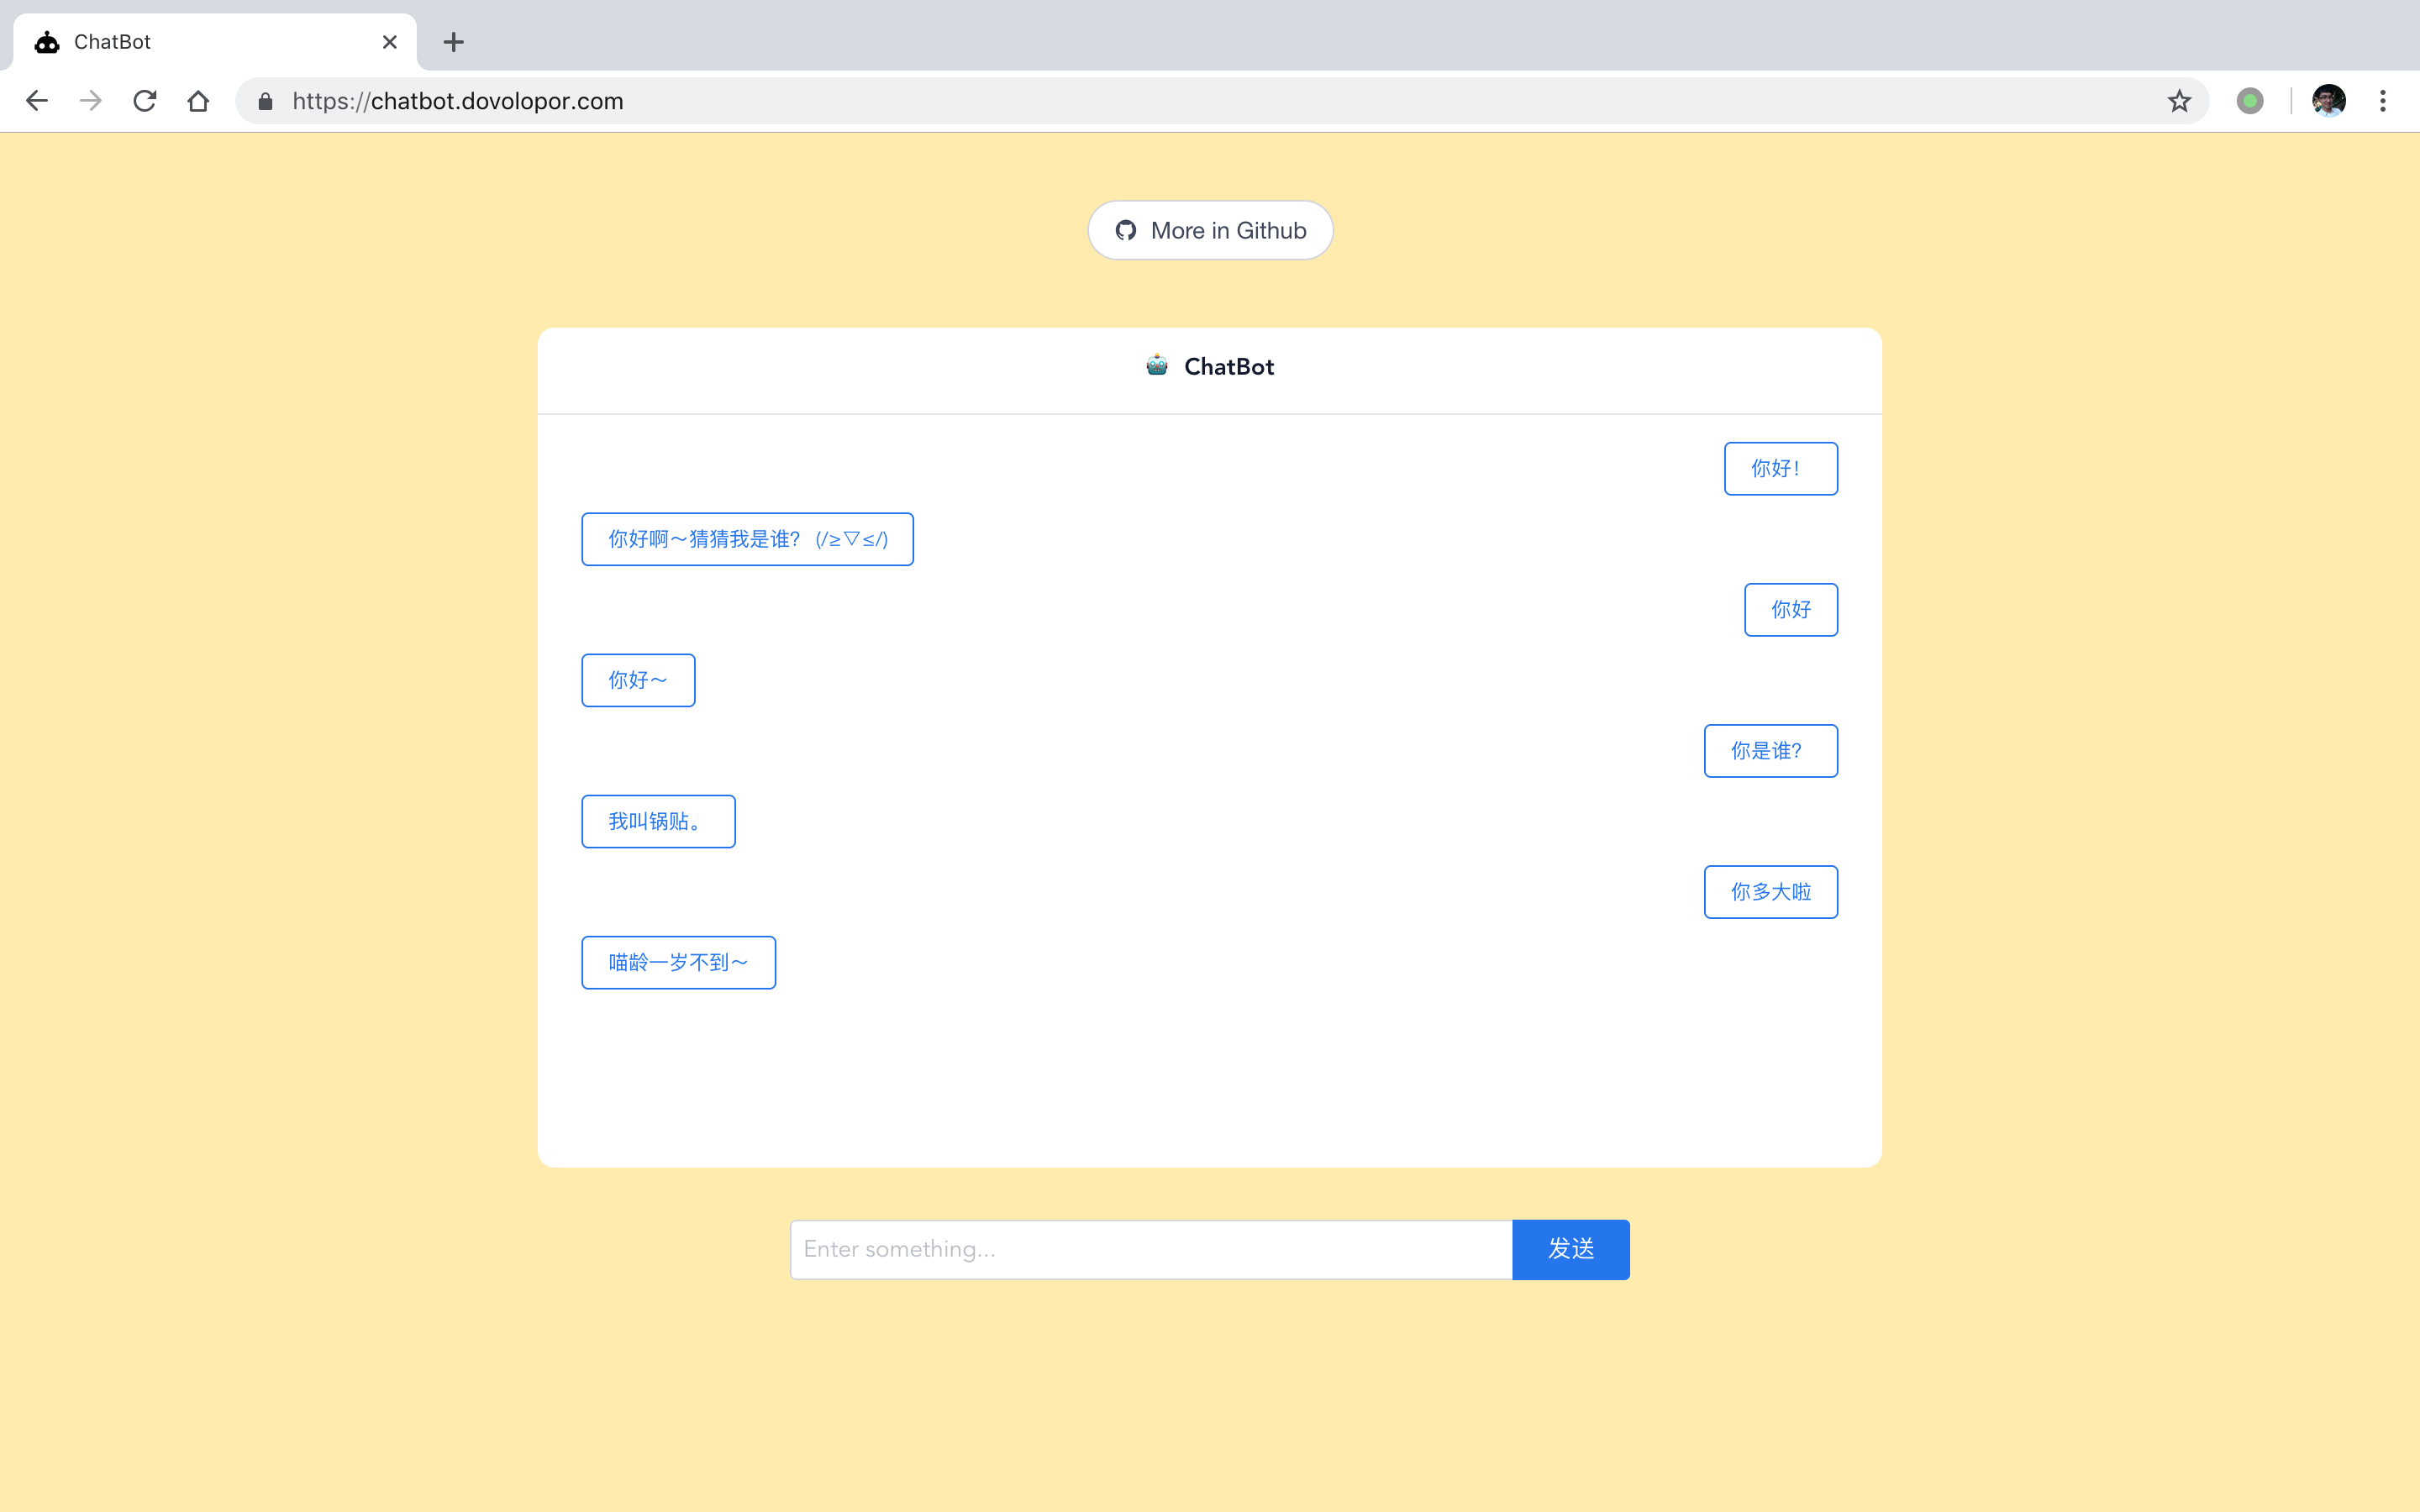
Chatbot
🤖️ 基于 PyTorch 的任务型聊天机器人。
1 简介
常见的聊天机器人有两种:
- 闲聊型
open domain - 任务型
task oriented
本项目属于第二种,即面向任务的聊天机器人。这类型机器人的常见应用是智能客服,目的是为了解决用户的明确需求。
上图为面向任务的聊天机器人的一般流程,该项目目前实现了第一部分的 NLU 功能,包含 Slot Filling 和 Intent Prediction。
2 DEMO
⚠️ DEMO 中仅包含我编写的几十条训练样本(在back/data/train.json),主要内容是关于我家🐱锅贴,这些只发挥了该项目的一部分功能。
3 运行
3.1 直接运行
# 1 下载文件
git clone https://github.com/Ailln/chatbot.git

# 2 启动后端
cd chatbot/back
# 安装依赖
pip install -r requirements.txt
# 运行
python server.py

# 3 启动前端
cd ../front
# 安装依赖
yarn
# 运行
yarn serve

# 4 接下来,根据提示访问网页即可
3.2 以 docker 方式运行
# 1 下载文件
git clone https://github.com/Ailln/chatbot.git

# 2 构建镜像(这一步可能会因为网络问题出错,可以多尝试几次)
cd chatbot && docker image build -t chatbot .

# 3 运行
docker run -p 8080:8080 -p 8002:8002 -it chatbot /bin/bash

cd /chatbot/back && python server.py &
cd /chatbot/front && npm run serve
3.3 自定义数据集
- 使用基于 rasa-nlu-trainer 的 Labeling 工具,可以方便的构建数据集。
- 直接将生成的 json 数据替换掉
back/data/train.json即可(或者修改配置文件back/config/guotie.yaml中的input_json_path的路径)。
4 架构
4.1 前端
- VueJS
- iView
- SocketIO
4.2 后端
- Flask
- SocketIO
- PyTorch
⚠️ 后端代码基于 RNN-for-Joint-NLU 进行了改进。
5 目录
.
├── front # 前端
│   ├── public
│   ├── src
│   ├── babel.config.js
│   ├── package.json
│   └── yarn.lock
├── back # 后端
│   ├── config
│   ├── data
│   ├── model
│   ├── util
│   ├── save
│   ├── server.py
│   ├── test.py
│   ├── train.py
│   └── requirements.txt
├── src # 资源
├── LICENSE
├── README.md
└── .gitignore
6 参考
- Tensorflow动态seq2seq使用总结(r1.3)
- Attention-Based Recurrent Neural Network Models for Joint Intent Detection and Slot Filling
- BERT for Joint Intent Classification and Slot Filling
- 从“连接”到“交互”—阿里巴巴智能对话交互实践及思考
- A Frustratingly Easy Approach for Joint Entity and Relation Extraction
7 许可证
8 交流
请添加微信号:Ailln_,备注「chatbot」,我邀请你进入交流群。


