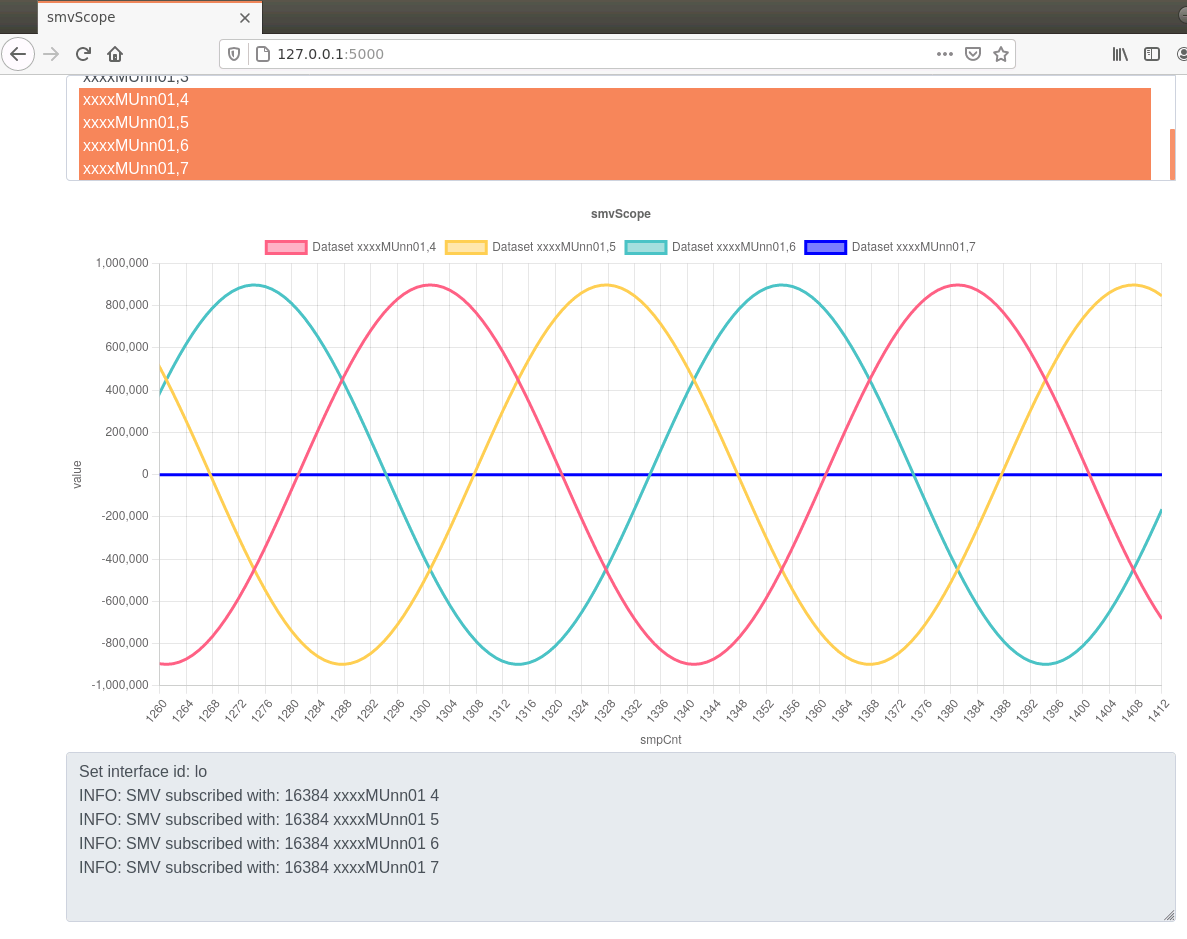
This application will analyse an interface, and visualise any sampled values(iec 61850 9-2)received on that interface in a list. each entry in that list represents a channel in a sampled value stream. Click one or more entries to subscribe to those stream/channels and display them in the chart. The display is updated every 4000/4800 samples, meaning every second.
Samples are arranged by sample-count. this means multiple streams will be overlayed by matching sample-count, not receive-time! In a typical application this makes sense, as streams in a substation should be synchronised by a single clock, and therefore have matching sample counters. Without matching sample counters, comparing different streams is somewhat pointless due to potential network delays and packet reception performance issues.
The first selected sample-stream will be used to determine 4000/4800 sample rate, but it is not reccomended to mix 4000 and 4800 streams, as the display does not support mixing different sample rates in one chart(i.e. 50 and 60 Hz) and will provide a distorted image. Mixing 50 and 60 hertz on an IEC 61850 process bus would be surprising in any case.
The scrol-wheel will zoom the graph. dragging the horizontal bar(smpCnt) will allow to pan.
Disabling the "listen for new streams" will stop updating the list of streams, and any detection of streams that match svID, but mismatch appid, source or destination mac. The chart with however keep updating, and will have fewer distortions due to lost packets.
- 8 channels per stream are assumed, each consisting of an INT32 and a 4 byte quality BITSTRING, as per IEC61850 9-2 LE (this may be improved in the future)
- only svID is used to filter out a stream. Therefore svID should be unique per sampled value stream
- if streams with matching svID, but different appid, source or destination mac are detected, an error is shown in the log and the data will interfere with a stream that is being displayed in the graph.
- currently you cannot pause the chart
install with
~$ pip install flask
install with
~$ git clone https://github.com/mz-automation/libiec61850/tree/v1.4.2 && cd libiec61850 && make dynlib && sudo make install
NOTE: libiec61850.so.1.4.2 is assumed to be installed in $PATH, if the above command does not install in a location included in $PATH, add it manually
from the folder where you cloned the repo
$ sudo ./smvscope [interface]
or build and install with:
$ python setup.py build && sudo python setup.py install
and run from any location
~$ sudo smvscope [interface]
Browse to http://127.0.0.1:5000
