Docker image for the Jupyter Widget Ecosystem Tutorial
https://github.com/jupyter-widgets/tutorial
The Docker image is build from the continuumio/miniconda3 docker image and follows the installation procedure provided by jupyter-widgets/tutorial.
How to use this image
Start the Container
Pull the image using:
docker pull jdmitz/jupyter_tutorial:latest
Run the image using the jupyter_tutorial notebooks included in the image on port 8888 of the local machine
docker run -it --name jupyter-tutorial -p 8888:8888 jdmitz/jupyter_tutorial:latest
If port 8888 on the local machine is already in use change the first port number in the command (-p 8888:8888) to another port number (e.g. -p 8080:8888).
If you wish to modify the jupyter_tutorial notebooks and save the modified versions, clone the jupyter_tutorial repository into the directory you start the image from and use the following command.
docker run --name jupyter-tutorial -p 8888:8888 \
    -v "$(pwd)"/tutorial:/opt/notebooks/tutorial \
    jdmitz/jupyter_tutorial:latest
Accessing the Notebooks
Once the image is started you will notice something similar to the following in the container output.
The Jupyter Notebook is running at:
http://(e4105530adef or 127.0.0.1):8888/?token=f486f3cfe409cf3b8daef46b7adf87f4558930506b5702b3
Open a browser and point the browser at the URL:
http://localhost/8888/?token=[SECURITY TOKEN]
The [SECURITY TOKEN] of the URL should be copied from the container output.
If you needed to change the port in the run command you will need to use that port number in the URL as well.
You should see something like the following:

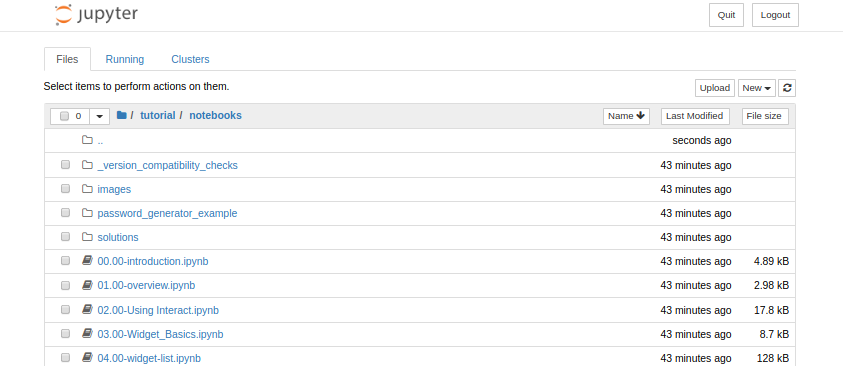
Navigating to the /tutorial/notebooks directory will show the following:

Enjoy!