AVR utiltiies such as gcc and avrdude are needed to compile code and flash it to target device. To install, run command below:
sudo apt-get install gcc-avr binutils-avr gdb-avr avr-libc avrdude
To build firmware documentation, doxygen is required. To install:
sudo apt-get install doxygen
Once you have installed the AVR utilities (see Installing AVR Utilities), you can build and flash your board. The project is currently only tested on the ATMEGA2560.
To build firmware:
cd firmware
make
Flashing currently happens over the USB interface. Plug in Arduino MEGA2560, then run dmesg:
dmesg | tail
You should see output similar to what is shown below:
[ 6324.585524] usb 2-1: USB disconnect, device number 8
[ 6330.789620] usb 2-1: new full-speed USB device number 9 using uhci_hcd
[ 6330.927578] usb 2-1: New USB device found, idVendor=2a03, idProduct=0042
[ 6330.927581] usb 2-1: New USB device strings: Mfr=1, Product=2, SerialNumber=220
[ 6330.927583] usb 2-1: Product: Arduino Mega
[ 6330.927584] usb 2-1: Manufacturer: Arduino Srl
[ 6330.927585] usb 2-1: SerialNumber: 75633313133351C0E071
[ 6330.993938] cdc_acm 2-1:1.0: ttyACM0: USB ACM device
Given the port from the dmesg command, you can flash the board:
cd firmware
make flash PORT=/dev/ttyACM0
To build documentation, you must have doxygen installed (see Installing Doxygen). To build and view documentation for firmware:
cd firmware
make docs
Then open index.html in your favorite browser:
cd ../documentaiton/firmware
chromium-browser index.html &
- cd tracker
- npm install
- node app.js
- There are 2 options for connecting:
- If running server on same device you would like to connect from, navigate to http://127.0.0.1:3000
- If connecting to server from different device, replace 127.0.0.1 with the ip address of server (found using ifconfig)
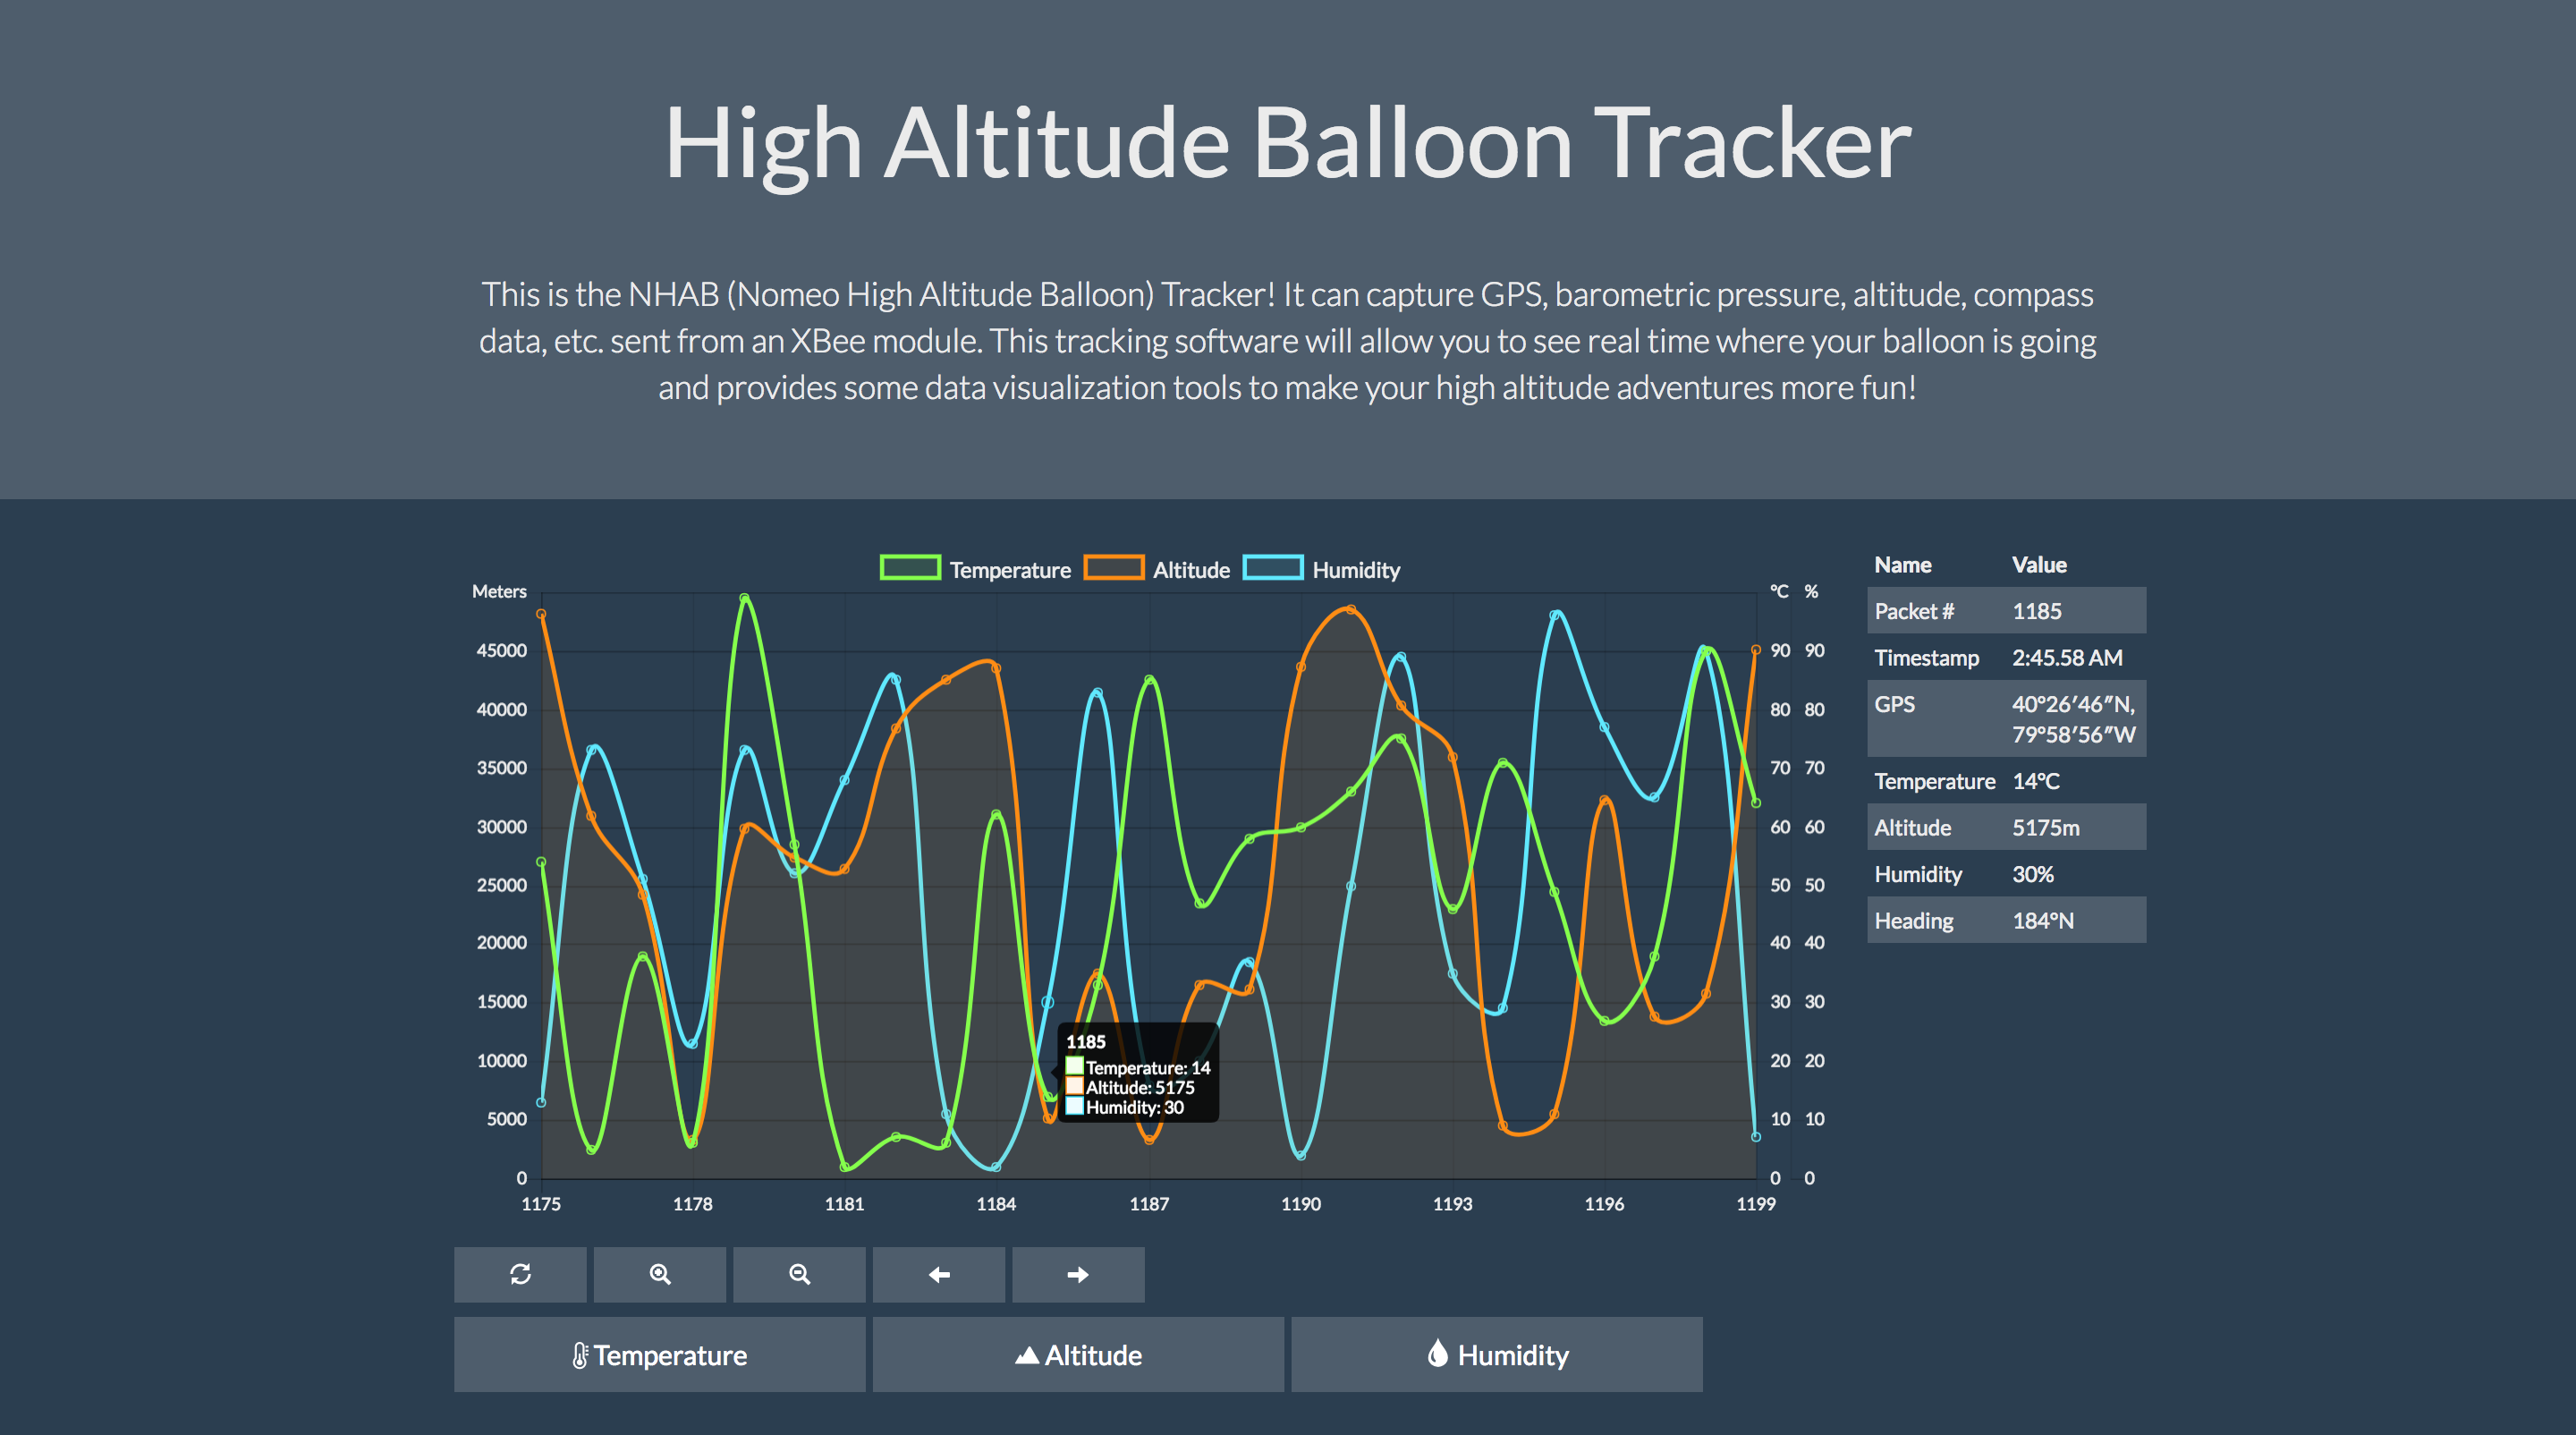
Here's a screenshot of the app in action (note, currently no connection between firmware and web app, so data in image below is random):
