These are js_of_ocaml bindings to nodejs
Get all the power of the amazing node ecosystem with the sanity and
type safety of OCaml. See examples and a working chat server at the
end.
$ opam install nodejsExamples
Create a file stream, gzip it, write it
1  let _ =
2    Fs.create_read_stream "code.ml" >|>
3    Zlib.create_gzip () >|>
4    Fs.create_write_stream "NEWCODE_TEST.ml"
Do an HTTP get request
let () =
  try
    ignore begin

      Nodejs.Https.get api_source begin fun incoming ->
        let collect = ref [] in

        incoming#on_data begin fun b ->
          match b with
          | Nodejs.String s -> collect := s :: !collect
          | Nodejs.Buffer b -> collect := b#to_string () :: !collect

        end;

        incoming#on_end (fun () ->
            print_endline (String.concat "" (List.rev !collect)));

      end
    end
  with Js.Error e -> print_endline (e##.message |> Js.to_string)
Create a site and render directly from jade templates
open Nodejs

let () =
  let exp = new Express.express in
  let app = new Express.app ~existing:None in

  app#set_app_value (`View_engine "jade");
  app#use (exp#static ".");
  app#get ~path:"/" (fun _ res -> res#render "index.jade");

  app#listen ~port:8080
Create a raw server from the Net module
let () =
  let server = Net.create_server ~conn_listener:begin fun sock ->
      sock#on_end (fun () -> print_endline "client disconnected");
      sock#write "Hello\r\n";
      sock >|> sock |> ignore
    end ()
  in
  server#listen ~port:8124 begin fun () ->
    let info = server#address in
    print_endline info.Net.address;
    print_endline (info.Net.ip_family |> string_of_ip);
    print_endline (info.Net.port |> string_of_int);
    print_endline "started server"
  end
Typed Decoding of Buffers
let () =
  let string_decoder = new String_decoder.decoder Utf_8 in
  let cent = new Buffer.buffer (`Array [|0xE2; 0x82; 0xAC|]) in
  (string_decoder#write cent) |> print_endline
Multicast DNS over UDP sockets, only for the local network, like a no config p2p chat application.
 1  open Nodejs
 2
 3  module U = Yojson.Basic.Util
 4
 5  let (multicast_addr, bind_addr, port) = "224.1.1.1", "0.0.0.0", 6811
 6
 7  let () =
 8    Random.self_init ();
 9    let p = new process in
10    let user_name = ref (Printf.sprintf "User:%d" (Random.int 10000)) in
11    let listener = Udp_datagram.(create_socket ~reuse_address:true Udp4) in
12    let sender = Udp_datagram.(create_socket ~reuse_address:true Udp4) in
13
14    listener#bind ~port ~address:multicast_addr ~f:begin fun () ->
15      listener#add_membership multicast_addr;
16      listener#set_broadcast true;
17      listener#set_multicast_loopback true
18    end ();
19
20
21    listener#on_message begin fun b resp ->
22
23      let handle = b#to_string () |> json_of_string in
24      if (handle <!> "id" |> Js.to_string) <> !user_name
25      then print_string (handle <!> "message" |> Js.to_string)
26
27    end;
28
29    p#stdin#on_data begin function
30      | String _ -> ()
31      | Buffer b ->
32        let msg = b#to_string () in
33        (* This needs to be redone with Re_pcre *)
34        if String.length msg > 10 then begin
35          let modify = String.sub msg 0 9 in
36          if modify = "set name:"
37          then begin
38            let as_string = Js.string (String.trim msg) in
39            let chopped =
40              as_string##split (Js.string ":") |> to_string_list |> Array.of_list
41            in
42            user_name := chopped.(1)
43          end
44        end;
45
46        let msg = Printf.sprintf "%s>>>%s" !user_name (b#to_string ()) in
47        let total_message = (object%js
48          val id = !user_name |> to_js_str
49          val message = msg |> to_js_str
50          end) |> stringify
51        in
52        sender#send
53          ~offset:0
54          ~length:(String.length total_message)
55          ~port
56          ~dest_address:multicast_addr
57          (String total_message)
58      end
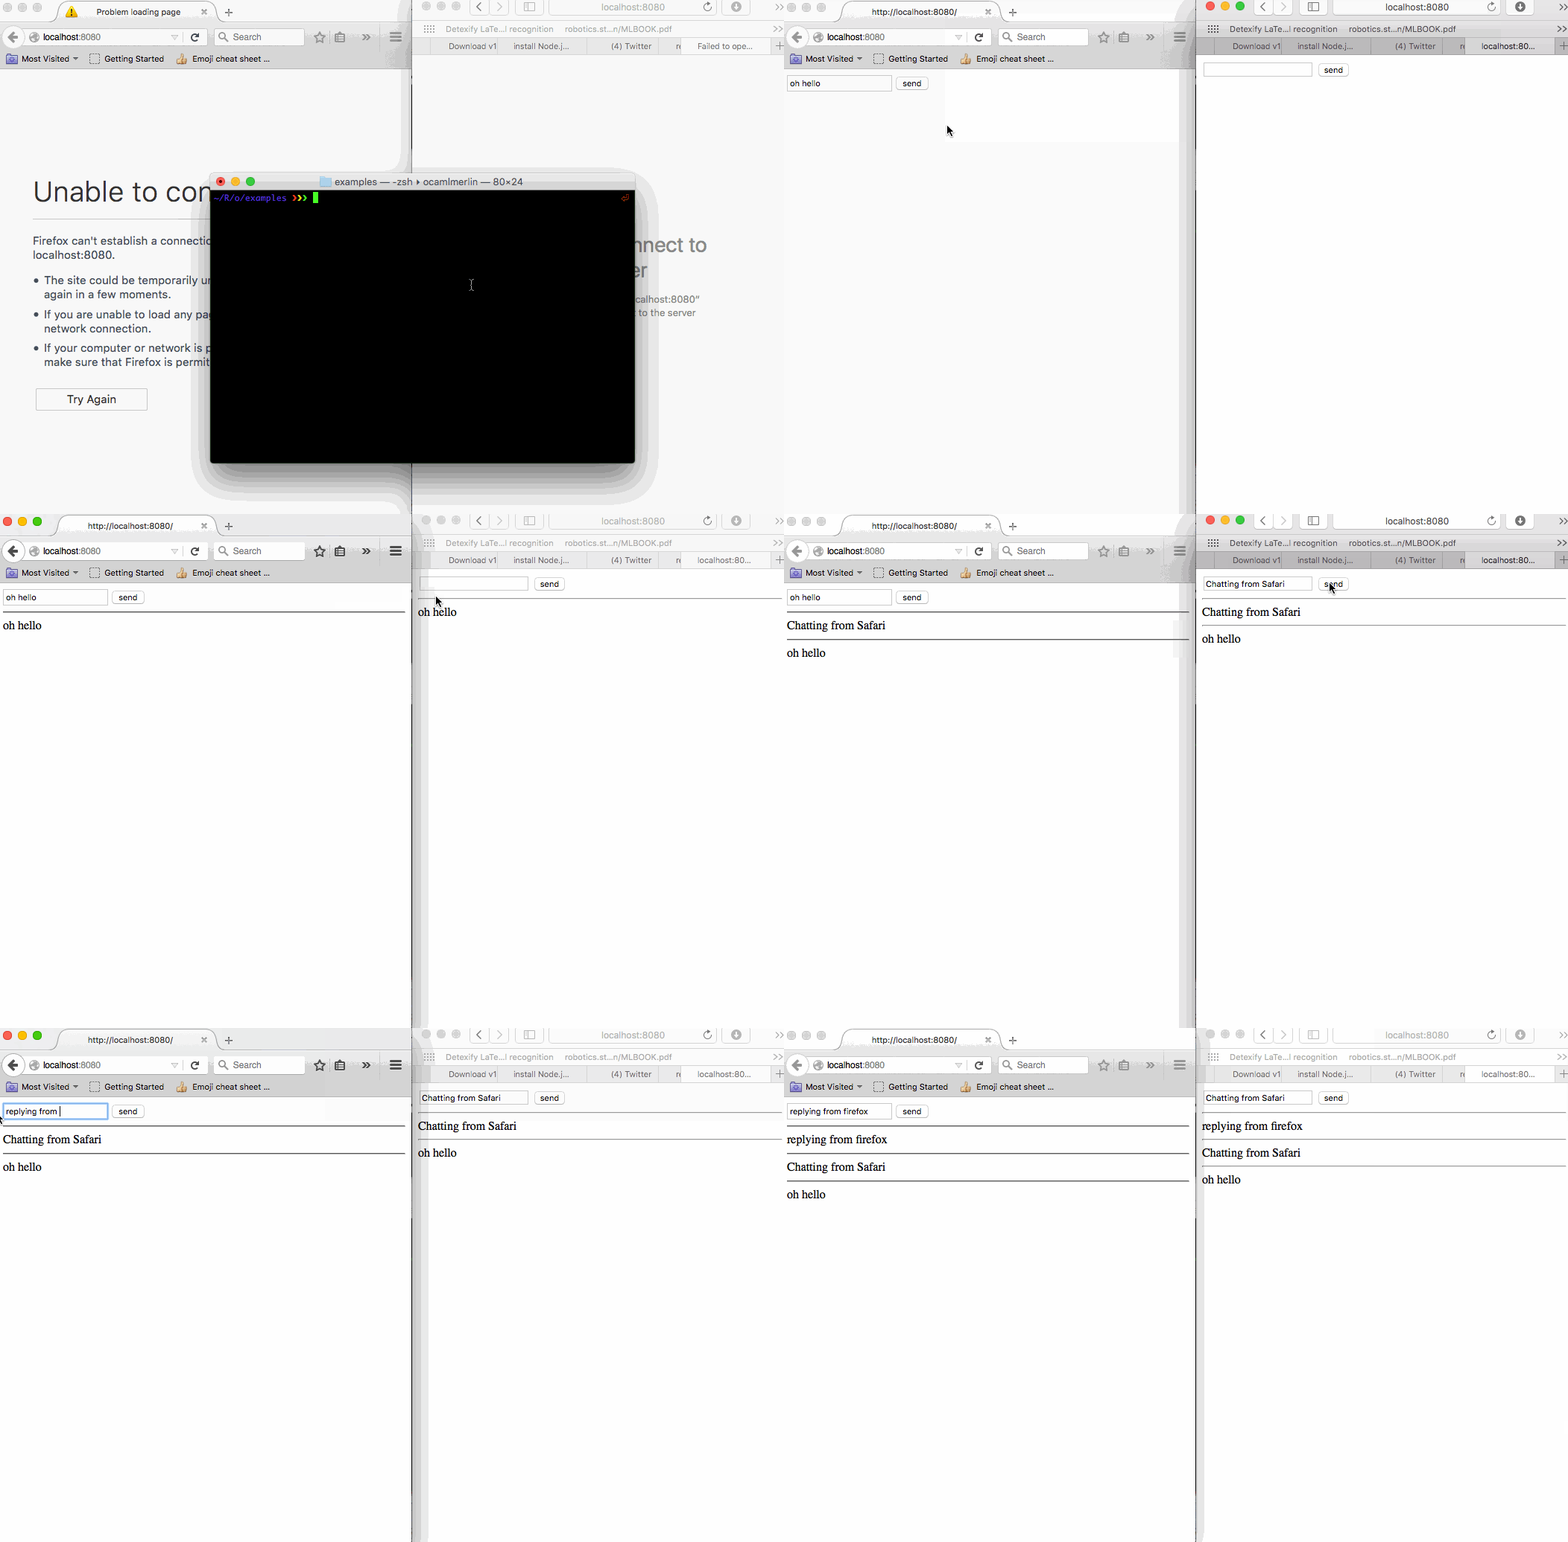
Working Chat Server
Here's the example's source code: which is located along side its
dependencies and make file in the examples directory.
NOTE You will still need to have npm modules installed, for instance
this example uses socket.io, colors.js which means you'll need to
have npm installed socket.io and colors at some point. (Although the
Makefile in examples will do this npm install for you)
 1  (* Basically a translation of
 2     http://arminboss.de/2013/tutorial-how-to-create-a-basic-chat-with-node-js/ *)
 3  open Nodejs
 4
 5  let () =
 6    let io = Socket_io.require () in
 7    let server =
 8      Http.create_server begin fun incoming response ->
 9
10        Fs.read_file ~path:"./client.html" begin fun err data ->
11          response#write_head ~status_code:200 [("Content-type", "text/html")];
12          response#end_ ~data:(String data) ()
13
14        end
15      end
16    in
17    let app = server#listen ~port:8080 begin fun () ->
18
19        let s =
20          Printf.sprintf "Started Server and Running node: %s" (new process#version)
21        in
22
23        Colors_js.colorize ~msg:s ~styles:[Colors_js.Cyan_bg; Colors_js.Inverse] []
24        |> print_endline
25
26      end
27    in
28
29    let io = io#listen app in
30    io#sockets#on_connection begin fun socket ->
31
32      socket#on "message_to_server" begin fun data ->
33
34        io#sockets#emit
35          ~event_name:"message_to_client"
36          !!(object%js val message = data <!> "message" end)
37
38      end
39    end
The <!> infix operator is just a way to get a field of a JavaScript
Object and the !! prefix operator is a way lift the js_of_ocaml
object literal as a JavaScript object. Notice the high level nature of
the code utilizing OCaml's features like named parameters.
The code assumes that client.html is in the same directory, it looks
like this:
 1  <!DOCTYPE html>
 2  <html>
 3  <head>
 4  <script src="https://cdn.socket.io/socket.io-1.3.7.js"></script>
 5  <script type="text/javascript">
 6  var socketio = io.connect("http://localhost:8080");
 7  socketio.on("message_to_client", function(data) {
 8  document.getElementById("chatlog").innerHTML = ("<hr/>" + data['message'] +
 9  document.getElementById("chatlog").innerHTML);
10  });
11
12  function sendMessage() {
13    var msg = document.getElementById("message_input").value;
14    socketio.emit("message_to_server", { message : msg});
15  }
16  </script>
17  </head>
18  <body>
19          <input type="text" id="message_input"/>
20          <button onclick="sendMessage()">send</button>
21          <div id="chatlog"></div>
22  </body>
23  </html>
Steps to get the example working
I assume that you have opam and of course node
installed.
-
Get the
nodejspackage installed on your machine.$ opam install nodejs colors_js socket_io
-
Compile
chat_server.mlinto a workingnodeprogram.$ cd examples $ makeand open up localhost:8080, you'll have a working
nodeserver.(Note that you'll only need to call
makeonce, afterwards you can directly just invoke node withnode chat_server.js.)
Issues
nodehas a pretty big API so its going to take me a little bit of time to cover the API and the bindings that I'm also writing forexpressandsocket.ioJavaScript
