This plugin will automatically upload a backup upon completion to your authorized Google Drive. In order for the plugin to work properly you will have to create a Google OAuth App to authorize access. To create your own Google OAuth app please follow the directions outlined in the Prerequisites section below.
If you are using a version of OctoPrint older than version 1.5.0, this plugin will not work.
Due to upstream dependencies this plugin has been updated to only work in Python 3. You can either flash OctoPi 0.18 which ships with Python 3 standard or use the upgrade instructions here to upgrade your instance.
You may also need to install some system dependencies, specifically if you manually installed OctoPrint and didn't use the OctoPi image. Known dependencies that have been reported are Rust and libssl-dev. Use the commands to below to install them.
sudo apt install rustc
sudo apt install libssl-dev
- Login to the Google Developers Console

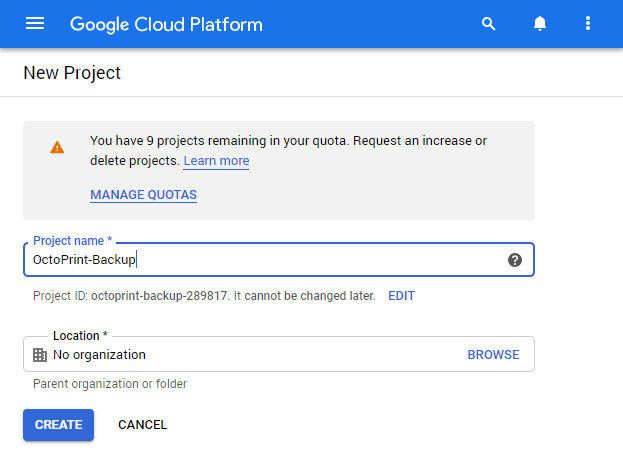
- Create a new project giving it a name of your choice.
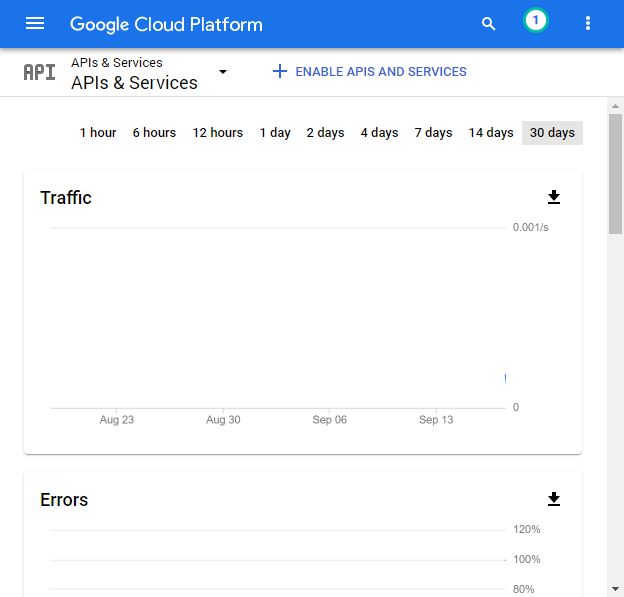
- In the sidebar on the left (via
 ), select APIs and Services > Dashboard then at the top of the page click the button to
 Enable APIS and Services.
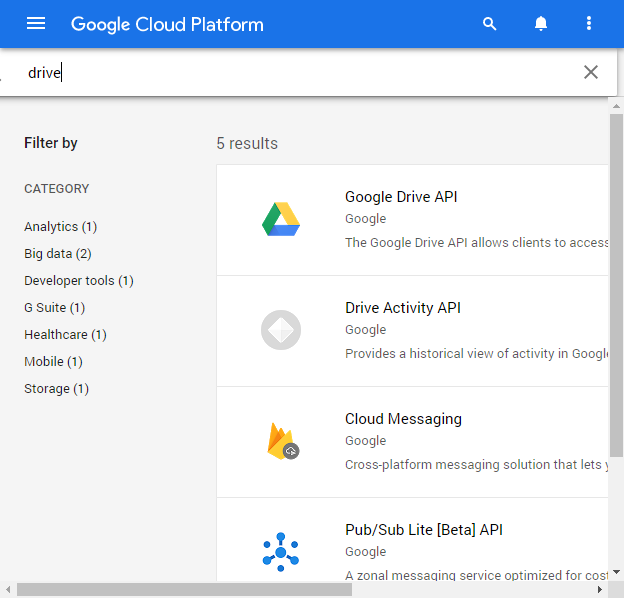
- Enter drive in the search box at the top of the page and click
Google Drive API.
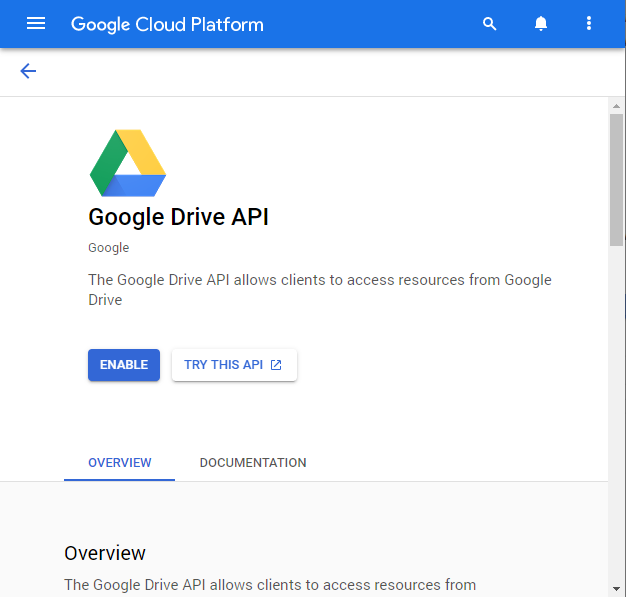
- Click the
Enablebutton to allow our app to use the Google Drive API.
- In the sidebar on the left, select APIS and Services > Credentials
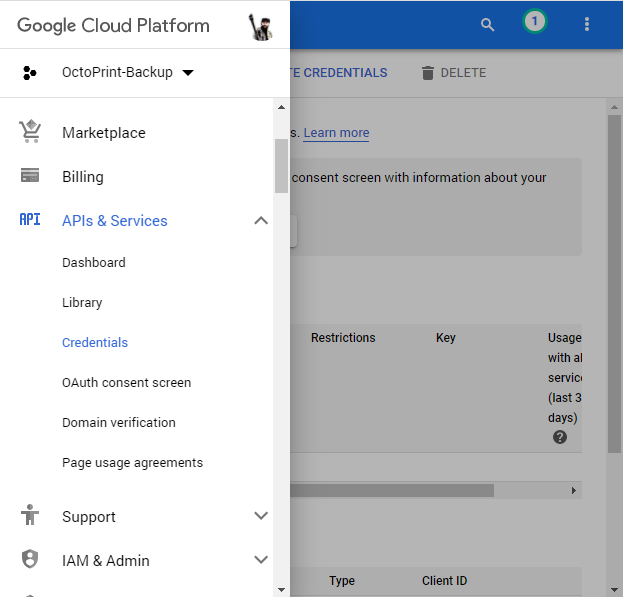
- Click
CONFIGURE CONSENT SCREENbutton at the top of the page.
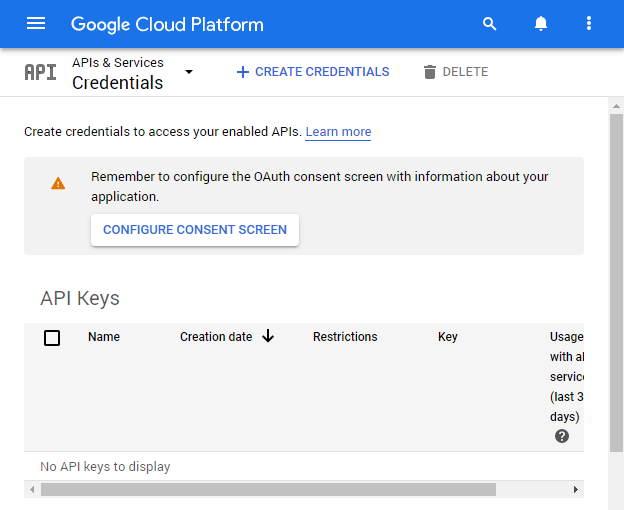
- Select the
Externaluser type if you do not use Google G Suite, otherwise you can selectInternaland clickCreate.
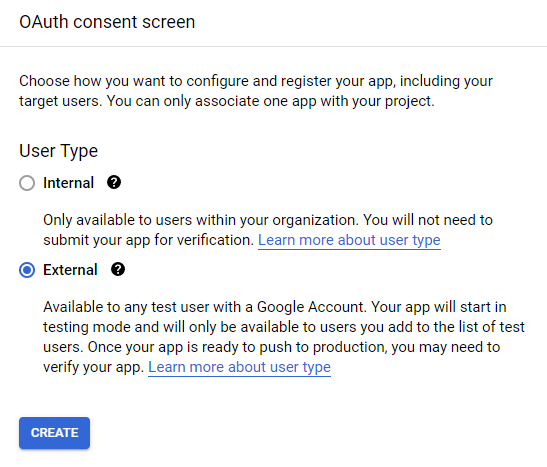
- Add a user support email and developer contact email, then press
Save and Continue.
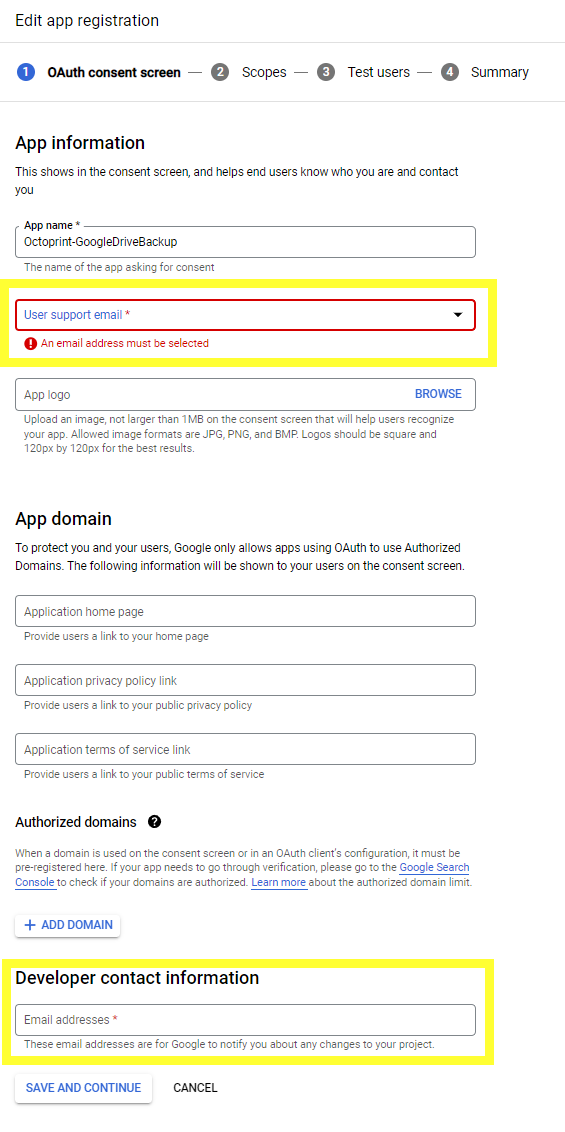
- No scopes are necessary. Click
Save and Continue.
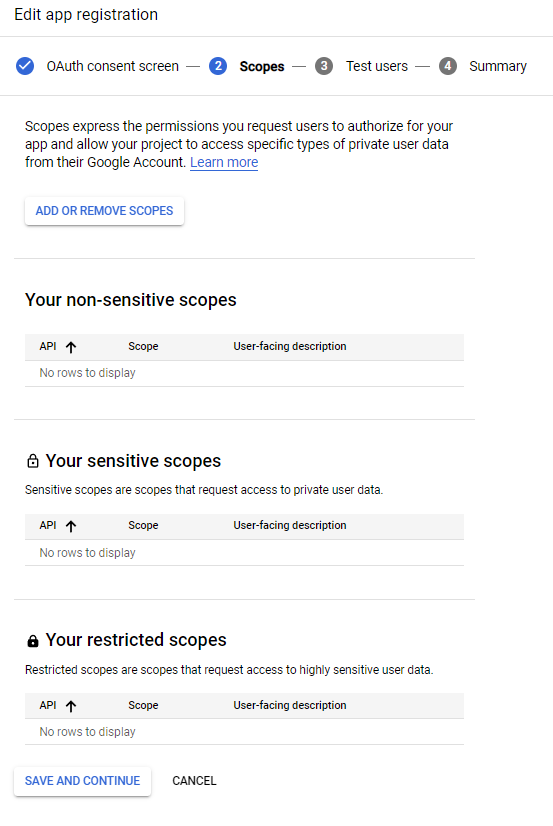
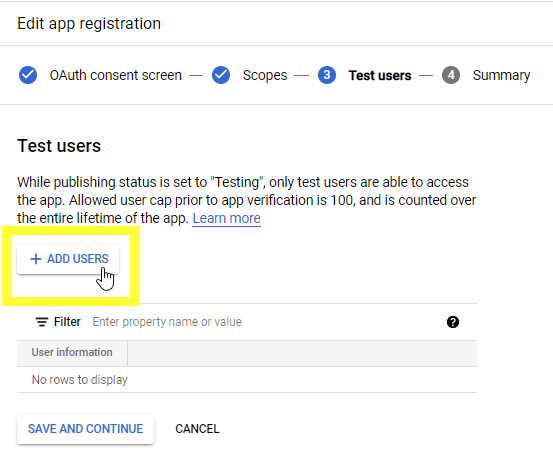
- If you don't publish your app you need to add the user email that you will be using to access Google Drive as a Test User. After doing so, press
Save and Continue.
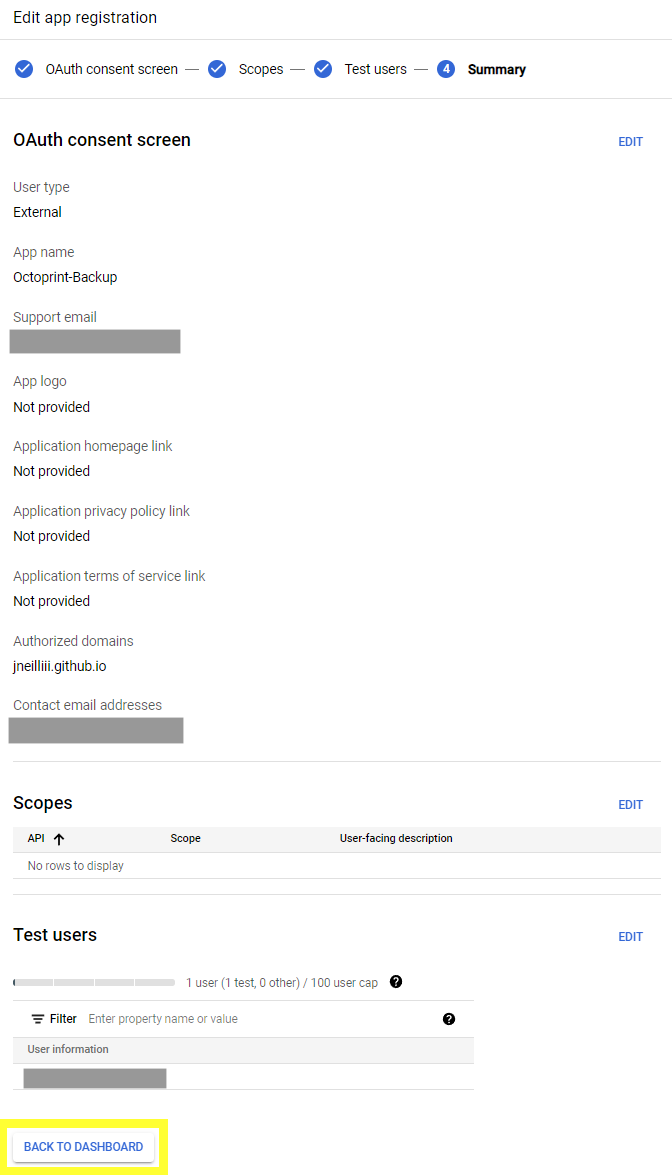
- Confirm all the information then click
Back to Dashboard.
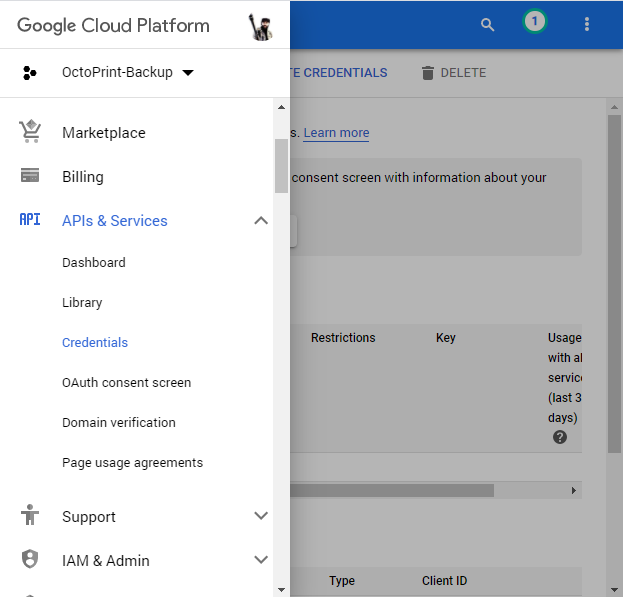
- In the sidebar on the left (via
 ), select APIs and Services > Credentials again.
- Click on
Create credentialsand selectOAuth client ID.
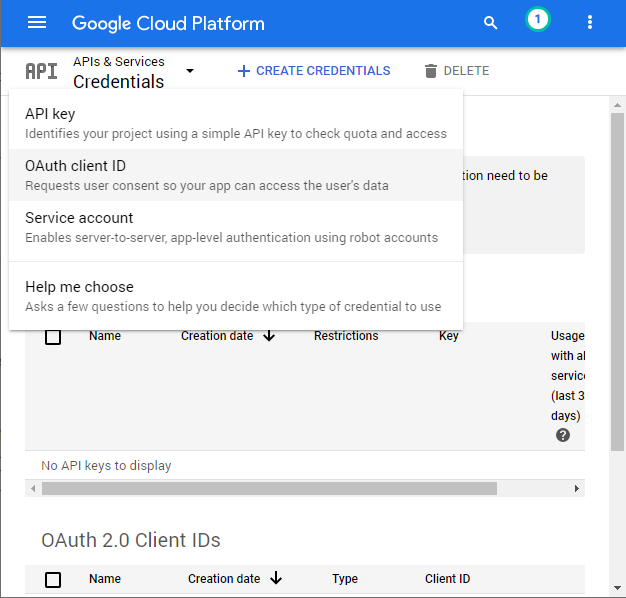
- Select
Web applicationfor application type and then enter a name (can be anything and does not really matter). Fill in the Authorized redirect URIs ashttps://jneilliii.github.io/OctoPrint-GoogleDriveBackup/and then clickCreate.
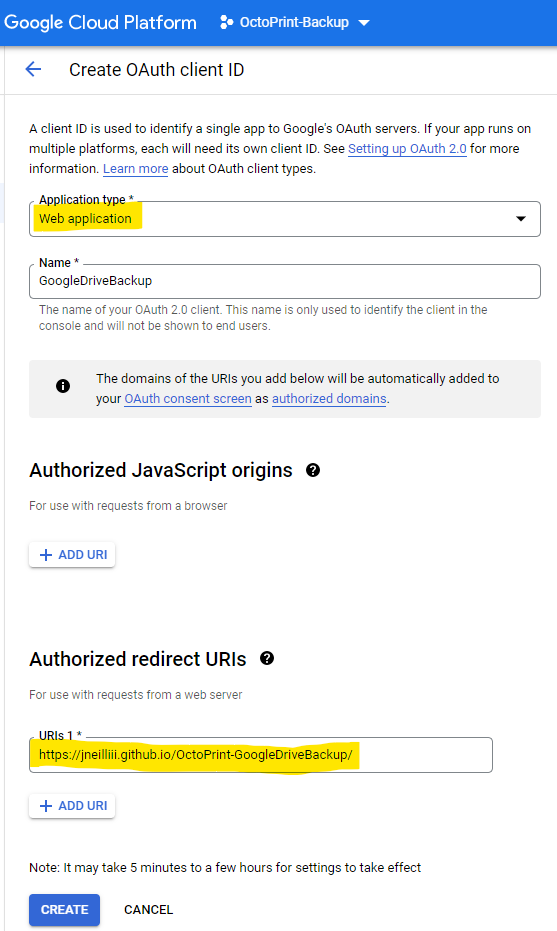
- In the dialog box that appears, click the download button
 to save your client_secrets#####.json file then press
 OK.
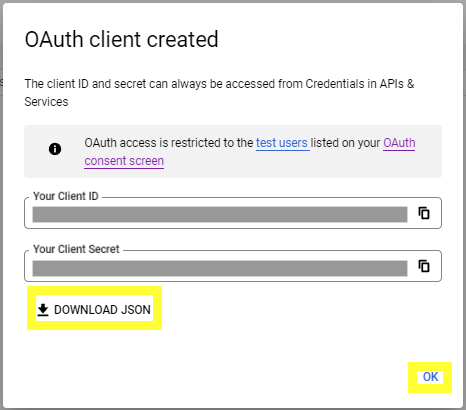
- Use the downloaded client_secrets#####.json file to upload into the plugin’s settings to authorize its access to your Google Drive as described in the Configuration section below.
Install via the bundled Plugin Manager or manually using this URL:
https://github.com/jneilliii/OctoPrint-GoogleDriveBackup/archive/master.zip
Once the Prerequisite steps above have been completed and you have downloaded your client_secrets.json file follow these steps to authorize the plugin to your newly created app.
- Open OctoPrint's settings from the System menu at the top of the page and select
Google Drive Backupin the left-hand navigation menu.
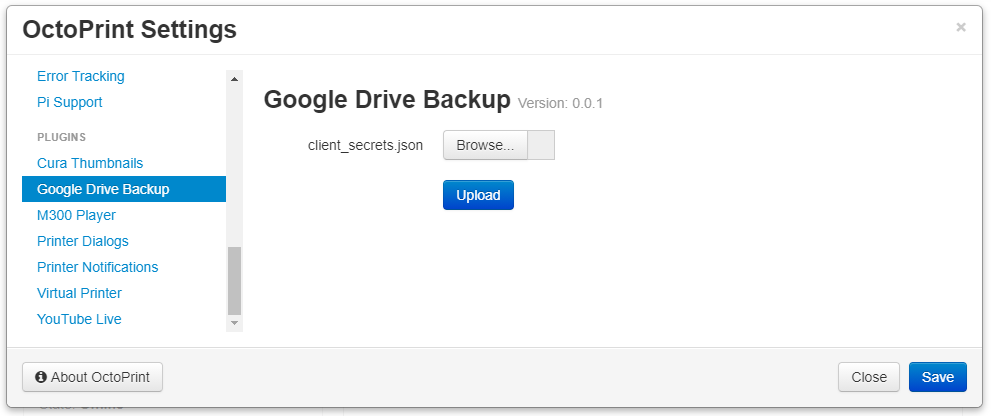
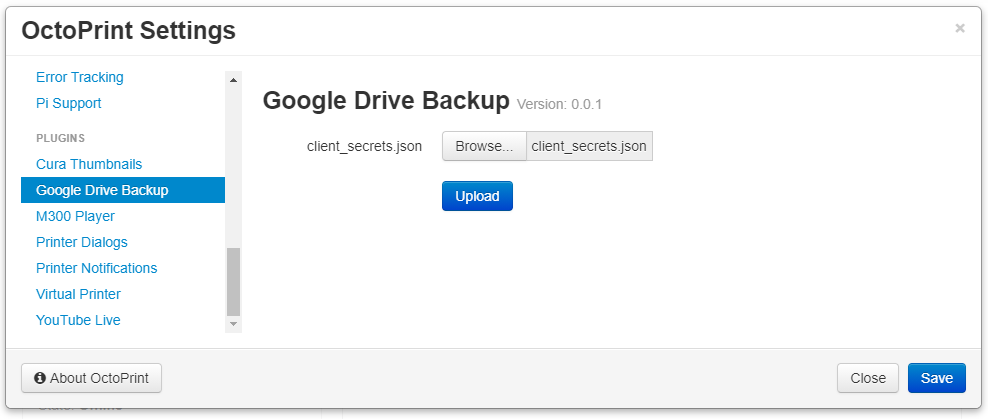
- Use the
Browsebutton to select your downloaded client_secrets#####.json file and press theUploadbutton.
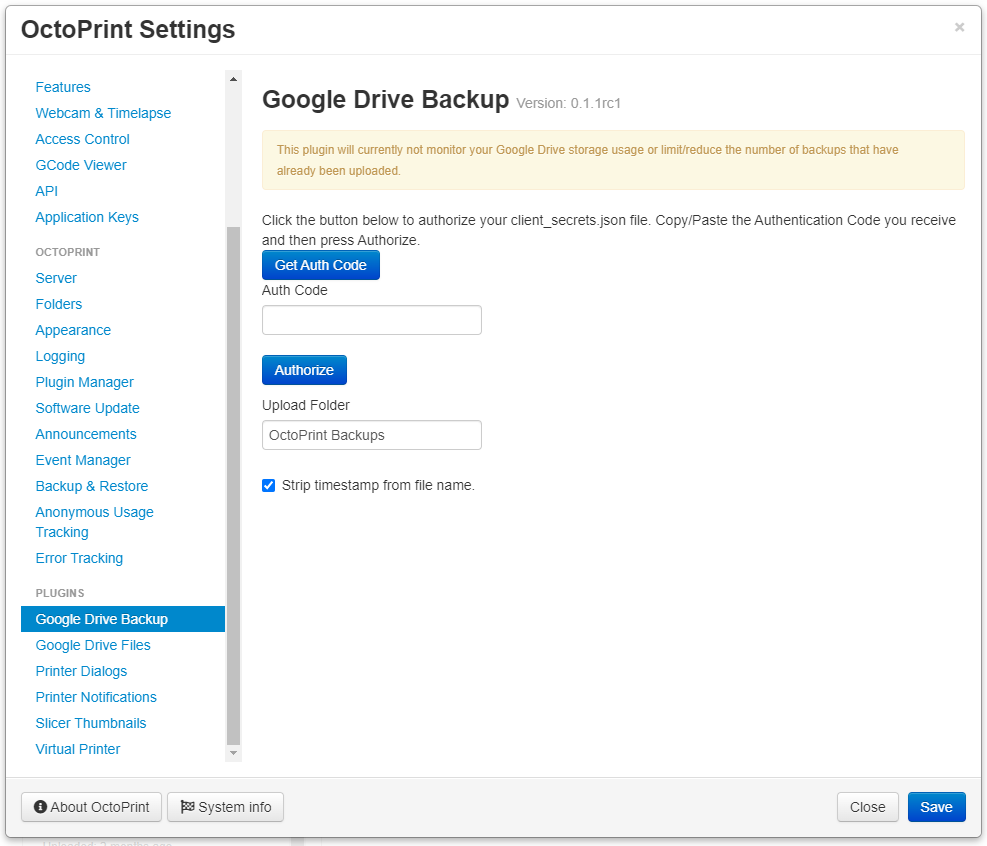
- An authentication URL will be generated and presented to you. Click that new URL to open a new window and authorize your custom Google app.
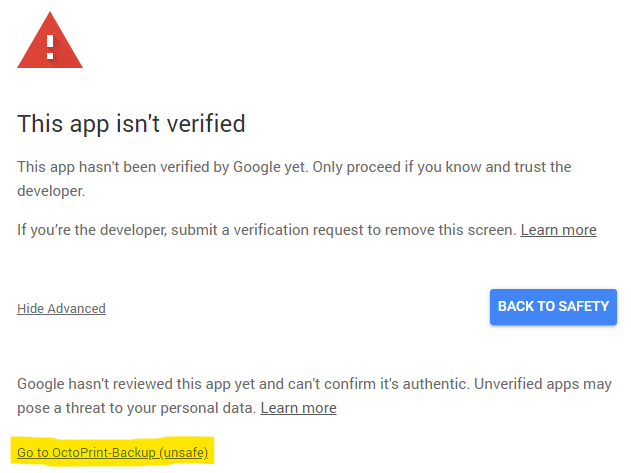
- Log in to your Google account you want to give Drive access to. You will get a warning that the App isn't verified. This is normal as you have not submitted your custom app for verification by Google. You can choose to do that if you want but is not necessary for the operation of the plugin. Click the
Advancedlink at the bottom of the page and the clickGo to <app name>.
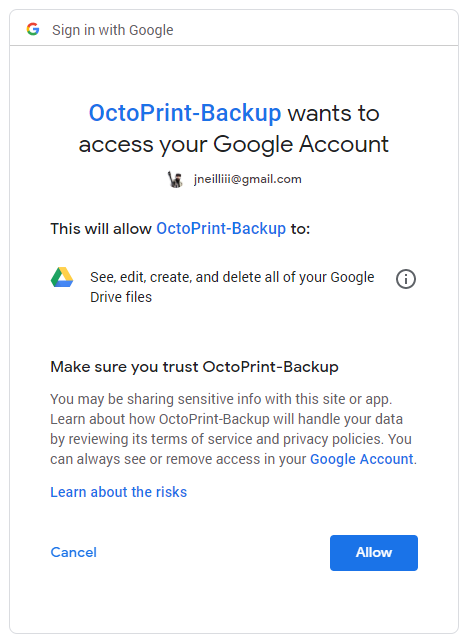
- Click the
Allowbutton to retrieve your authentication code to enter in the plugin's settings in the next step.
- Copy the code from step 5 and paste it into the Auth Code field and click
Authorize.
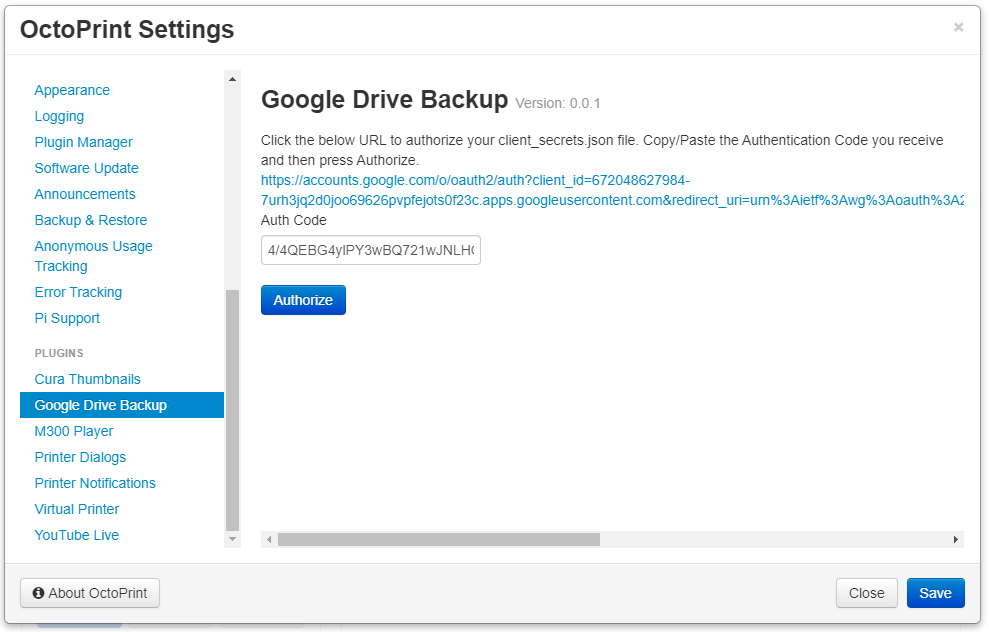
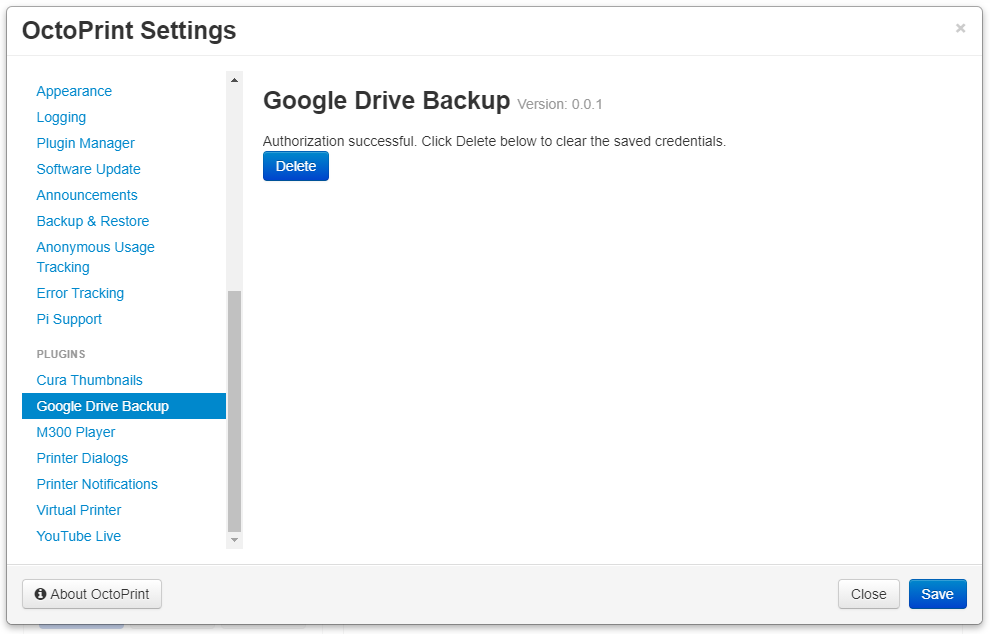
- If everything went well then you will be presented with a successful message.
-
Improve documentation. -
Add custom upload folder. -
Add route hook to allow for local redirect URIs during authentication. - Delete certs instead of just clearing flags to start over.
-
Improve error handling, display messages in UI.
If you experience issues with this plugin or need assistance please use the issue tracker by clicking issues above.
Check out my other plugins here
- Andreas Lindermayr
- @TheTuxKeeper
- @tideline3d
- SimplyPrint
- Andrew Beeman
- Calanish
- Lachlan Bell
- Jonny Bergdahl
I, jneilliii, programmed this plugin for fun and do my best effort to support those that have issues with it, please return the favor and leave me a tip or become a Patron if you find this plugin helpful and want me to continue future development.
No paypal.me? Send funds via PayPal to jneilliii@gmail.com
You can use this link too. But the normal PayPal fee will be deducted.

