- The photo stick is a DIY project to build an LED-based light-painting device
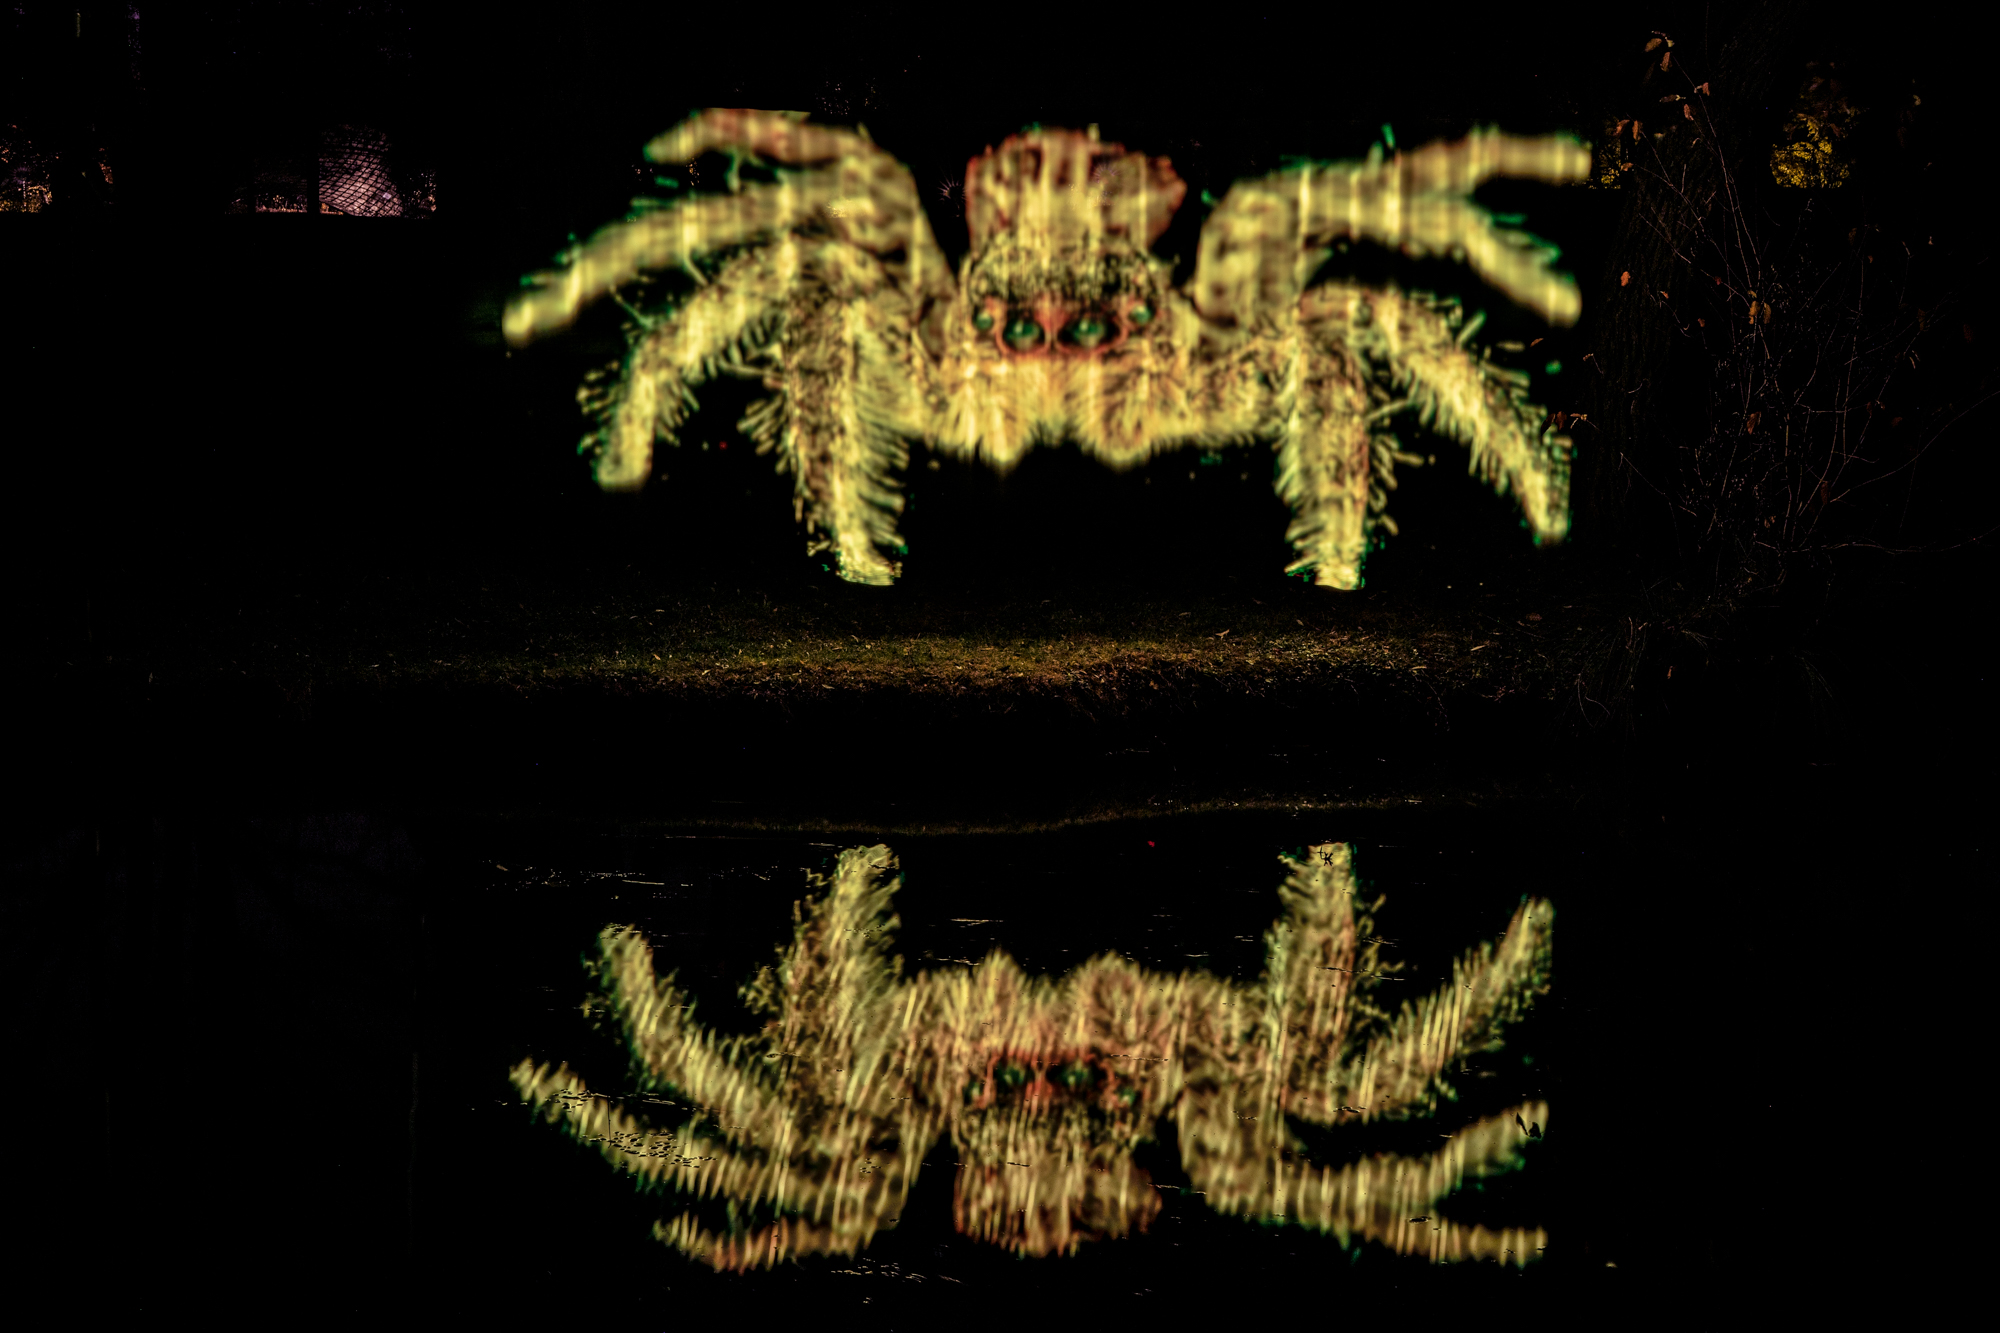
- Using long exposure times, the photo stick allows you to project arbitrary images into the air
- The images are BMP files loaded from a microSD card
- The photo stick provides comfortable touchscreen-based navigation and configuration
- The project requires very basic soldering skills
- The total material cost is around 150€ (but you might already have some required parts)
- The photo stick is a DIY clone of the Pixelstick


- Install the Arduino IDE
- Clone the repository
- Install the following libraries via Arduino's library manager:
FastLEDSdFatAdafruit_GFX_Library, Adafruit_ILI9341, Adafruit_STMPE610, Adafruit_TouchScreenGUISlice
- IMPORTANT: Modify GUISlice's configuration in the following way:
- Open
Arduino/libraries/GUIslice/src/GUIslice_config.h
- Remove the comment in front of the line
#include "../configs/ard-shld-adafruit_28_res.h"
- Open
Photostick.ino in the Arduino IDE
- Compile, load, and use
- Optional: Adapt settings
config.hpp, especially if you used non-standard pins
- 1x Arduino Mega or compatible (Example)
- 1x 2.8" TFT Touch Shield for Arduino (Example)
- 2x WS2812B LED strip with high LED density, ideally 144 LED/m (Example)
- 1x DC/DC Converter, at least 100W rating (to be on the safe side) (Example)
- 1x LiPo 2S battery, 7.4V (Example)
- 1x LiPo compatible charger
- 1x XT60 connector (male)
- 1x cable conduit 40mm x 60mm, length: 30--40cm
- 2x aluminum profile rail, length 2 meters, with plastic cover, not fully transparent
- 1x switch (Example)
- 1x microSD card
- Cables
- Soldering iron
- Multimeter

- Solder jumper 3 on touch display
- Solder the two LED strips into one
- Solder LED data wire to data pin 2 of Arduino
- Connect LED shield to Arduino
- Flash software
- Create image with height of 288 pixels (and arbitrary width)
- Rotate clockwise by 90 degrees (image now has width of 288 pixels)
- Save as BMP with either 24-bit or 32-bit depth
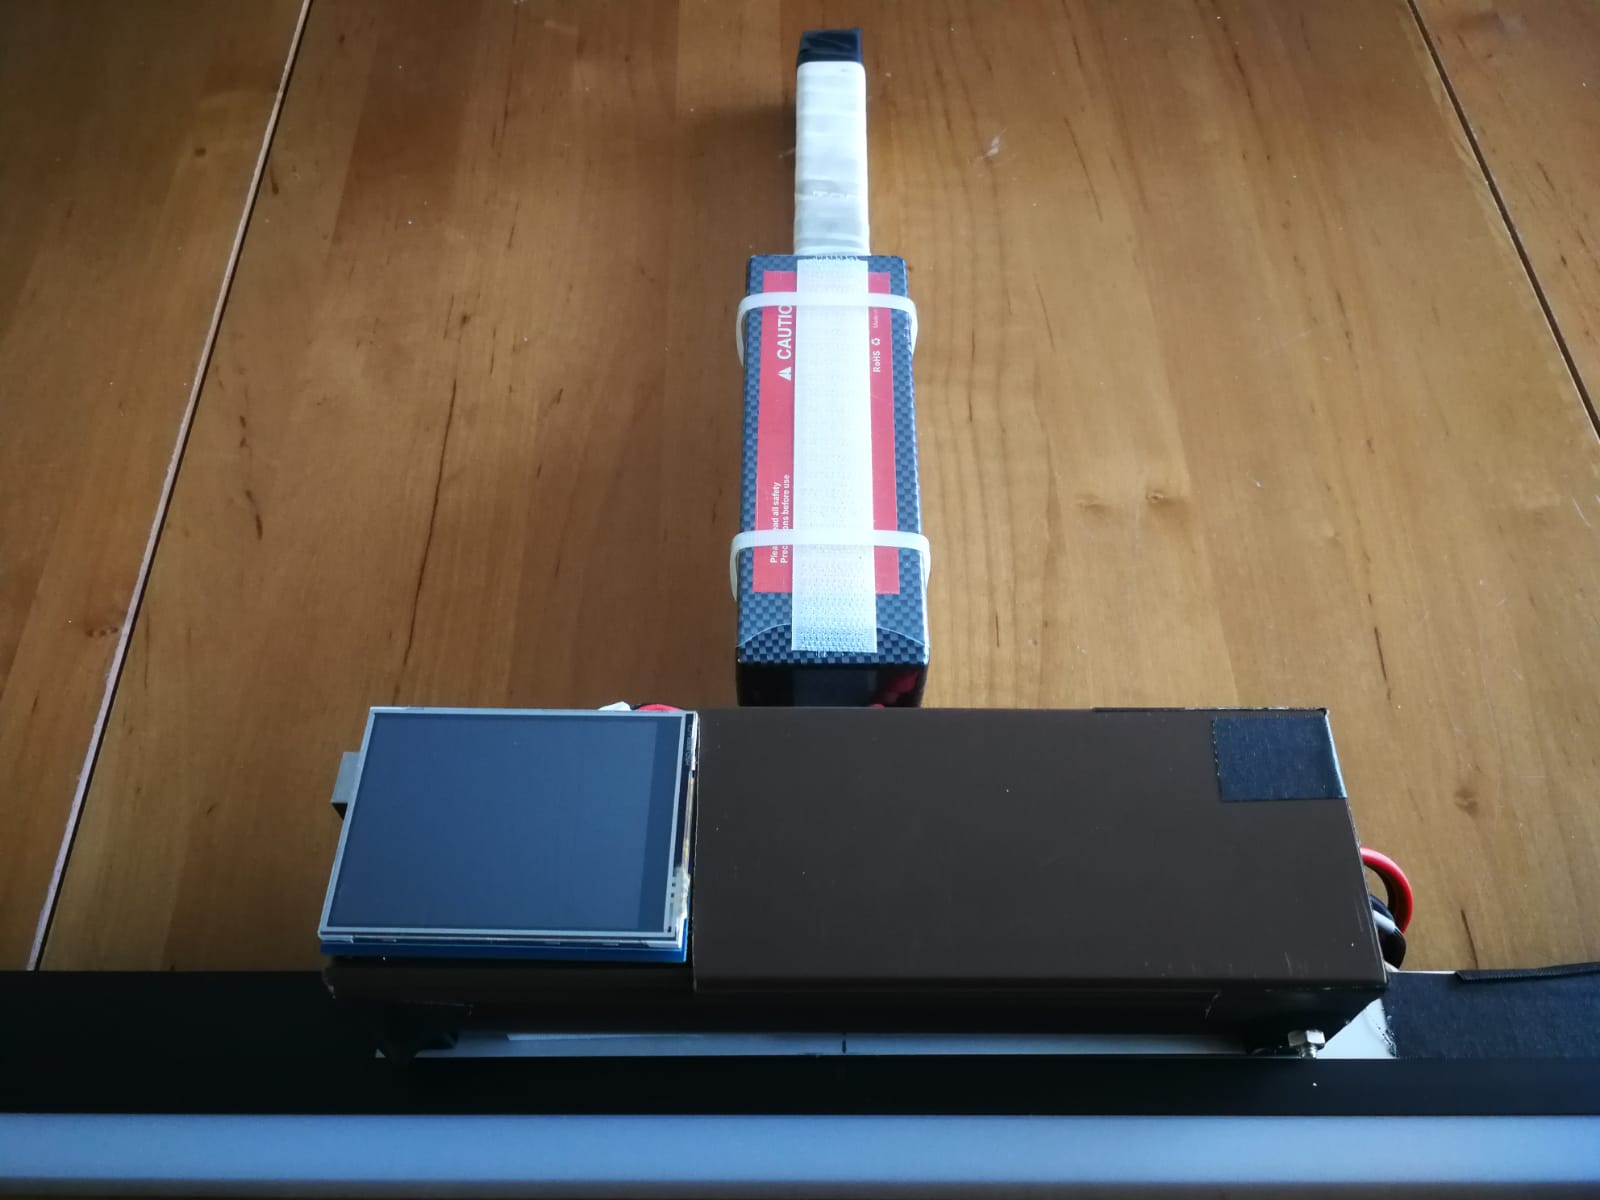
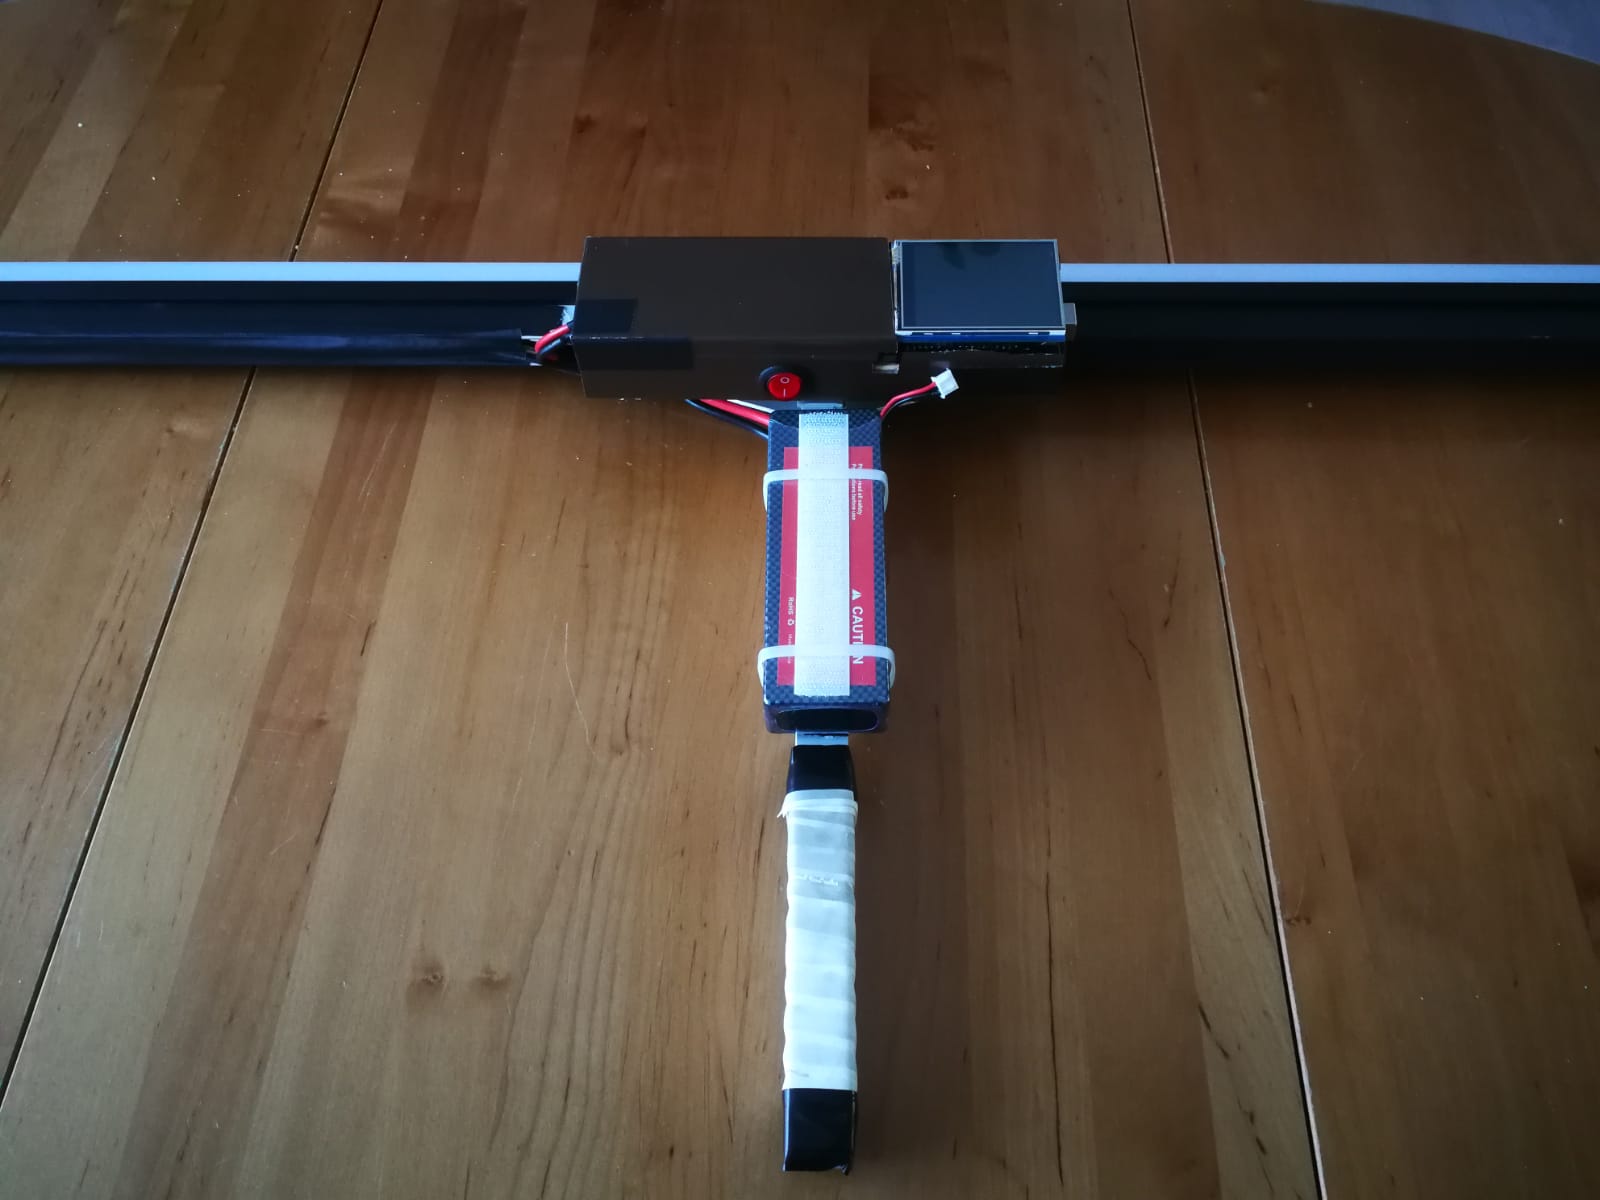
Compact assembly with external battery:


User interface:


