- Project Description
- Components
- MQTT Communication
- Project Structure
- Getting Started
- Usage
- Contributing
- License
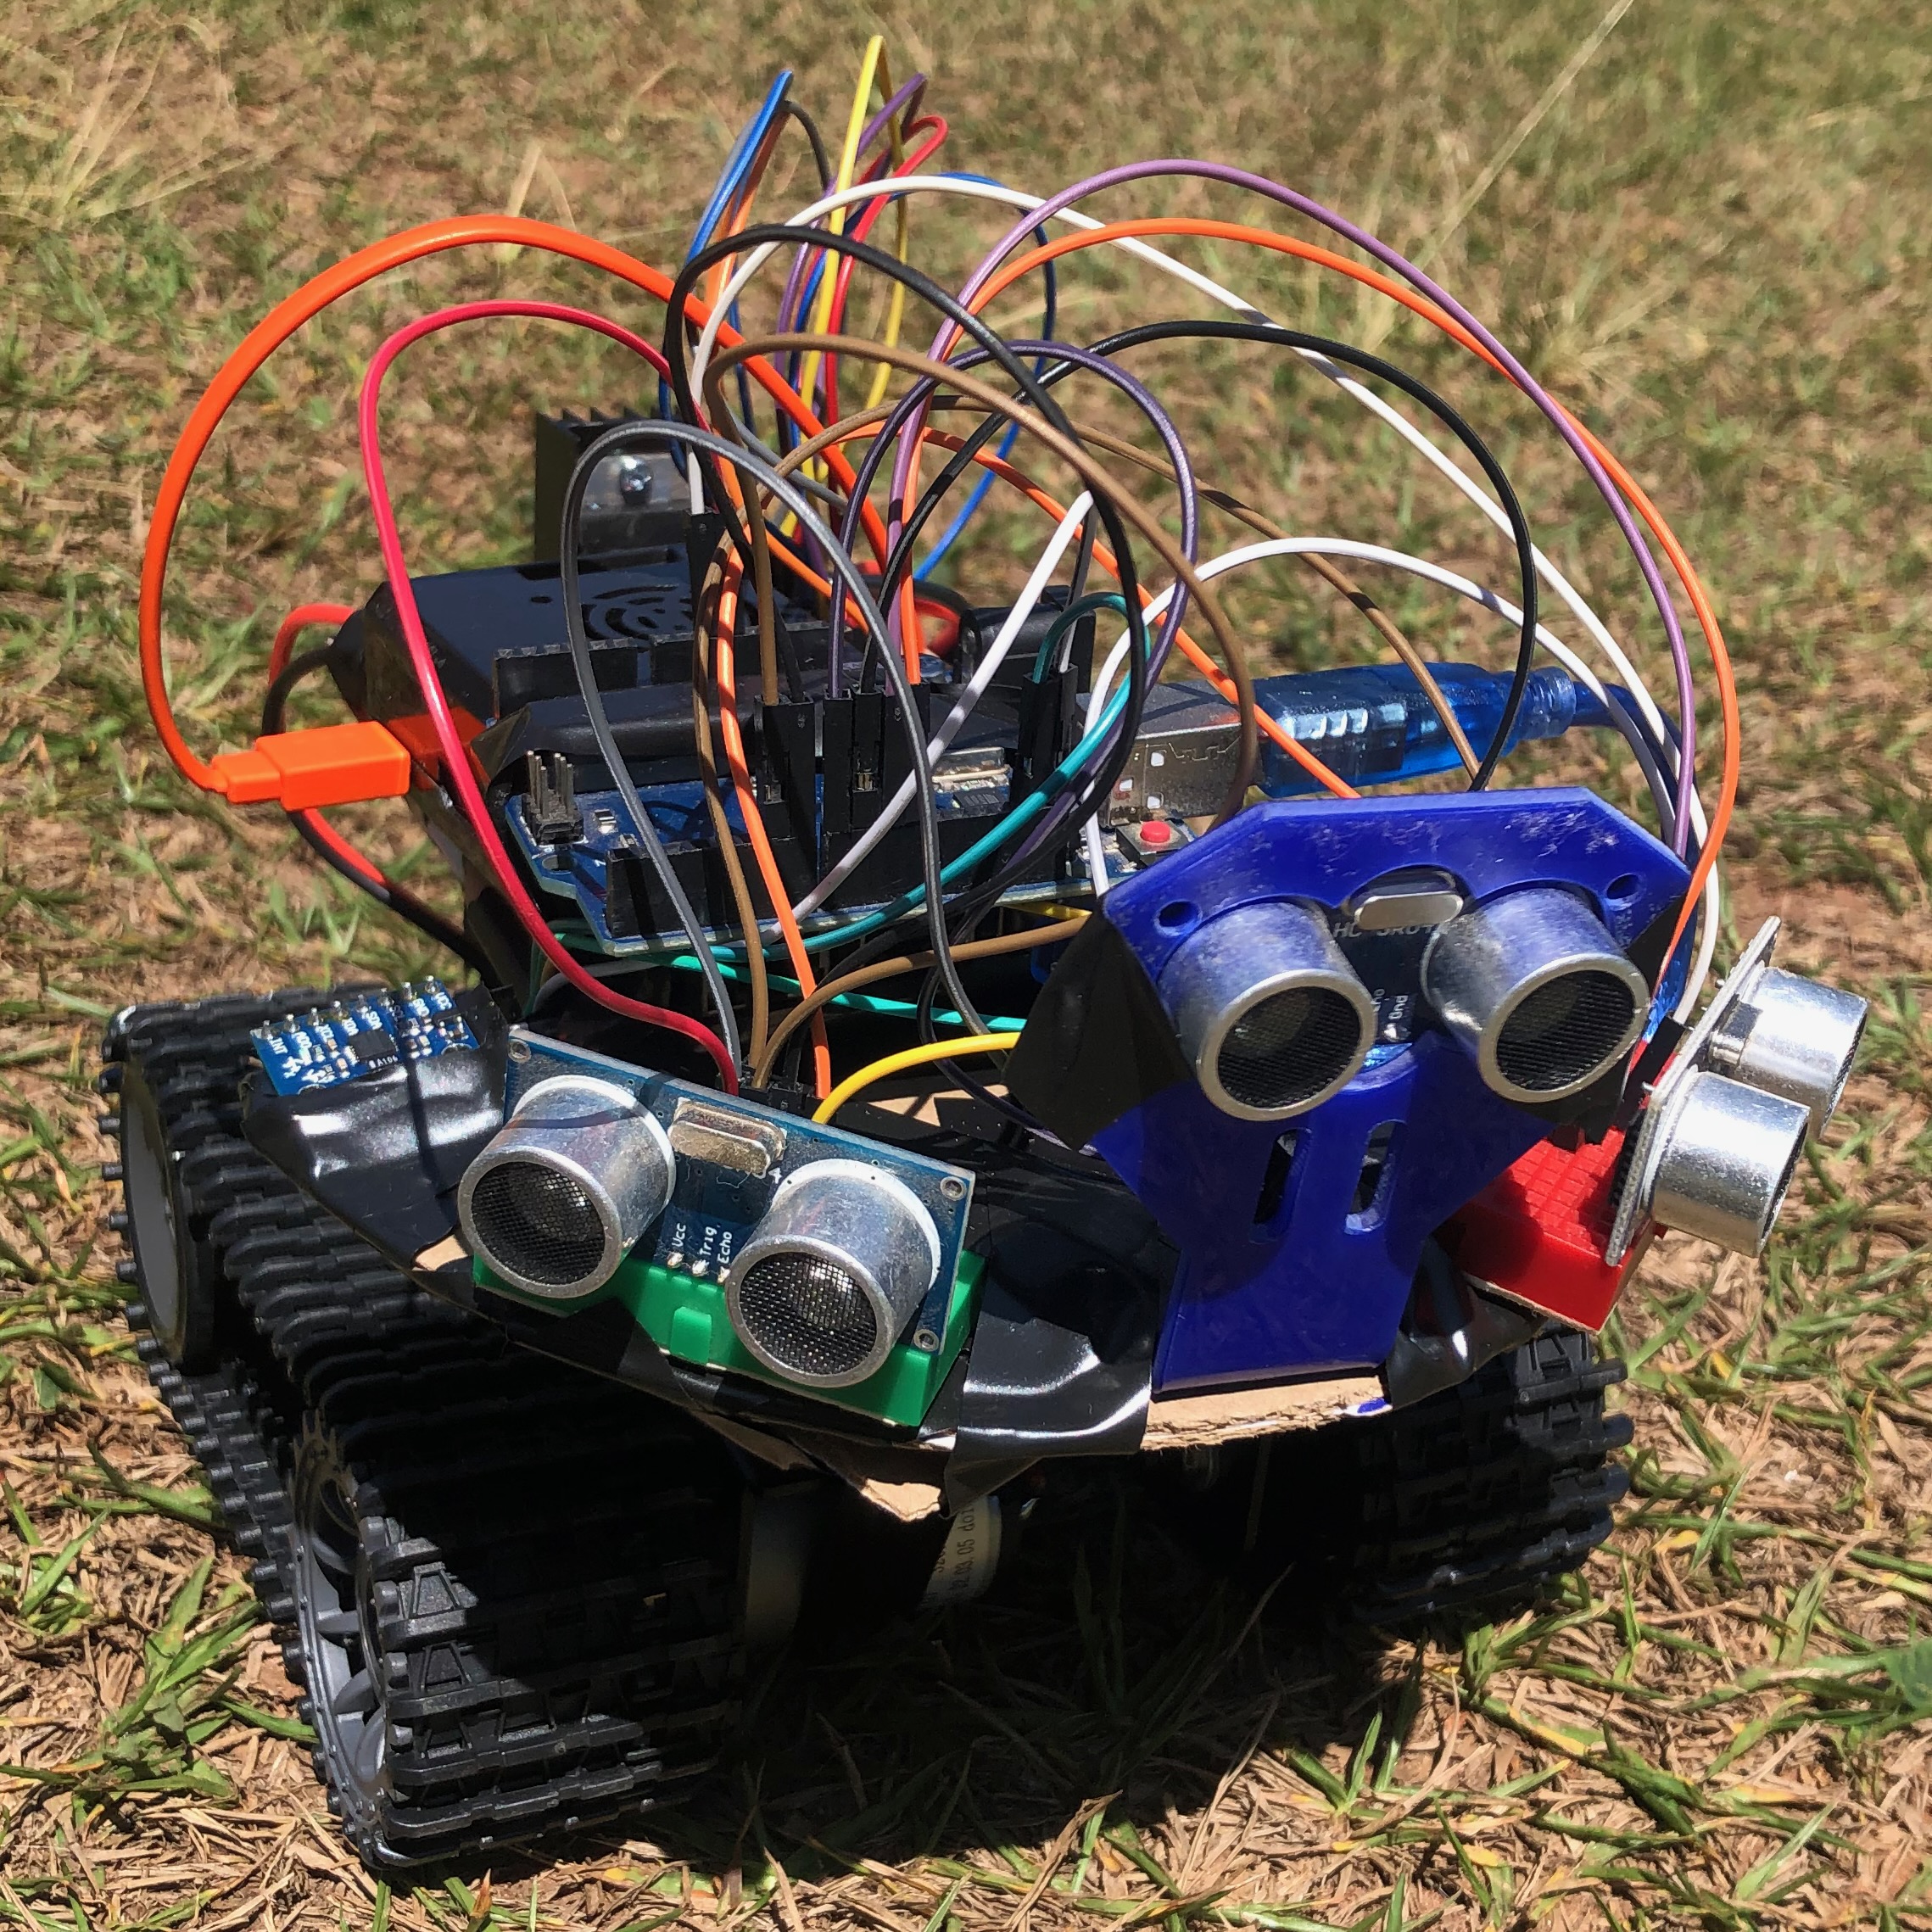
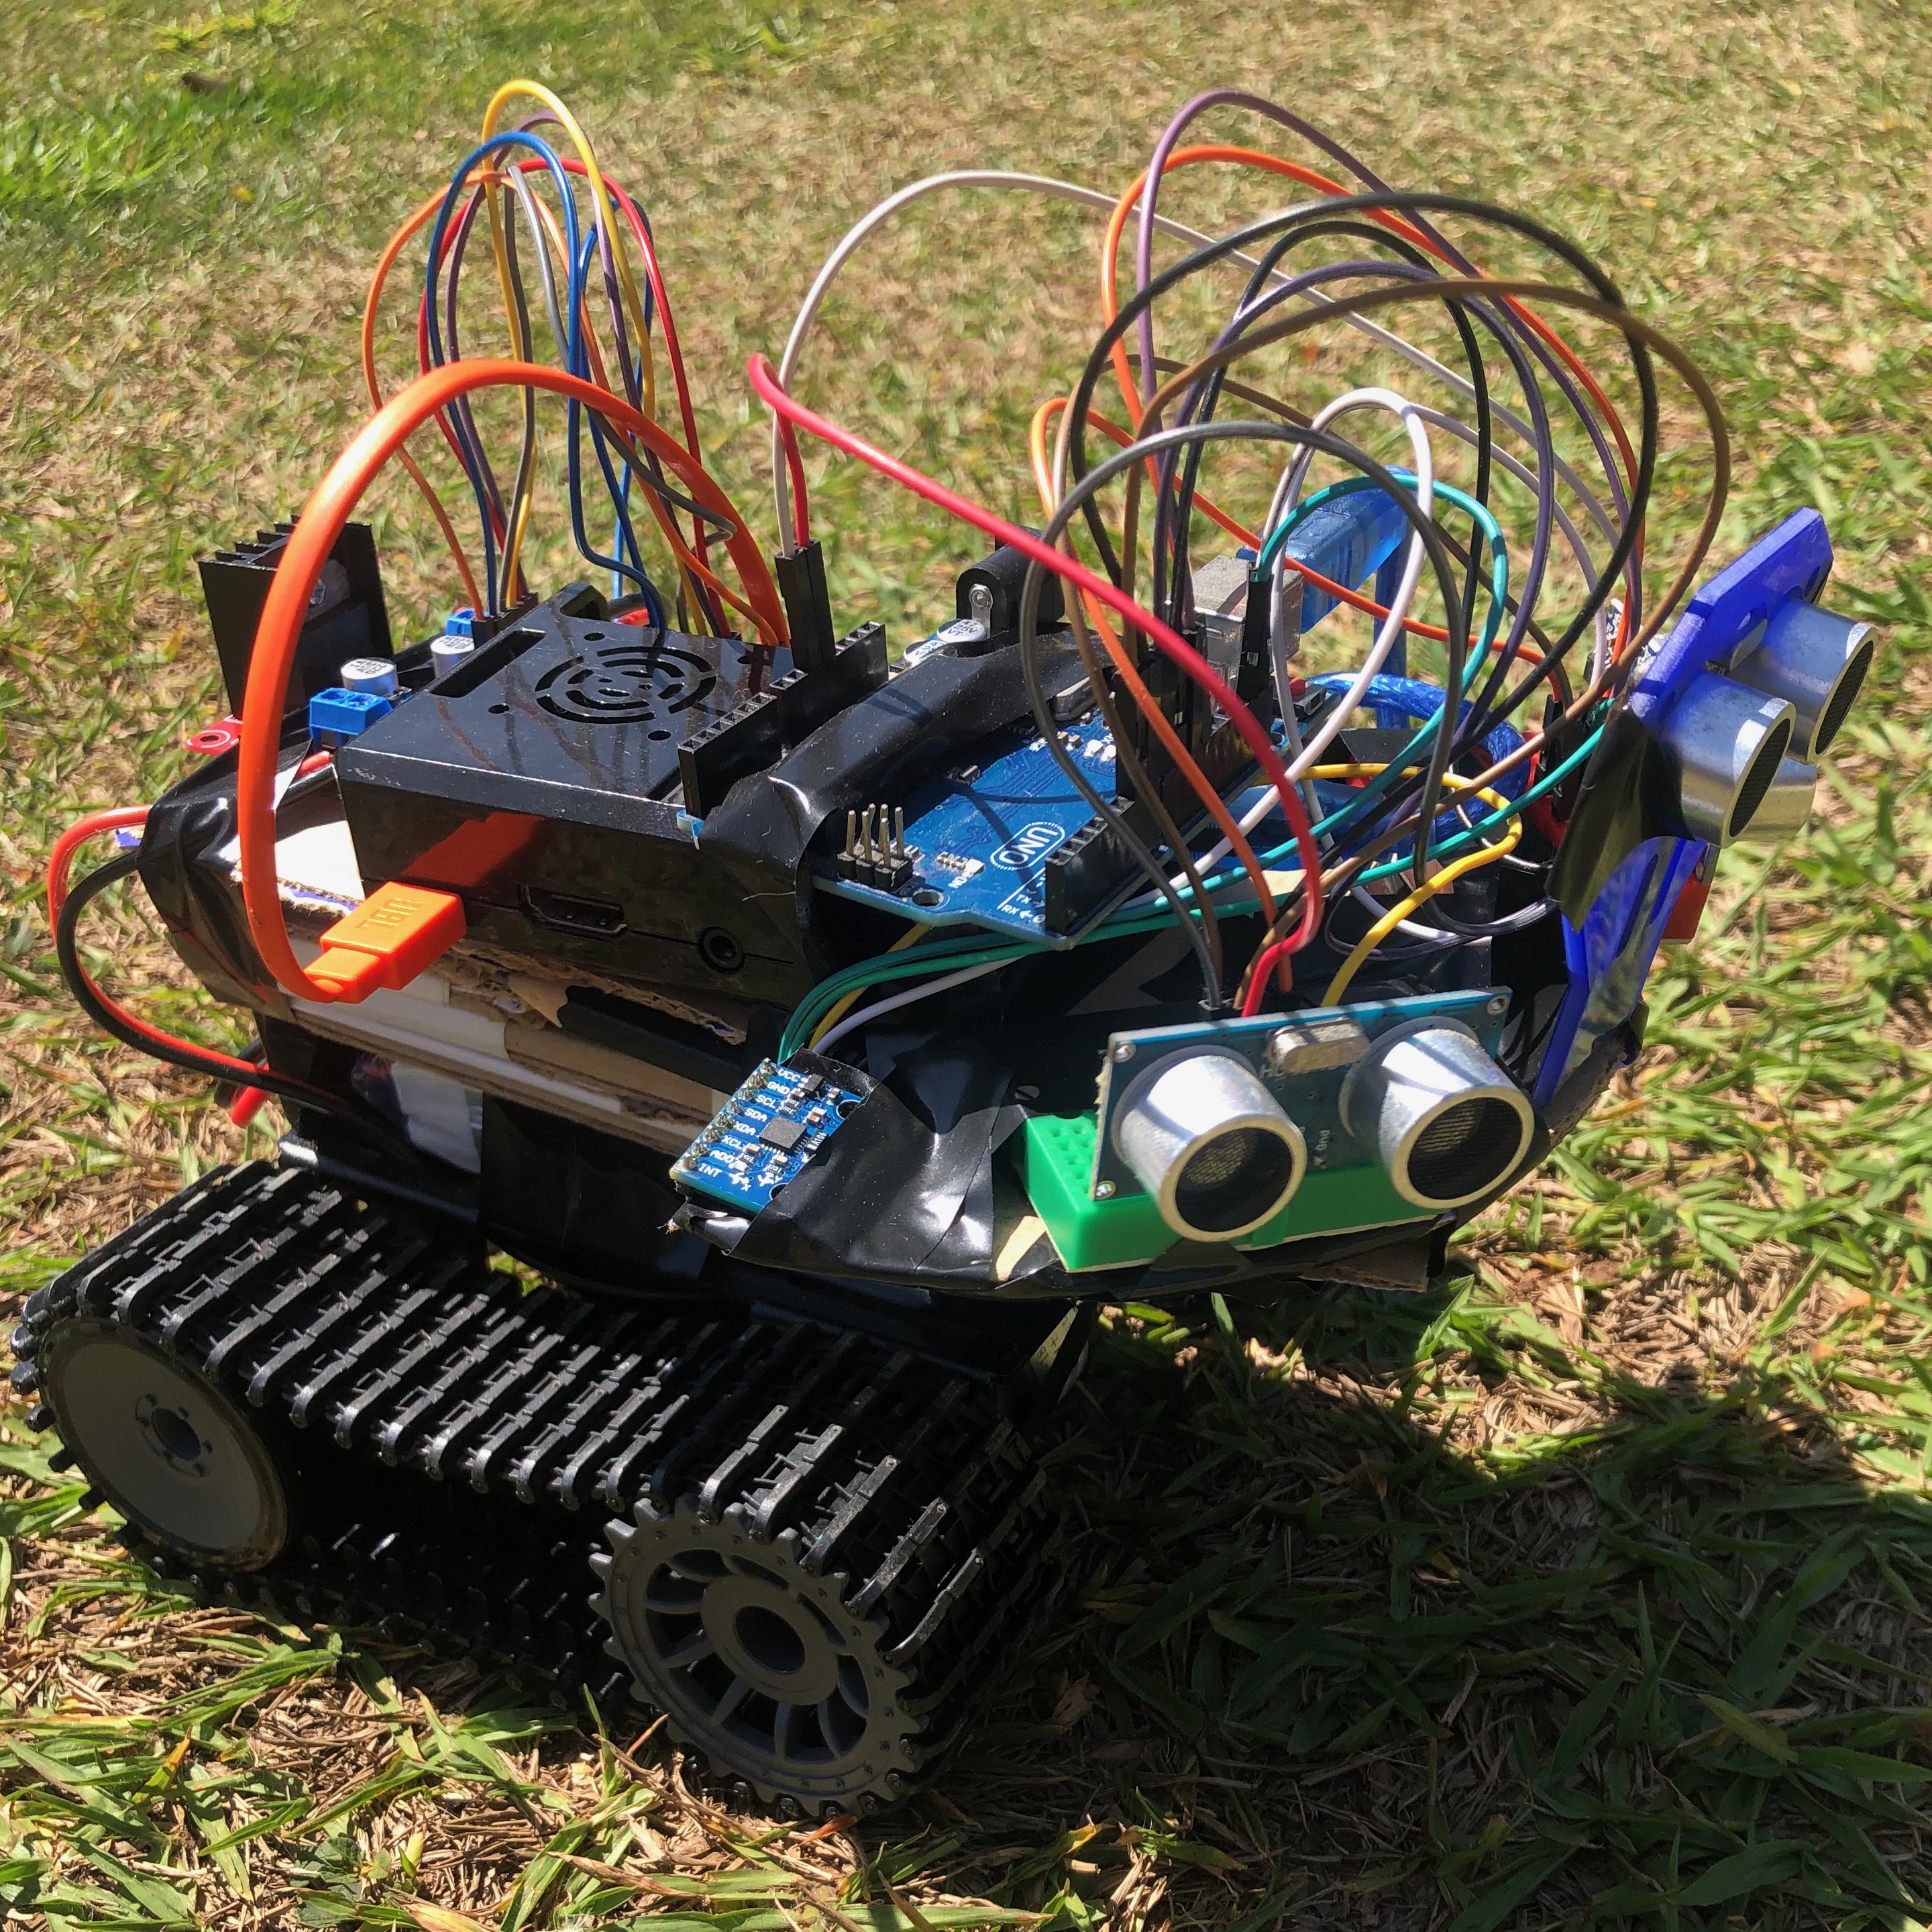
The Rover Control and Sensor Dashboard project is designed to provide remote control of a rover and real-time sensor data monitoring. This project is divided into several components, including rover control, sensor data collection, and a web-based dashboard for monitoring sensor data and controlling the rover.
The project consists of the following major components:
-
HCSR04 & MPU6050 Sensor Program (
arduino/hcsr04&mpu6050/main):- Arduino program to interface with HCSR04 ultrasonic and MPU6050 sensors.
- Arduino Code
-
Rover Program (
arduino/rover_program/main):- Arduino program for rover motor control and ultrasonic sensor interface.
- Arduino Code
-
Ultrasonic Sensor Program (
arduino/ultrasonic_sensor/main):- Arduino program for standalone ultrasonic sensor.
- Arduino Code
-
Autonomous Rover Controller (
controller/autonomous):- Python script for autonomous rover control using sensor data.
- Python Code
-
Terminal Rover Controller (
controller/terminal):- Python script for rover control via the terminal.
- Python Code
-
Web-Based Rover Controller (
controller/web):- Flask-based web dashboard for controlling the rover and monitoring sensor data.
- Python Code
- HTML Template
- Web-Based Sensor Dashboard (
dashboard):- Flask-based web dashboard for real-time monitoring of sensor data.
- Python Code
- CSS Styles
- JavaScript for WebSocket
- HTML Template
- ESP8266 MQTT Client (
esp8266/main):- ESP8266 Arduino program for MQTT communication.
- Arduino Code
- Navigation System (
navigation_system):- Python scripts for rover navigation, mapping, and tracking.
- Python Code
- Raspberry Pi MQTT Client (
rasp/main):- Python scripts for rover control, sensor data collection, and MQTT communication.
- Python Code
- Motor Control
- MQTT Client
- Rover Control
- Rover Startup
- Sensor Data Collection
MQTT (Message Queuing Telemetry Transport) is used for communication between the components of this project. MQTT is a lightweight and efficient protocol for publishing and subscribing to messages.
-
Controller Topic:
/rover/controller- Used to send control commands to the rover.
- Commands include FORWARD, BACKWARD, LEFT, RIGHT, and STOP.
-
Ultrasonic Sensor Topic:
/rover/sensors/ultrasonic- Publishes ultrasonic sensor data.
- Includes data for the left, central, and right sensors.
-
MPU6050 Sensor Topic:
/rover/sensors/mpu6050- Publishes MPU6050 sensor data.
- Includes acceleration and gyroscope readings, as well as temperature.
The project is organized into different directories and files:
tree
.
├── arduino
│   ├── hcsr04&mpu6050
│   │   └── main
│   │       ├── main.ino
│   │       ├── MPUSensor.cpp
│   │       ├── MPUSensor.h
│   │       ├── UltrasonicSensor.cpp
│   │       └── UltrasonicSensor.h
│   ├── rover_program
│   │   └── main
│   │       ├── main.ino
│   │       ├── motor_control.cpp
│   │       ├── motor_control.h
│   │       ├── ultrassonic.cpp
│   │       └── ultrassonic.h
│   └── ultrasonic_sensor
│       └── main
│           ├── main.ino
│           ├── UltrasonicSensor.cpp
│           └── UltrasonicSensor.h
├── controller
│   ├── autonomous
│   │   └── app.py
│   ├── terminal
│   │   └── main.py
│   └── web
│       ├── main.py
│       └── templates
│           └── index.html
├── dashboard
│   ├── app.py
│   ├── static
│   │   ├── css
│   │   │   └── style.css
│   │   └── js
│   │       └── socketio.js
│   └── templates
│       └── dashboard.html
├── docs
│   └── images
│       ├── rover_1.jpeg
│       └── rover.jpeg
├── esp8266
│   └── main
│       ├── Config.h
│       ├── main.ino
│       ├── MqttManager.cpp
│       ├── MqttManager.h
│       ├── WiFiManager.cpp
│       └── WiFiManager.h
├── LICENSE
├── navigation_system
│   ├── app.py
│   ├── map.py
│   └── tracker.py
├── rasp
│   └── main
│       ├── config.py
│       ├── main.py
│       ├── motor.py
│       ├── mqtt_client.py
│       ├── rover.py
│       ├── start_rover.py
│       └── start_sensors.py
└── README.md
Follow these steps to get started with the project:
- Assemble your rover with motors, sensors, and a Raspberry Pi.
- Connect the hardware components according to your wiring diagram.
- Install the required software dependencies on your Raspberry Pi, including Python libraries and MQTT broker (e.g., Mosquitto).
- Update the
config.pyfile with your MQTT broker's host and port.
Certainly, here's the section from "Getting Started" onwards:
To start the rover on the Raspberry Pi, run the following command:
python3 rasp/main/main.pyOnce the components are running, you can access the web-based dashboard by opening a web browser and navigating to the Raspberry Pi's IP address on port 5000 (e.g., http://<raspberry_pi_ip>:5000).
On the dashboard, you can:
- Monitor real-time ultrasonic and MPU6050 sensor data.
- Control the rover's movement by clicking the directional buttons (Forward, Backward, Left, Right, Stop).
- Observe the rover's response to ultrasonic sensor data for obstacle avoidance.
If you'd like to contribute to this project, please follow these steps:
- Fork the repository on GitHub.
- Create a new branch for your feature or bug fix.
- Make your changes and commit them with clear and concise messages.
- Push your changes to your fork.
- Create a pull request to the main repository.
This project is licensed under the MIT License. See the LICENSE file for details.

