In this tutorial is described how you can integrate your littleBits with the Node-RED environment in IBM Bluemix. It discusses the minimum that is needed to complete this integration. Attached is a sample flow that was used to create the tweeting and singing Bluemix banana.
-
An IBM Bluemix account. If you don’t have one, please register for a free account at http://ibm.biz/bluemixnl. Click 'SIGN UP' to create your free account.
-
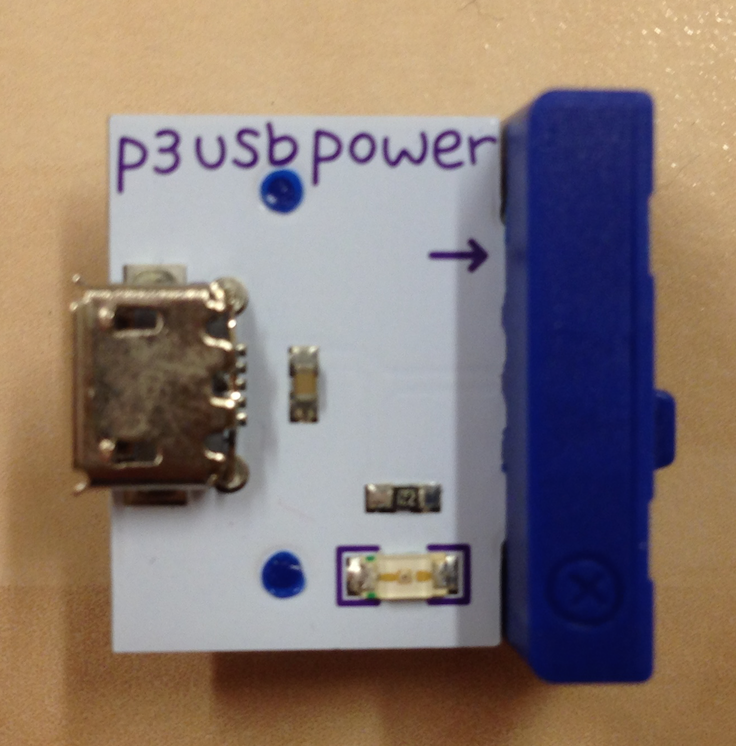

A littleBits USB input bit ( p3 usb power ) + USB cable + power
-
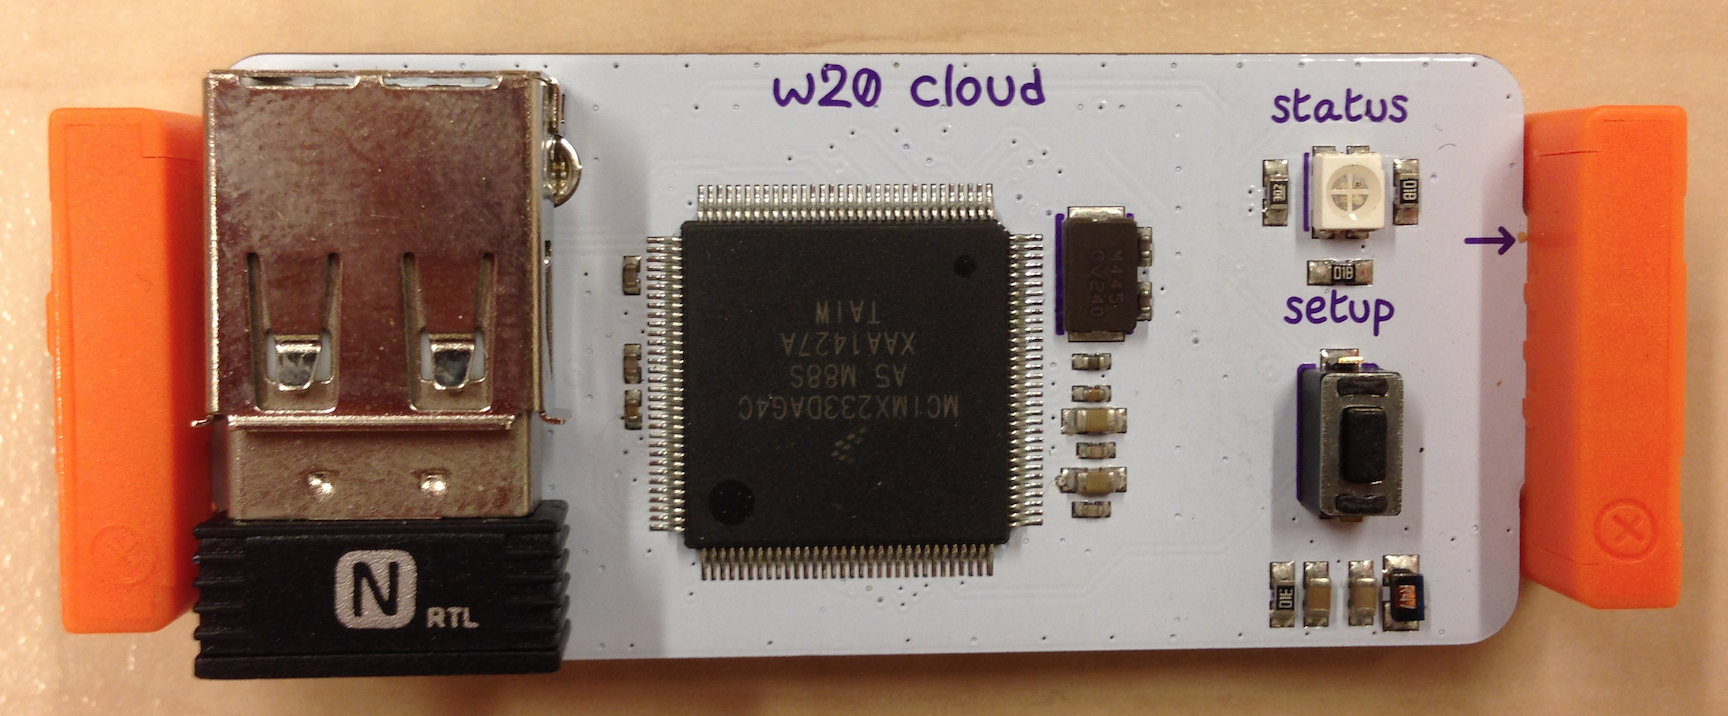 A littleBits Cloudbit connector bit ( w20 cloud )
 -
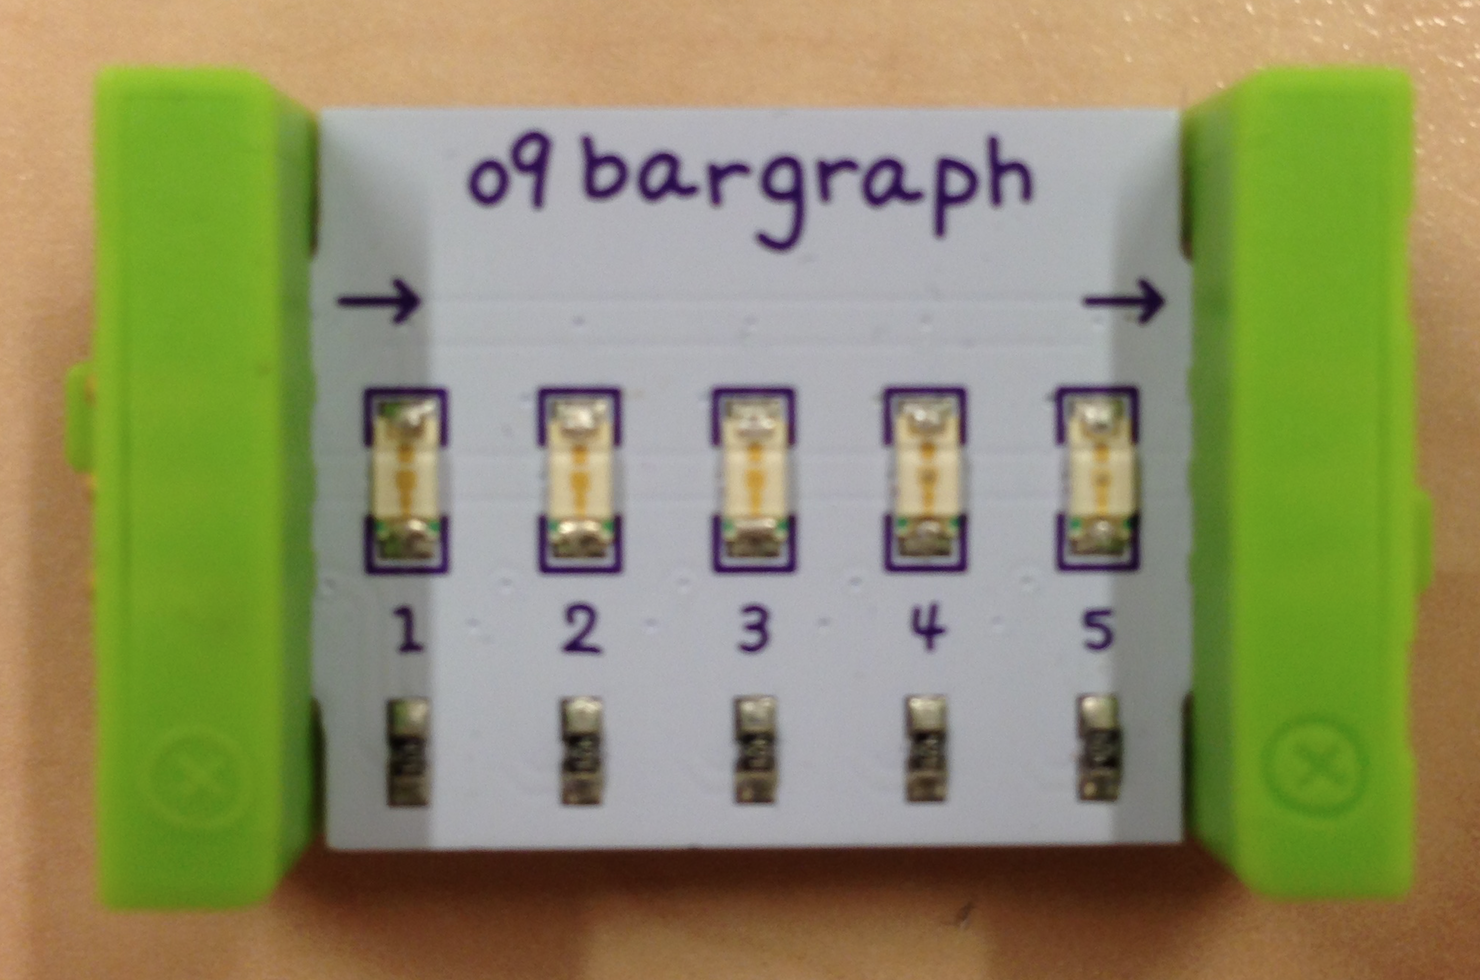 A littleBits output bit ( e.g. o9 bargraph )


*  A littleBits Makey Makey input bit ( _w14 makey makey_ ) + connectors
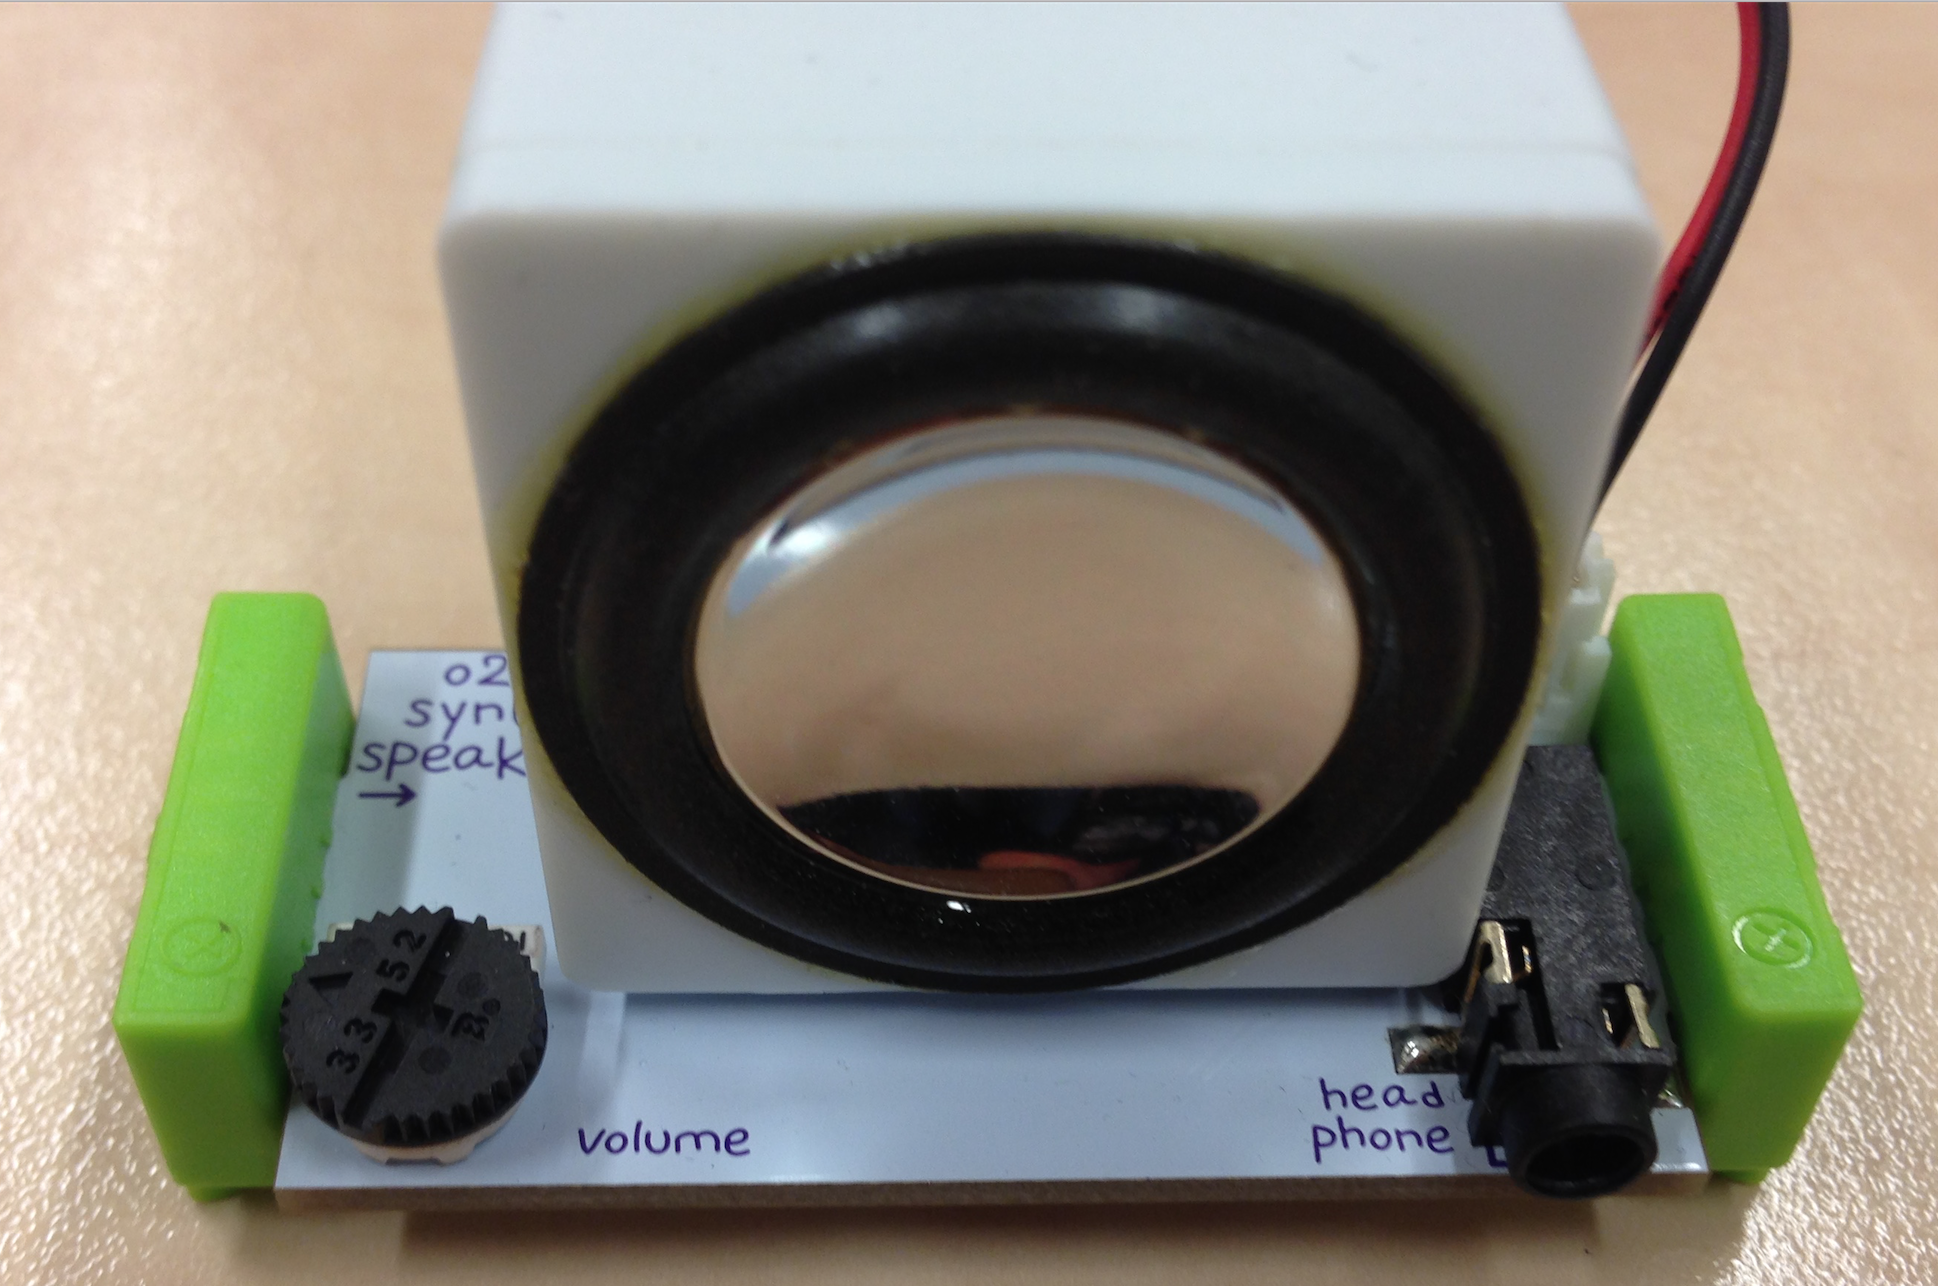 A littleBits Synth speaker output bit ( o24 synth speaker ).

The first step is to connect your Cloudbit to the littleBits cloud, so that the Cloudbit is known to this cloud and can start sending and receiving data.
-
Go to http://control.littlebitscloud.cc/ and sign in with your userid and password. First time visitors need to register first.
-
Once you’re logged in, click on ‘+ New Cloudbit’ and assign a name to your Cloudbit. Click ‘Save’ to complete this step and start the setup of your Cloudbit.
-
Follow Step 1 - 5 on the screen to complete the setup of your Cloudbit. If everything went fine, the Cloudbit’s status led should be green. This means the bit is connected to the littleBits cloud and is ready to send and receive data.
The next step is to set up a Node-RED environment in IBM Bluemix. For this, click on the 'Deploy to Bluemix' button and follow the instructions.

A Node-RED environment will be created for you in IBM Bluemix and the tweeting and singing banana sample flow will be deployed for you. Once the application successfully deployed, click on the 'VIEW YOUR APP' button to see your app. A new tab will be opened for this. On this page, click the 'Go to your Node-RED editor' button to open the Node-RED editor.
Now both the Cloudbit and the Node-RED environment have been set up and configured, it is time to create your flow. For this flow to be capable of communicating with the littleBits Cloudbit, you need to be able to send and receive data from it.
One possible way of receiving data from the Cloudbit is to start your flow with a HTTP Input node. This node needs to be able to receive events that are sent by the Cloudbit. For this, you need to add your node as a subscriber to the Cloudbit. This is done via the following REST API call:
curl -X POST -H "Authorization: Bearer <your_access_token>" -H "Content-Type: application/json" -d '{"publisher_id": "<deviceid_cloudbit>","subscriber_id": "<subscriber_uri>"}' 'https://api-http.littlebitscloud.cc/v2/subscriptions'
where <deviceid_cloudbit> is the unique identifier of your Cloudbit and <subscriber_id> the URL of the subscribing HTTP input node. The <access_token> is your simple authentication token. Every REST call must have an Authorization header containing this token. It is listed under the ‘Settings’ of your registered Cloudbit on the littleBits Cloud Control site.
If the call was successful, you will get a response similar to:
{
  "publisher_id": "<deviceid_cloudbit>",
  "subscriber_id": "<subscriber_uri>",
  "publisher_events": [
    {
      "name": "amplitude:delta:ignite"
    }
  ]
}
To obtain a listing of subscribers to your Cloudbit, execute the following REST call:
curl -X GET -H "Authorization: Bearer <access_token>" 'https://api-http.littlebitscloud.cc/v2/subscriptions?publisher_id=<deviceid_cloudbit>'
Finally, the following call will remove your subscription from the Cloudbit:
curl -X DELETE -H "Authorization: Bearer <access_token>" -H "Content-Type: application/json" -d '{"publisher_id": "<deviceid_cloudbit>","subscriber_id": "<subscriber_uri>"}' 'https://api-http.littlebitscloud.cc/v2/subscriptions'
Only execute this call when your no longer wish to send your events to the Node-RED input node.
Now that we are able to receive events from our Cloudbit, let’s see how we can trigger the Cloudbit by sending a response. The REST call to send a message to the Cloudbit is as follows:
curl -X POST -H "Authorization: Bearer <access_token>" -H "Content-Type: application/json" -d '{"percent": "90","duration_ms": "5000"}' 'https://api-http.littlebitscloud.cc/v3/devices/<device_id>/output'
Important is to specify both the ‘Authorization’ and ‘Content-Type’ header. The body is just an example payload. Both values are optional. If they are not specified, 100% is used as the default value for the percentage and 3000 (ms) as the default value for the duration.
To translate the above REST call in Node-RED nodes, we need an HTTP output node and a function node. They need to be linked with the HTTP input node as illustrated below.
 The HTTP output node contains the URL and the request method. In this case the URL would be:
http.littlebitscloud.cc/v3/devices/<device_id>/output
and the method is set to POST. Replace <device_id> with the actual value of your Cloudbit.
The function node is used to prepare the message body and the request headers. The implementation of the node is as follows.
// First store percent value of received message
percentage = msg.payload.payload.percent;
msg={}; // Empty message for HTTP call to Cloudbit

node.log('percentage:' + percentage);

// Set headers for HTTP call to Cloudbit
msg.headers = {
    "Authorization" : "Bearer <your_access_token>",
    "Content-type" : "application/json"
};

// Set message body for HTTP call to Cloudbit
msg.payload = {
  "percent": percentage,
  "duration_ms": "5000"
}

return msg;
The Node-RED flow that is deployed as sample flow illustrates the integration described above. It receives events sent by the Cloudbit. Next, using an iterator — which is reset every day — it tweets how many times it has been invoked that day. Finally, it invokes the Cloudbit to trigger the next step in the littleBits set-up. In our example the Cloudbit triggered a bargraph bit (O9) for 5 seconds, followed by playing a song from the MP3 player bit (i25). Because the initial Cloudbit event was triggered by a Makey Makey bit (w14), connected to a banana, this makes our banana a tweeting and singing banana powered by littleBits and IBM Bluemix.

Have fun and happy coding!!