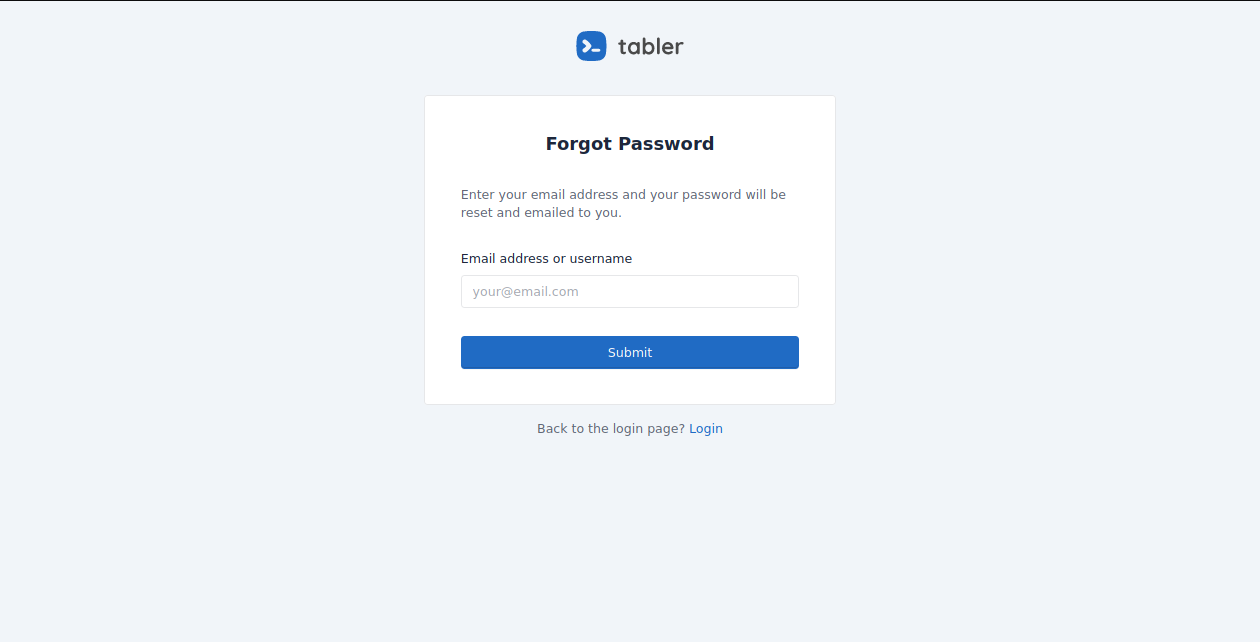
This is a full web app using Starlette.
This project exists with the help of some of really great tools.
- Starlette: Lightweight ASGI framework/toolkit for building async web services
- Tabler: UI kit based on Bootstrap 5
- SQLAlchemy: The Python SQL Toolkit and Object Relational Mapper
- Arq: Job queues and RPC in python with asyncio and redis
- SQLAdmin: Admin interface for SQLAlchemy models
- Authlib: The ultimate Python library in building OAuth and OpenID Connect servers
- And more...
- Python: at least version 3.10
- Database: SQLite, MySQL, PostgresQL or anything that is supported by SQLAlchemy
- Redis
- SMTP
- OAuth2 (GitHub and Google)
Application configuration is required as on .env.example.
You can copy this file as .env and edit it as you want.
cp .env.example .envmkdir -p files/{logs,pids}Additional requirements
aiosqlite
.env
DATABASE_URL=sqlite+aiosqlite:///./sqlite.db
Additional requirements
aiomysql
PyMySQL
.env
DATABASE_URL=mysql+aiomysql://USER:PASSWORD@127.0.0.1/DATABASE_NAME
Additional requirements
asyncpg
.env
DATABASE_URL=postgresql+asyncpg://USER:PASSWORD@127.0.0.1/DATABASE_NAME
# Initialisation
mkdir alembic/versions

# Generate migration scripts
alembic revision --autogenerate -m 'initial'
# Run first migration
alembic upgrade headAfter create new DB model, make sure it has been imported on apps.core.db_tables, then run:
# Generate migration scripts
alembic revision --autogenerate -m 'initial'
# Run first migration
alembic upgrade head
Redis is required for arq for
job queues and RPC in python with asyncio and redis.
See
Redis: Arqsection on the.envfile.
Upon registration, password update, reset password action, you need to open links that sent to your email.
White starting this web application, you can use a really cool fake SMTP service that provided by Ethereal Email.
For production use, you may edit the SMTP configuration on the .env file
for any SMTP service you like.
See
SMTP: Emailsection on the.envfile.
On first startup, an admin user is created.
The credentials should be placed on .env file.
Admin configuration example on .env file
ADMIN_USERNAME=admin
ADMIN_PASSWORD=password
ADMIN_EMAIL='admin@localhost'
This web app is extended to use third party Oauth2 provider such as Google and GitHub.
We need to set up OAuth2 configuration one .env.
GITHUB_CLIENT_ID=
GITHUB_CLIENT_SECRET=
GOOGLE_CLIENT_ID=
GOOGLE_CLIENT_SECRET=
Please make sure to set the scopes for the OAuth2 clients for at least to be able to see email and public profile.
ENV=dev
bash scripts/dev.shbash scripts/arq.shFor production use, make sure you edit the .env configuration file, such as.
Make sure you use proper value for SECRET_KEY and admin user credentials.
ENV=prod
SECRET_KEY=CHANGE THIS SECRET

ADMIN_USERNAME=admin
ADMIN_PASSWORD=password
ADMIN_EMAIL='admin@localhost'
Then make sure you use a real SMTP Provided and edit the SMTP configuration.
bash scripts/prod.shkill `cat files/pids/web_app.pid`bash scripts/arq.shPlease take a look on configs/nginx_conf_d_yousite.conf.
Copy that file and edit on /etc/nginx/conf.d/yoursite_com.conf.
Please consider to create a free SSH Certificate you your web app. :)
Letsencrypt will help you to run your web application to this.
pip install -r requirements/test.txtpytest- Update README for missing starting instruction
- Remove usage of arq-dashboard.
Removearq-dashboardby runningpip uninstall arq-dashboardcommand to be able to update to current version


