A progressive Node.js framework for building efficient and scalable server-side applications.


Nest framework TypeScript starter repository.
pnpm install# development
$ pnpm run start
# watch mode
$ pnpm run start:dev
# production mode
$ pnpm run start:prod# unit tests
$ pnpm run test
# e2e tests
$ pnpm run test:e2e
# test coverage
$ pnpm run test:covCheck out a few resources that may come in handy when working with NestJS:
- Visit the NestJS Documentation to learn more about the framework.
- For questions and support, please visit our Discord channel.
- To dive deeper and get more hands-on experience, check out our official video courses.
- Visualize your application graph and interact with the NestJS application in real-time using NestJS Devtools.
- Need help with your project (part-time to full-time)? Check out our official enterprise support.
- To stay in the loop and get updates, follow us on X and LinkedIn.
- Looking for a job, or have a job to offer? Check out our official Jobs board.
Nest is MIT licensed.
Note: Tutorial Link to follow
-
Install the required packages by running the following command:
# to get the latest nestjs version on your projects (globally)
$ npm install -g @nestjs/cli@latest

# to start this project
$ nest new q-micro-services
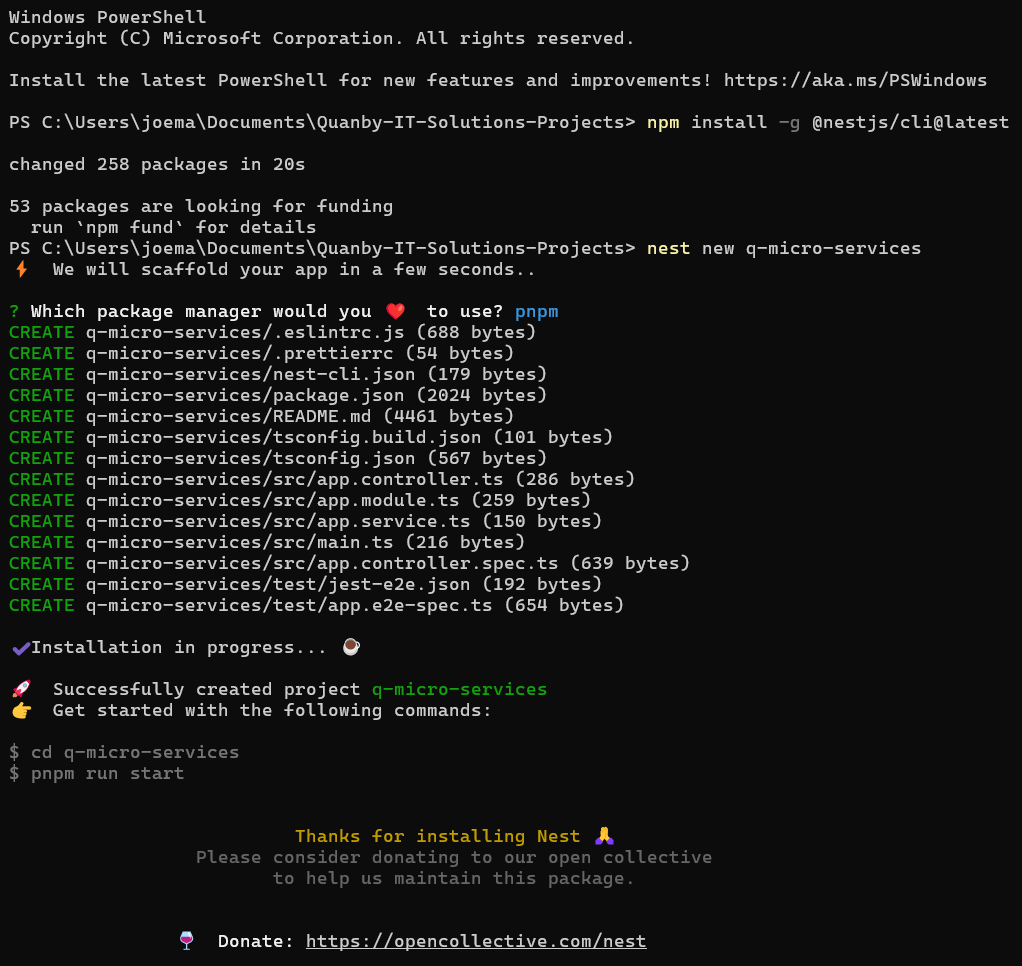
Note: I use pnpm as the package manager.
-
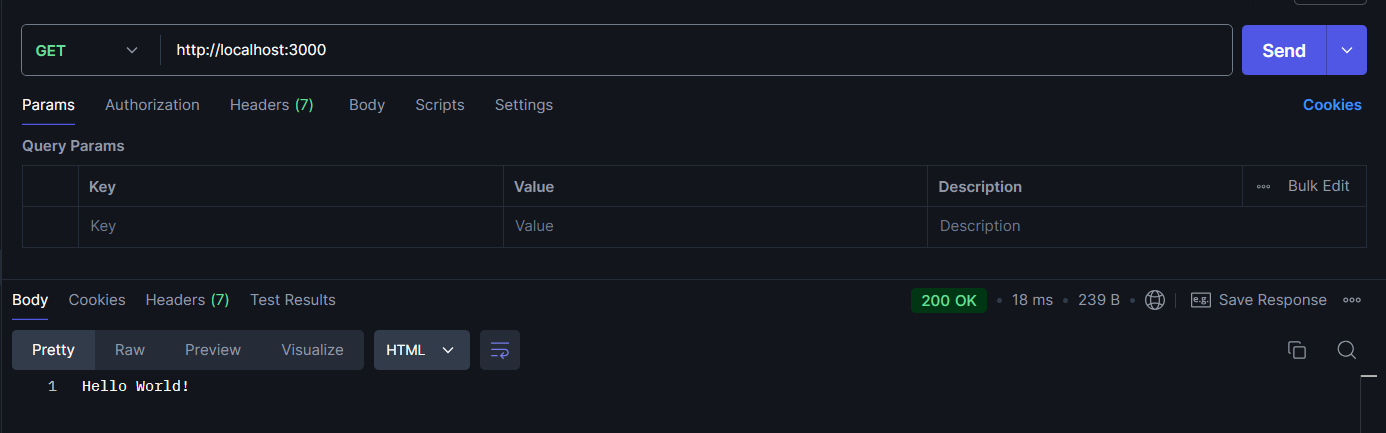
Test:
-
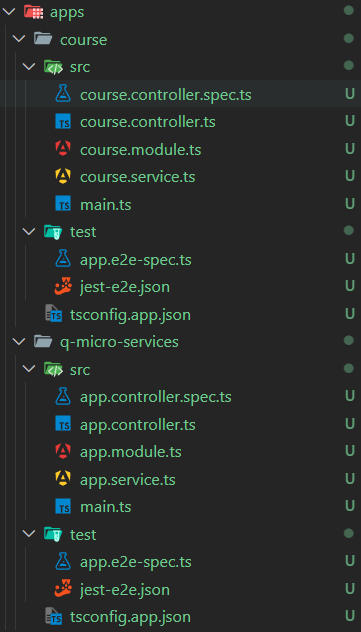
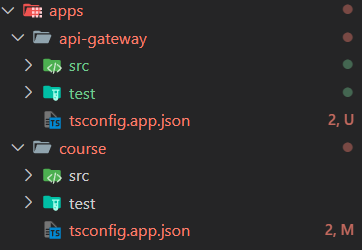
Create our microservice to Manage Courses, but first we need to convert this project to mono-repo:
# generate microservice for courses
# microservice would be the folder, and course will be a sub directory that will handle the things for the microservices
$  nest generate microservice course

# but for convention I used app/course
$  nest generate app course
file-structure:
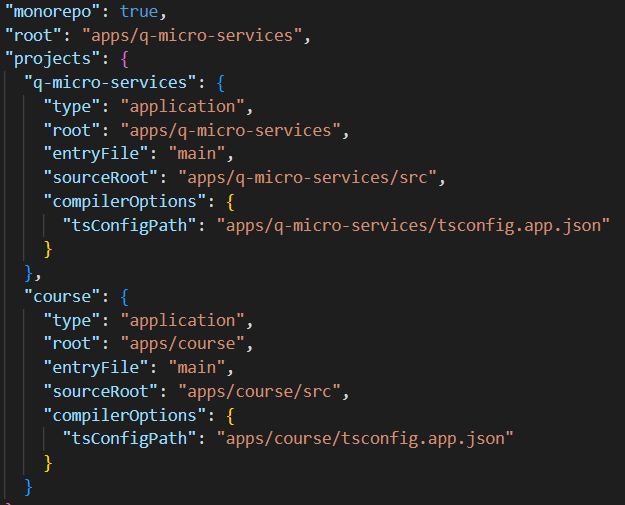
nest-cli.json:
-
Renaming for uniform code: From Q-Micro-Service -> api-gateway
For a proper API naming of the api-gateway that will recieve all the traffice of all the http request in the app by proxing those calls to the microservices using gRPC.
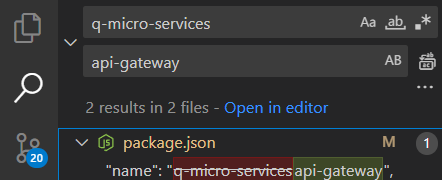
Note: I still save some of the app name, so you still can search q-microservices
-
Test the courses
# you can test to its specific gateway
$ pnpm run start:dev course
This will cause an error because of the image below and still listening to both port 3000. We can solve it using gRPC.
So we will install grpc and grpc-tools to generate the proto file and the client for the microservices.
# you can test to its specific gateway
$ pnpm i --save @nestjs/microservices @grpc/grpc-js @grpc/proto-loader ts-proto
Remove files apps ---- api-gate-way ---- course ---------src ------------ course.controller (remove) ------------ course.service (remove)
And remove all its import in the course module, then we will use commandline to generate its resouces to perform CRUD.
# you can test to its specific gateway
$ nest g resource course
# then choose course (microservice and y), this will generate files from course folder
-
protoc --plugin=./node_modules/. bin/protoc-gen-ts_proto --ts_proto_out=./ --ts_proto_opt=nestJs=true ./proto/course.proto It seems that
protoc, the Protocol Buffers compiler, is not installed on your system. You will need to install it to be able to compile.protofiles. Here’s how you can install and set it up:


To install protoc, follow the appropriate steps based on your operating system:
-
Open PowerShell as Administrator.
-
Run the following command:
choco install protoc
-
Verify the installation by checking the version:
protoc --version
Ensure you have ts-proto installed in your project:
npm install ts-protoOnce protoc is installed, you should be able to run the command to generate the TypeScript code with nestJs options:
protoc --plugin=./node_modules/.bin/protoc-gen-ts_proto --ts_proto_out=./ --ts_proto_opt=nestJs=true ./proto/course.protoIf everything is installed correctly, running protoc --version should display the version number, and the generation of TypeScript files should work as expected.
protoc --plugin=./node_modules/.bin/protoc-gen-ts_proto --ts_proto_out=./ --ts_proto_opt=nestJs=true ./proto/course.proto protoc --plugin=protoc-gen-ts_proto=C:/Users/joema/AppData/Roaming/npm/protoc-gen-ts_proto.cmd --ts_proto_out=./src --ts_proto_opt=nestJs=true ./proto/course.proto