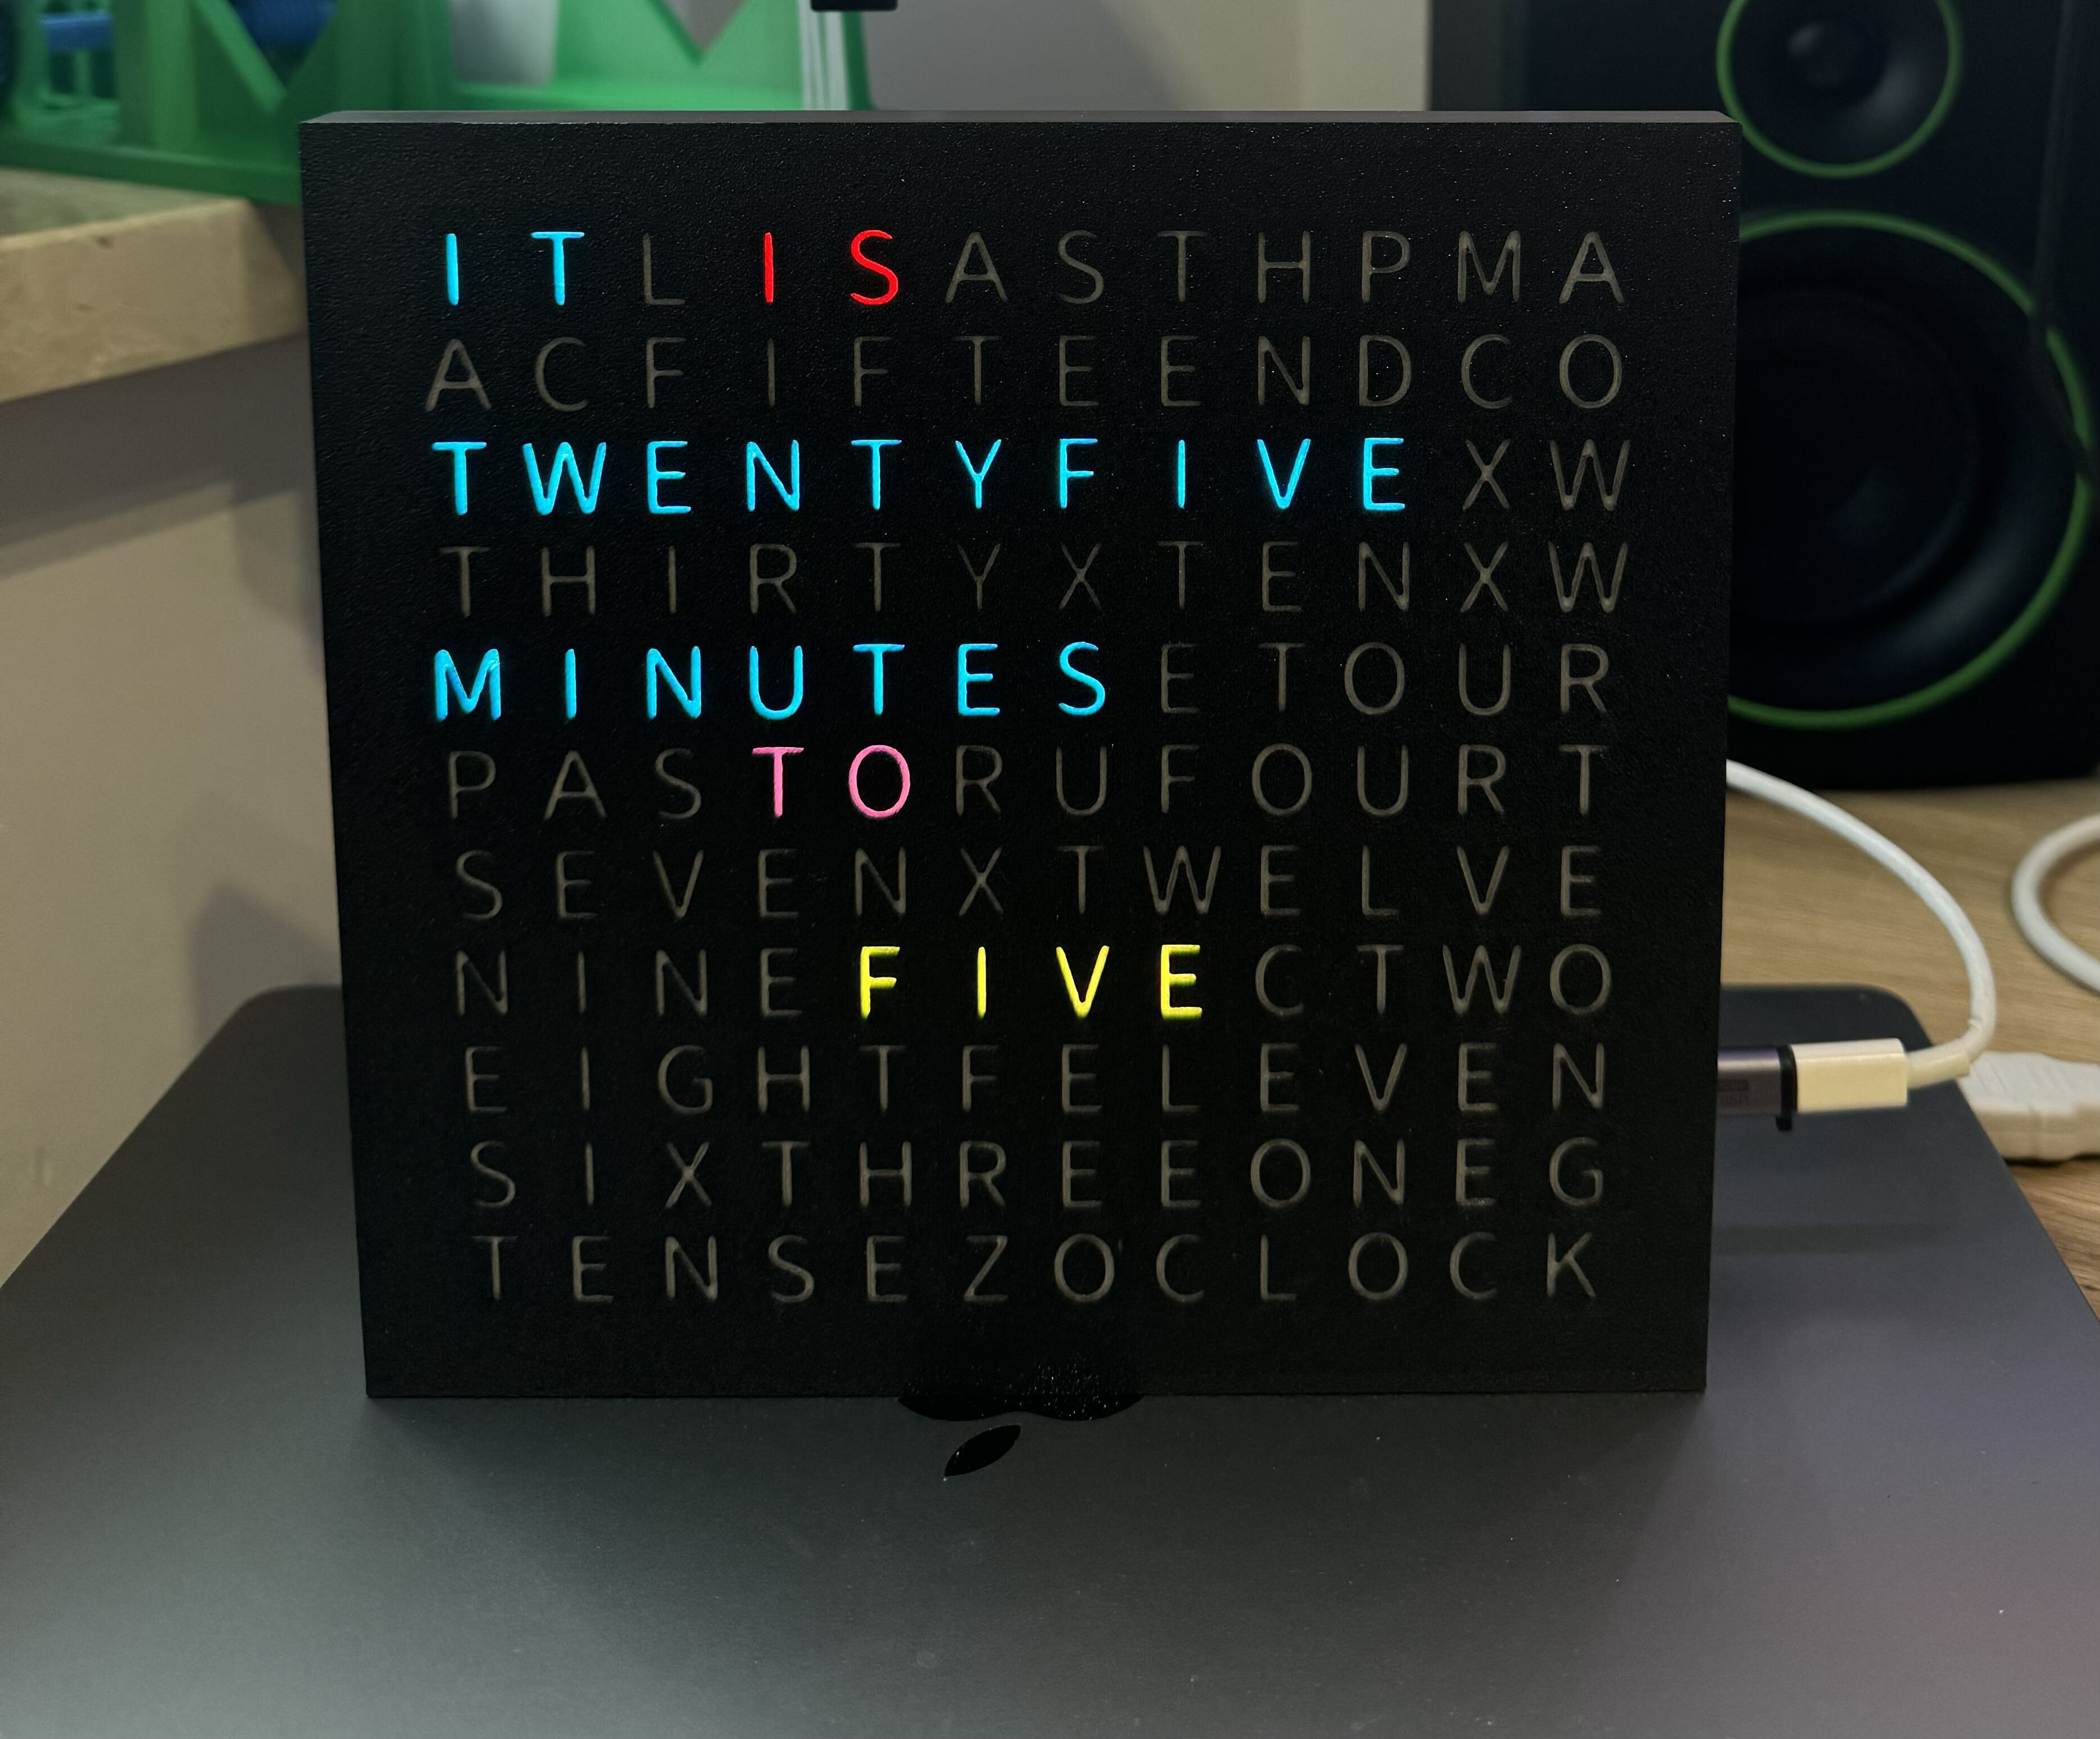
The Word Clock project features two main platforms: ESP32 and Raspberry Pi. This project allows you to display the time in a creative word format and includes functionalities for handling GIF animations.
You can find printing models on https://makerworld.com/en/models/686196#profileId-614840
word-clock-main/
├── .gitignore
├── README.md
├── esp/
│   └── wordclock/
└── raspberry-pi/
    ├── heart_art_small.gif
    ├── install.sh
    ├── requirements.txt
    ├── src/
    │   └── wordclock/
    │       ├── __init__.py
    │       ├── clock_display_hal.py
    │       ├── gif.py
    │       ├── main.py
    │       └── word_clock.py
    └── sync.sh
Docs for Raspberry Pi installation can be found here
Docs for ESP32 installation can be found here
The sync.sh script is included to help synchronize files between a source directory and a target directory in real-time. This ensures that any changes made in the source directory are reflected in the target directory.
-
Run the Sync Script To synchronize the files, execute the following command in the terminal:
chmod +x sync.sh
./sync.sh /path/to/source /path/to/target
Replace
/path/to/sourceand/path/to/targetwith the actual paths you want to synchronize. -
Automatic Sync You can run this script in the background or set it up as a service to keep your directories synchronized without needing to run the script manually each time.
-
Code Structure: Follow the existing file organization within the
src/wordclockdirectory. This helps maintain clarity in functionality. -
Comments: Keep comments to the most important parts of the code, as specified in your development preferences.
-
Contributing: For any contributions or issues, please raise a pull request or create an issue in the GitHub repository.
- Ensure that your Raspberry Pi has a stable internet connection for the initial setup and for the synchronization process.
- For the ESP32, make sure you have the correct board selected in PlatformIO.
Legal: The provided project, including all instructions and materials, is shared for informational purposes only and is offered without any express or implied warranties. I disclaim all liability for any damages, losses, or injuries that may occur as a result of using, modifying, or following the instructions in this project. The project is shared 'as is,' and I make no guarantees regarding its functionality or suitability for any particular purpose. Use this project at your own risk, and be aware that results may vary based on individual implementation.
