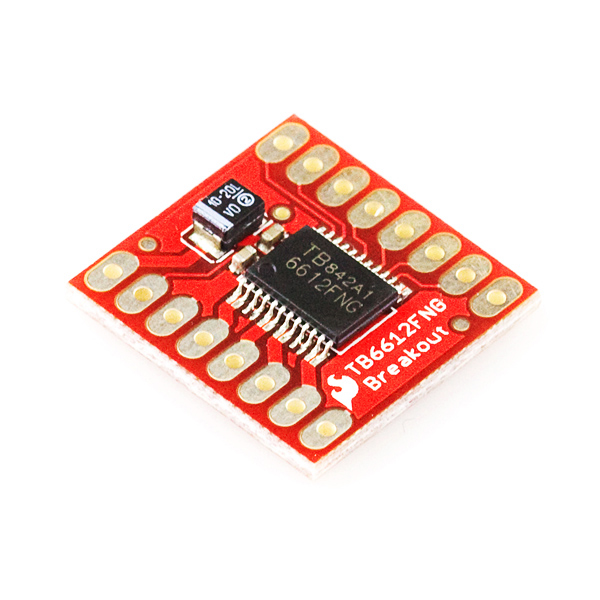
A JavaScript Driver for the TB6612FNG motor driver from Sparkfun. Use this chip to drive one or two motors from your microcontroller.
If you're looking for a fun project, I recommend integrating this motor driver with this motor powered car kit.
npm install motor-driver-tb6612
The hardware hook up for this module is a little more complicated than usual because it needs to use 5 different GPIOs and 2 PWM pins. Tessel's GPIO bank offers 3 PWM (which can also act as GPIO) and 3 GPIO pins so you'll need to add one more GPIO from another module.
I followed the wiring tutorial I found on this instructable.
Motor Driver | Tessel

PWMA <-> GPIO Port G4

AIN2 <-> GPIO Port G1

AIN1 <-> GPIO Port G2

STBY <-> GPIO Port G3

BIN1 <-> ANY OTHER GPIO (I use Port D, GPIO 1 in my examples)

BIN2 <-> GPIO Port G6

PWMB <-> GPIO Port G5

GND <-> Not Connected (you could connect to GND if you want)

VM <-> The Motor Power Source (you must power motors with heavy duty power (like 4 AA's)

VCC <-> Tessel 3V3

GND <-> Tessel GND

A01 <-> Motor 1 Postive Terminal

A02 <-> Motor 1 Negative Terminal

B01 <-> Motor 2 Positive Terminal

B02 <-> Motor 2 Negative Terminal

GND <-> Not Connected
Note: You should probably use throughhole diodes (as explained in the Instructable I posted above) on between the motor driver output and the motor. This protects the chip from back EMF.
var tessel = require('tessel');
var port = tessel.port['GPIO'];
var driverLib = require('../');
var md = driverLib.use(port, tessel.port['D'].digital[0]);

var speed = 0;
var direction = 0;

setInterval(function() {

  md.drive(0, direction, speed);
  md.drive(1, !direction, speed);

  if (speed >= 1.00) {
    direction = !direction;
    speed = 0;
  }
  else {
    speed += 0.10;
  }
}, 250);####Commands
library.use(gpioPort, otherGPIOPin, callback) initializes the module and returns a MotorDriver object. The GPIO bank must be the first argument and any other GPIO pin can be the second callback. The extra GPIO pin must be
MotorDriver.drive(motorIndex, direction, speed) turns the motor at motorIndex (either 0 or 1) in direction (0 for forward, 1 for backward), at rate speed where speed is a float between 0 and 1.
####Events
ready thrown after the module initializes.
drive thrown when a motor is being driven. Arguments are (motorIndex, direction, speed).
In the /examples directory, there are two main examples:
motor.jswhich is the same as the example above and shows how to drive to motors forward and at increasing speed, then backwards at increasing speed./robo-carhas two files.robo-car.jsis code that can run on a Tessel connected to a remote control car to open up a TCP server. When it receives WASD commands, it moves in the corresponding direction.remote-control.jsis a Node.js script that when run, will accept keypress in the command line and send it to the car. NOTE: You'll need to change the IP Address to the IP Address of your Tessel.
