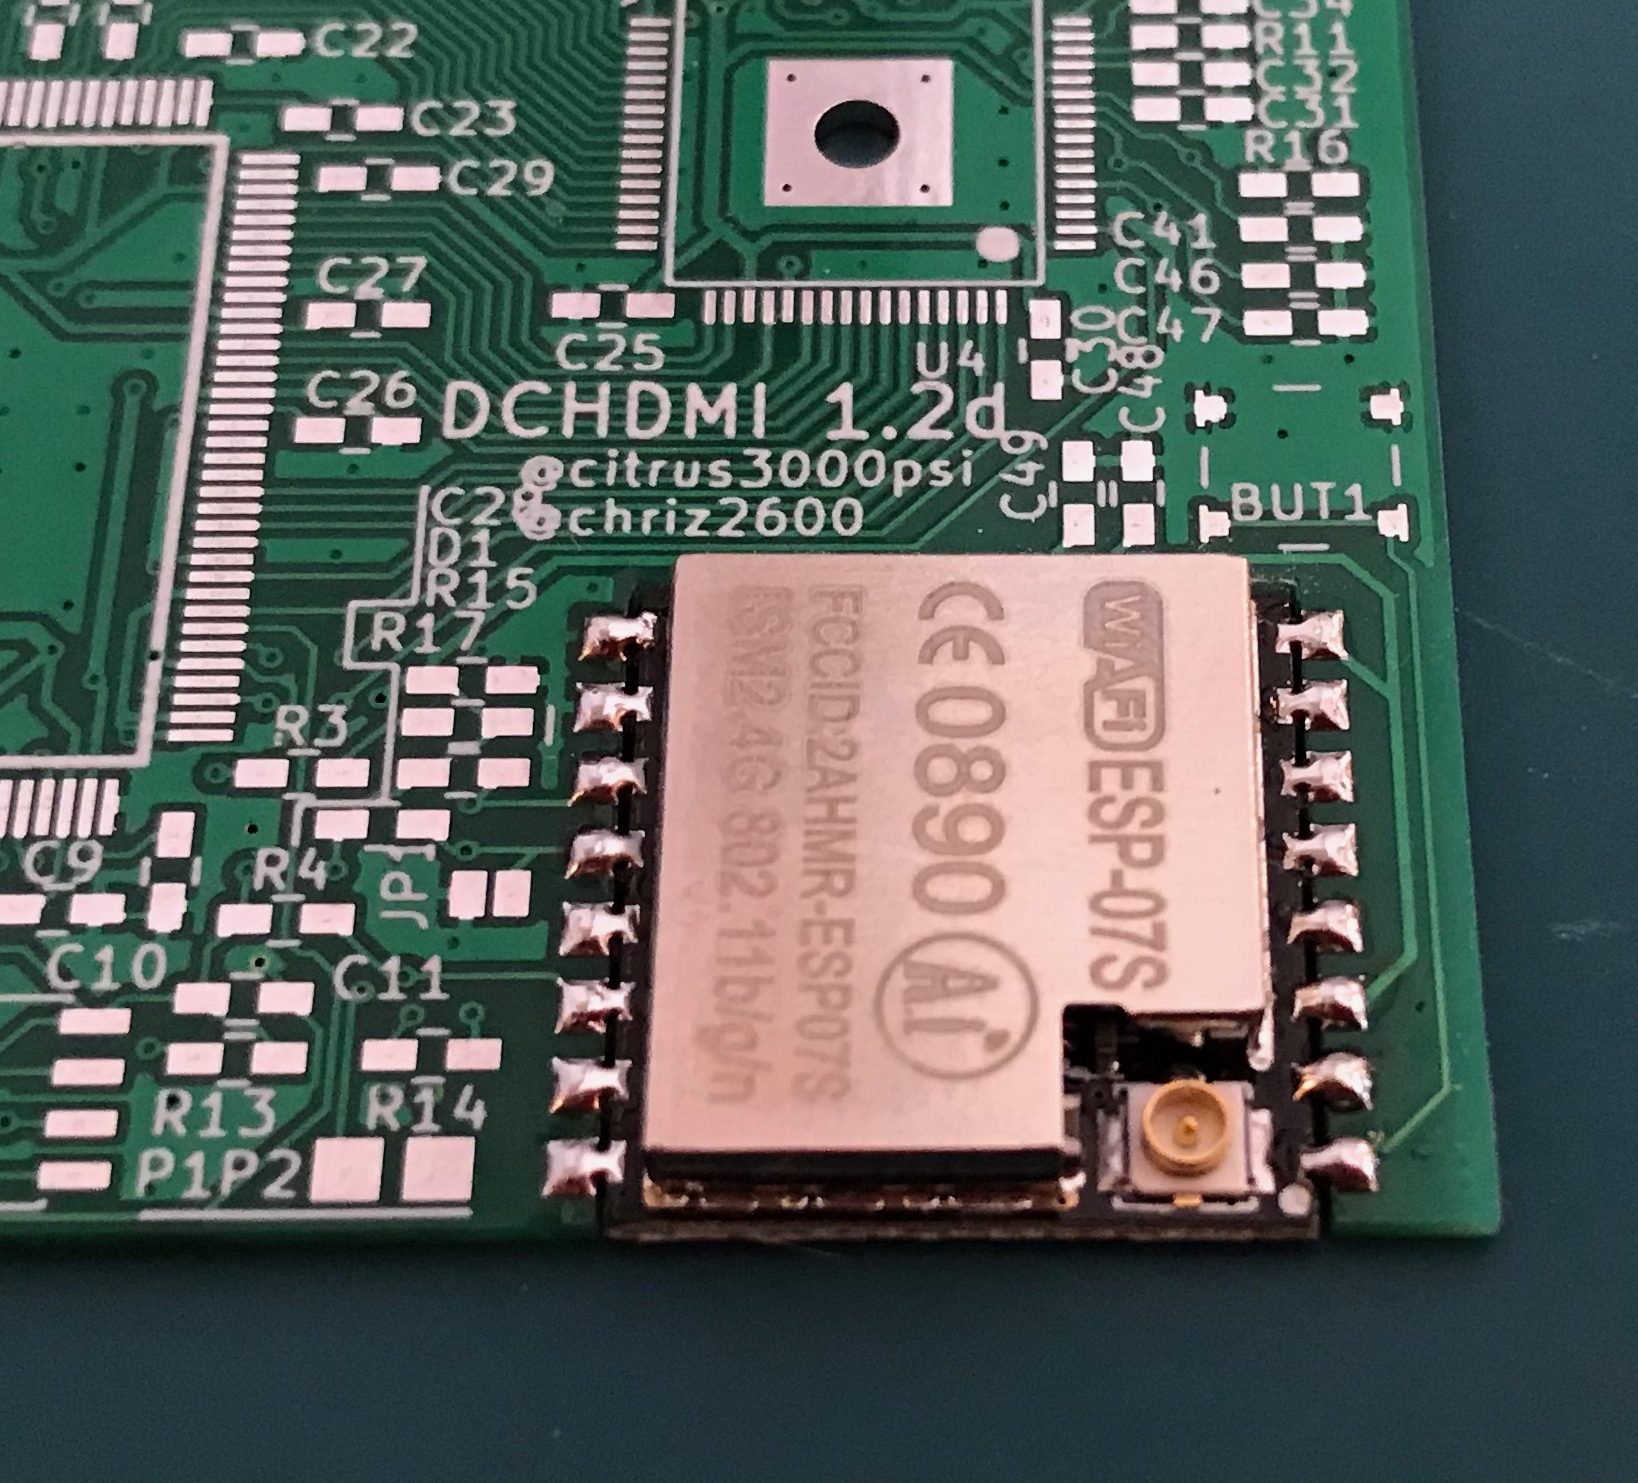
This was designed to provide an easy way to upgrade the firmware of the DreamcastHDMI/DCHDMI project using an ESP-07S, but it should be easily adapted to other projects, where a SPI Flash should be programmed (in a failsafe manner, as the ESP-07S firmware is not altered).
The ESP is operating inside the dreamcast's metal shielding, so it is necassary to mount the antenna outside of this. A perfect match for this is the ESP-07S, which comes without an external antenna. It usually also has 4MB instead of 1MB of flash memory.
On first startup the module acts as access point with predefined ssid/password. When connected you can setup the module, so it connects to your wifi router.
The setup credentials are:
SSID: dc-firmware-manager<ID>
PSK:  geheim1234
IP:   192.168.4.1
URL:  http://192.168.4.1
User: Test
Pass: testtest
After connecting to URL, you will be guided through the setup process.
Be sure to set the "OTA Password" to be able to upload a newer ESP firmware "over the air" in the future!
Restart the ESP-07S after setup is done with the command restart. If SSID and password are correct the Firmware Manager should now be connected to your local WiFi network.
After that - if your system supports mDNS (MAC OS X, Linux with avahi and Windows with Apple bonjour installed) - you can connect to dc-firmware-manager.local to flash a new firmware.
I've also created a small demo, running on a webserver:
Just type "help" and "details" to get information about how to upgrade firmware.
- To build you need platformio:
| Command | Comment |
|---|---|
pio run |
to build |
pio upload |
to upload to ESP-07S (remember to check upload related settings in platformio.ini) |
To build index.html you need the following
- node
- inliner node module (
npm install -g inliner)
./local/prepare-index-html to create compressed, self-contained index.html
I highly recommend the newer esptool.py instead of the esptool from platformio, as esptool.py is much faster by using a compressed protocol.
To flash the firmware the first time, you need a serial port (e.g. a usb to serial adapter). Be sure to set it to 3.3V, as the ESP8266 is not 5V tolerant.
The latest firmware is always available on esp.i74.de.
The firmware is divided into 2 parts, one (firmware.bin) is the actual firmware, the other (spiffs.bin) is the initial flash file system.
To flash the firmware/filesystem image the ESP-07S must be booted into serial programming mode.
See ESP8266 Boot Mode Selection for details.
If you have to program more than one ESP this might come in handy.
esptool.py -p <serial_port> write_flash 0x00000000 firmware.bin 0x00100000 spiffs.bin

serial_port:
    e.g. COM5 on windows, /dev/cu.usbserial-A50285BI on OSX.

# or
pio run -t upload
pio run -t uploadfs

platformio.ini:
    upload_port = /dev/cu.usbserial-A50285BI
    upload_speed = 230400
After that, the ESP can be programmed "over the air", if a OTA password was set in setup before.
To do an OTA update you need espota.py or platformio
espota.py -r -i dc-firmware-manager.local -p 8266 -a <OTA-password> -f firmware.bin

OTA-password:
    this must be set via the `setup` command.

# or
pio run -t upload

platformio.ini:
    upload_port = dc-firmware-manager.local
    upload_flags = --auth=<OTA-password>
See firmware-utils for details.

