Code for blog at: https://www.startdataengineering.com/post/docker-for-de/
In order to run the code in this post you'll need to install the following:
Windows users: please setup WSL and a local Ubuntu Virtual machine following the instructions here. Install the above prerequisites on your ubuntu terminal; if you have trouble installing docker, follow the steps here (only Step 1 is necessary). Please install the make command with sudo apt install make -y (if its not already present).
All the commands shown below are to be run via the terminal (use the Ubuntu terminal for WSL users).
git clone https://github.com/josephmachado/docker_for_data_engineers.git
cd docker_for_data_engineers
# Build our custom image based off of our local Dockerfile
docker compose build spark-master
# start containers
docker compose up --build -d --scale spark-worker=2
docker ps # see list of running docker containers and their settings
# stop containers
docker compose down
Using the exec command, you can submit commands to be run in a specific container. For example, we can use the following to open a bash terminal in our spark-master container:
docker exec -ti spark-master bash
# You will be in the master container bash shell
exit # exit the container
Note that the -ti indicates that this will be run in an interactive mode. As shown below, we can run a command without interactive mode and get an output.
docker exec spark-master echo hello
# prints helloUse the following command to start a jupyter server:
docker exec spark-master bash -c "jupyter notebook --ip=0.0.0.0 --port=3000 --allow-root"You will see a link displayed with the format http://127.0.0.1:3000/?token=your-token, click it to open the jupyter notebook on your browser. You can use local jupyter notebook sample to get started.
You can stop the jupyter server with ctrl + c.
Important❗ Make sure you shut down your codespace instance, they can cost money (see: pricing ref).
You can run our data infra in a GitHub Codespace container as shown below.
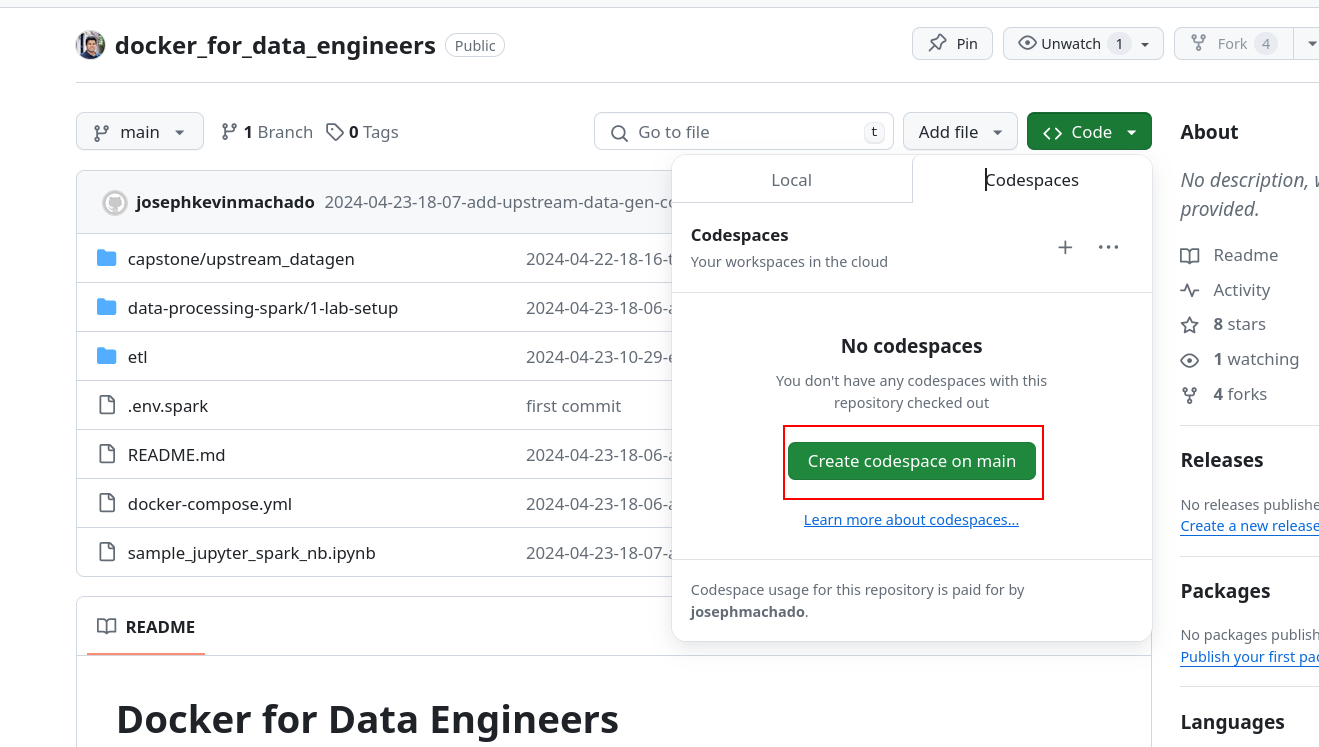
- Clone this repo, and click on
Code->Codespaces->Create codespace on mainin the GitHub repo page. - In the codespace start the docker containers with
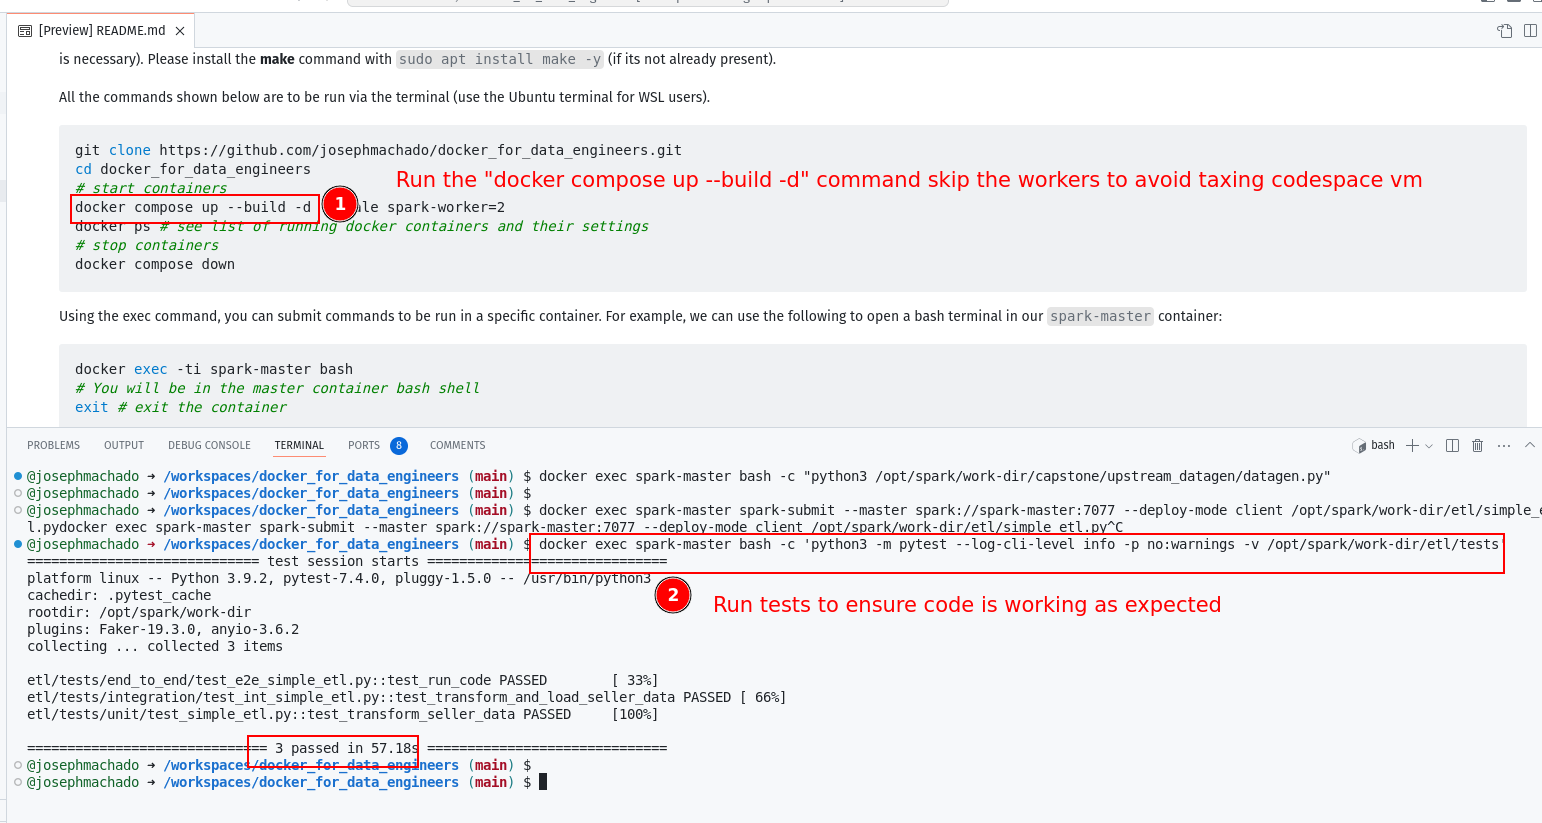
docker compose up --build -dnote that we skip the num workers, since we don't want to tax the codespace VM. - Run commands as you would in your terminal.
Note If you want to use Jupyter notebook via codespace forward the port 3000 following the steps here
Code for blog at: https://www.startdataengineering.com/post/test-pyspark/
In our upstream (postgres db), we can create fake data with the datagen.py script, as shown:
docker exec spark-master bash -c "python3 /opt/spark/work-dir/capstone/upstream_datagen/datagen.py"docker exec spark-master spark-submit --master spark://spark-master:7077 --deploy-mode client /opt/spark/work-dir/etl/simple_etl.pydocker exec spark-master bash -c 'python3 -m pytest --log-cli-level info -p no:warnings -v /opt/spark/work-dir/etl/tests'
