- Products
- Product categories
- Purchases
- Sales
- Supplier
- Reports
- Access Control (roles and permissions)
- Users
- User Profile
- Settings (Application settings)
- Application backup
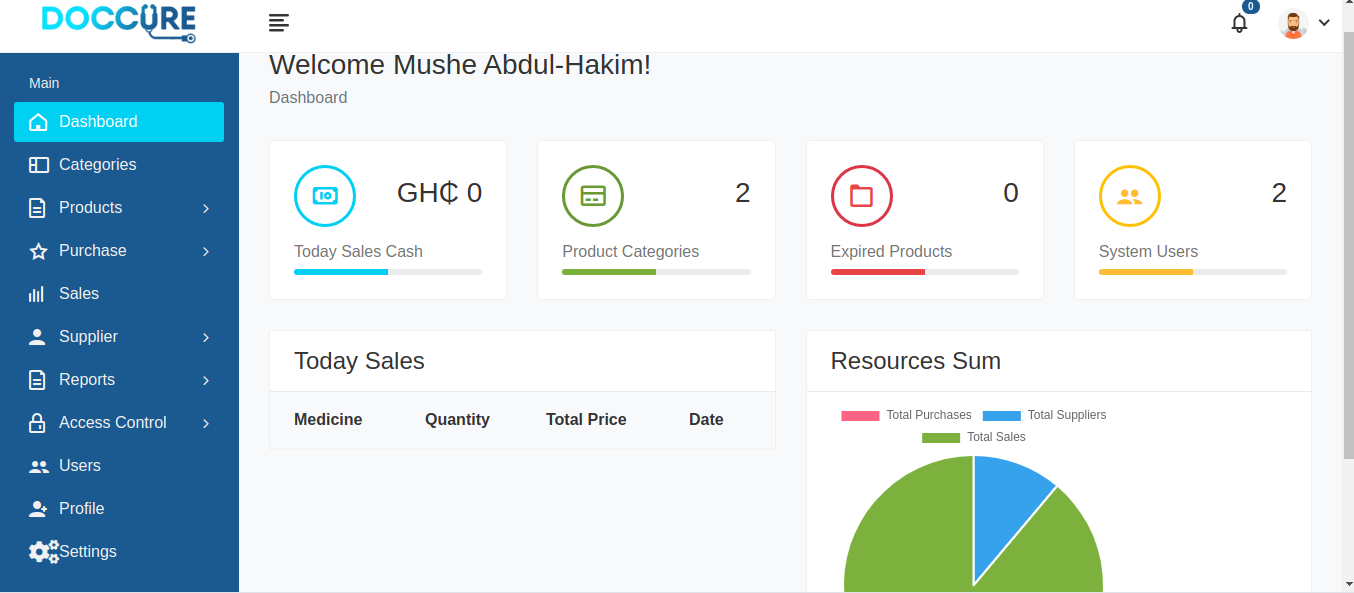
- Dashboard
- Stock notifications
Follow these steps to install the application.
- Clone the Repository
git clone https://github.com/MusheAbdulHakim/Pharmacy-management-system.git
- Go to project directory
cd Pharmacy-management-system
- Install packages with composer
composer install
- Install npm packages with
npm install; npm run dev
-
Create your database
-
Rename .env.example to .env Or copy it and paste at project root directory and name the file .env.You can also use this command.
cp .env.example ./.env
- Generate app key with this command
php artisan key:generate
- Set database connection to your database in the .env file.
DB_CONNECTION=mysql
DB_HOST=127.0.0.1
DB_PORT=3306
DB_DATABASE=doccure
DB_USERNAME=root
DB_PASSWORD=
- Import full database sql file in the database folder, or run migrations Use this command to run migrations
php artisan migrate --seed
- Start the local server and browser to your app. This command will start the development server
php artisan serve
- Open the address in the terminal in your browser.Usually address is usually like this:
http://127.0.0.1:8000
- Enjoy and make sure to star the repo :).Report bugs,features and also send your pull requests.
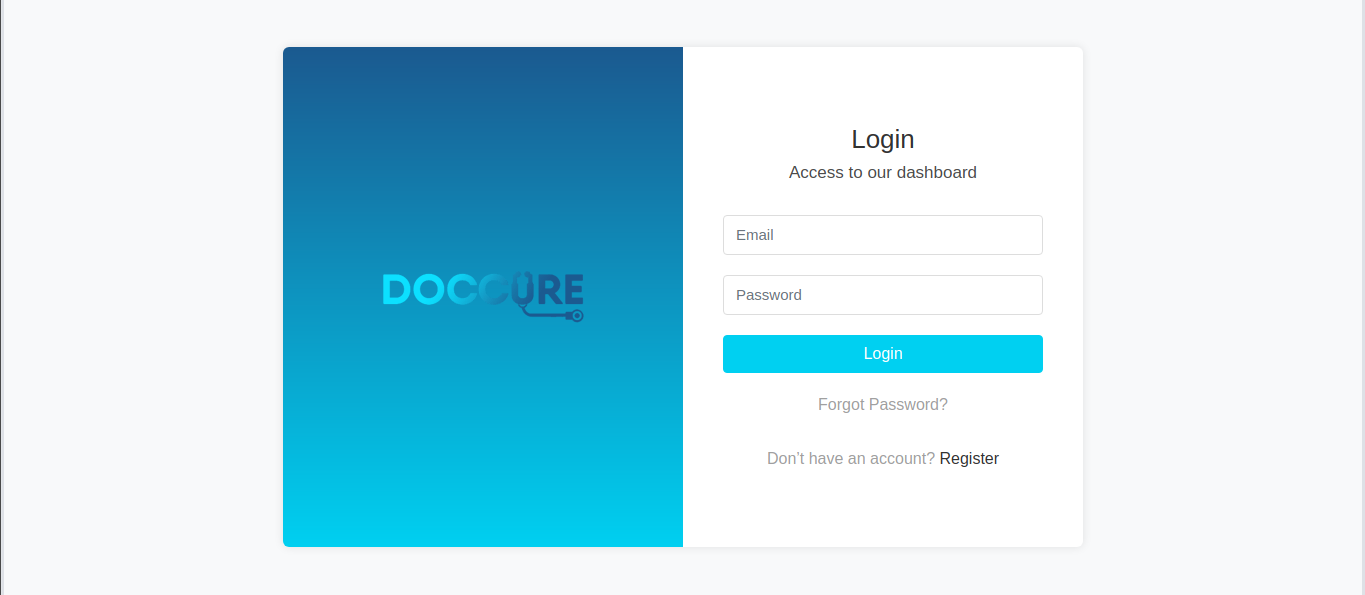
 email: admin@admin.com
 password: admin
-
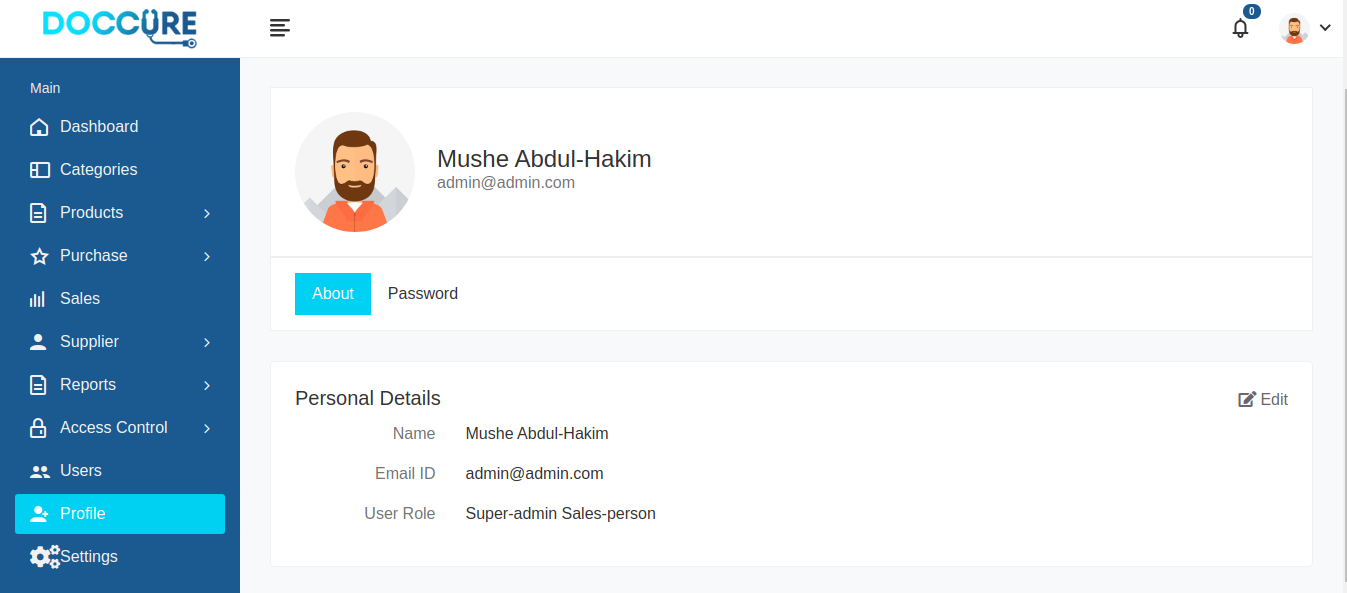
Profile => Each user has a profile of their own. You can update your profile credentials from this page by clicking on the edit button. You can also change your password by clicking on the password tab and choosing your new password.Also make sure you type your old password correctly
-
Users => list of all users in the system. You can add new user by clicking on the add user button on the users page. You can also edit user details by clicking on the edit button on the users page. You can easily delete a user by clicking on the delete button. You can export or print all the users data by clicking on the export data button dropdown.
-
Access Control => User roles and permissions are here. Every user in the system has a role and each role has some number of permissions in the system. You can create new roles and choose their permissions. Click the add role button, and write the role name and choose some number of permissions you want the user holding this role to have and submit. you can edit or delete roles by clicking on either the edit button or delete button.
-
Suppliers => The suppliers page has a list of all your product suppliers. You can add new suppliers by clicking on add supplier button on the page or from the sidebar. You can also edit supplier details by clicking on the edit button on the suppliers page. You can also delete by clicking on the delete button.
-
Sales =>
The sales page has list of all the sales that has ever been made on the system. You can add sales by clicking on the sales button on the sales page. You can also delete sales by clicking on the delete button.
You can export or print the sales data by clicking on the export data dropdown menu at the top of the list and choosing which option you want.
-
Purchases => The Purchases page contains all your product purchases.This is the core part of the your application products. you can add purchases by clicking on the add new button on the purchases page or by clicking on the add purchase button on the sidebar.After that, fill in the details and submit the form. You can edit purchases by clicking edit button on the purchases page. You can also delete purchase by clicking on the delete button on the purchases page. You can also export or print the purchases data by clicking on the export data dropdown And choose your option.
-
Products => The products page contains all products that you are selling. You can add product by clicking on the add product from the sidebar or add new button the products page.
You can edit the product details by clicking on the edit button on the products page Or you can also delete product by clicking on the delete button on the products page.
->Outstock =>This page contains all products that are out of stock.That is when a purchased product quantity is zero and is not updated, It is refered to as outstocked product. You don't need to add or delete outstocked products. The system automatically recognize outstocked products and put the there You also export or print them too.
->Expired =>This page contains all products that are expired.That is products whose expiry date has reach. The system automatically recognize them and put them there so you don't have to add them yourself.
-
Categories => The categories page contains your products categories. You can add product category by clicking on the add category button on the categories page. You can also edit by clicking on the edit button on the categories page. You can delete categories by clicking on the delete button.
1 First add the category of product
2 Add the product supplier
-
Make a purchase of the product by adding purchase.
-
After purchase is made, add the product to your products.
-
You can start selling the product.
-
When you are notified of the stock, just update the purchased product quantity. Or make a new purchase.
@@ -242,6 +44,9 @@ We would like to extend our thanks to the following sponsors for funding Laravel - **[DevSquad](https://devsquad.com)** - **[Curotec](https://www.curotec.com/services/technologies/laravel/)** - **[OP.GG](https://op.gg)** - **[CMS Max](https://www.cmsmax.com/)** - **[WebReinvent](https://webreinvent.com/?utm_source=laravel&utm_medium=github&utm_campaign=patreon-sponsors)** - **[Lendio](https://lendio.com)**
Thank you for considering contributing to the Laravel framework! The contribution guide can be found in the Laravel documentation.
In order to ensure that the Laravel community is welcoming to all, please review and abide by the Code of Conduct.
If you discover a security vulnerability within Laravel, please send an e-mail to Taylor Otwell via taylor@laravel.com. All security vulnerabilities will be promptly addressed.
The Laravel framework is open-sourced software licensed under the MIT license.


