This guide assumes you have already set up a digital ocean droplet, if you havent, follow this guide digital ocean setup instructions
Install Postgres on your Droplet
double check current version before downloading
sudo apt-get update
sudo apt-get install postgresql-9.5 postgresql-contribto add a user to the database, you first need to access the postgres server. you can do that with this command:
sudo -i -u postgres psqlafter successfully logging into the postgres server you should see a prompt that looks like this
psql (9.5.16)
Type "help" for help.

postgres=#
To add a user to the postgres server type the following,
you should add the same username as the username you setup when creating the droplet i.e. the one you logged into the droplet with
remember to always end SQL statements with a ';'
CREATE USER josh WITH PASSWORD 'mypassword';
if successful you should see:
Output
CREATE ROLE
CREATE DATABASE testdb OWNER josh;
if successful you should see:
Output
CREATE DATABASE
Now, that we've created a user and database you can exit the postgres console by typing the following and pressing ENTER:
\q
Note: The default configurations after installing postgres provide the most security and do not allow remote access to the database, we will add access to only a single outside IP address so as to minimize security risks to our server
Typing the following should output the server firewall rules:
sudo ufw statusyou should see something like this
Status: active

To                         Action      From
--                         ------      ----
OpenSSH                    ALLOW       Anywhere
Nginx Full                 ALLOW       Anywhere
OpenSSH (v6)               ALLOW       Anywhere (v6)
Nginx Full (v6)            ALLOW       Anywhere (v6)
Because postgres runs on port 5432 by default, we will need to allow access to that port in the firewall or the server. It is very insecure to allow access from anywhere as this is direct access to your/user data
Get your outward facing or Public IP address on your local machine, you can get that by opening a new terminal on your local machine and typing:
(hint: cmd + t will open another terminal window)
curl ifconfig.meafter getting your IP, go back to the droplet terminal and type:
sudo ufw allow from public_ip_address to any port 5432Double check the rule was added correctly by typing:
sudo ufw statusThe output should look something like this
Status: active

To                         Action      From
--                         ------      ----
OpenSSH                    ALLOW       Anywhere
Nginx Full                 ALLOW       Anywhere
5432                       ALLOW       public_ip_address
OpenSSH (v6)               ALLOW       Anywhere (v6)
Nginx Full (v6) ALLOW Anywhere (v6)In order to allow access to the postgres server we need to change some of the postgres config files, the 2 files we will change are postgresql.conf and pg_hba.conf, these files will be located in /etc/postgresql/9.5/main/
first
cd /etc/postgresql/9.5/main
sudo nano pg_hba.conf
under the section:
# Put your actual configuration here
# ----------------------------------
#
# If you want to allow non-local connections, you need to add more
# "host" records.  In that case you will also need to make PostgreSQL
# listen on a non-local interface via the listen_addresses
# configuration parameter, or via the -i or -h command line switches.
You will need to add your postgres user, database, and public_ip_address to this file along with specifying host and md5 so that you keep your password encrypted and access via the postgres server via the the droplet ip address.
it will look like this:
host testdb josh public_ip_address/32 md5
you can then ctrl-x and save the file
next you will need to edit the postgresql.conf file by typing
sudo nano postgresql.conf
find the section that says listen_addresses and add the droplet ip address, this will allow the postgres server to be accessible by the droplet ip address and not only localhost
#listen_addresses = 'localhost'         # what IP address(es) to listen on;
listen_addresses = 'localhost,droplet_ip_address'
you can then ctrl-x and save the file
finally we need to restard the postgres Daemon for our file changes to take effect
(in computing daemons are just processes that run in the background)
sudo systemctl restart postgresql
check that the server restarted and is active by typing:
sudo systemctl status postgresql
In order to connect to the droplet, you will need to first download pgAdmin 4
you can do so at the following links
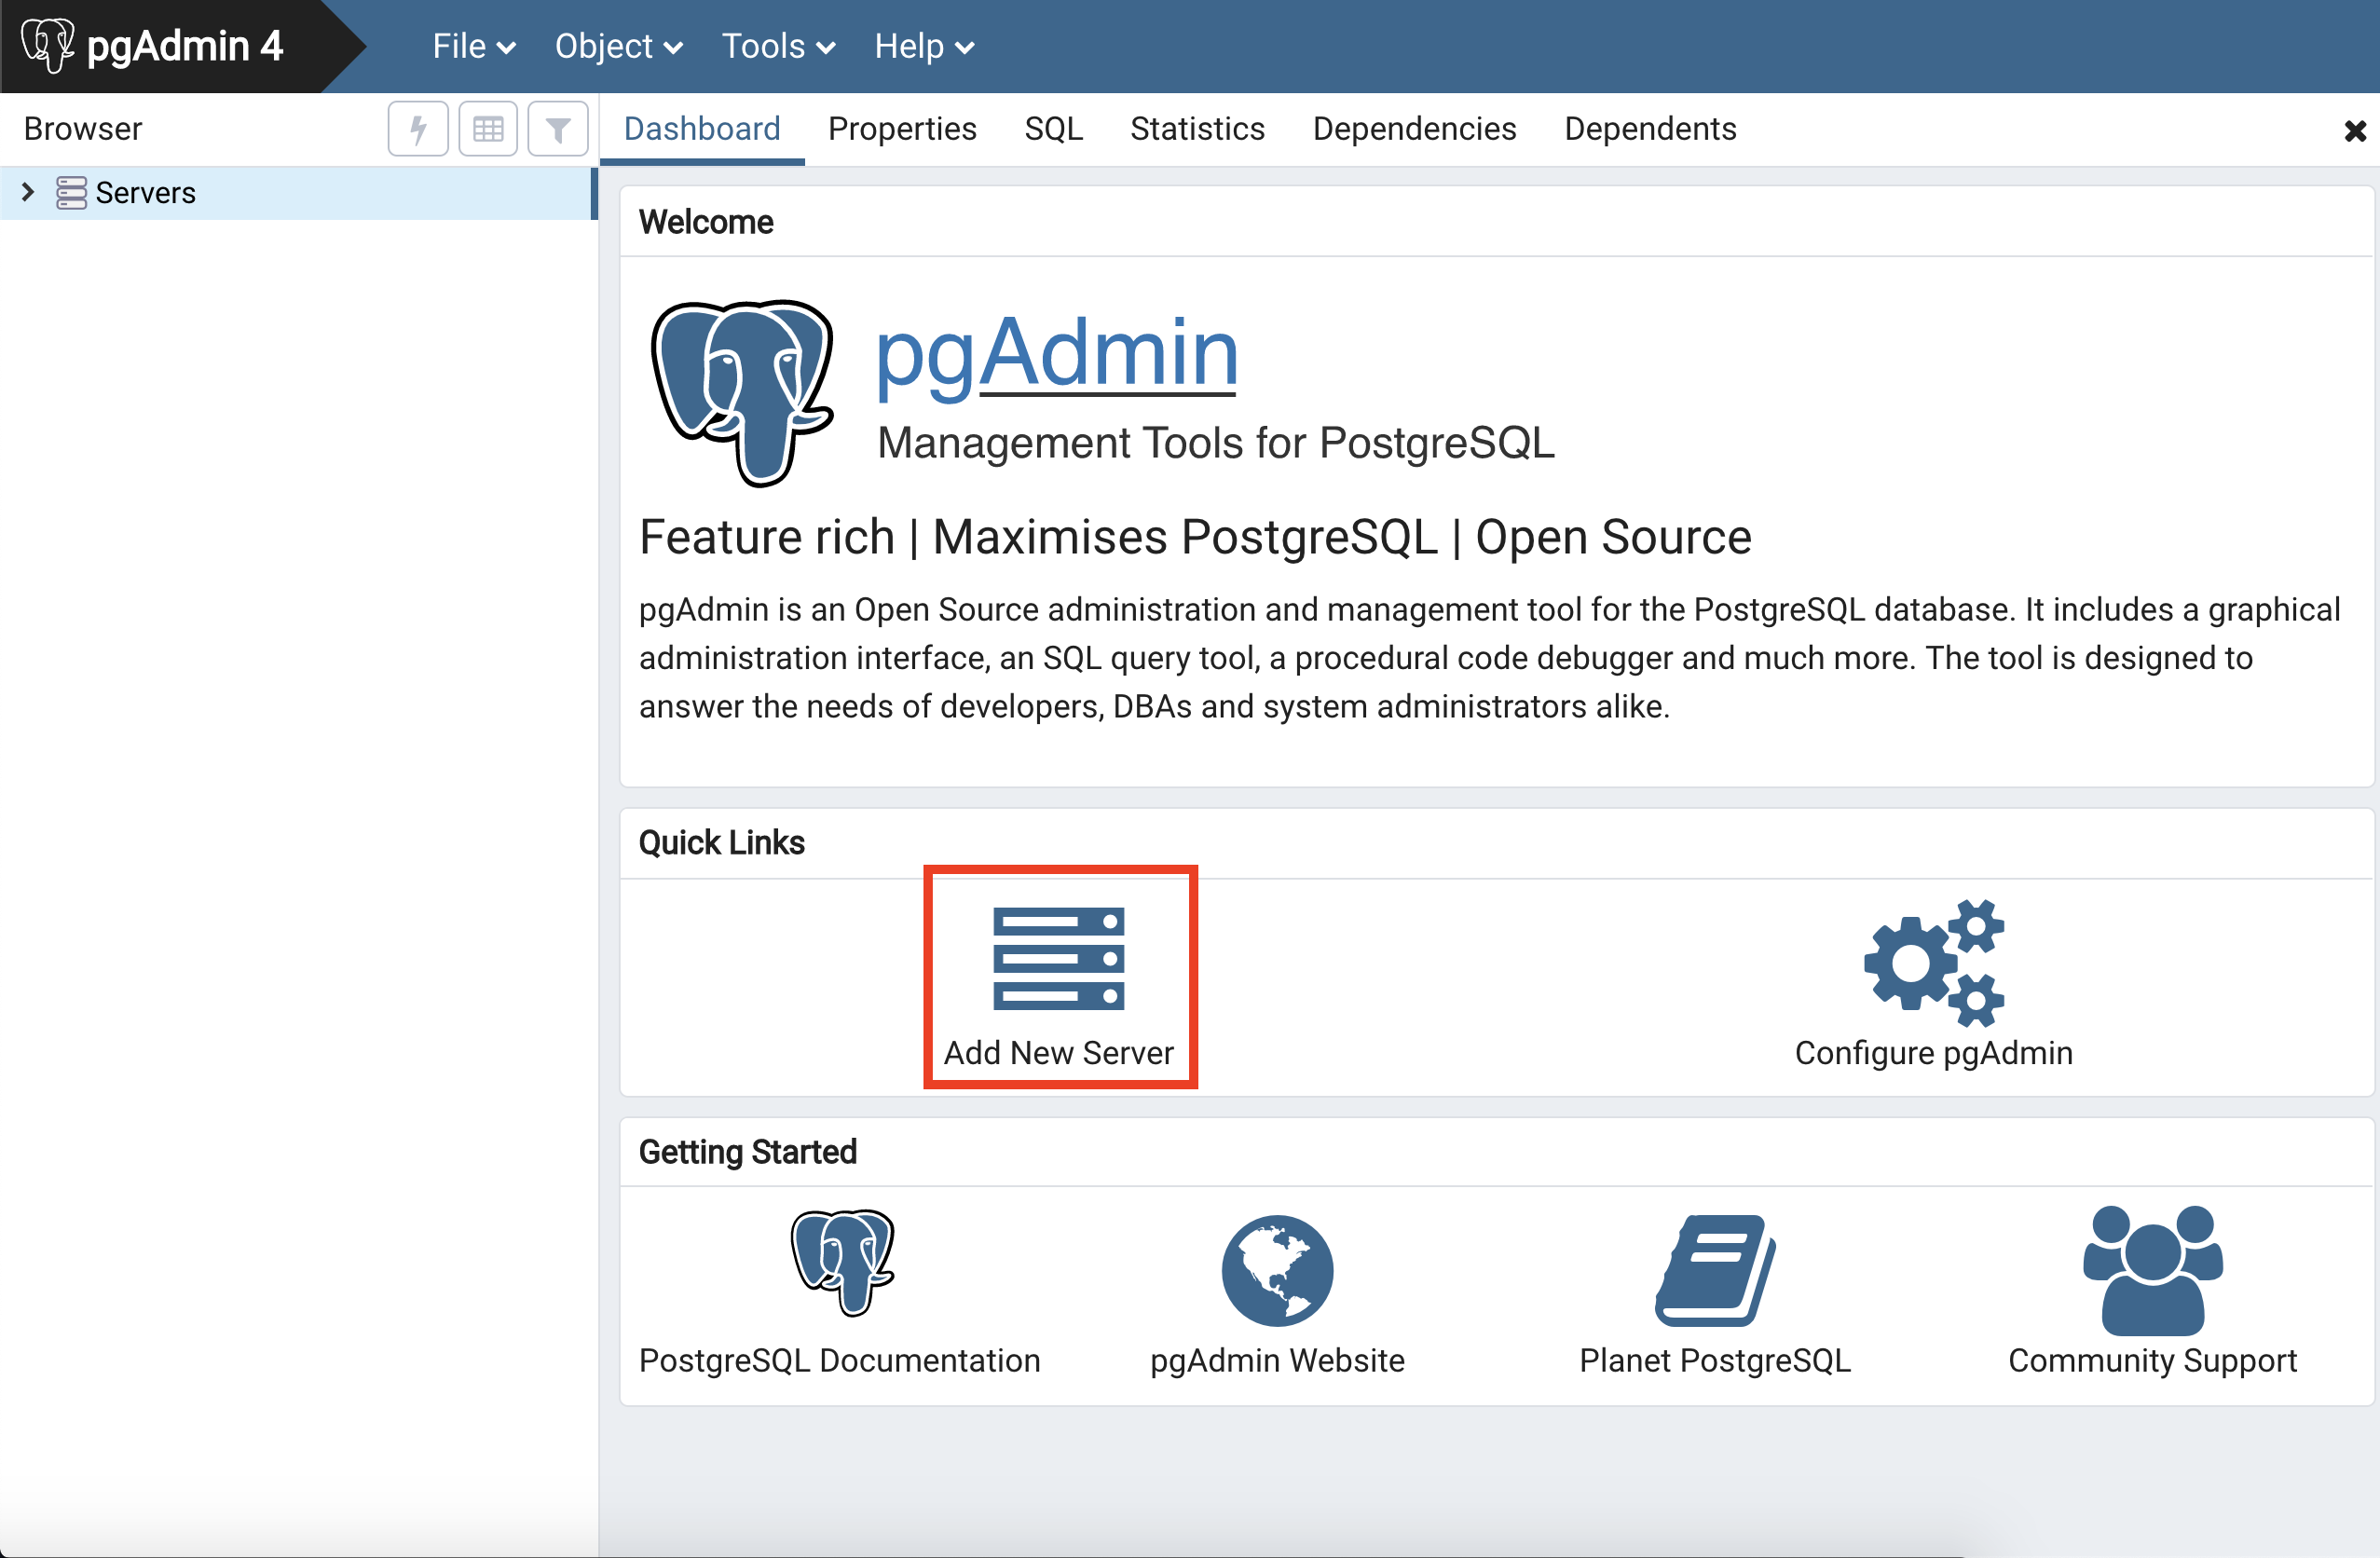
after launching pgAdmin, select the Add New Server option
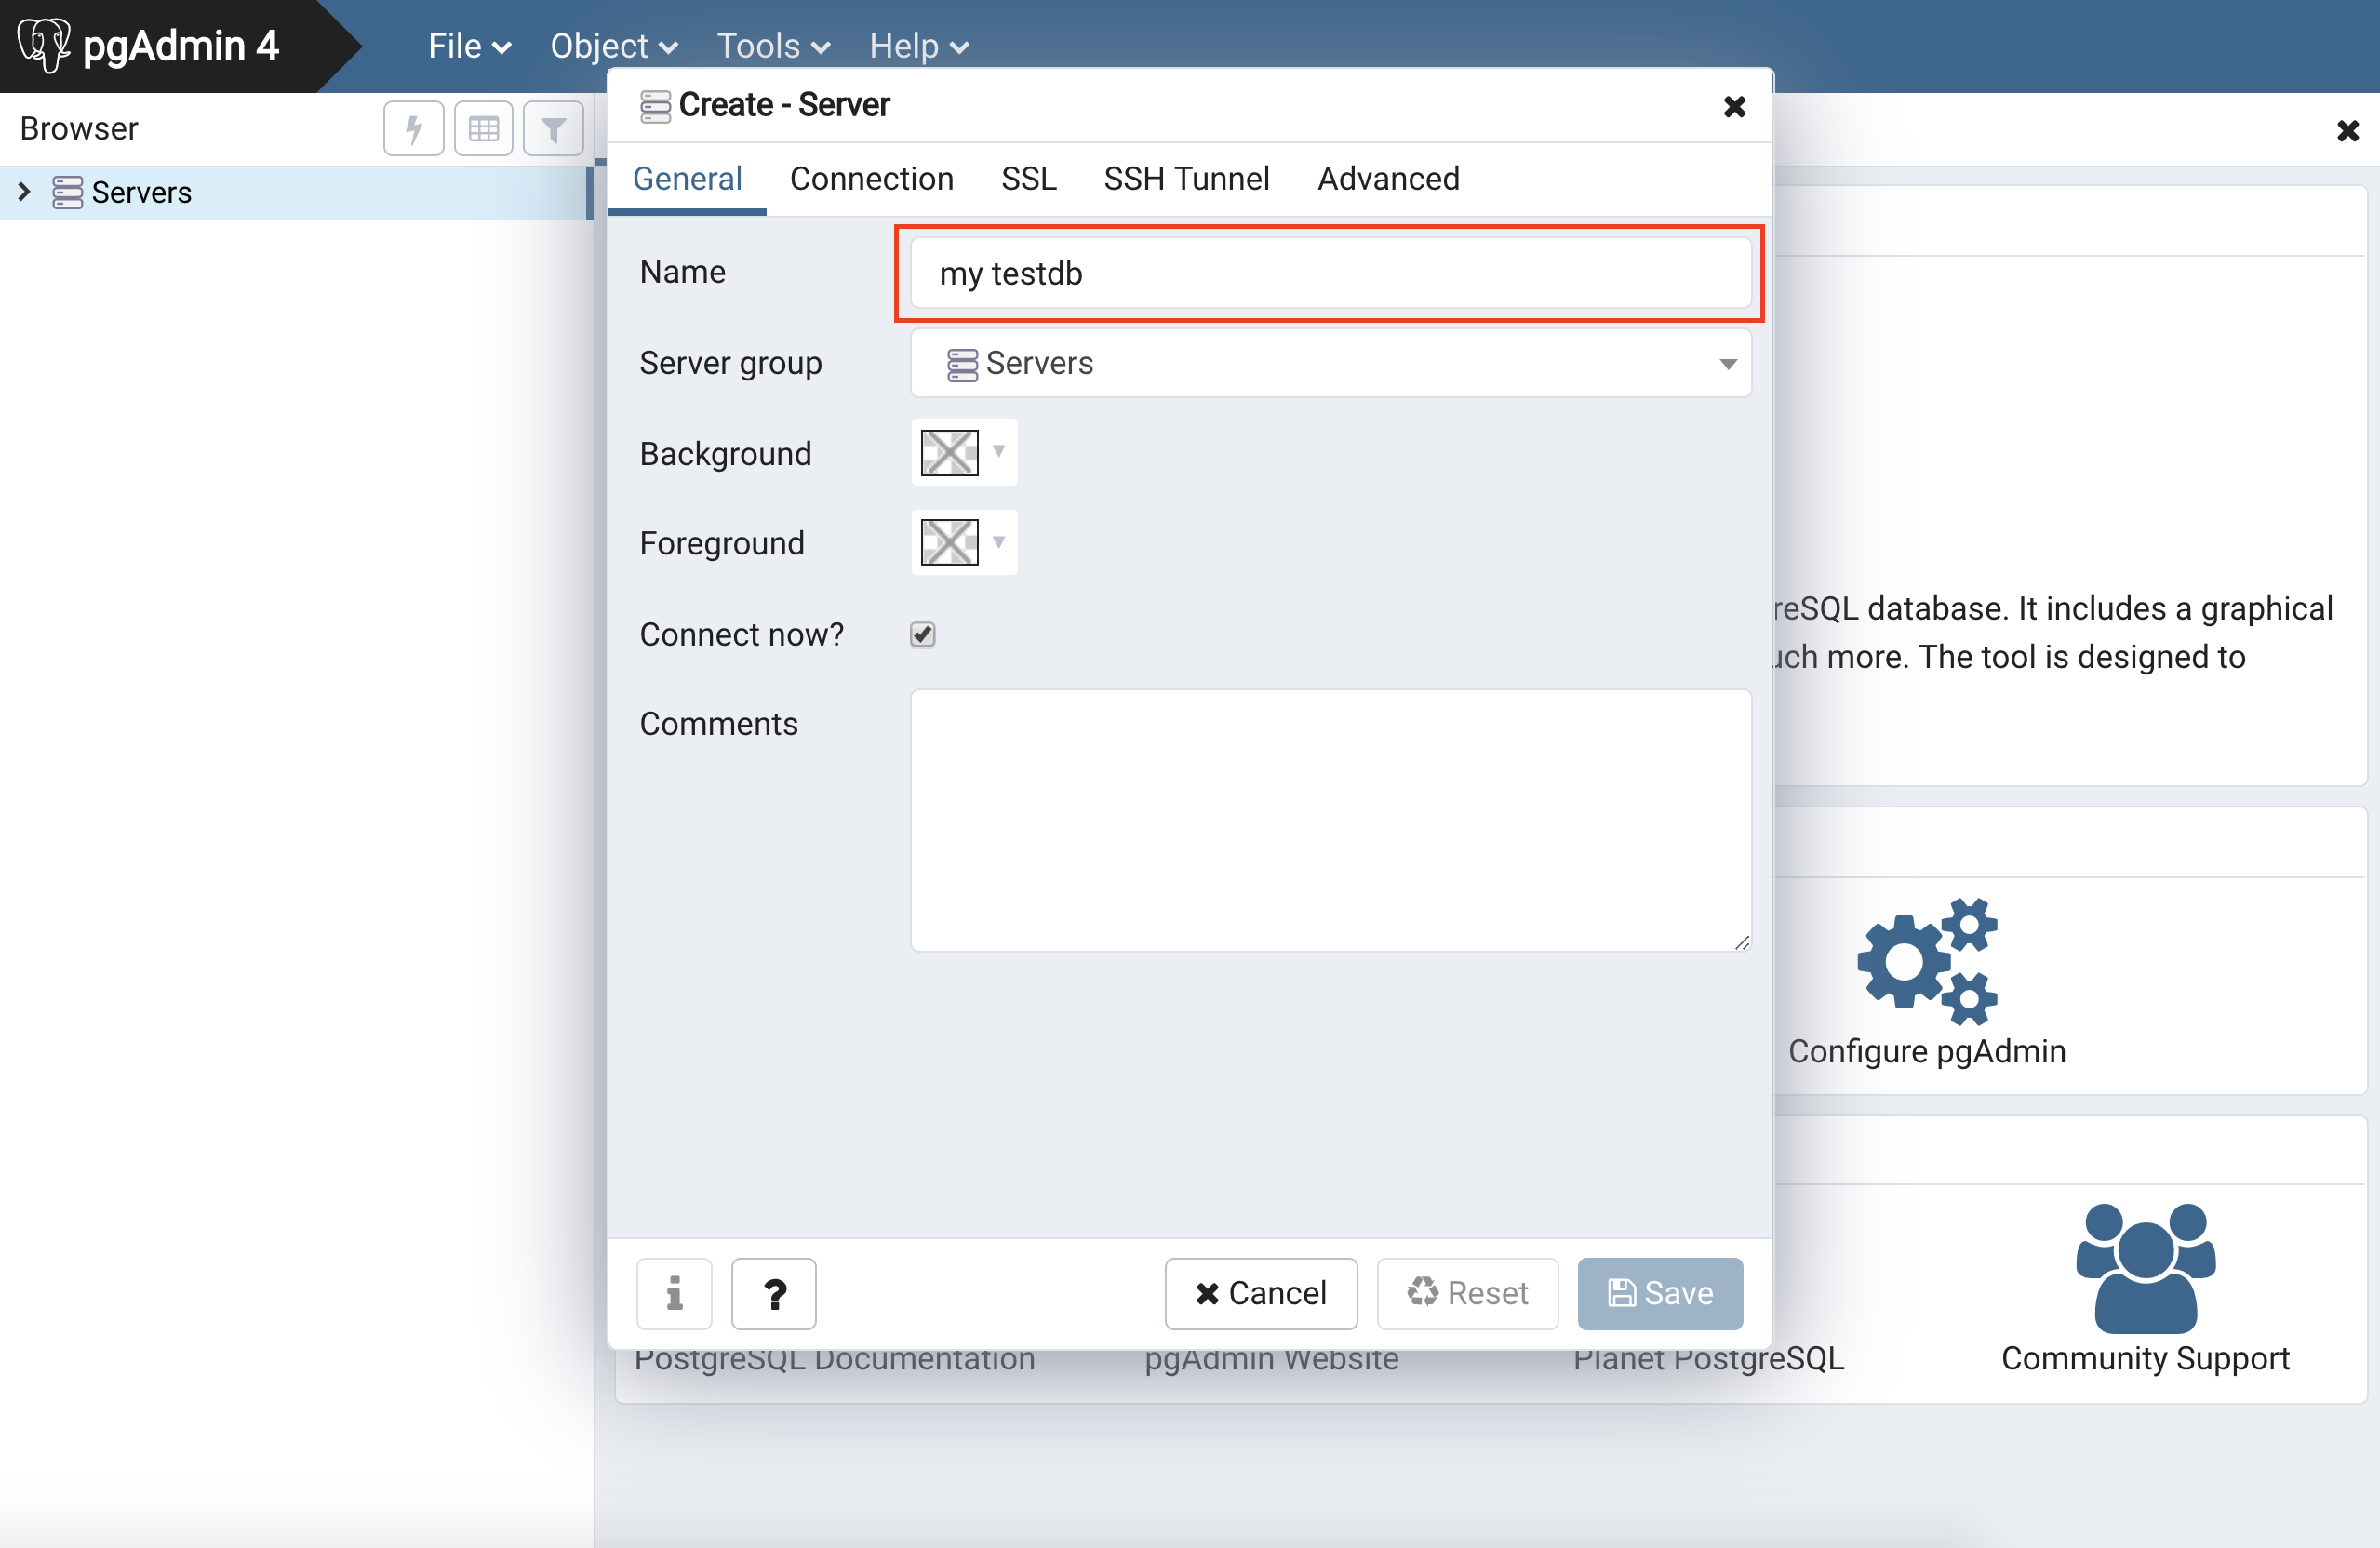
Add a name to reference the server by in pgAdmin, this can be anything
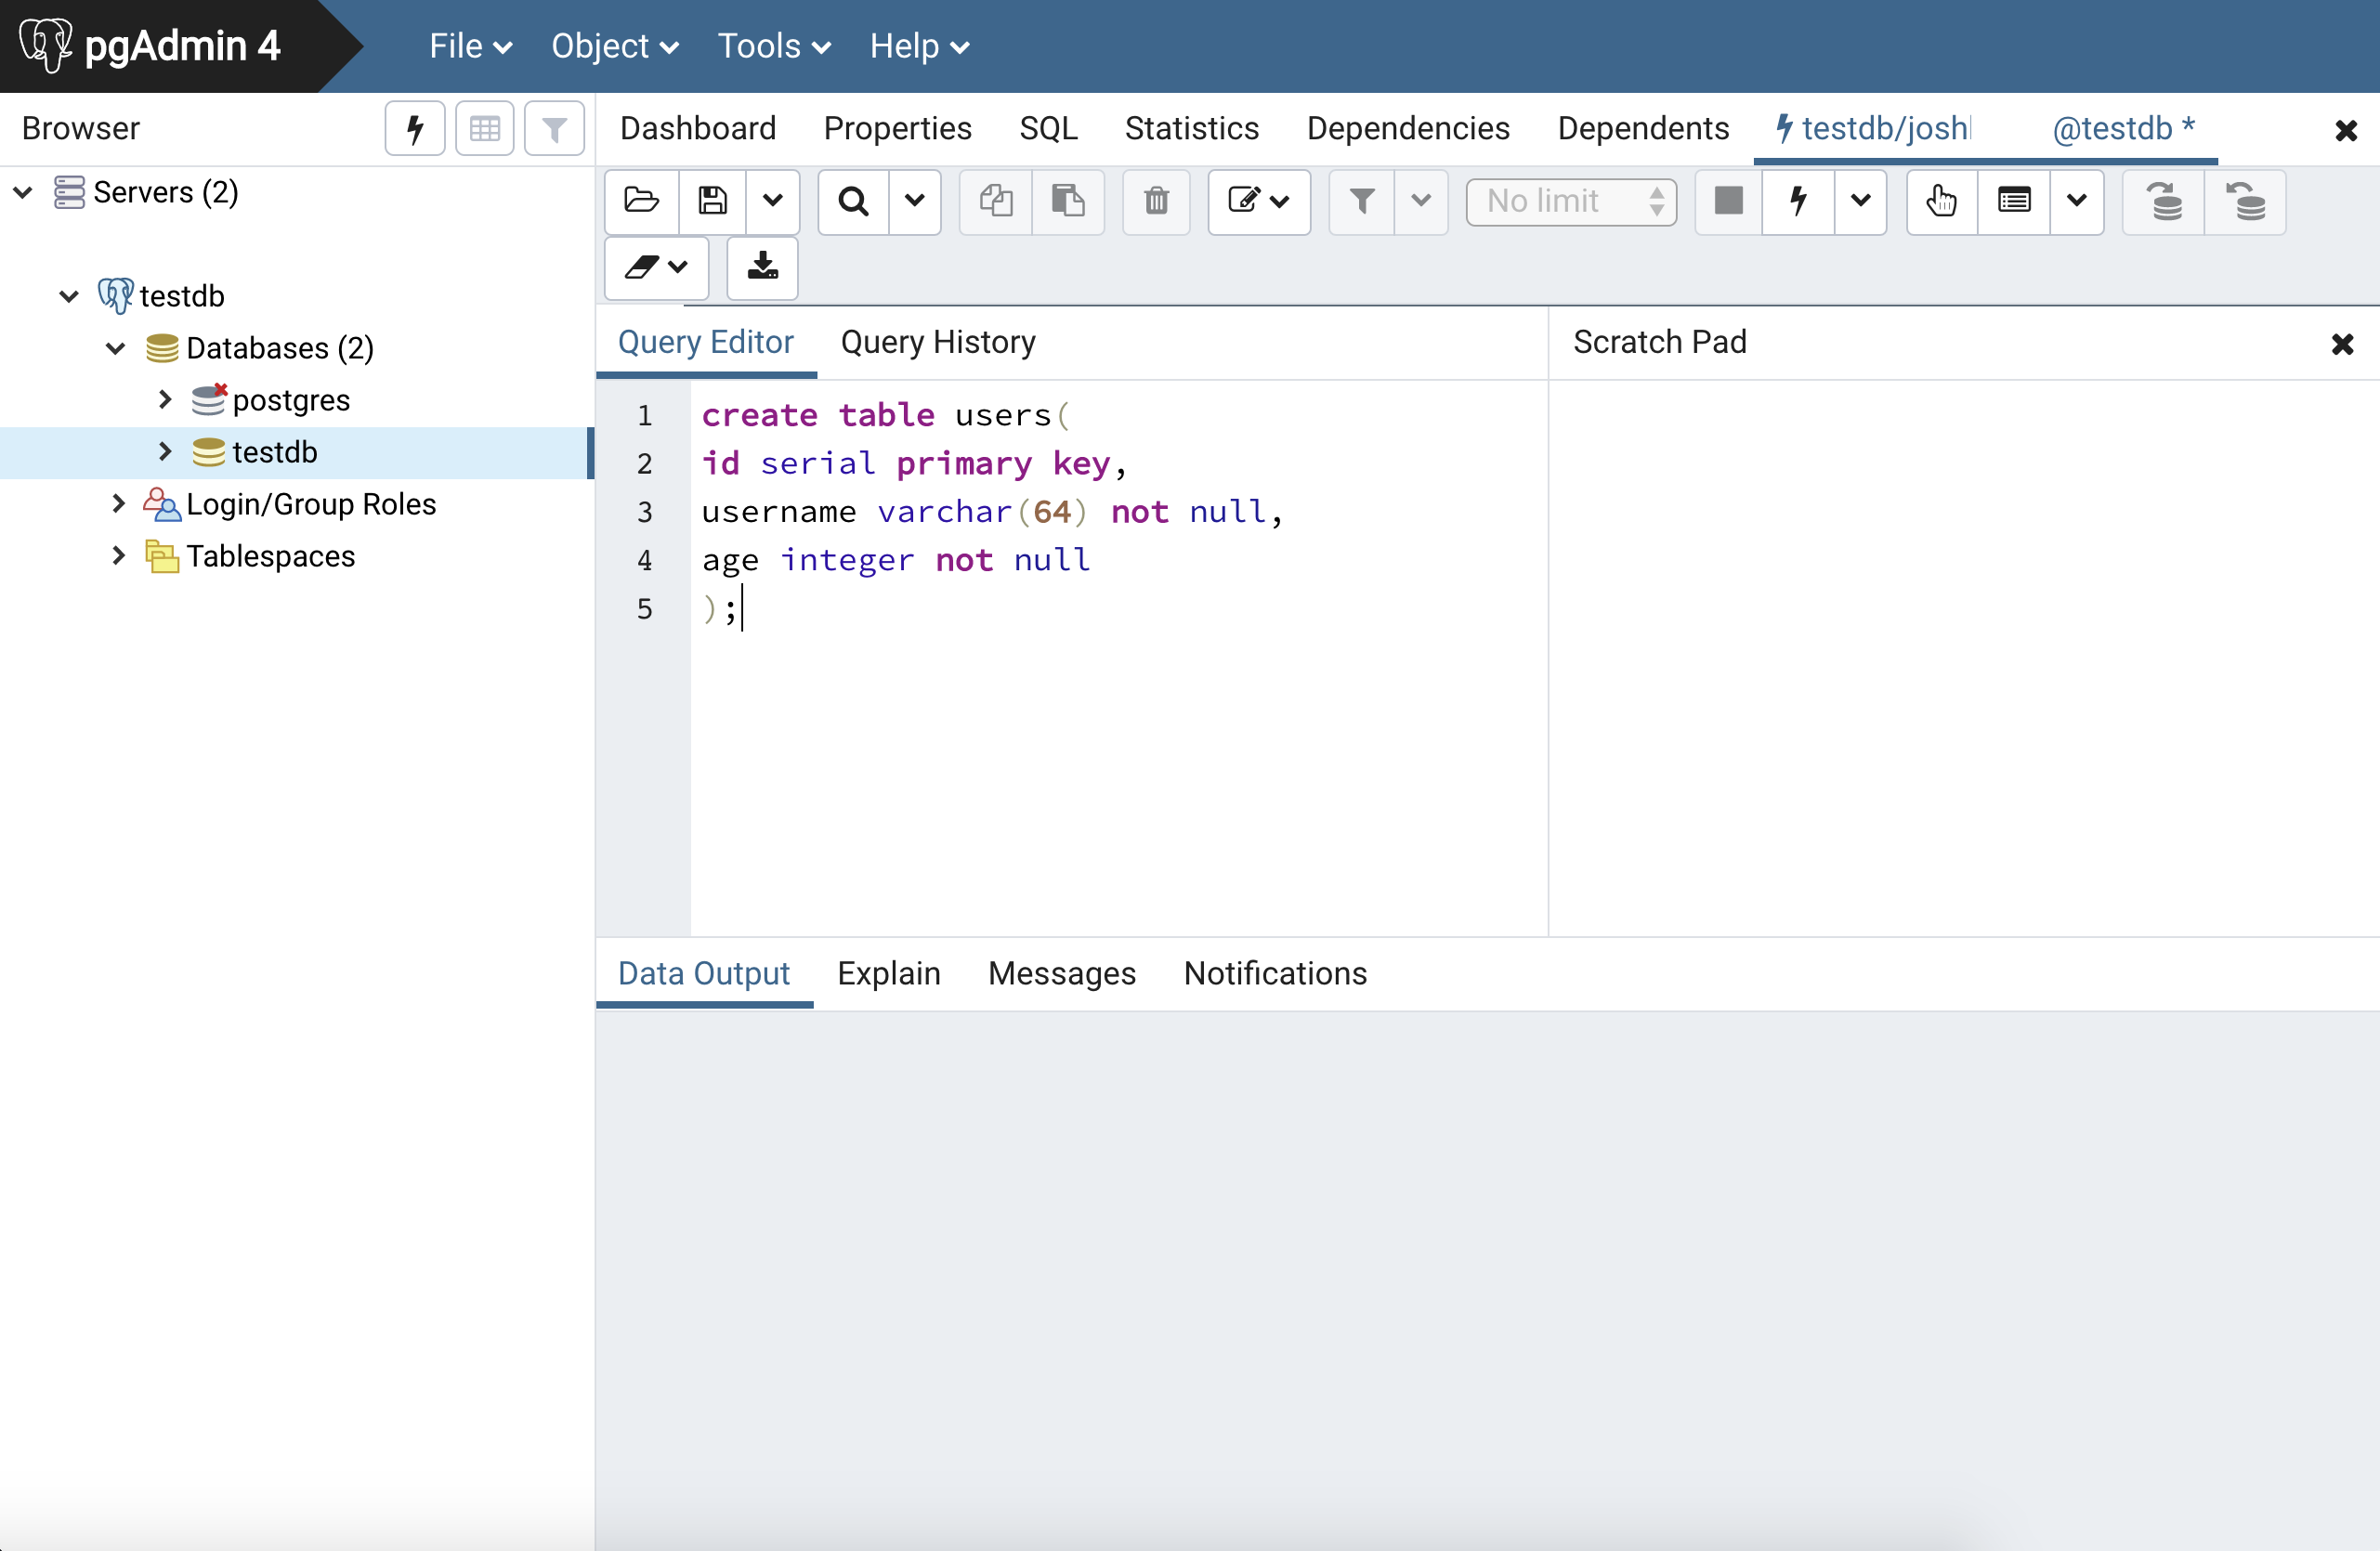
Add your server connection info, make sure to select save password and then to hit save, this should connect you to the postgres server on your droplet
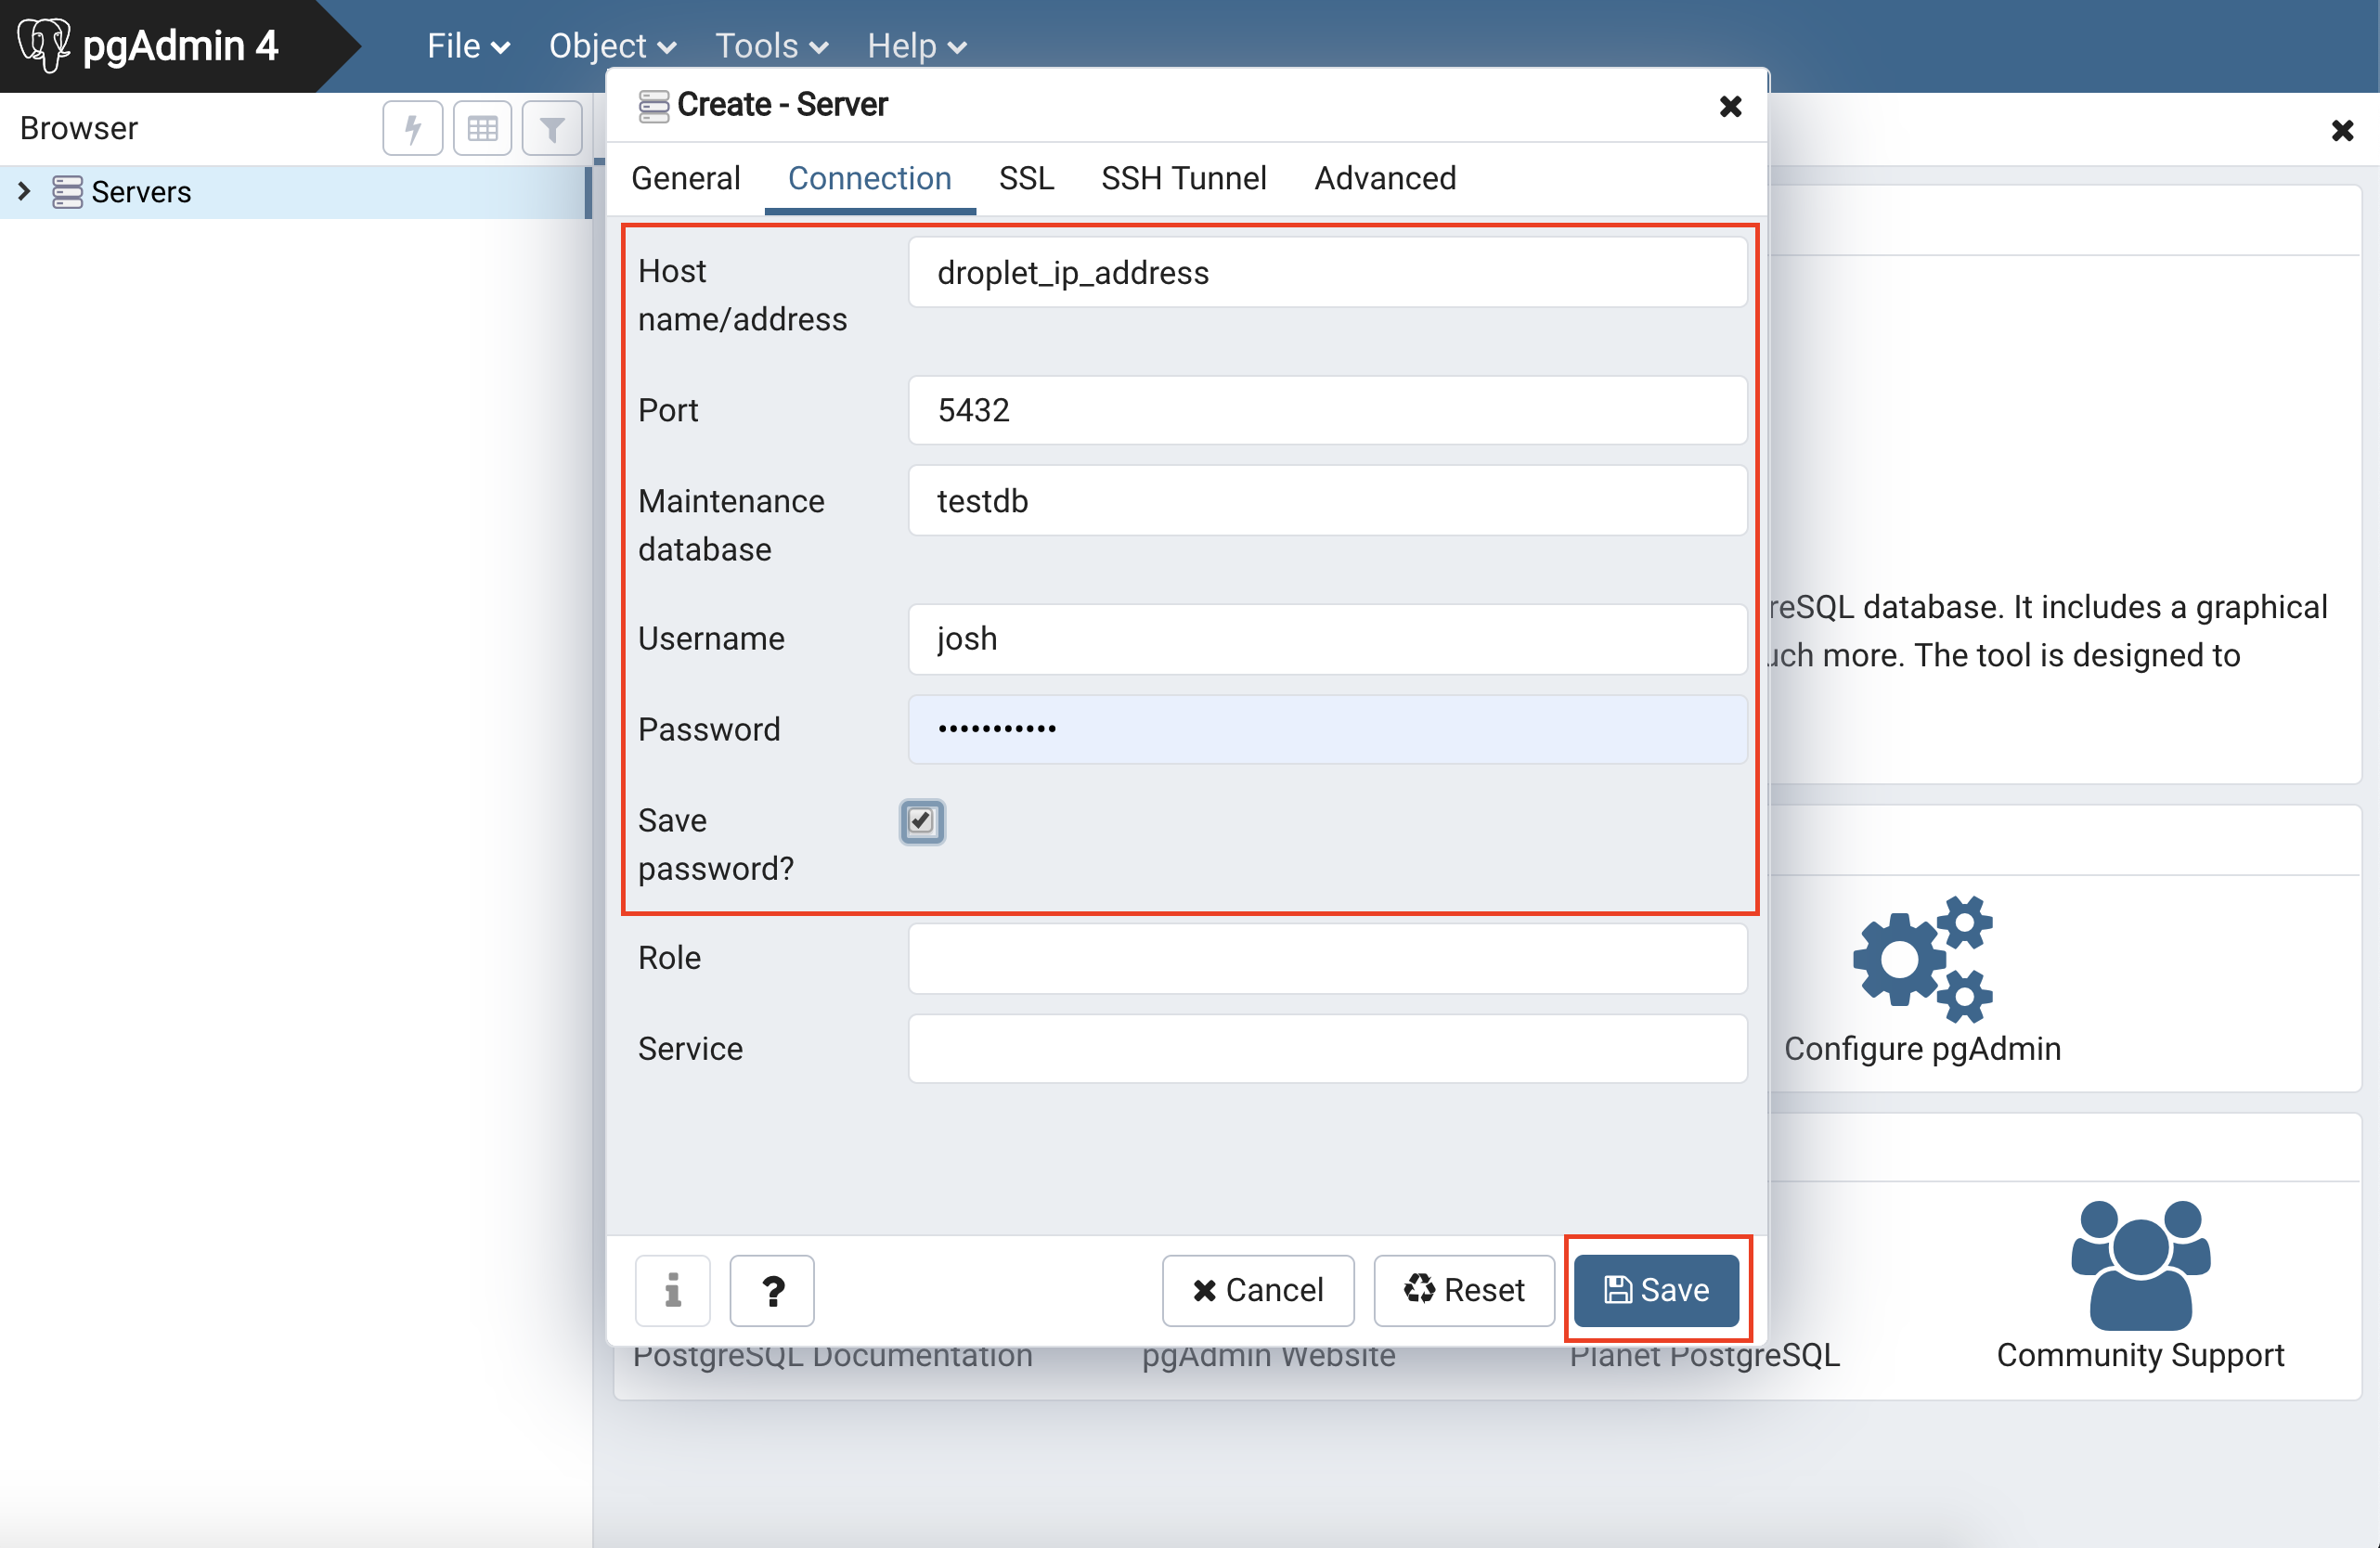
Right-Click on your database and select the Query Tool
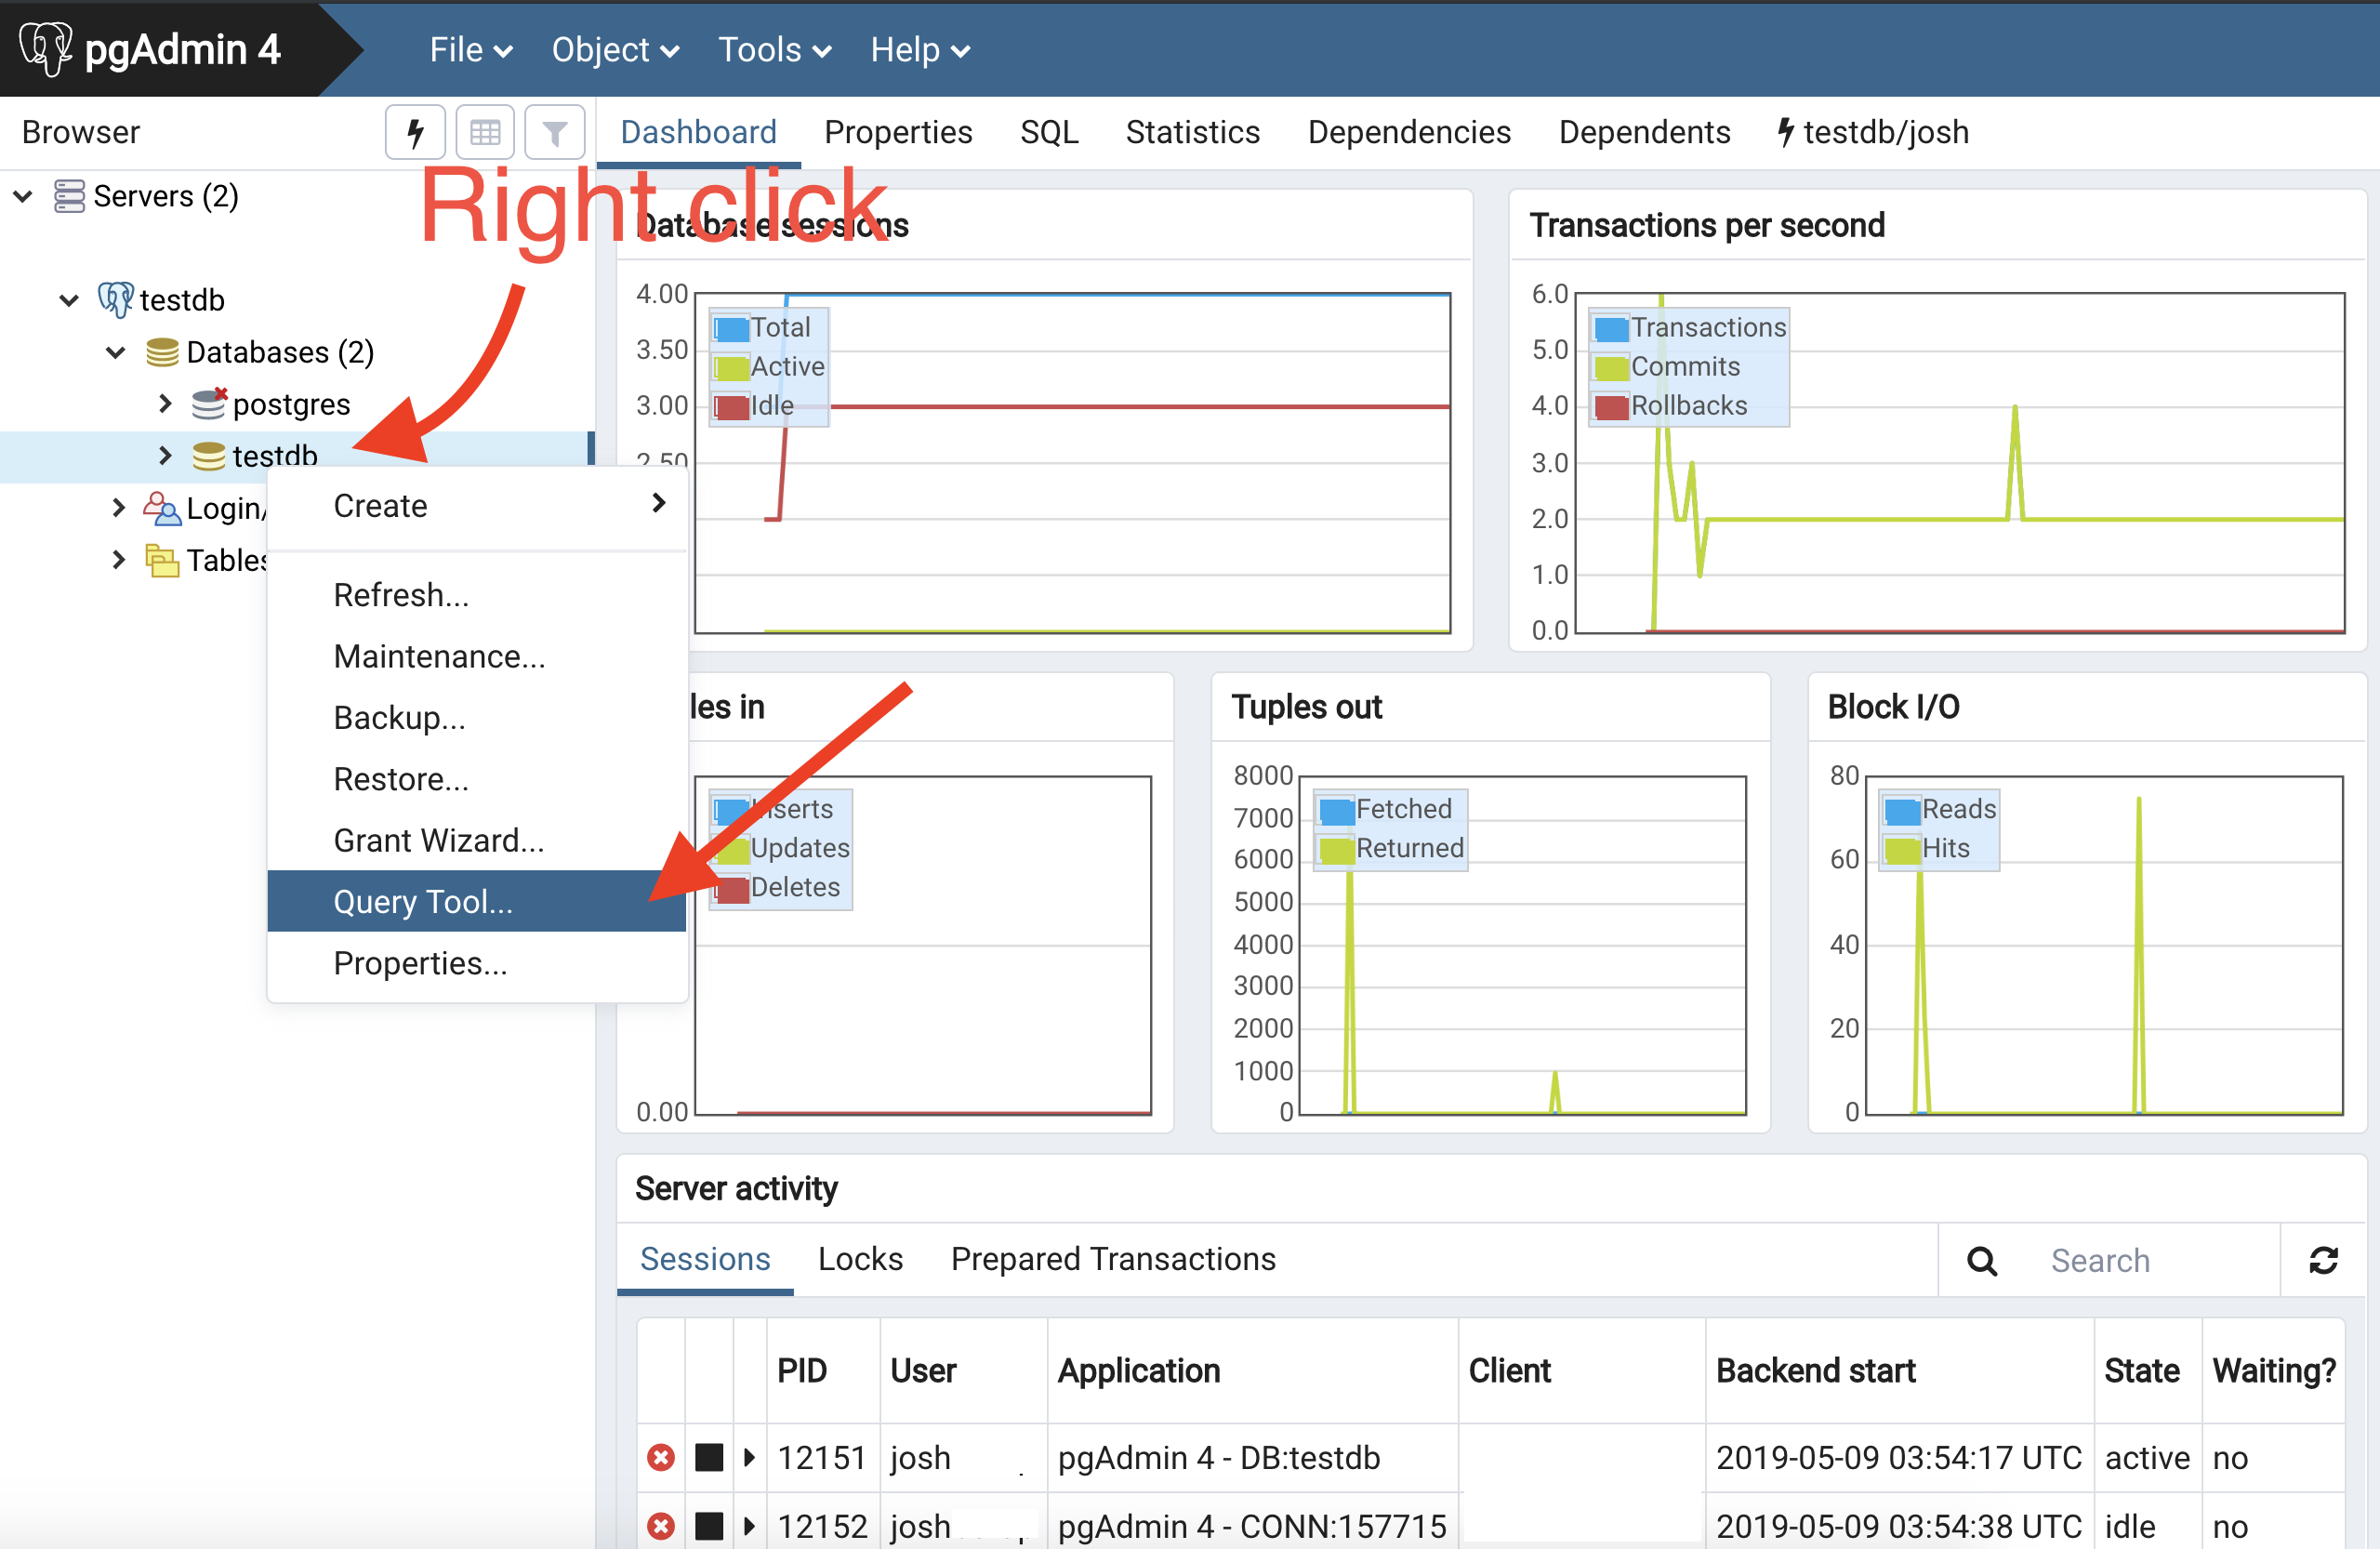
Start querying your Database
if you need your connection string for something like SQL tabs, it should be constructed like so
postgres://username@droplet_ip_address:5432/database
example:
postgres://josh@droplet_ip_address:5432/testdb
if you need your connection string for a server file, on the same droplet as your postgres server, you can replace droplet_ip_address with localhost and add your users password set when creating the postgres user
postgres://username:password@localhost:5432/database
example:
postgres://josh:mypassword@localhost:5432/testdb
if you need your connection string for a server file on a different droplet than your postgres server, specify the postgres droplet_ip_address and add your users password set when creating the postgres user
postgres://username:password@droplet_ip_address:5432/database
example:
postgres://josh:mypassword@droplet_ip_address:5432/testdb
