Weather App
Overview
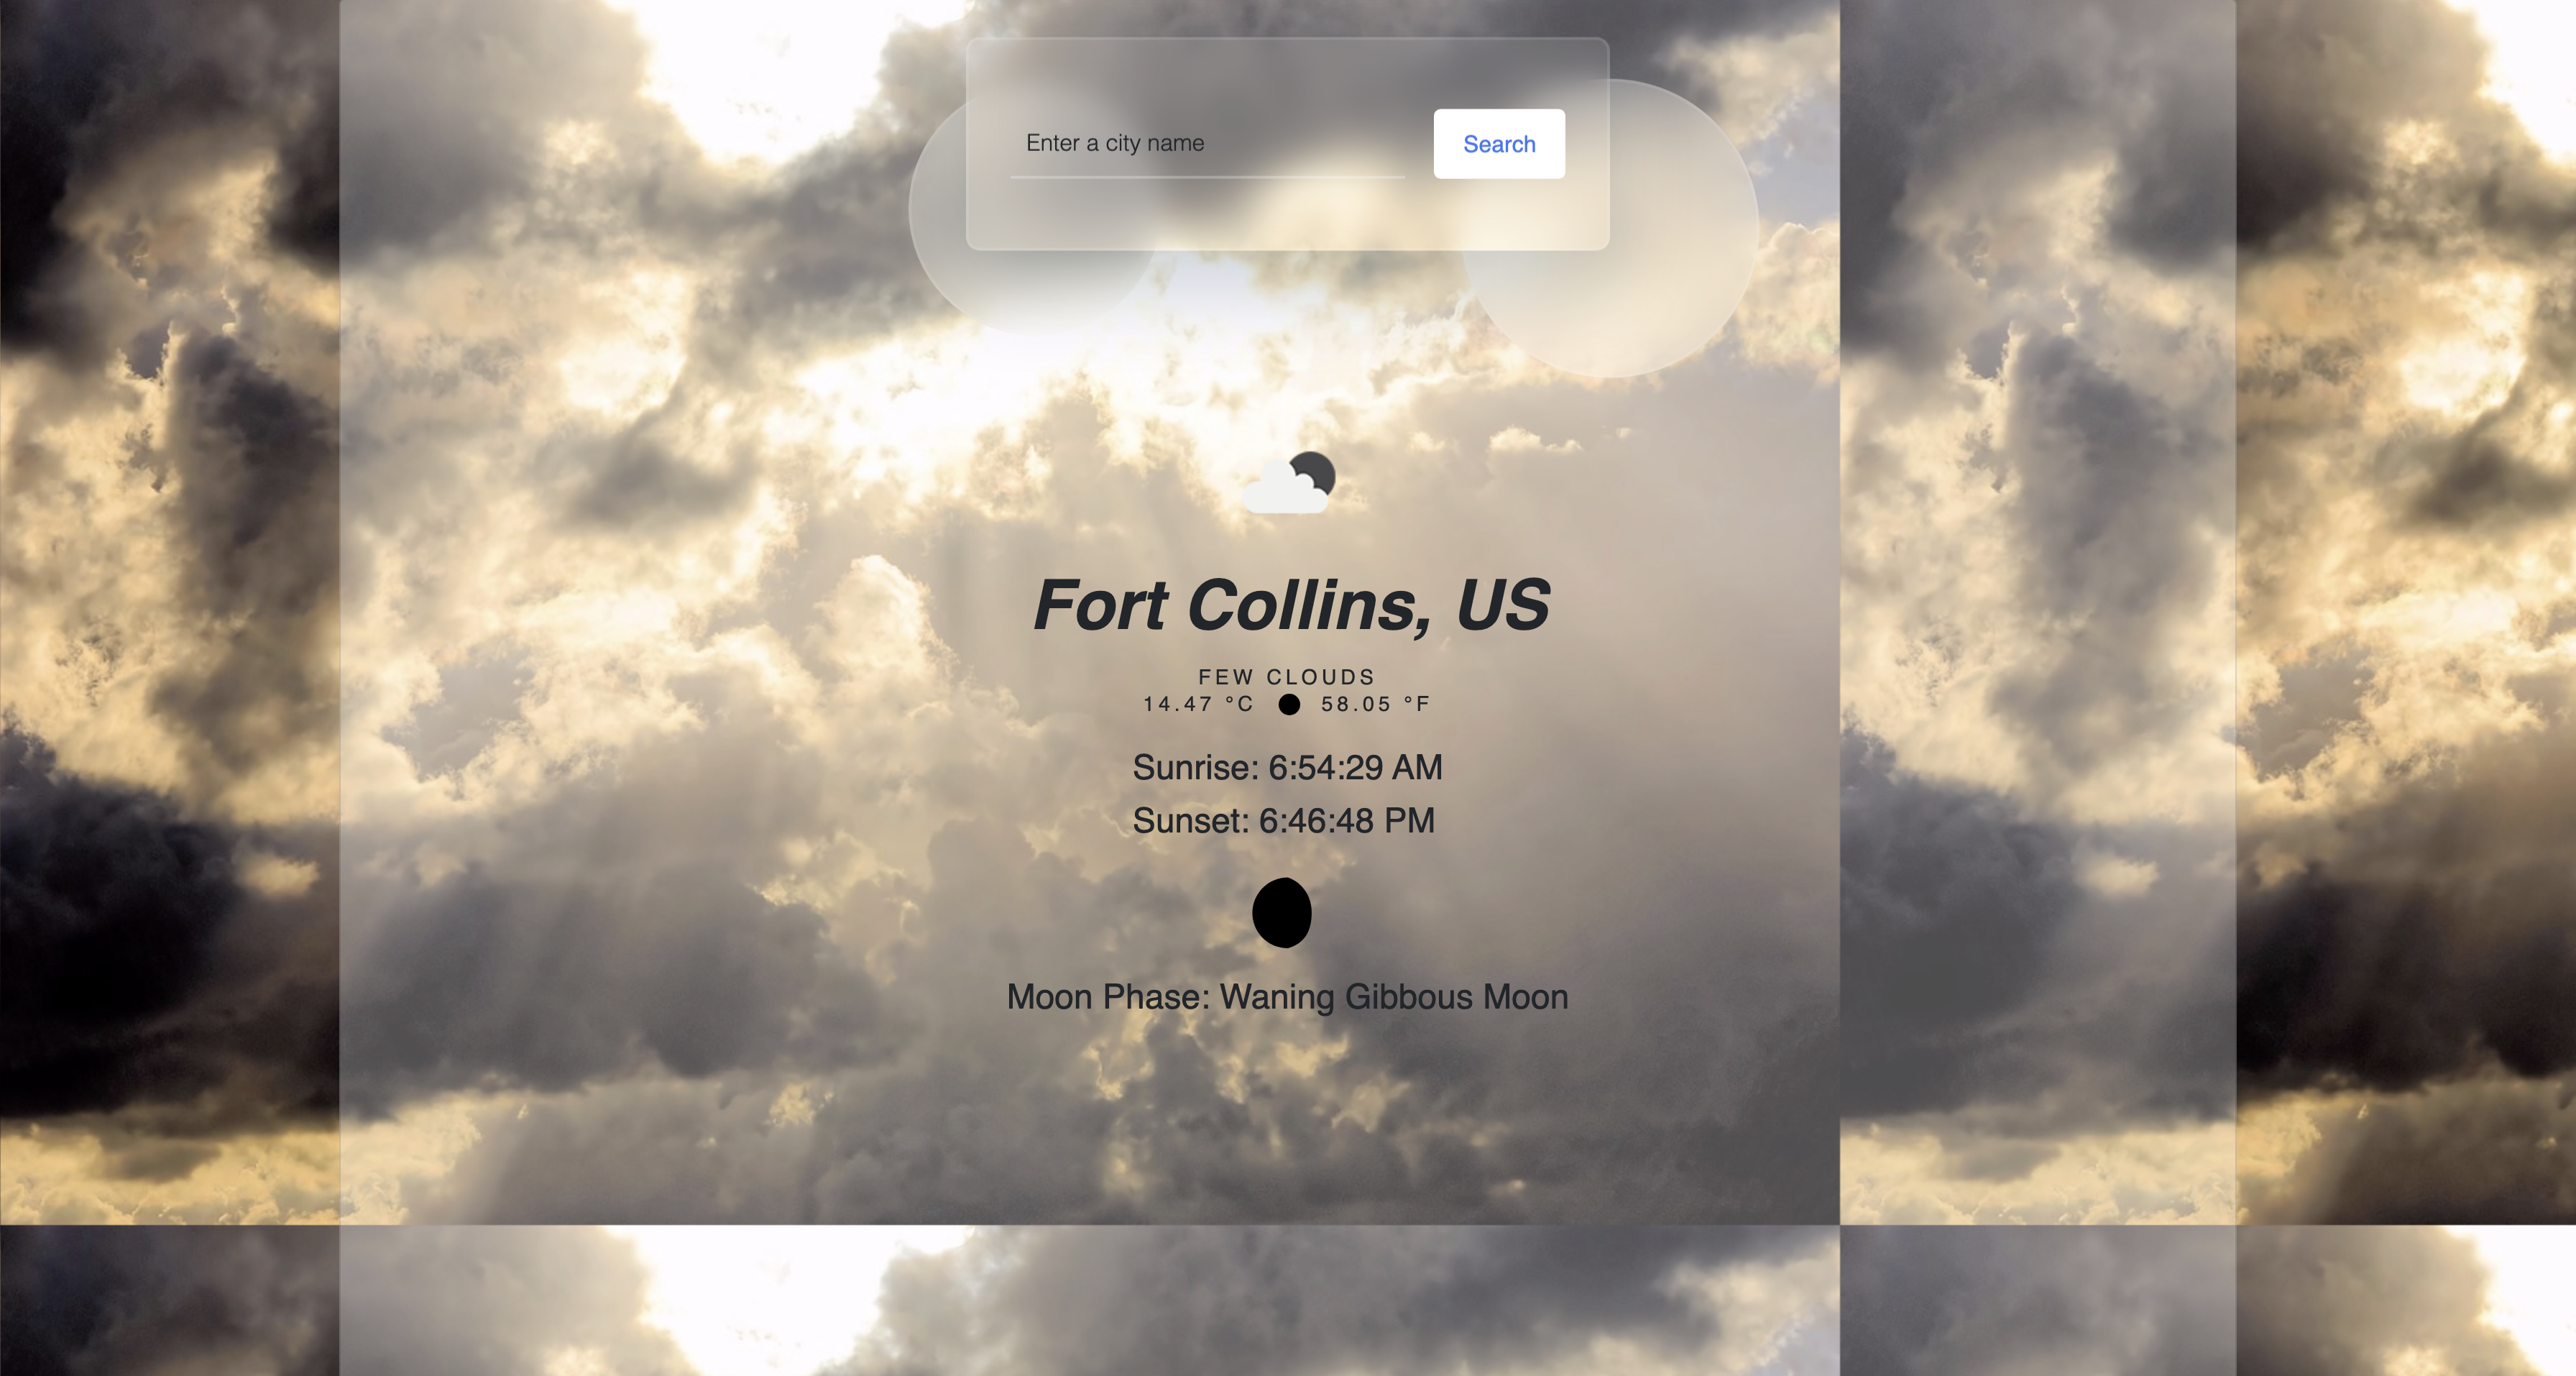
The Weather App is an engaging and informative web application that provides real-time weather updates for locations around the world. It offers a visually appealing experience with dynamic background images and icons that change according to the weather conditions. This project was developed by Ev Fitzgerald Dixon, Jennifer Saffell, Josh Peterson, and Yoro Diakite as part of a Nucamp JavaScript Fundamentals portfolio project.
Features
-
Dynamic Background Images: The app features background images that change according to the weather conditions, creating an immersive visual experience. These images are standardized across cities but adapt to the current weather.
-
Weather Icons: Weather icons complement the background images, providing users with at-a-glance information about the current conditions.
-
Geolocation: By default, the app uses the browser's geolocation feature to determine the user's location. This eliminates the need for users to manually input their city.
-
City Search: Users can also search for specific cities using the search bar located above the weather icon. This feature enables users to check weather information for locations of their choice.
-
Moon Phases: The app displays moon phases below sunrise and sunset times, enhancing its informative value.
-
Optional Features:
- Site Introduction: Upon the first launch of the site, users are greeted with the site's name, logo, and engaging animations, providing an enjoyable user experience.
Getting Started
Prerequisites
Before you begin, ensure you have met the following requirements:
- A modern web browser (Google Chrome, Mozilla Firefox, etc.).
- An internet connection to fetch weather data.
Installation
-
Clone this GitHub repository to your local machine:
git clone https://github.com/joshuadanpeterson/weather-app.git
-
Open the project folder in your code editor of choice (e.g., Visual Studio Code, Sublime Text).
-
Launch the
index.htmlfile in your web browser to run the Weather App.
Usage
-
Upon opening the Weather App, your default city will be assumed using your browser's geolocation. Alternatively, you can use the search bar to specify a different city.
-
The app will display current weather conditions for the selected location, complete with dynamic background images and icons.
-
Moon phases are visible below sunrise and sunset times, providing additional celestial information.
Contributing
We welcome contributions from the community. If you would like to contribute to this project, please follow these steps:
-
Fork the project on GitHub.
-
Create a new branch with a descriptive name for your feature or bug fix.
-
Make your changes and commit them with clear and concise messages.
-
Push your changes to your forked repository.
-
Submit a pull request to the main repository, explaining the changes you made.
License
This project is licensed under the MIT License.
Contact
If you have any questions or suggestions, feel free to contact us on Discord:
Acknowledgments
- Special thanks to OpenWeather for providing weather data and Google Cloud API for providing geocoding and time zone data.
- Icons and images used in this project are sourced:
- Weather Icons: for weather icons
- Pixabay: for background images
API Setup
OpenWeather API
-
Visit OpenWeather and sign up for an API key.
-
After obtaining the API key, add it to your
.envfile (create one if it doesn't exist).OPENWEATHER_API_KEY=your_openweather_api_key_here
Google Cloud APIs
-
Visit Google Cloud Console and enable the Geocoding API and Time Zone API for your project.
-
Obtain an API key and add it to your
.envfile.GOOGLE_API_KEY=your_google_api_key_here
Environment Setup
- Create a
.envfile in thetestsdirectory. - Add your API keys to the
.envfile as shown above.
Dependency Installation
- Open a terminal and navigate to the project directory.
- Run
npm installto install the required Node.js packages.
Running the Node.js Test
- Open a terminal and navigate to the
testsdirectory. - Run
npm startto execute thetest.jsscript.
Note: The
test.jsscript is for testing purposes. It's meant to test the various APIs from OpenWeather and Google.
