This blog uses Next.js for SSR & Firebase Firestore API for storing and fetching data. Create and edit your content in simple custom content management system built with React, Mobx State Tree and Styled Components.
Clone this repo and use it as starting point to create your own fancy blog.
- React
- Next.js
- Firebase Firestore & Auth
- Styled-Components
- Mobx-State-Tree
- Ant Design
- Marksy
- ESLint
- Prettier
- Webpack
- Husky & Lint-Staged
- Posts feed
- Featured posts
- Posts by tags and category
- Multi language support
- Multi author support
- Markdown with ability to use custom React components
- Simple and convenient CMS inspired by Ghost
- CMS is protected by Firebase Auth
- Quick and SEO-friendly responses with SSR
- Good results in Lighthouse
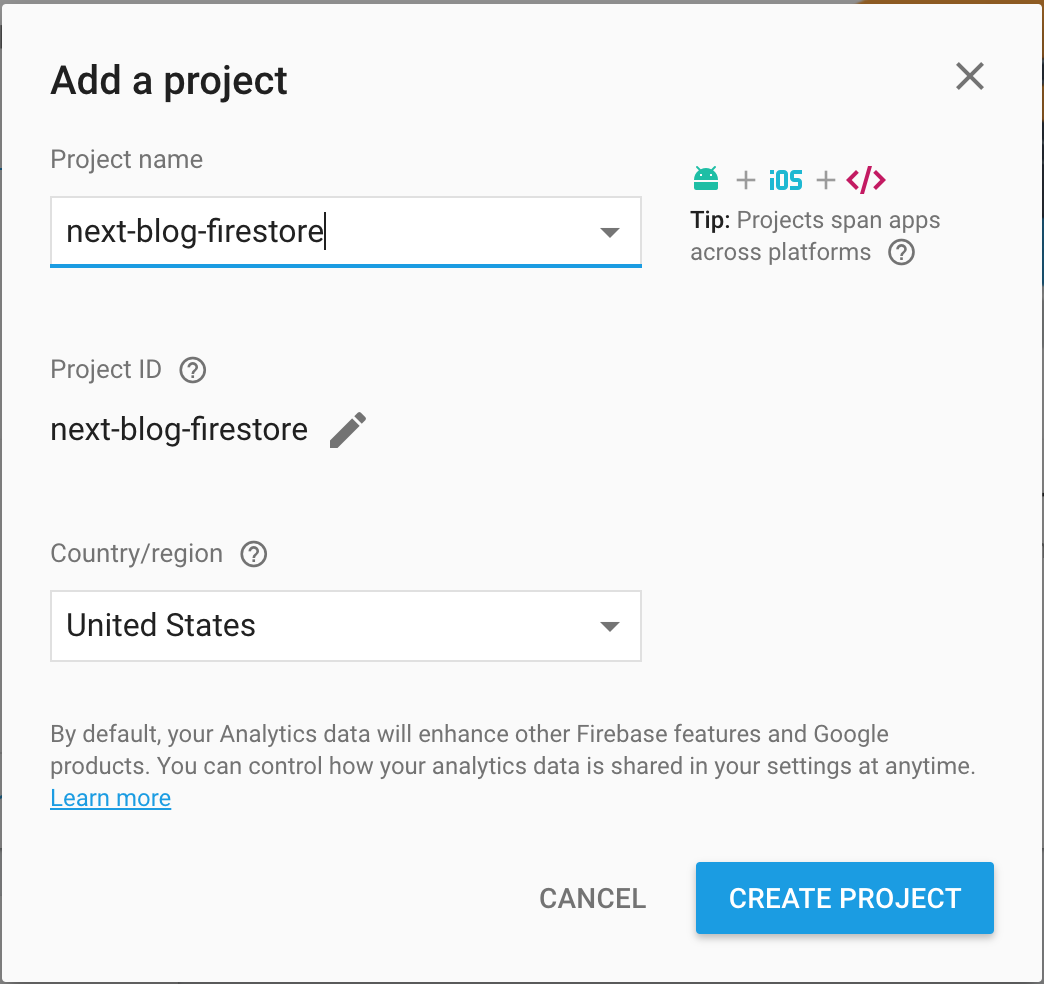
Step 1. Create Firebase account
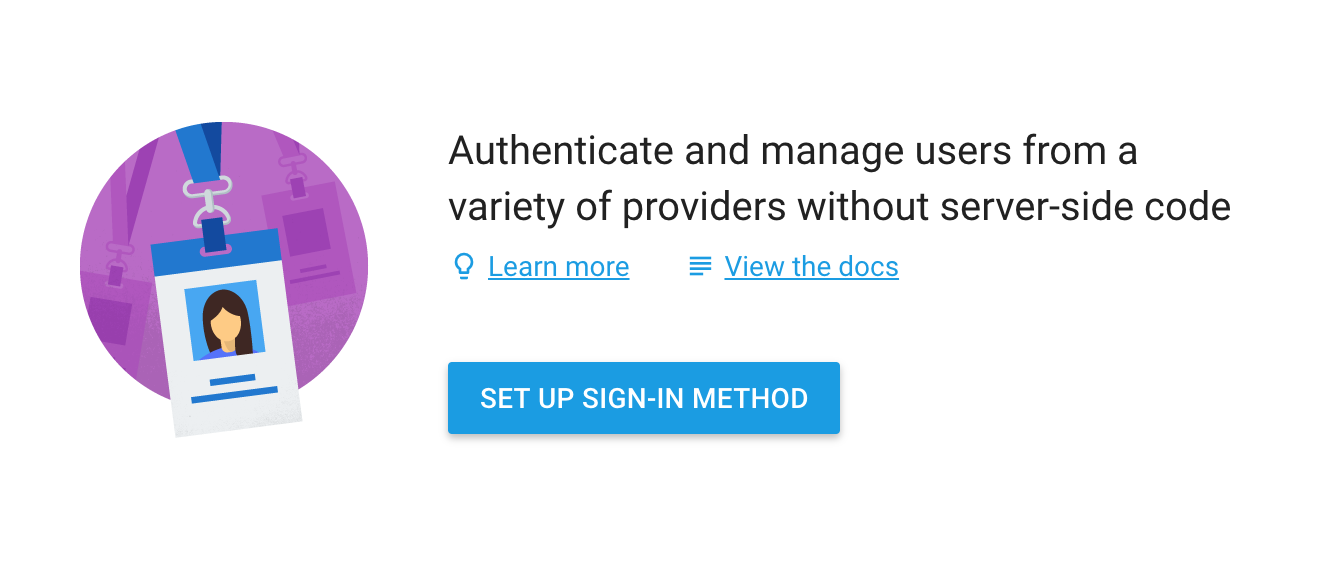
- Click Set up sign-in method on Authentication section.
- Enable just Google authentication provider.
- Add your domain (if you have one) to Authorized domains.
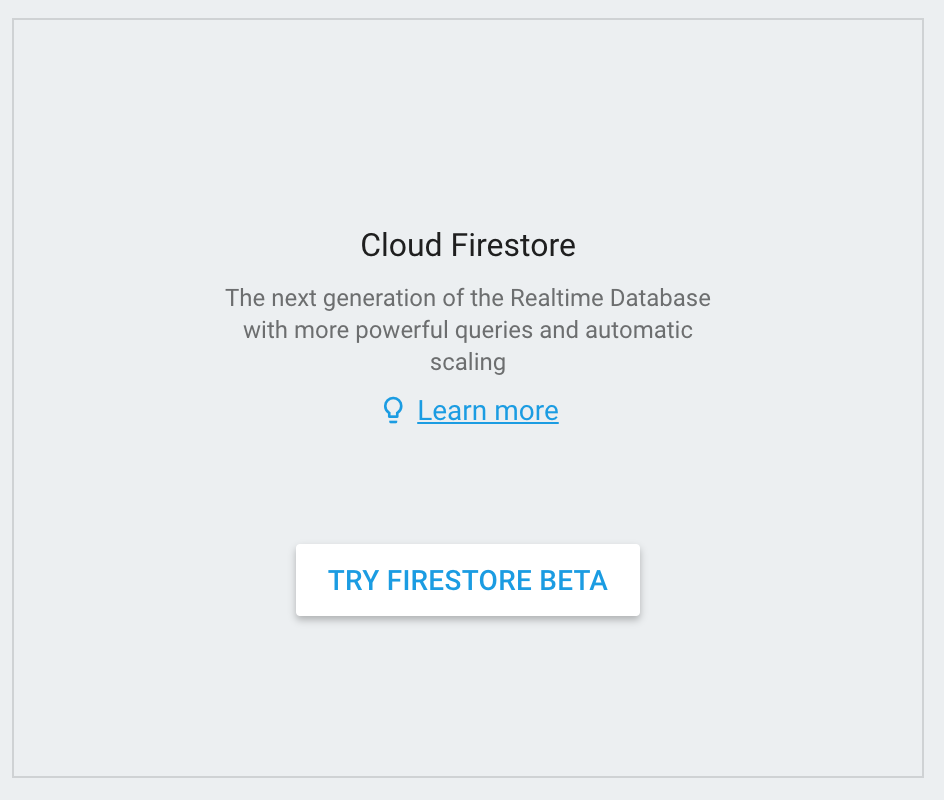
- Go to Database section and create Firestore instance.
Firestore is still in beta, but it doesn't make it less awesome.
- Go to Rules section in your database and paste configuration from .firebase-rules in project root.
- Publish new rules.
- Create
.envat the root of the project. Do not commit this file. It is personal data that should not be available for everyone. - Go to Project settings in Firebase console (click on the gear icon next to Project Overview).
- Copy data from this page to
.envin the following format:
F_PROJECT_ID=<your Project ID>
F_AUTH_DOMAIN=<your Project ID>.firebaseapp.com
F_API_KEY=<your Web API Key>In order to be able to initialize database with initial seed we need to generate private Firebase Admin service key.
- Go to Project Settings > Service Accounts and click Generate new private key button.
- Save downloaded file as
firebase-service-key.jsonat project root. ** Do not commit this file. It's added to.gitignoreby default.
We almost finished. Let's initialize our database with initial data.
yarn
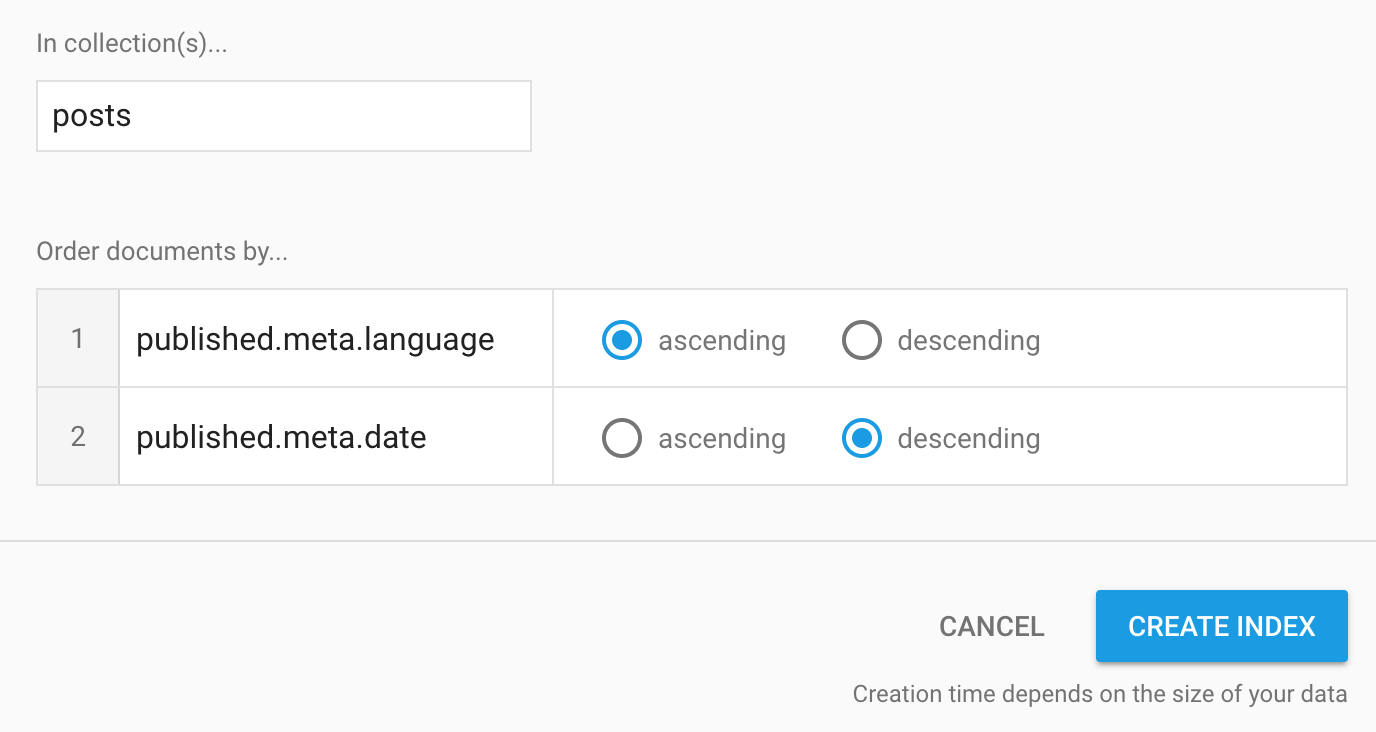
yarn run seedWe need manually setup indexes in our Firestore database to be able to make REST requests to our Firebase.
- Go to Database > Indexes and create the following index.
We're ready to launch our blog locally.
yarn devBlog is up and running on http://localhost:3000.
Wait.. But what's about CMS part?
- Go to http://localhost:3000/admin and click on "Click to start writing".
- Sign-in with your Google Account in popup window.
- Go to Firebase Console and add author rights to account you just signed in with.
- Copy User UID in Authentication section.
- Create
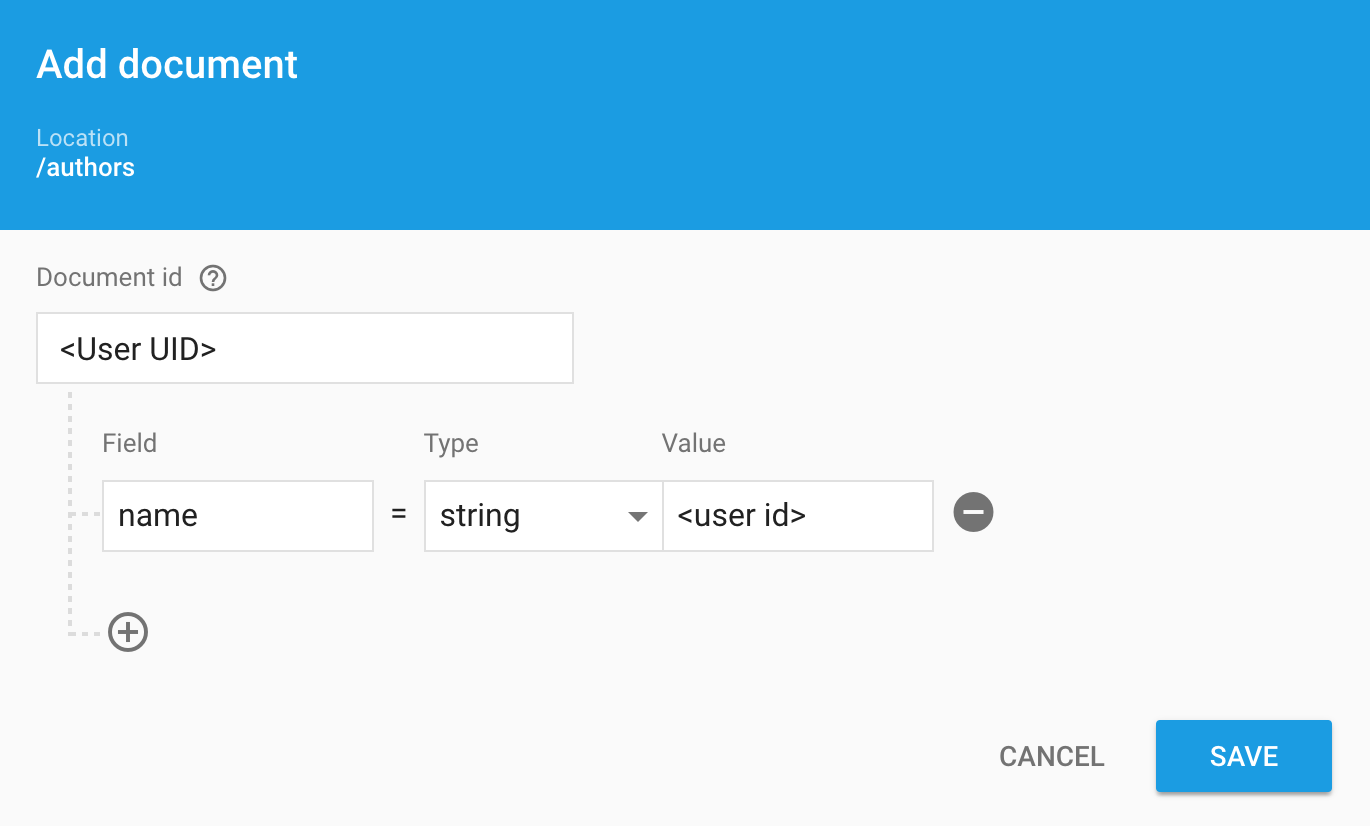
authorscollection in Database - Create a record in
authorscollection, wheredocumentIdis UID of the user andnameisidof user inconfig.jsfile.
- Go to http://localhost:3000/admin
- Create new post or edit existing and publish changes.
Licensed under the MIT License, Copyright © 2018-present Alexander Suevalov
See LICENSE for more information.


