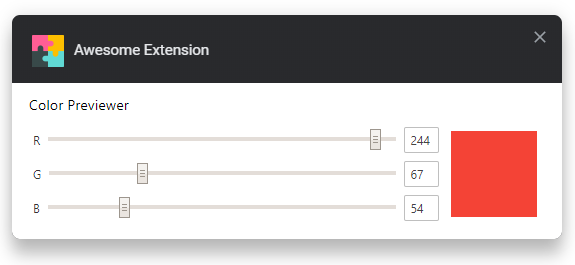
A template for creating cross-browser browser extensions
- Cross-browser builds using webextension-polyfill.
- Auto-syncing options.
- Auto-publishing with auto-versioning and support for manual releases.
- Extensive configuration documentation.
This extension template is heavily inspired from refined-github, notifier-for-github, and hide-files-on-github browser extensions. You can always refer to these browser extensions' source code if you find anything confusing on how to create a new extension.
Click Use this template and make a copy of your own. 😉
The extension doesn't target any specific ECMAScript environment or provide any transpiling by default. The extensions output will be the same ECMAScript you write. This allows us to always target the latest browser version, which is a good practice you should be following.
The template bakes in a pretty basic webpack config, with no transpiling. To setup transpiling using Babel follow the following configuration steps.
-
Install Babel packages and respective loader for webpack.
npm i --save-dev @babel/core @babel/preset-env babel-loader
-
In
webpack.config.js, add the following rule to process JS files.module: { rules: [ { test: /\.js$/, exclude: /node_modules/, loader: 'babel-loader' } ] }
-
Target respective browsers using
.babelrc.{ "presets": [ ["@babel/preset-env", { "targets": { "chrome": "74", "firefox": "67" } }] ] }
If you will be writing any code that will be importing CSS files from JS files, then you will be needing mini-css-extract-plugin to extract this imported CSS into its own file.
-
Install the webpack plugin.
npm i --save-dev mini-css-extract-plugin
-
Modify the webpack config as mentioned to let this plugin handle CSS imports.
// Import plugin
const MiniCssExtractPlugin = require('mini-css-extract-plugin');

// Under `module.rules`
{
	test: /\.css$/,
	use: [
		MiniCssExtractPlugin.loader,
		'css-loader'
	]
}

// Under `plugins`
new MiniCssExtractPlugin({
	filename: 'features.css'
})
TypeScript and Babel configs conflict each other, so you can only use one of these configuration types at any point.
-
Install TypeScript and respective loader for webpack
npm i --save-dev typescript ts-loader.
-
Use the following webpack rule in the config file.
{
	test: /\.(js|ts|tsx)$/,
	loader: 'ts-loader',
	exclude: /node_modules/
},
-
Use the following as
tsconfig.json, uses sindresorhus/tsconfig (install it as dependecy before using).{ "extends": "@sindresorhus/tsconfig", "compilerOptions": { "target": "esnext", "declaration": false }, "include": [ "source" ] }
TypeScript requires additional configuration depending on how you set it up, like linting.
Contentscripts are CSS and JS code that you inject into each tab of the browser. Instead of manually using the API to tell the browser to inject these scripts, you could use bfred-it/webext-dynamic-content-scripts to automatically do this.
The options page includes bfred-it/webext-options-sync that syncs all input values includes in the form element as they change. These changes are reflected across all the browser instances for the extension if you are logged into the browser using Google account on Chrome or Firefox account on Firefox.
Refer to the Node modules documentation for more info on how it works.
The included Travis file includes config to test the repo on merges to master and includes as deplpyment script to create and publish a new version of the extension only if the following conditions are met
- If the Travis build is triggered using the "Trigger build" button on the Travis website, this allows for manual releases.
- Or if the Travis build is part of a cron job and only there are any commits in the last 26 hours.
To setup this auto-publishing, you have to export some API keys from Chrome Web Store (CWS) and Mozilla Extention Store (AMO), and set these as environment variables in your Travis settings.
CLIENT_ID,CLIENT_SECRET, andREFRESH_TOKENfrom Google APIs.WEB_EXT_API_KEY, andWEB_EXT_API_SECRETfrom AMO.
And don't forget to setup a cron job that runs daily on master, and include your CWS extension id in .travis.yml.
Whenever you want to create a new release or when the extension is auto-published, the current date and time in the format [year].[month].[date].[hour-minute] (for example, 19.6.16.428) is used as the version number. So that you don't have to manually update this number when a new release is to be made.
Releases to the extension are made from the cron job that runs once a day. If you ever wanted to release a new version, like an immediate bug/security fix, you can use the "Trigger build" button on the Travis build page after making the necessary commits. This will trigger the release script and new version will be published.
This browser extension template is released under MIT and mentioned below. There is no license file included in here, but when you clone this template, you should include your own license file for the specific license you choose to use.
I know, everyone has their own opinion on this one. To keep it simple, copy-paste tests and their configuration from the extension projects mentioned at the start of this document. End of story.
Extension icon made by Freepik from www.flaticon.com is licensed by CC 3.0 BY.
This template is released under the MIT License by Laxman.
