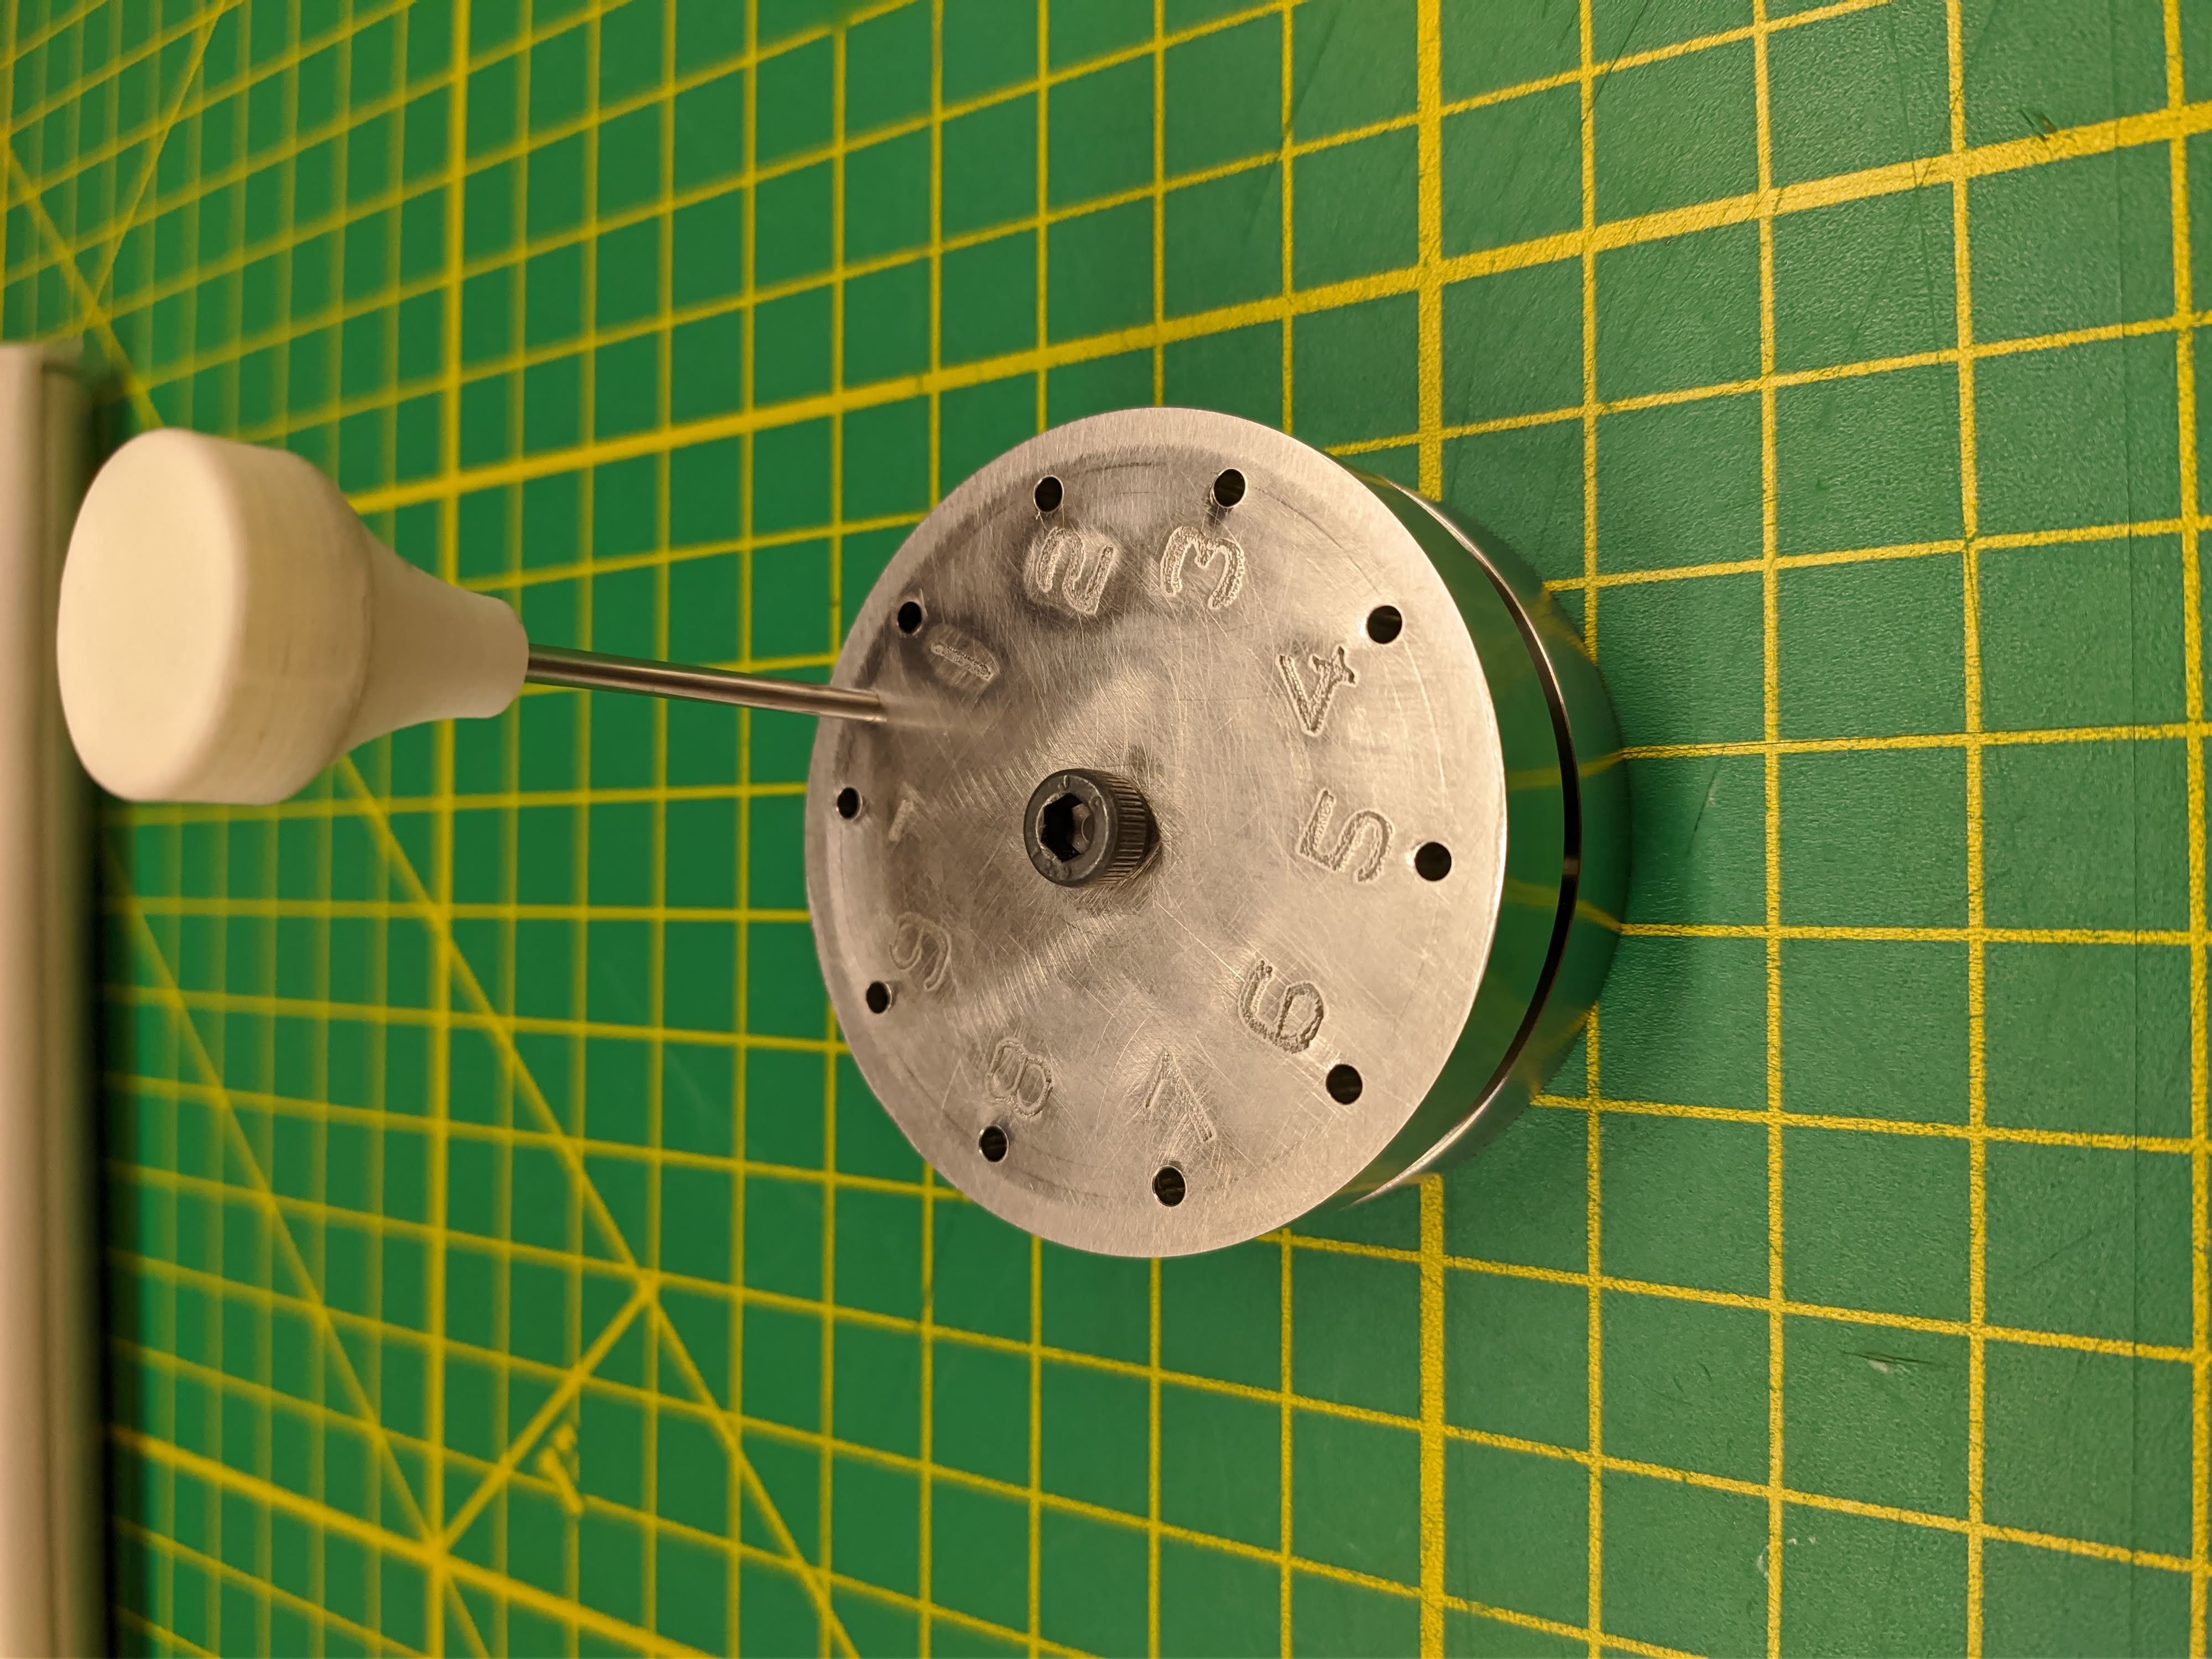
Some older computers require hard-sector floppies. These differ from the more common soft-sector floppies in that there are additional holes to physically mark the beginning of each sector. Both soft-sector and hard-sector floppies have a hole to mark the start of rotation. Soft-sector floppies can be converted to hard-sector by punching the additional required holes.
Hard-sector formats were used in both 5.25" and 8" formats. The punches here are designed for use with 5.25" disks. I don't have any 8" disks on hand to check alignment.
Most drives that used hard sector expect 300 Oe coercivity and won't be able to magnetize disks with higher coercivity. High-density (HD) floppies will most likely not work. The older double-density (DD) floppies likely will.
Not all hard-sector floppies are the same sector count. Usually a computer is only compatible with a specific configuration. 10 and 16 sectors were both commonly used in 5.25" format. 8" disks often had even more. The correct punch must be used to match the target machine.
Double-sided (DS) floppies will work for both double and single-sided drives. Single-sided (SS) floppies will work only in single-sided drives.
Provided are CAD files in various formats for a 10 sector 5.25" punch. They have been tested to work both as 3D printed PLA and CNC'd stainless steel. These were designed in Autodesk Inventor which uses ipt files. The exported stp files should be compatible with nearly all programs.
It's recommended to ream the punch holes to ensure as close of a fit as possible to the punch pin. McMaster #8803A208 reamer worked fine for both stainless steel and PLA. Use lots of oil/water respectively to keep things cool. Make sure both parts are aligned and tightened together when reaming. This will help ensure the holes are perfectly aligned between the top/bottom tools.
McMaster #3023A353 and #98378A801 should both work fine. The latter will have a tighter fit providing cleaner punches; a knob file is also included for it. It makes punching easier if a V notch is carved into the tip of the punch pin. A diamond file works well for this.
- Insert the punch pin through the index hole
- Line up the index hole on the floppy with the hole in the envelope
- Slide floppy onto tool
- Clamp opposite side of tool together using an M5 bolt
- Remove punch pin and rotate the sleeve so the hole in the sleeve is aligned with the hole to punch
- Firmly press punch pin through the tool and remove
- Repeat the rotate/punch steps for all sector holes
- Unbolt tool halves and inspect floppy for cleanly punched holes
