Note : this is an old repository, poorly optimized and not maintained. You should not use it. I keep it for archive only.
Multi-page website setup
A basic setup using common frontend libraries and optimized with Webpack.

Introduction
This project aims at providing a basic website setup using the most common frontend libraries and that is optimized enough to be used in production. Hopefully it will help people build their own website using the included libraries, however it can also serve as a basis to include other libraries, as it is the same procedure.
Unlike many templates, this one is built with multi-page websites in mind. Indeed, it is configured to generate one css bundle and one javascript bundle per html file.
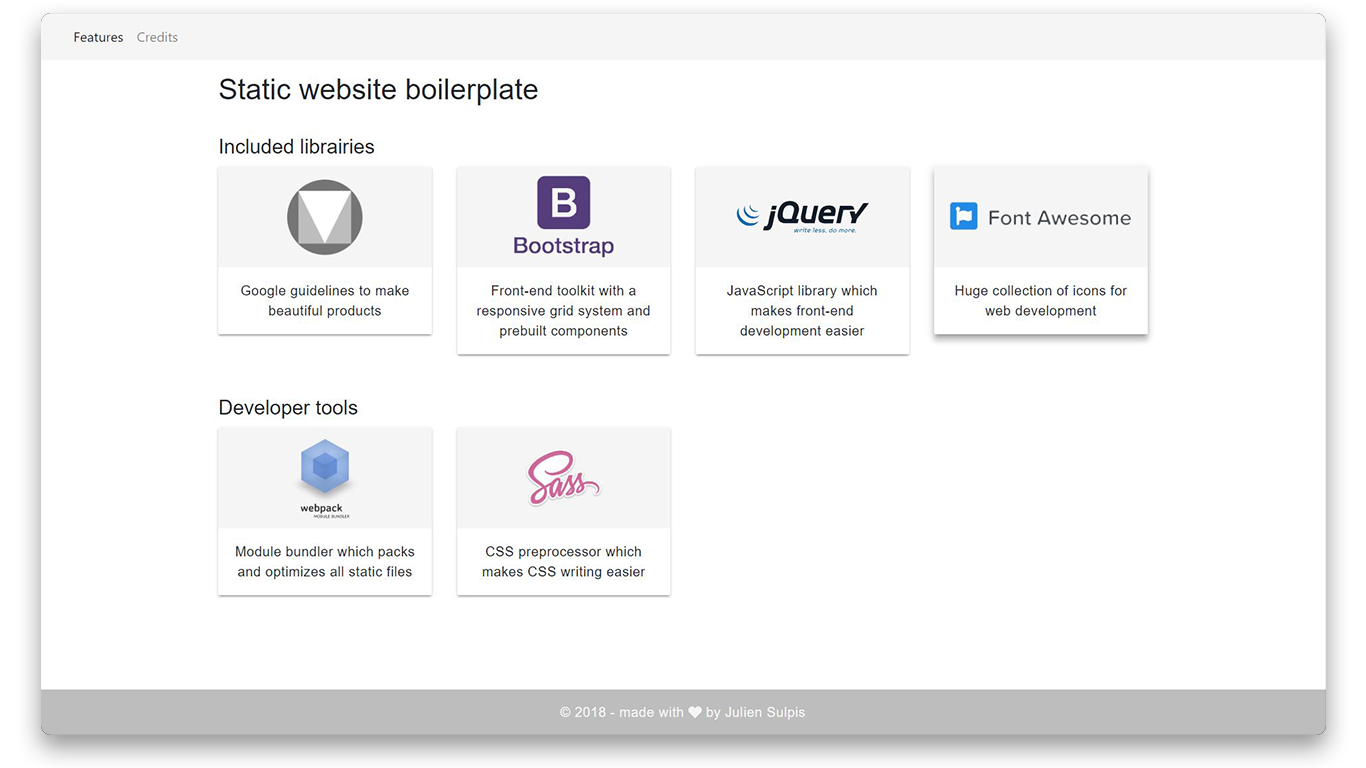
Features
Frontend libraries:
Developer tools:
Development setup
- webpack dev server
- gzip compression
- hot reload: after saving any change, the file is compiled and the browser automatically refreshes the page
- files not minified to see what is inside
Production build
- all files (html, css, js) are minified
- the website is generated in a dist folder that can be put on a web server and used in production.
Installation
Requirements
You will need the Node.js Package Manager (npm) to use this boilerplate. Optionally Git could hep you download the project files.
- Node.js - Download & Install Node.js and npm.
- (optional) Git - Download & Install Git. OSX and Linux machines typically have this already installed.
Install
Download the zip or clone this project.
git clone https://github.com/jsulpis/basic-website-setup.git
cd basic-website-setup
then install all the dependencies with npm.
npm install
Usage
Development
Start the server and open http://localhost:8080 in your default web browser.
npm run start
The server should have hot-reload enabled, which means that after modifying any source file, save it and the file will be recompiled and the browser will refresh the page. Note that if you modify webpack.config.js or package.json, you will have to restart the server.
Deployment
Generate and optimize all files in a dist folder that you can put on a server.
npm run build
Configuration
Once everything works as expected, here is how to make your own pages using this setup.
src folder
Add you html file. Don't include any css or javascript in the html, webpack will do it automatically.
src/scss
Add you sccs file.
src/js
Create a js file on the model of index.js and credits.js. This file is the entry point of all the process of your page. Include your scss file, vendor libraries if you need some, and your own javascript code.
webpack.config.js
In the entry object of module.exports, add the js file (entry point) you made earlier.
In the plugins list, add a new HtmlWebpackPlugin and use the name of your page. The "chunk" is the name you used in the entry object.
Contributing
Contributions are welcome ! If you improve this boilerplate, feel free to share it.
- Fork the project (https://github.com/jsulpis/basic-website-setup/fork)
- Clone it on your machine (
git clone https://github.com/yourName/basic-website-setup.git) - Create your feature branch (
git checkout -b feature/awesomeFeature) - Commit your changes (
git commit -am 'Add my awesome feature') - Push your branch (
git push origin feature/awesomeFeature) - Open a new Pull Request
License
Released under the MIT license.