A fairy-tale inspired theme, with tasteful use of emojis - Zsh, iTerm, Sublime, Atom, Slack, Mou, PuTTY, Notepad++, Vivaldi & DuckDuckGo
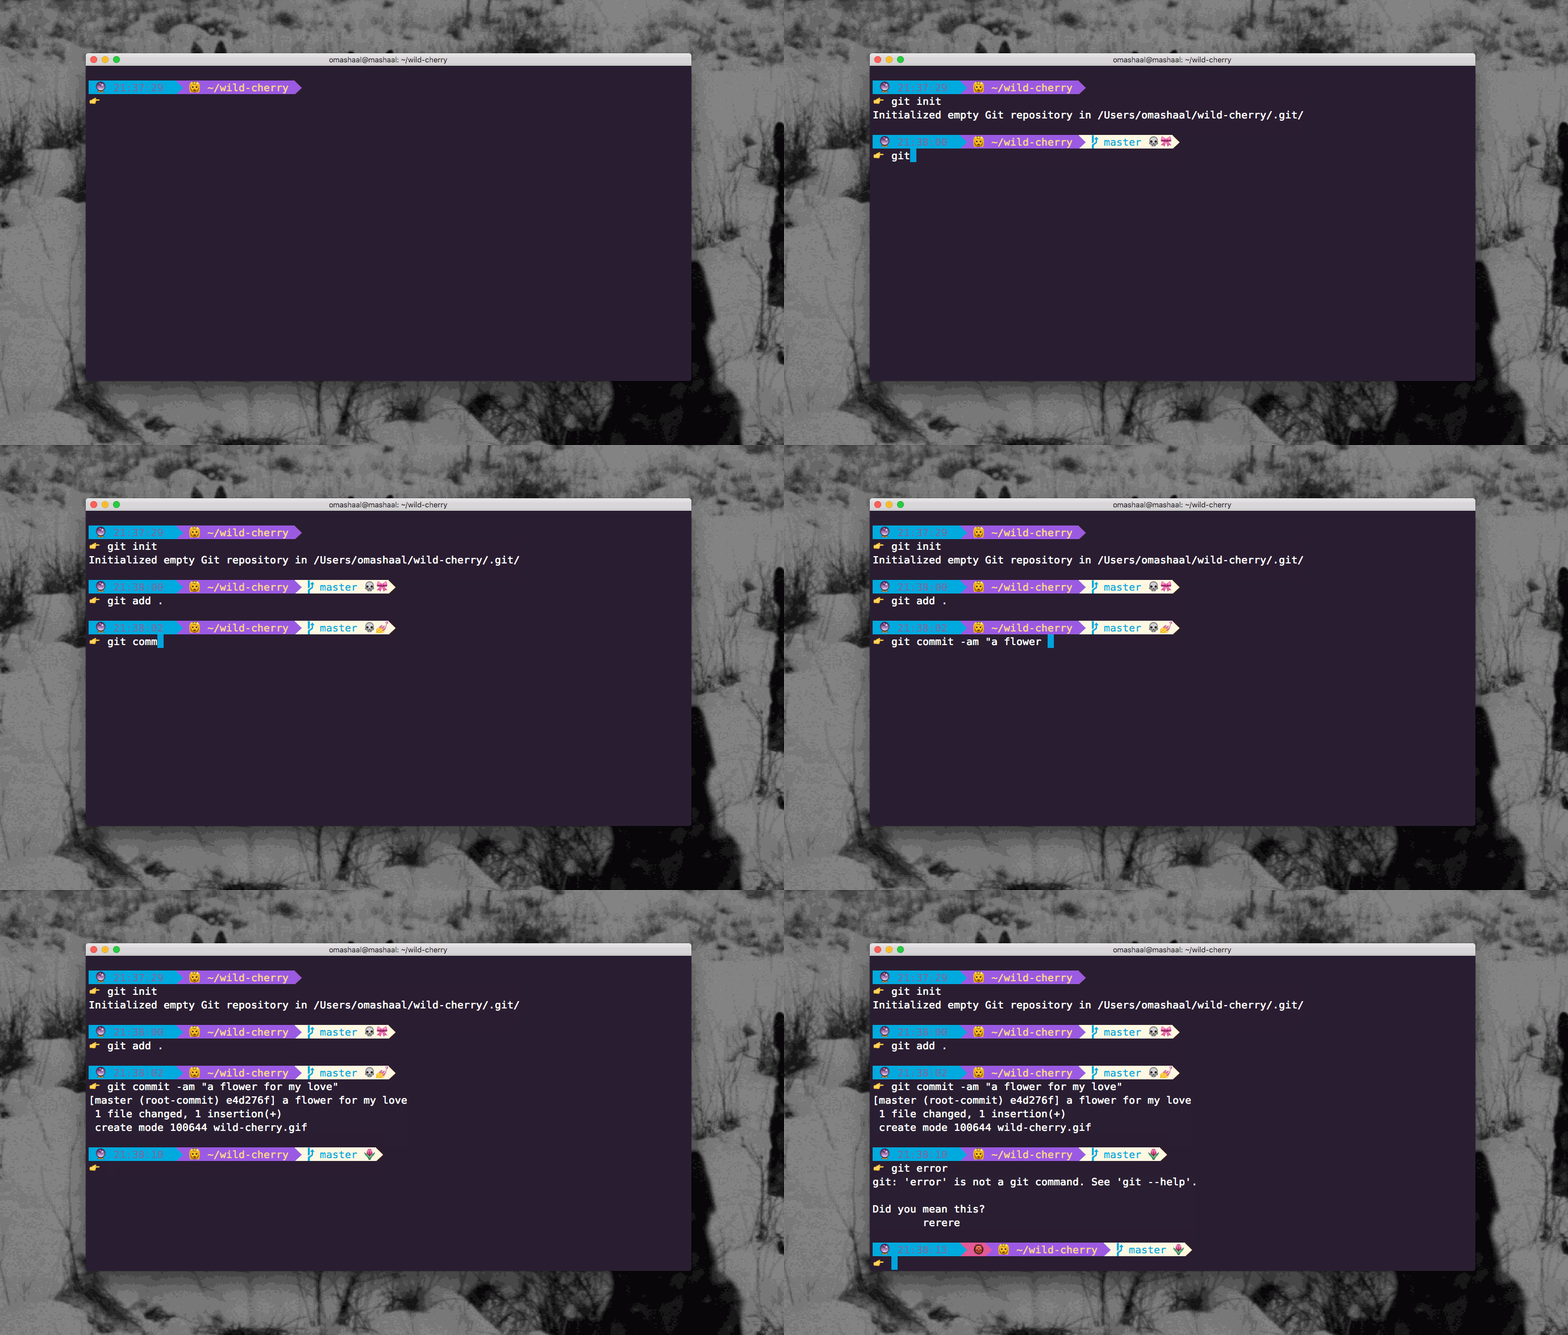
💀 Git Princess is close to death.
🌷 Commit to her and give her a flower.
👹 Japanese Ogre appears on error.
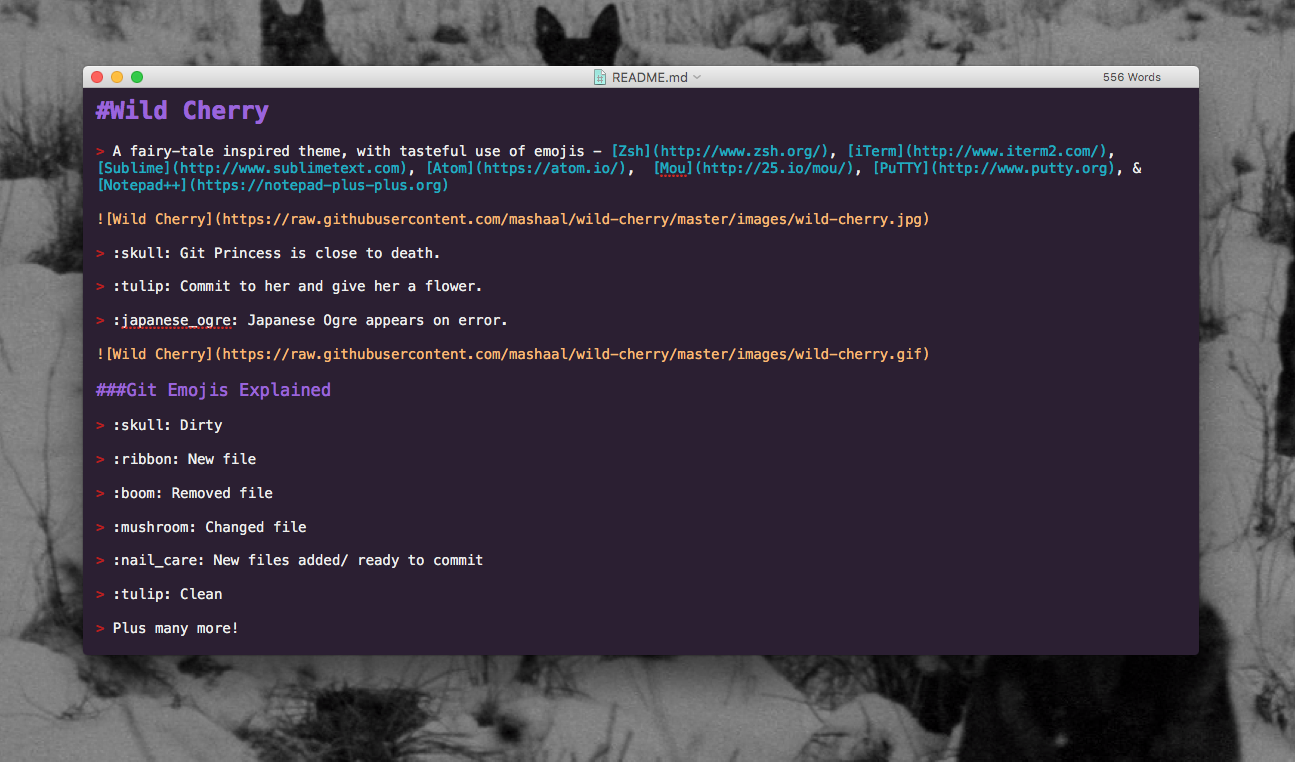
💀 Dirty
🎀 New file
💥 Removed file
🍄 Changed file
💅 New files added/ ready to commit
🌷 Clean
Plus many more!
- This is a customized version of agnoster and remy.
- In order for this theme to render correctly, you will need a Powerline-patched font or the Hack font
Activating...
- Move
zsh/wild-cherry.zsh-themefile to oh-my-zsh's theme folder:oh-my-zsh/themes/wild-cherry. - Go to your
~/.zshrcfile and setZSH_THEME="wild-cherry". Finally, reload your terminal.
Activating...
- iTerm2 →
Preferences→Profiles→ColorsTab - Click
Load Presets... - Click
Import... - Select the
iterm/wild-cherry.itermcolorsfile - Select the
wild cherryfromLoad Presets...
Note: wild-cherry.itermcolors reflects only the theme colors in iTerm. To get the formatting and emojis, you will need to configure your Zsh theme via the instructions above.
- Optimised for Atom!
- Now with Linter Emojis!
- Recommended to use Isotope UI Theme, with File Icons package
- Thanks to ramonmcros for adding JSON, Markdown, and CriticMarkdown syntax!
👹 Japanese Ogre does not like trailing semicolons! (Atom Linter required)
🔥 Dodgy code may catch fire! (Atom Linter required)
- Open package control
tools→Command Paletteand typeInstall Package - Search for
Wild Cherryand hit enter - Lastly, open
Preferences→Settings - User. Add the following two lines:
"theme": "wild-cherry.sublime-theme",
"color_scheme": "Packages/Wild Cherry/wild-cherry.tmTheme"
color_scheme defines how the code looks and theme defines how the sidebar, tabs, search, command palette work.
Activating...
#2B1F32,#FFB86C,#E15D97,#FFFFFF,#4A1386,#FFFFFF,#35BA66,#0AACC5
Activating...
- Copy [
mou/Wild Cherry.txt](mou/Wild Cherry.txt) to your Mou/Theme directory - Select
Wild Cherryfrom Mou → Preferences → Themes
- Same theme as for iTerm2!
- Update your default profile, or create a new profile
- Thanks to Efreak for PuTTY integration!
Activating
- Download either
putty/wild-cherry.regorputty/wild-cherry.default.reg - Open it.
- Click yes.
- Delete it.
Activating
Activating...
- Open settings → themes.
- Click +.
- Set background =
#2B1F32, foreground =#FFFFFF, highlight =#0AACC5, accent =#E15D97. - Set name:
Wild Cherry. - Click save.
Activating
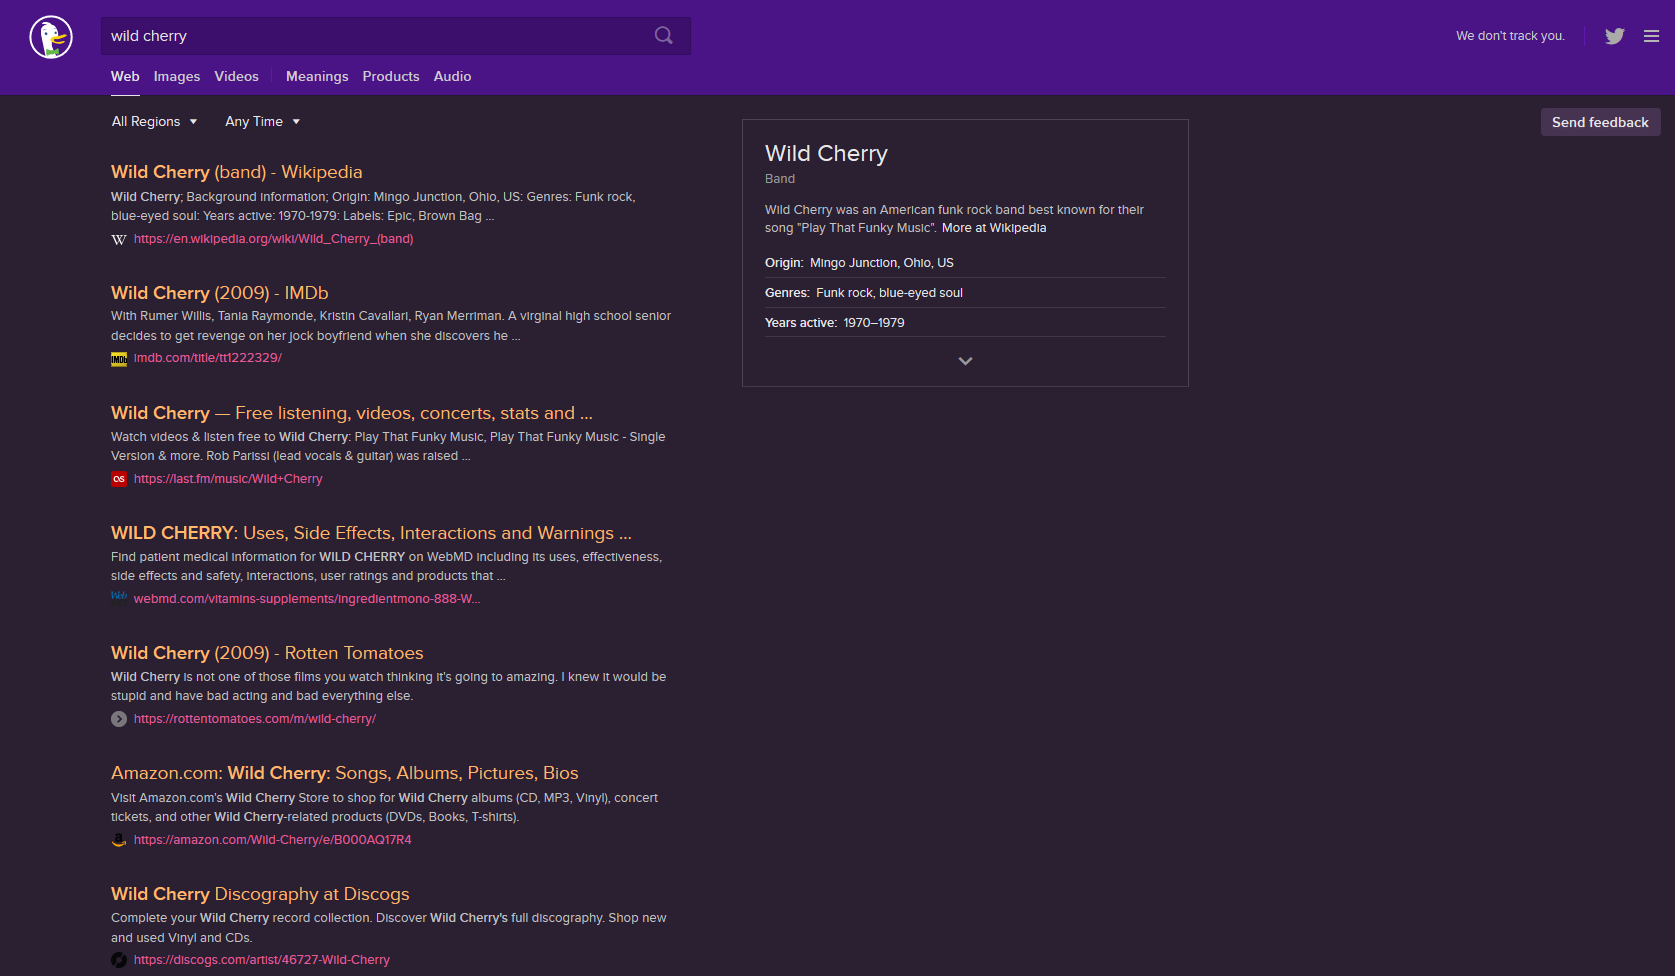
a) Use this bookmarklet
https://duckduckgo.com/?k7=2B1F32&kj=4a1386&kx=e15d97&k9=ffb86c&kaa=0AACC5
OR
b)
- Go to Settings → Appearance
- Set Background Color:
#2b1f32, Header Color:#4a1386, Result URL Color:#e15d97, Result Title Color:#e15d97, Result Visited Title Color:#0aacc5
Activating
- In your Cloud9 IDE, click Cloud9 -> Preferences -> Experimental -> Enable Plugin Manager
- Click Tools -> Developer -> Start in Debug mode
- In the new window, type the following command into the terminal
cd ~/.c9/plugins. - Then clone the repository:
git clone https://github.com/iSasFTW/wildcherry_c9.git. - Switch into the newly created directory:
cd wildcherry_c9/. - Type
c9 build. - In the Plugin Manager (if not already open, go to Cloud9 -> Preferences -> Experimental) enable wildcherry_c9 by ticking the box next to it. (If you don't see it, you might have to refresh the plugin list using the button in the gear menu)
- You should now see "wildcherry" as an option in View -> Themes.
- Close the tab with debug mode open, and refresh your original cloud9 tab.
- Done! You've now installed the Wild Cherry editor theme!
Want to give the princess a makeover? 💄 Fork- and submit a pull request! 🎀

