vim有一点不能忘,模式化无鼠标编辑, 禅定!
分层配置,层层玻璃纸化,系统有机构成,打造适合writer的乐园
牢记利器是来解决问题,干有挑战事情的,做有意义工作

3个特色(足矣):

- Leaderf + Vimmark
- g* z* + vimmark
- ctrl +] 跳转到定义  Ctrl+o跳转回去
gvim_8.2.3154_x64.exe match python-3.9.6-amd64(python3.8.2 cannot work , you need to download older gvim version!)
2021-07-13 updated gvim_8.2.3154(with vim9 support)+python3.9.6
:GitBlame 可以查看当前文件的所有更改过程
-
(Deprecated)下载,不破坏原始架构 引入leaderf后,需要满足两个条件 带python的vim安装包,python的详细版本信息请查看 vim windows版本下载链接
-
写了my_configs.vim 并下载了自己插件到my_plugins文件夹
-
rainbow_paratheses的好处是让括号好看些
-
(deprecated)更快的ctrlp配置
F2,F1和,o的bufferexplorer命令一样, 加入了第三方matcher 命中插件ctrlp-py-matcher 并替换掉ctrlp默认的搜索为ag搜索 ctrlp_user_command. CtrlPMRU 和CtrlPMRUFiles的区别是,后面一个除了搜索MRU还 包括文件的搜索C-o打开一个提示框,一般我选择t,在新窗口中打开文件。此条内容已被leaderf替代!
-
增加了nerdcomment方便注释
(,cc), 替换掉vim-commentary
,cc
- Comfortable-motion也是挺有用的
<C-f><C-d><C-u><C-b>
<C-e>向下慢移动<C-d>向下快移动<C-u>向上移动
- 增加我的
,a 搜索光标下单词 和<space>/打开Ag(在config-ctrlp.vim中配置了),,cad调用calendar,然后写wiki,,wi写日记也是可以的,[[#]]在#之后可以使用Ctrl-X Ctrl-o会弹出一个列表 不忍放弃vim的一个原因,很方便; 摁下+表示增加header,-表示较少header [[向前跳 ]]向后跳 [u upper parent node
,a搜索, 可以配合,fr, 使用leaderf rg进行异步搜索,cal打开日历窗口,wi打开diary文件[[wiki文件内向前一header跳转(只要是header即可,不考虑是否同级)]]wiki文件内向后一header跳转(只要是header即可,不考虑是否同级)[=wiki文件内同级向前跳转(有用)]=wiki文件内同级向后跳转(有用)[uwiki文件内向父级跳转, 如果有父节点(有用)]uwiki文件内向子级跳转,如果有子节点(有用)
C:\Users\yzl的.NERDTreeBookmarks nerdtree的:Bookmark对应的文件夹名名字,_vim_mru_files保存着最近访问的文件,_vimtags保存着所有tag相关的记录.
增删部分:
:Bookmark添加当前项目文件夹进入Nerdtree中B在nerdtree框中可以toggle bookmark中的文件,也可以通过let NERDTreeShowBookmarks=1,默认打开bookmarkF是否显示文件(有时候只关注目录)ltoggle隐藏文件D删除当前书签- m 显示nerdtree的一般操作命令
- p拷贝当前的文件名路径
- a添加节点
- d删除节点
- m移动节点
- c拷贝节点
- o有趣的命令,使用系统打开工具
导航部分:
-
P调到根节点 -
p小写p跳到父节点 -
K跳到当前目录下同级的第一个结点 -
J跳到当前目录下同级的最后一个结点 -
k跳到当前目录下同级的前一个结点(类似vimwiki的[=) -
j跳到当前目录下同级的后一个结点(类似vimwiki的]=) -
C将选中目录或选中文件的父目录设为根结点(有时候很方便 可以简化视角区域)-->u反向(大小的C) -
u将当前根结点的父目录设为根目录,并变成合拢原根结点(move tree root up a dir) -
U将当前根结点的父目录设为根目录,但保持展开原根结点(move tree root up a dir, but leave old root open) -
ctrl+T 往后一个tab
-
ind+Ctrlo 3gt
-
cdchange the CWD to the selected dir -
注意是大写的CD,而不是小写的,首先是:cd到某个目录下,可以通过:pwd查看,然后切换nerdtre目录下,执行大写CD
-
当你的光标在nerdtree某个文件夹下,可以执行cd,然后pwd就会变换到对应的目录,用一次CD那么根目录就变成pwd目录了(用以折叠目录,聚焦查看文件夹 很方便!)。 然后使用u可以将父节点社会根节点(并且不展开) 使用大写P直接调到当前的根节点(也就是当你大写CD一次之后,你的根节点变化,u或者U一次,你的根节点发生变)化
-
典型的二叉树风格!树形节点查看文件,不错的代码阅读神器
- (Deprecated)
C-s变成加入光标,Alt-S变成添加符合全部单词下的光标,ESC推出MC(multiple cursors)模式 [[#pringout]]
C-s换为:leaderf rg搜索本buffer命令
-
gfopen file under cursor,如果是路径的话(配合上vimwiki). -
easymotion的j和k可以正常于运行
-
(Deprecated) 添加了TODO,FIXME等关键字的高亮,
F7添加TODO(yzl),,g调用:ACK然后写上TODO就可以过滤项目中所有具有TODO字段的行了(习惯性地添加TODO,FIXME,BUG等) TODO高亮F7功能已被leaderf替换掉!
-
,fu查看当前代码文件的所有函数(似乎有点用),fU跳转到指定函数中, 依然保留ctrlp-funky功能
,fu,fU
F8添加so what 总结性声明.
F8
- 编写perl文件常用命令,读取文件
\ii,输出文件\io,while循环\sw,for循环\sfe, 另外你不能忘记的三个数据结构,标量\id,数组\ia,字典\ih
\ii读取\io输出\swwhile\sfefor\id标量\ia数组\ih字典
- Interesting,不妨试试!
,z打开goyo界面,很好看
,z
- 先设置一个mark
mA,然后由于大写字母支持文件间跳转,于是~A也是可以跳转到先前的位置 很方便
m[A-Z]~[A-Z]
-
修改了vimwiki配置到vim_runtime. Ctrl+enter 垂直打开链接, shift+enter 水平打开链接, enter直接在当前窗口打开 CTRL+Shift+@表示把list加上checkbox(gl-space或者glx表示取消掉checkbox,gln glp显示不同的任务状态) 速度得快点摁下 gLa gLA gLi gL+ gL*
- vikwikiTable cols rows(列行控制) C-J/C-K上下行调换
- Alt+left /right 左右列调换
- viH/aH 选择一个header内的所有内容(配合上cih就可以修改一个标题内的所有内容了)
- vi/a\ 选择一个table里面的内容
- vic/ac 选择一列内容(配合上cic 就很方便咯)
- vil/val 列表内容的一项和所有项
-
搞清楚 vim-snipmate 和 vim-snippets 的关系 不断去学习 vim-snippets , vim-snipmate设计理念
-
vim-mark 让你看代码更方便, 自写函数
,*表示选择一行高亮
,r有效,j向上标记行 2021-05-05,k向下标记行
- GlobalVim 全局vim功能,事先设置好GK键即可,设置为CapsLock key ,win10-->设置-->讲述人--->更改光标粗细,这样看起来会更好些 效率是一方面,有趣是最要的!(Solve your work, keep your life interesting)
- 我居然忘记怎么调用vim-surround, view模式下,大写S然后输入你的左边delimeter, 可以快速删除
ds",快速修改cs",快速复制ys''
ds"cs"ys"
-
csv文件,可以使用
Ctrl_V批量幅值一列,然后使用vimfiler在不同文件夹中跳转,也可以复制宏,把刚才定位,选择一列,复制集合到一个宏命令, 这样就可以减少你办公室后的噪音(无噪音式办公模式) -
增加了 leaderf 替换掉ctrlp, 需要vim+python3, windows下支持python的vim工具 下载地址 , 注意一定得支持python功能的vim,否则无法使用leaderf vim中如何使用python工具说明 , 记住必须知道支持编译vim的工具中使用的python和你的系统中安装的是同一版本,比如3.8.2python 64bit! 保证一样即可使用。
到此为止,本项目需要满足两个条件:
- 支持python功能的vim安装包
- vim安装包内对应的python版本,现在vim,然后
:version查看一下python版本 常用命令:Leaderf file --popup leaderf buffer --popup Leaderf function --popup leaderf rg
C-S: buffer内查找内容 ,,fb 2021-05-05C-F: 查找文件,,ffF1: MRU files,,fmF2: file间查找内容, 如果是一长串单词,得用双引号F7: 查找当前buffer的函数(意义不大), 有点作用.
- very good! 效果很好
C-f弹出一个搜索框 , 然后C-JorC-K向下或者向上查找文件亦或者具体输入字母,
C-]直接右边打开(垂直打开)C-X直接水平划分窗口C-T新的tab窗口打开, goodC-U可以清除输入区UP向上翻历史down向下翻历史C-P哈哈,居然有preview功能!!!功能
- leaderf-marks 用于搜索vim marks功能, 对应
<F9>,,fn<F1>调用leaderf-mru- 调用,windows使用
C-s
-
自动切换当前的buffer文件所在目录为工作目录 ,
set autochdir -
,td关闭当前标签替换掉:wq,,tn,tp前后标签切换。
,td,tn,tp
:Leaderf buffer对应
<F10>,b, good!,fb
- vim-mark 很方便,查看文件可以标记文字, 感觉比 symbol-overlay 还好用(在非代码文件中)
,m标记选择区域一种颜色,r输入一段regex或者字符进行着色!,#向上查看标记区域(按的速度得快点),*向下查看标记区域
- vim-asterisk在同一个buffer内查找也挺方便的,配合上
<C-S>对应的Leaderf buffer以及,l对应的unite line使得单个文件查找很方便
*g*z*向下查找当前cursor下的单词(查找词会处于高亮形式)-----已经成为少不了的工具,再配合上,mvim mark一下,perfect!- 2020-10-06 有用 leaderf buffer配合vim mark也是不错的!
n向下查N向上查- 优化流程:
,m着色*对着色内容逐个跳转(可进行对修改, 如果相同步所有,直接n,然后.即可重复上一次命令)
#g#向上查找当前cursor下的单词(z#不给力)z/z?zg/都可以输入查找 很方便
- vim-surround 在vim中可以使用
:echo char2nr('-')会返回45,表示-的ASCII是45 可以查看 ASCII码表 进行其他关键字符的定义
通过下面的配置,就可以在vimwiki文件中使用可视模式选择多行+S-来完成多个字符的输入。
"Code block for markdown
autocmd FileType vimwiki let b:surround_45 = "{{{java \n\r\n}}}"

"Code block for markdown
 autocmd FileType markdown let b:surround_45 = "```\n\r\n```"

"Block comment for python
 autocmd FileType python let b:surround_45 = "\"\"\"\n\r\n\"\"\""
latex部分,可以通过添加额外的输入,很方便, 其中
\\begin表示\begin,\需要进行转义,有特殊含义\1\1两个slash1对代表要输入额外的提示词, 最多可以达到\7\7,在\1之前还可以插入提示信息,比如environment: 就会在minibuffer中显示出来。{ }不需要进行转移108则代表的\所代表的的ASCII码,:echo char2nr('\')
" vertical |
autocmd FileType vimwiki let g:surround_108 = "\\begin{\1environment: \1}\r\\end{\1\1}"unite常用命令,因为安装了Shougo/neomru.vim,所以可以使用:Unite mru
,f打开文件目录,l进行文件内搜索(), 类似与z?,但是z?有个好处可以显示当前是第几个匹配位置,不同于z/,zg/,因为后两者是类似于easymotion的功能,可以快速字符定位;g*,g#,z*,:unite mruor:unite neo/
- 打开所有当前配置的快捷键
:Mapor:Maps可输入查找的形式 推荐!:map阅读模式
- vim方式的快速定位easymotion
z?,z/的incsearch+easymotion的组合体模糊搜索,w,,W向下查找 forward 跳转到档次前方,Bbackward跳转到当前前方,j向下定位行数 line forward,k向上定位行数 line downword,s,,T,,t查找一个字母,njump to latest 查找的单词, 类似 cleverf 的f,N反向jump to latest 查找的单词, 类似 cleverf 的F
- fzf vim-fzf 是一个快速编辑的工具, 见配置文件config-fzf
可以快速插入行和文件路径
Linux底下使用该功能就是核弹级的功能
" Insert mode completion
imap <c-x><c-k> <plug>(fzf-complete-word)
imap <c-x><c-j> <plug>(fzf-complete-path)
"imap <c-x><c-j> <plug>(fzf-complete-file-ag)
imap <c-x><c-l> <plug>(fzf-complete-line)
- vim perl 好的代码风格决定你产生更好的bug
\rr运行脚本, 不用在使用:perl %了\rs检查语法\cy执行perltity , 前提得安装PERL::TITY\ci展示已经安装的perl模块\rk检查一下你的设置是否安装了PERL::TITY和PERL::CRITIC
- vim multiple-cursor(多重选择)
- 选择一个单词或者一个单元,
ctrl-n会选择相同的regexp,选好后执行vim相关编辑命令即可,比如删除,添加 ctrl-v不断往下走,添加行cursors,执行相关操作, ESC两下即可全部执行大写I和大写A或者大写D
- 多个vimwiki配置
let g:vimwiki_list = [{ 'path': '~/.vim_runtime/vimwiki/', 'path_html': '~/.vim_runtime/vimwiki_html','auto_toc': 1, 'syntax':'default'}, { 'path': '~/.vim_runtime/vimwikiTODO/', 'path_html': '~/.vim_runtime/vimwikiTODOHTML','auto_toc': 1, 'syntax':'default'}, { 'path': '~/.vim_runtime/vimwikiOffshore/', 'path_html': '~/.vim_runtime/vimwikiOffshoreHTML','auto_toc': 1, 'syntax':'default'}]如何切换vimwiki?
<leader> ws, 执行vimwikiUISelect命令,通过:Maps,默认调用fzf配置,可以查看config-fzf.vim,可以查看所有的map视图
<2022-06-21 19:15>
# The Ultimate vimrc
Over the last 10 years, I have used and tweaked Vim. This configuration is the ultimate vimrc (or at least my version of it).
There are two versions:
- The Basic: If you want something small just copy basic.vim into your ~/.vimrc and you will have a good basic setup
- The Awesome: Includes a ton of useful plugins, color schemes, and configurations
I would, of course, recommend using the awesome version.
The awesome version includes a lot of great plugins, configurations and color schemes that make Vim a lot better. To install it simply do following from your terminal:
git clone --depth=1 https://github.com/amix/vimrc.git ~/.vim_runtime
sh ~/.vim_runtime/install_awesome_vimrc.sh
To install for multiple users, the repository needs to be cloned to a location accessible for all the intended users.
git clone --depth=1 https://github.com/amix/vimrc.git /opt/vim_runtime
sh ~/.vim_runtime/install_awesome_parameterized.sh /opt/vim_runtime user0 user1 user2
# to install for all users with home directories
sh ~/.vim_runtime/install_awesome_parameterized.sh /opt/vim_runtime --all
Naturally, /opt/vim_runtime can be any directory, as long as all the users specified have read access.
I recommend using IBM Plex Mono font (it's an open-source and awesome font that can make your code beautiful). The Awesome vimrc is already setup to try to use it.
Some other fonts that Awesome will try to use:
The basic version is just one file and no plugins. Just copy basic.vim and paste it into your vimrc.
The basic version is useful to install on remote servers where you don't need many plugins, and you don't do many edits.
git clone --depth=1 https://github.com/amix/vimrc.git ~/.vim_runtime
sh ~/.vim_runtime/install_basic_vimrc.sh
Use gitforwindows to checkout the repository and run the installation instructions above. No special instructions needed ;-)
If you have vim aliased as vi instead of vim, make sure to either alias it: alias vi=vim. Otherwise, apt-get install vim
Just do a git rebase!
cd ~/.vim_runtime
git pull --rebase
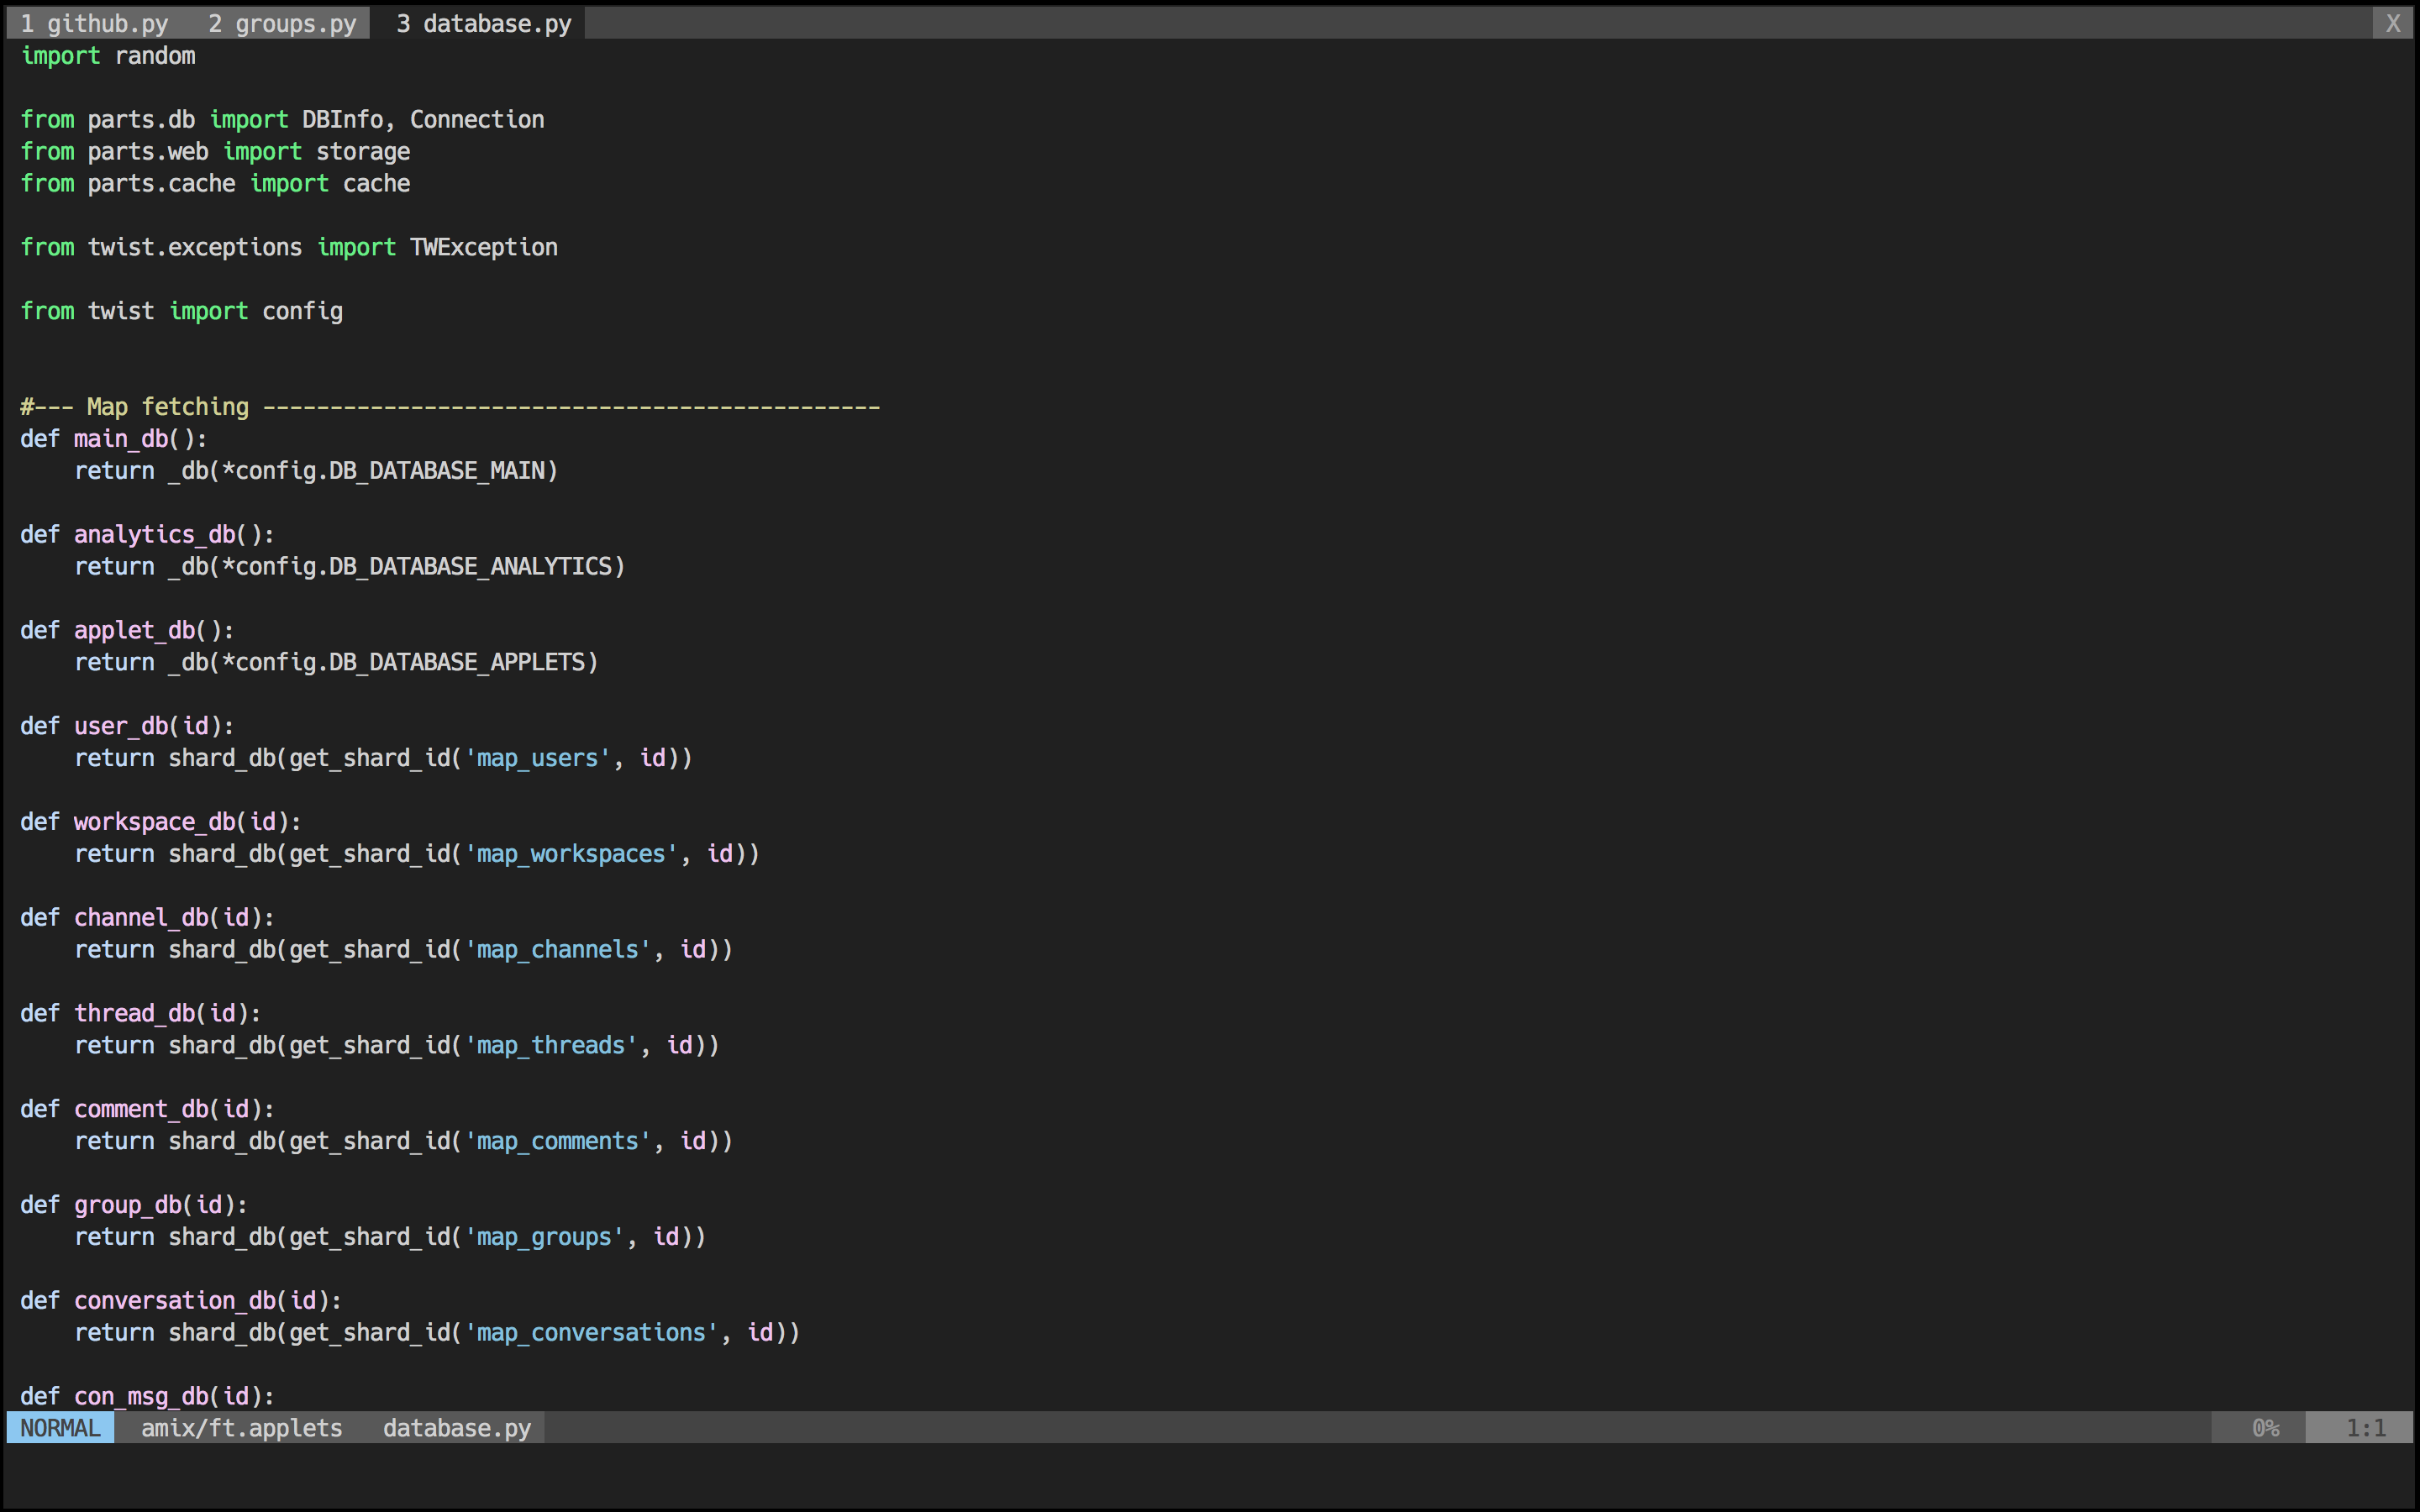
Colors when editing a Python file:
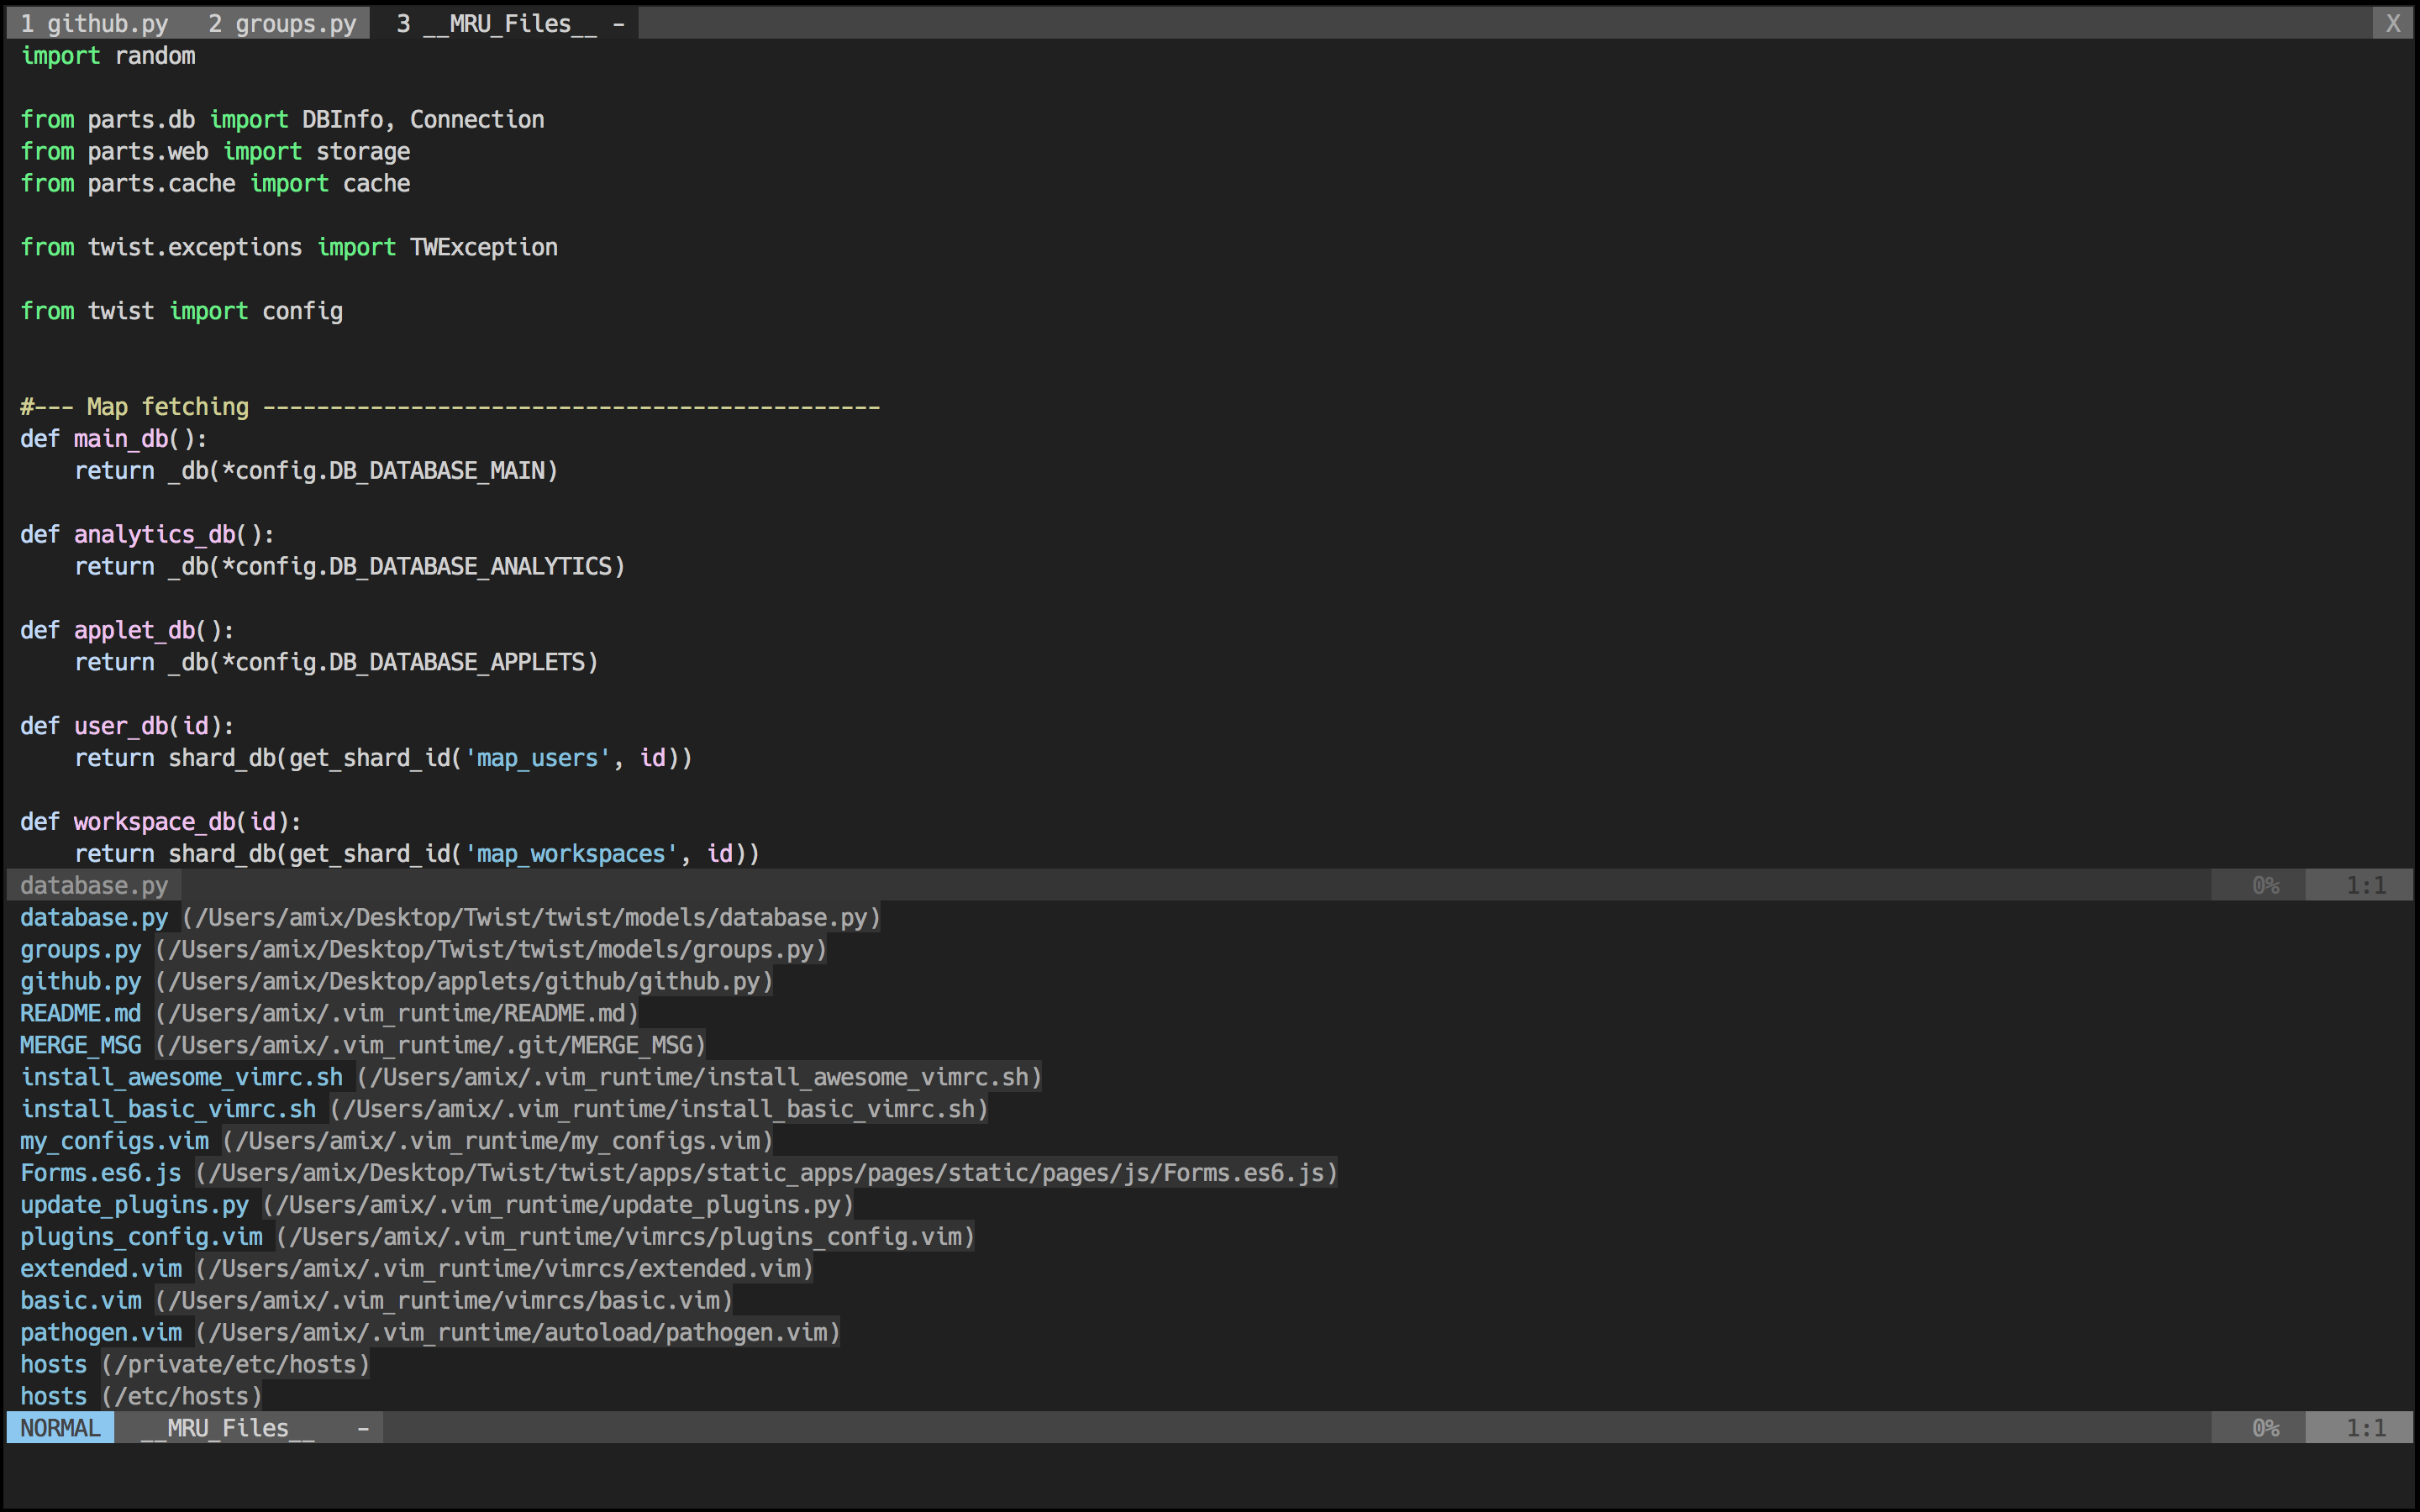
Opening recently opened files with the mru.vim plugin:
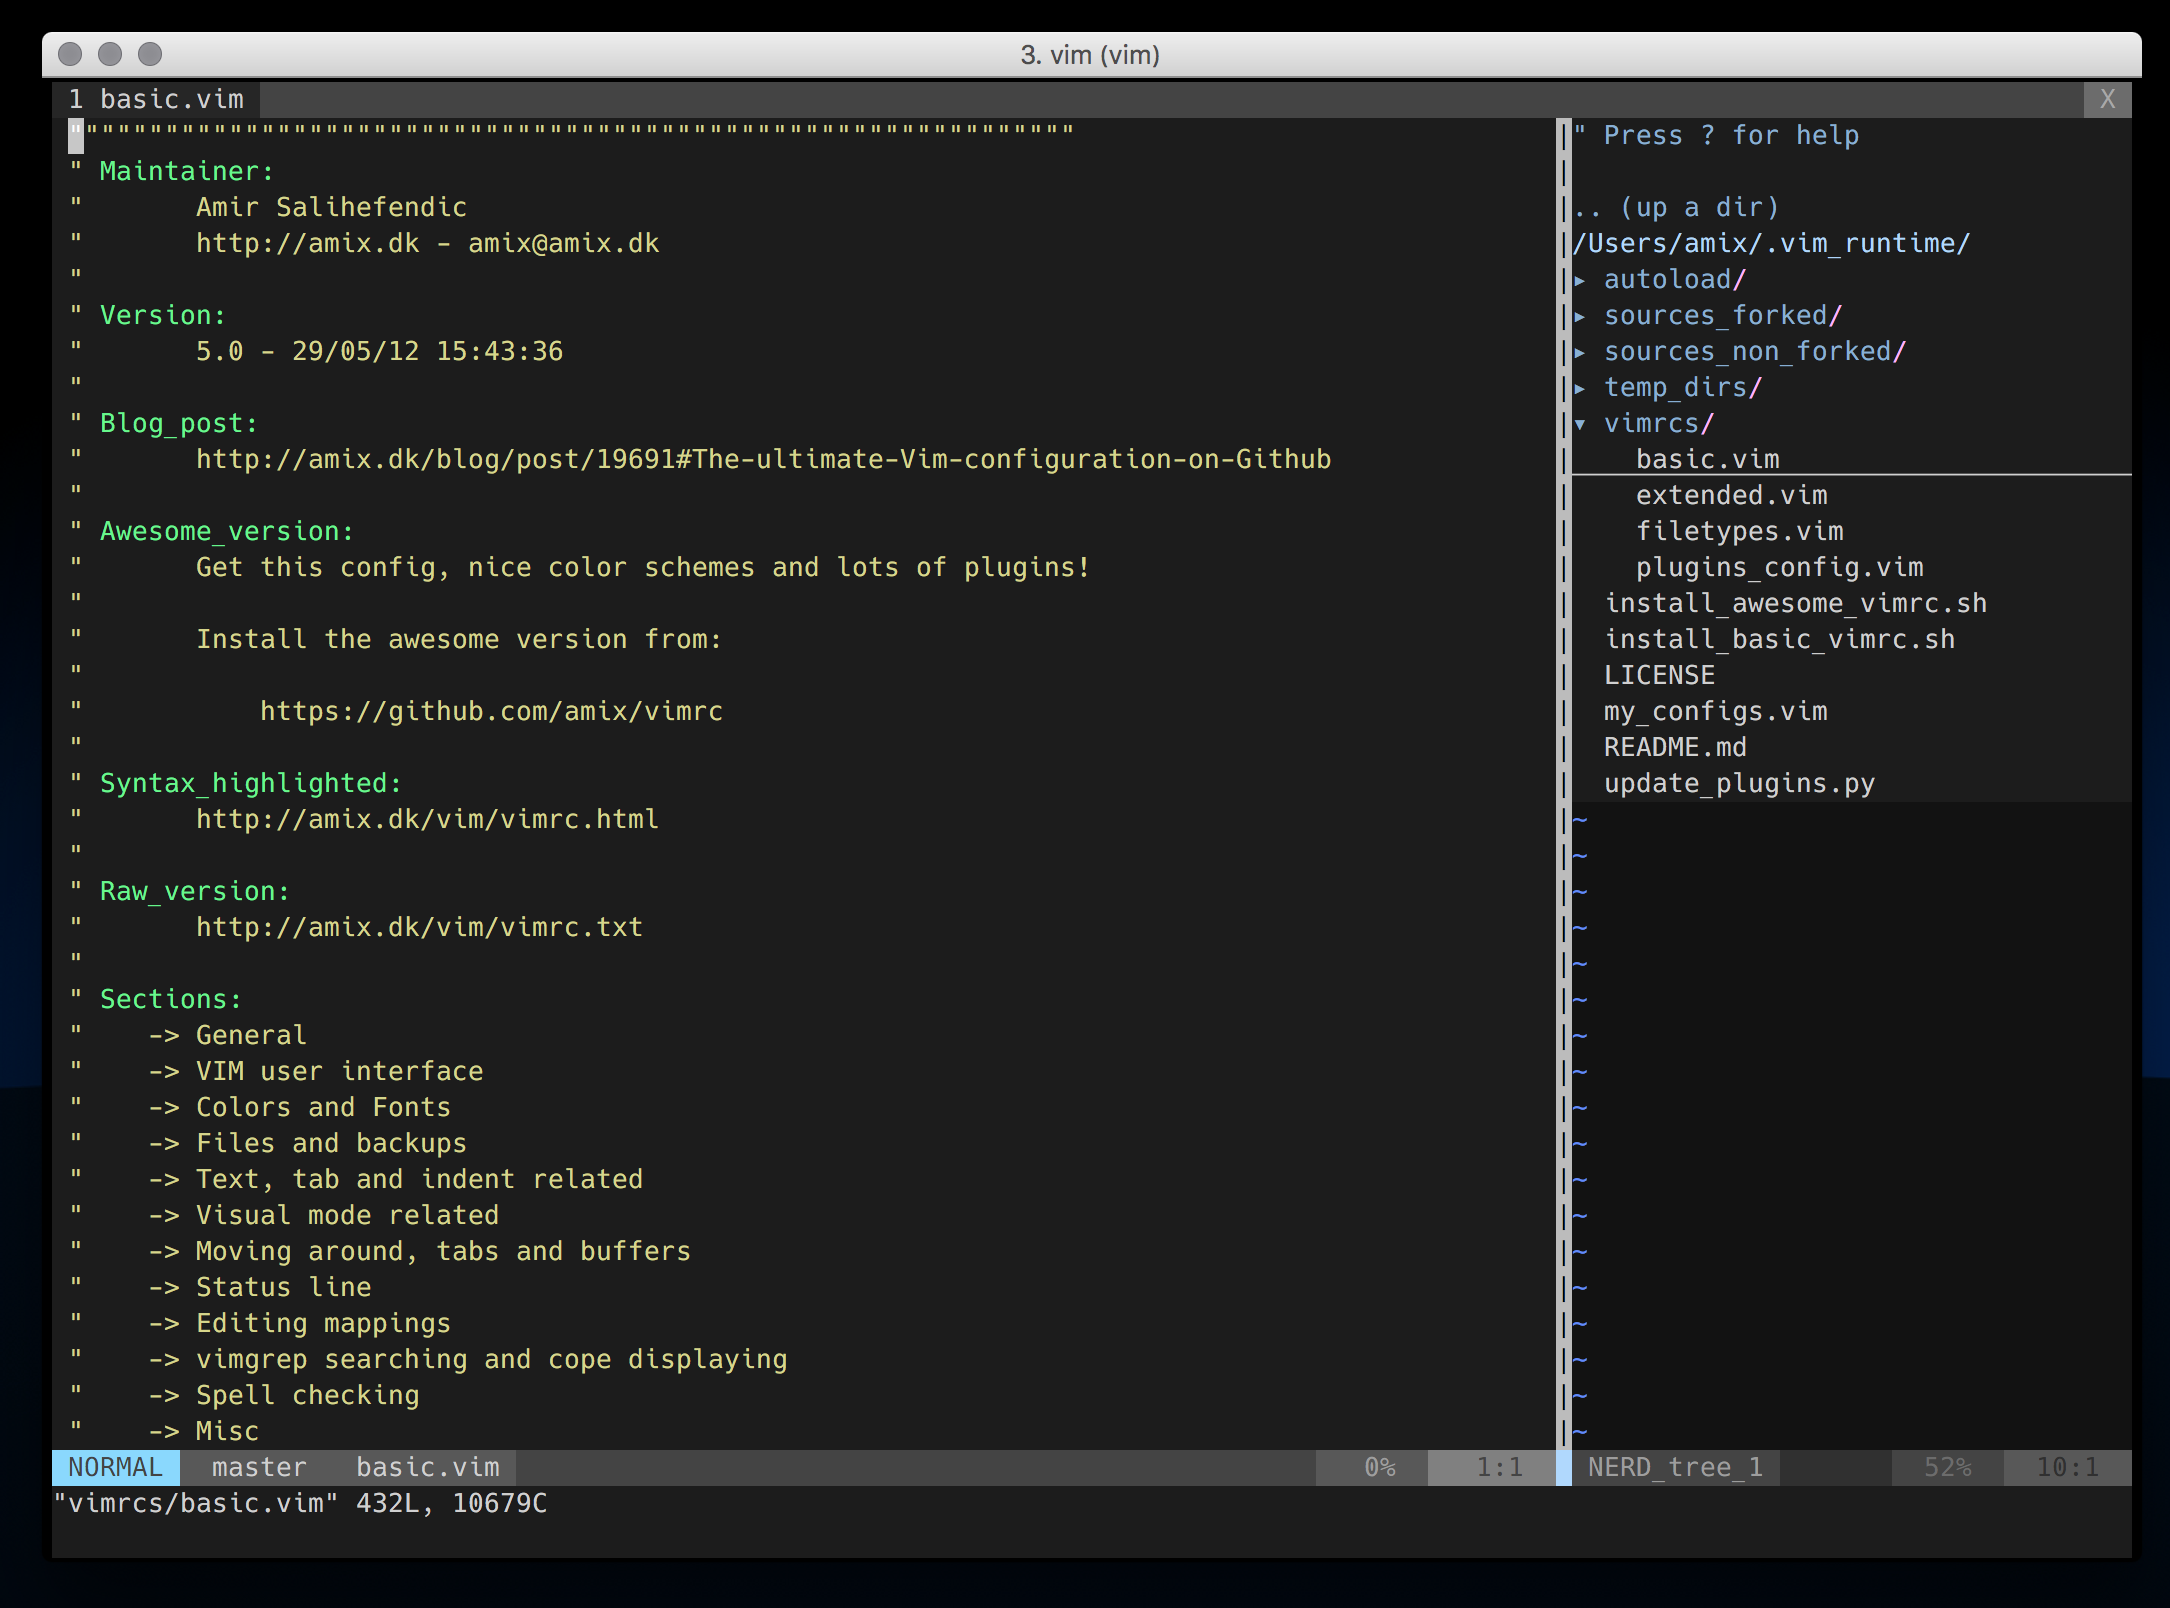
NERD Tree plugin in a terminal window:
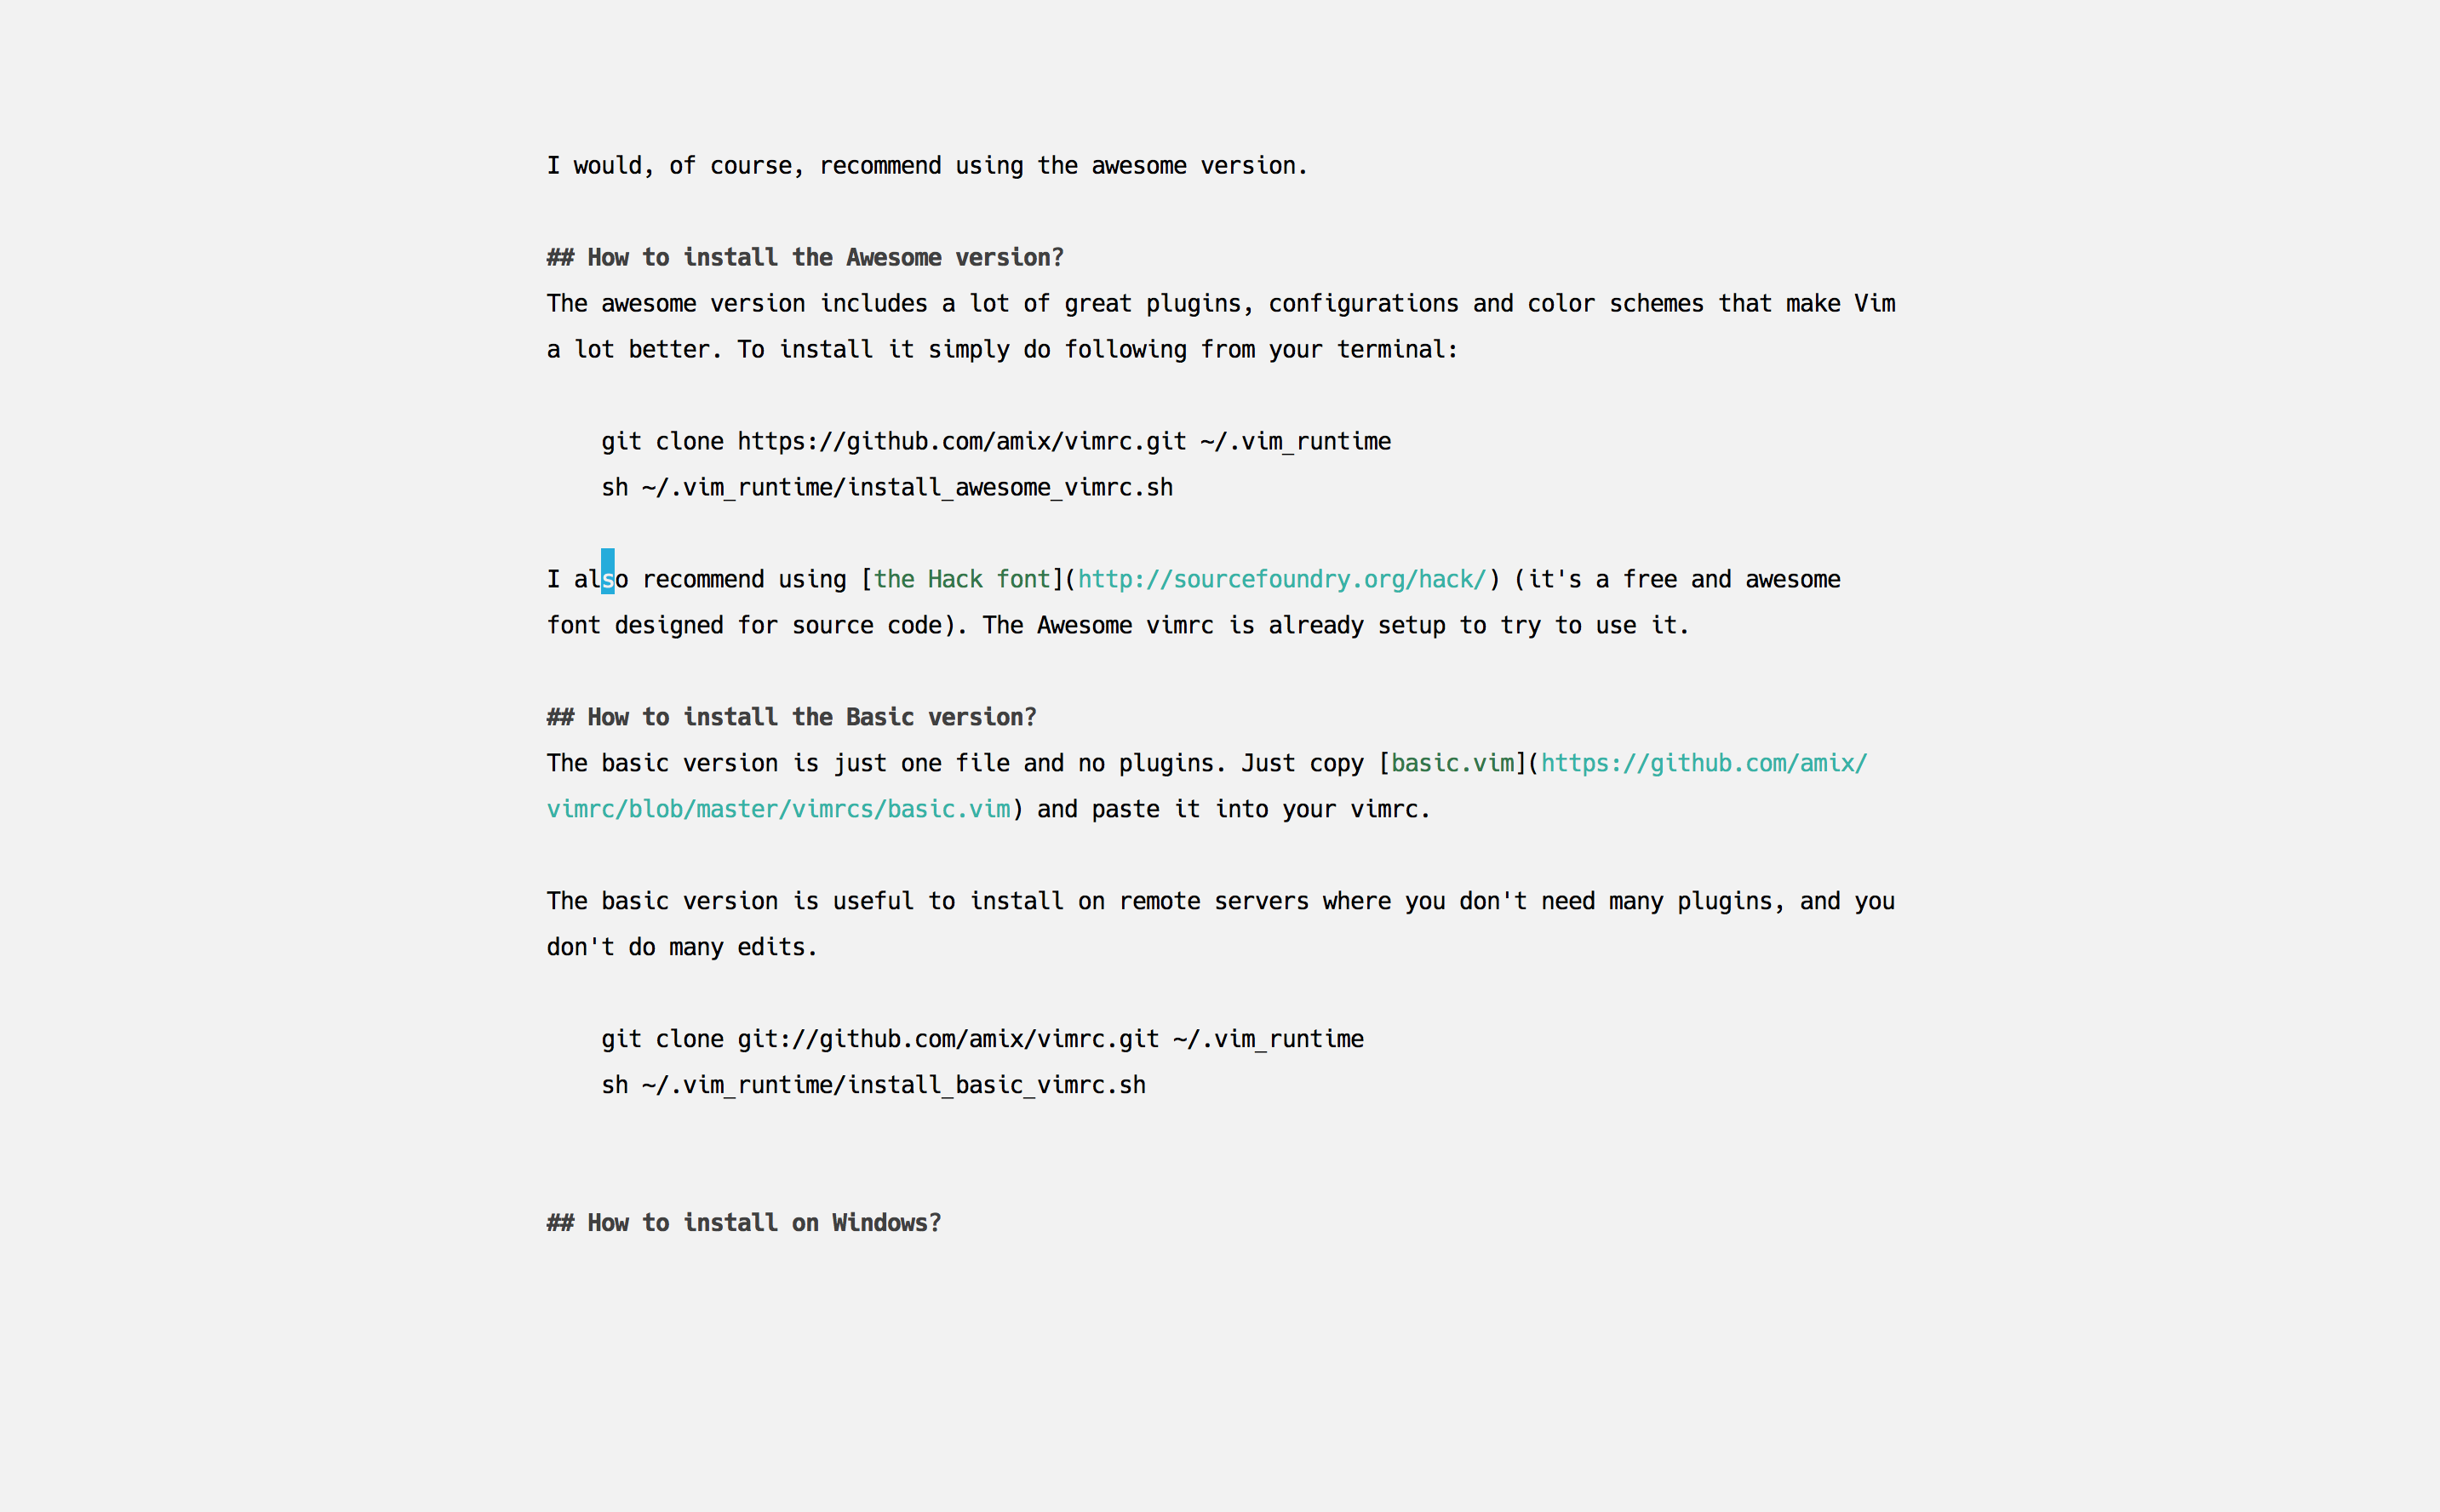
Distraction free mode using goyo.vim and vim-zenroom2:
I recommend reading the docs of these plugins to understand them better. Each plugin provides a much better Vim experience!
- ack.vim: Vim plugin for
the_silver_searcher(ag) or ack -- a wicked fast grep - bufexplorer.zip: Quickly and easily switch between buffers. This plugin can be opened with
<leader+o> - ctrlp.vim: Fuzzy file, buffer, mru and tag finder. It's mapped to
<Ctrl+F>, 修正ctrl+F,和comfortable-motion重合 - goyo.vim and vim-zenroom2:
- lightline.vim: A light and configurable statusline/tabline for Vim
- NERD Tree: A tree explorer plugin for vim
- mru.vim: Plugin to manage Most Recently Used (MRU) files. This plugin can be opened with
<leader+f>删掉他,ctrlp已经集成了MRU功能,多余 - open_file_under_cursor.vim: Open file under cursor when pressing
gf - pathogen.vim: Manage your vim runtimepath
- snipmate.vim: snipmate.vim aims to be a concise vim script that implements some of TextMate's snippets features in Vim,vim-snipmate default snippets (Previously snipmate-snippets) 也就是说vim-snipmate读取vim-snippets项目的snippets.
- ale: Syntax and lint checking for vim (async)
- vim-commentary: Comment stuff out. Use
gccto comment out a line (takes a count),gcto comment out the target of a motion.gcuuncomments a set of adjacent commented lines.(使用nerdcommenter替换他!!!!!) - vim-expand-region: Allows you to visually select increasingly larger regions of text using the same key combination
- vim-fugitive: A Git wrapper so awesome, it should be illegal
- vim-indent-object: Defines a new text object representing lines of code at the same indent level. Useful for python/vim scripts
- vim-multiple-cursors: Sublime Text style multiple selections for Vim, CTRL+N is remapped to CTRL+S (due to YankRing)
- vim-yankstack: Maintains a history of previous yanks, changes and deletes
- vim-zenroom2 Remove all clutter and focus only on the essential. Similar to iA Writer or Write Room
- peaksea: The default
- vim-colors-solarized
- vim-irblack
- mayansmoke
- vim-pyte
- vim-coffee-script
- vim-less
- vim-bundle-mako
- vim-markdown
- nginx.vim: Highlights configuration files for nginx
- vim-go
After you have installed the setup, you can create ~/.vim_runtime/my_configs.vim to fill in any configurations that are important for you. For instance, my my_configs.vim looks like this:
~/.vim_runtime (master)> cat my_configs.vim
map <leader>ct :cd ~/Desktop/Todoist/todoist<cr>
map <leader>cw :cd ~/Desktop/Wedoist/wedoist<cr>
You can also install your plugins, for instance, via pathogen you can install vim-rails:
cd ~/.vim_runtime
git clone git://github.com/tpope/vim-rails.git my_plugins/vim-rails
The leader is ,, so whenever you see <leader> it means ,.
Open bufexplorer to see and manage the current buffers (<leader>o):
map <leader>o :BufExplorer<cr>
Open MRU.vim to see the recently open files (<leader>f):
map <leader>f :MRU<CR>
Open ctrlp.vim plugin to quickly find a file or a buffer (<leader>j or <ctrl>f):
let g:ctrlp_map = '<c-f>'
NERD Tree mappings:
map <leader>nn :NERDTreeToggle<cr>
map <leader>nb :NERDTreeFromBookmark
map <leader>nf :NERDTreeFind<cr>
goyo.vim and vim-zenroom2 lets you only focus on one thing at a time. It removes all the distractions and centers the content. It has a special look when editing Markdown, reStructuredText and textfiles. It only has one mapping. (<leader>z)
map <leader>z :Goyo<cr>
Fast saving of a buffer (<leader>w):
nmap <leader>w :w!<cr>
Map <Space> to / (search) and <Ctrl>+<Space> to ? (backwards search):
map <space> /
map <c-space> ?
map <silent> <leader><cr> :noh<cr>
Disable highlights when you press <leader><cr>:
map <silent> <leader><cr> :noh<cr>
Smart way to move between windows (<ctrl>j etc.):
map <C-j> <C-W>j
map <C-k> <C-W>k
map <C-h> <C-W>h
map <C-l> <C-W>l
Closing of the current buffer(s) (<leader>bd and (<leader>ba)):
" Close current buffer
map <leader>bd :Bclose<cr>

" Close all buffers
map <leader>ba :1,1000 bd!<cr>
Useful mappings for managing tabs:
map <leader>tn :tabnew<cr>
map <leader>to :tabonly<cr>
map <leader>tc :tabclose<cr>
map <leader>tm :tabmove

" Opens a new tab with the current buffer's path
" Super useful when editing files in the same directory
map <leader>te :tabedit <c-r>=expand("%:p:h")<cr>/
Switch CWD to the directory of the open buffer:
map <leader>cd :cd %:p:h<cr>:pwd<cr>
Open ack.vim for fast search:
map <leader>g :Ack
Quickly open a buffer for scripbble:
map <leader>q :e ~/buffer<cr>
Toggle paste mode on and off:
map <leader>pp :setlocal paste!<cr>
Visual mode pressing * or # searches for the current selection:
vnoremap <silent> * :call VisualSelection('f')<CR>
vnoremap <silent> # :call VisualSelection('b')<CR>
When you press gv you Ack.vim after the selected text:
vnoremap <silent> gv :call VisualSelection('gv', '')<CR>
When you press <leader>r you can search and replace the selected text:
vnoremap <silent> <leader>r :call VisualSelection('replace')<CR>
Surround the visual selection in parenthesis/brackets/etc.:
vnoremap $1 <esc>`>a)<esc>`<i(<esc>
vnoremap $2 <esc>`>a]<esc>`<i[<esc>
vnoremap $3 <esc>`>a}<esc>`<i{<esc>
vnoremap $$ <esc>`>a"<esc>`<i"<esc>
vnoremap $q <esc>`>a'<esc>`<i'<esc>
vnoremap $e <esc>`>a"<esc>`<i"<esc>
Quickly insert parenthesis/brackets/etc.:
inoremap $1 ()<esc>i
inoremap $2 []<esc>i
inoremap $3 {}<esc>i
inoremap $4 {<esc>o}<esc>O
inoremap $q ''<esc>i
inoremap $e ""<esc>i
inoremap $t <><esc>i
Insert the current date and time (useful for timestamps):
iab xdate <c-r>=strftime("%d/%m/%y %H:%M:%S")<cr>
$q is super useful when browsing on the command line. It deletes everything until the last slash:
cno $q <C-\>eDeleteTillSlash()<cr>
Bash like keys for the command line:
cnoremap <C-A>		<Home>
cnoremap <C-E>		<End>
cnoremap <C-K>		<C-U>

cnoremap <C-P> <Up>
cnoremap <C-N> <Down>
Write the file as sudo (works only on Unix). Super useful when you open a file and you don't have permissions to save your changes. Vim tip:
:W
Pressing <leader>ss will toggle spell checking:
map <leader>ss :setlocal spell!<cr>
Shortcuts using <leader> instead of special characters:
map <leader>sn ]s
map <leader>sp [s
map <leader>sa zg
map <leader>s? z=
Query :help cope if you are unsure what cope is. It's super useful!
When you search with Ack.vim, display your results in cope by doing:
<leader>cc
To go to the next search result do:
<leader>n
To go to the previous search results do:
<leader>p
Cope mappings:
map <leader>cc :botright cope<cr>
map <leader>co ggVGy:tabnew<cr>:set syntax=qf<cr>pgg
map <leader>n :cn<cr>
map <leader>p :cp<cr>
Just do following:
- Remove
~/.vim_runtime - Remove any lines that reference
.vim_runtimein your~/.vimrc


