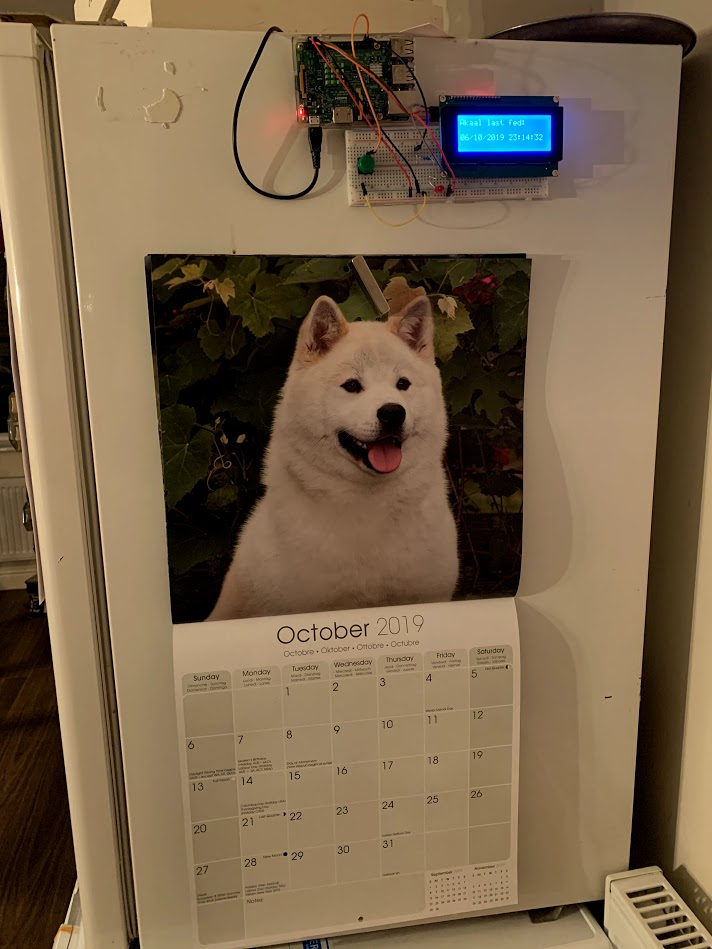
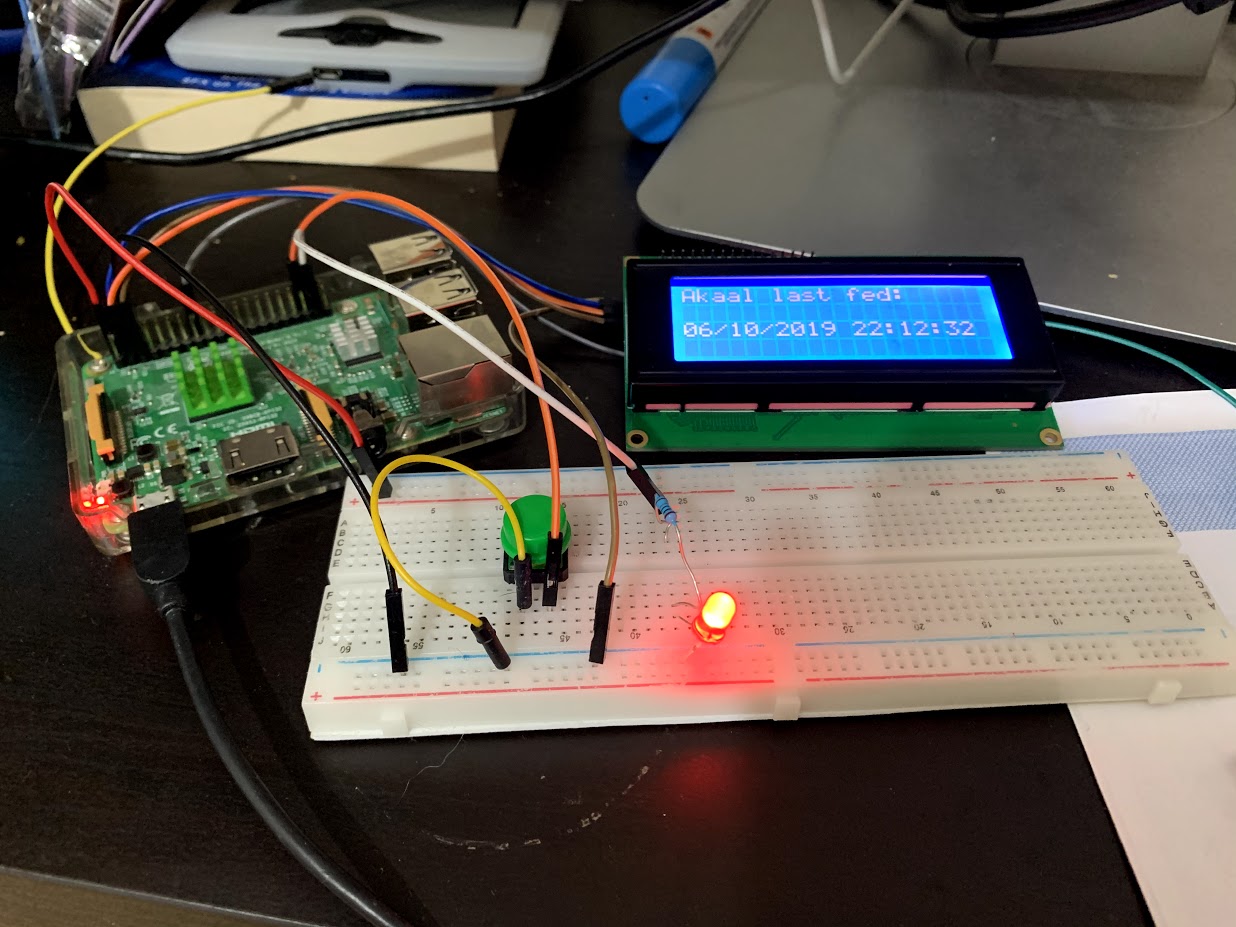
Raspberry Pi based switch with LCD used to record and display when our beloved doggy woggy has been fed so she can't dupe us and get fed twice - the dastardly dog.
Press the button to register when she's been fed:
- Displays date last fed on LCD display
- Ping IFTTT for mobile notifications etc
- Flashes LED
- Raspberry Pi B+,Zero, 3, 4 or any internet enabled Pi
- An I2C enabled LCD/OLED like this one
- Breadboard/circuit board with wires/solder to hole the whole thing together
- Flashing Light - LED with 330Ohm resistor
- Physical push switch
- LCD i2C SDL -
Board Pin 3 - LCD i2C SCL -
Board Pin 5 - Switch PullUp -
Board Pin 36
-
Ensure you've copied
.env.templateto.envand populated the environment variables required. -
Copy
provision-pi.shand your populated.envto a new Raspbian Buster/bootpartition -
Once Pi has finished booting for the first time and you've configured:
- network(WiFi)
- ssh auth & security
- kernel support for the i2c module use
raspi-config
-
Run
provision-pi.shasroot:sudo su - bash provision-pi.sh
This will: - Install all deps - checkout code to
/opt/akaal-switch- setup updates, reboots etc... - setup code to run as daemon (using systemd) -
Remember to populate and copy
.envto/opt/akaal-switchif you have not already done so -
Wire up RasPi as per diagram
-
Reboot and Test!
- test lcd screen wireup using
i2cdetect -y 1 - print message to LCD screen
[x] led flash sequencesimplified and just used pull up switch power- wire up button
[ ] add speech/woof sound(need DAC, onboard sound is noisy)- take photo of dev board
- send IFTTT notification to write to gsheet and send mobile notifications
- start script at boot
- draw wiring diagram (fritzing)
- pull latest script from github at boot
- re-install raspbian lite and redeploy w/ provision script
- ensure pi has autoupdates on
- deploy prototype MVP
- test
- take photo of prototype
- solder things up
- deploy prod
- test
- take photo of final setup
- Play woof sound
Prototype MVP setup in the field

ssh to pi
ssh pi@192.168.1.45auto copy code to pi
inotify scp -r app/ pi@192.168.1.45:/home/pi/debugging on pi, evaluate .env file and load into session
eval $(egrep -v '^#' .env | xargs) python3 app/run.py
