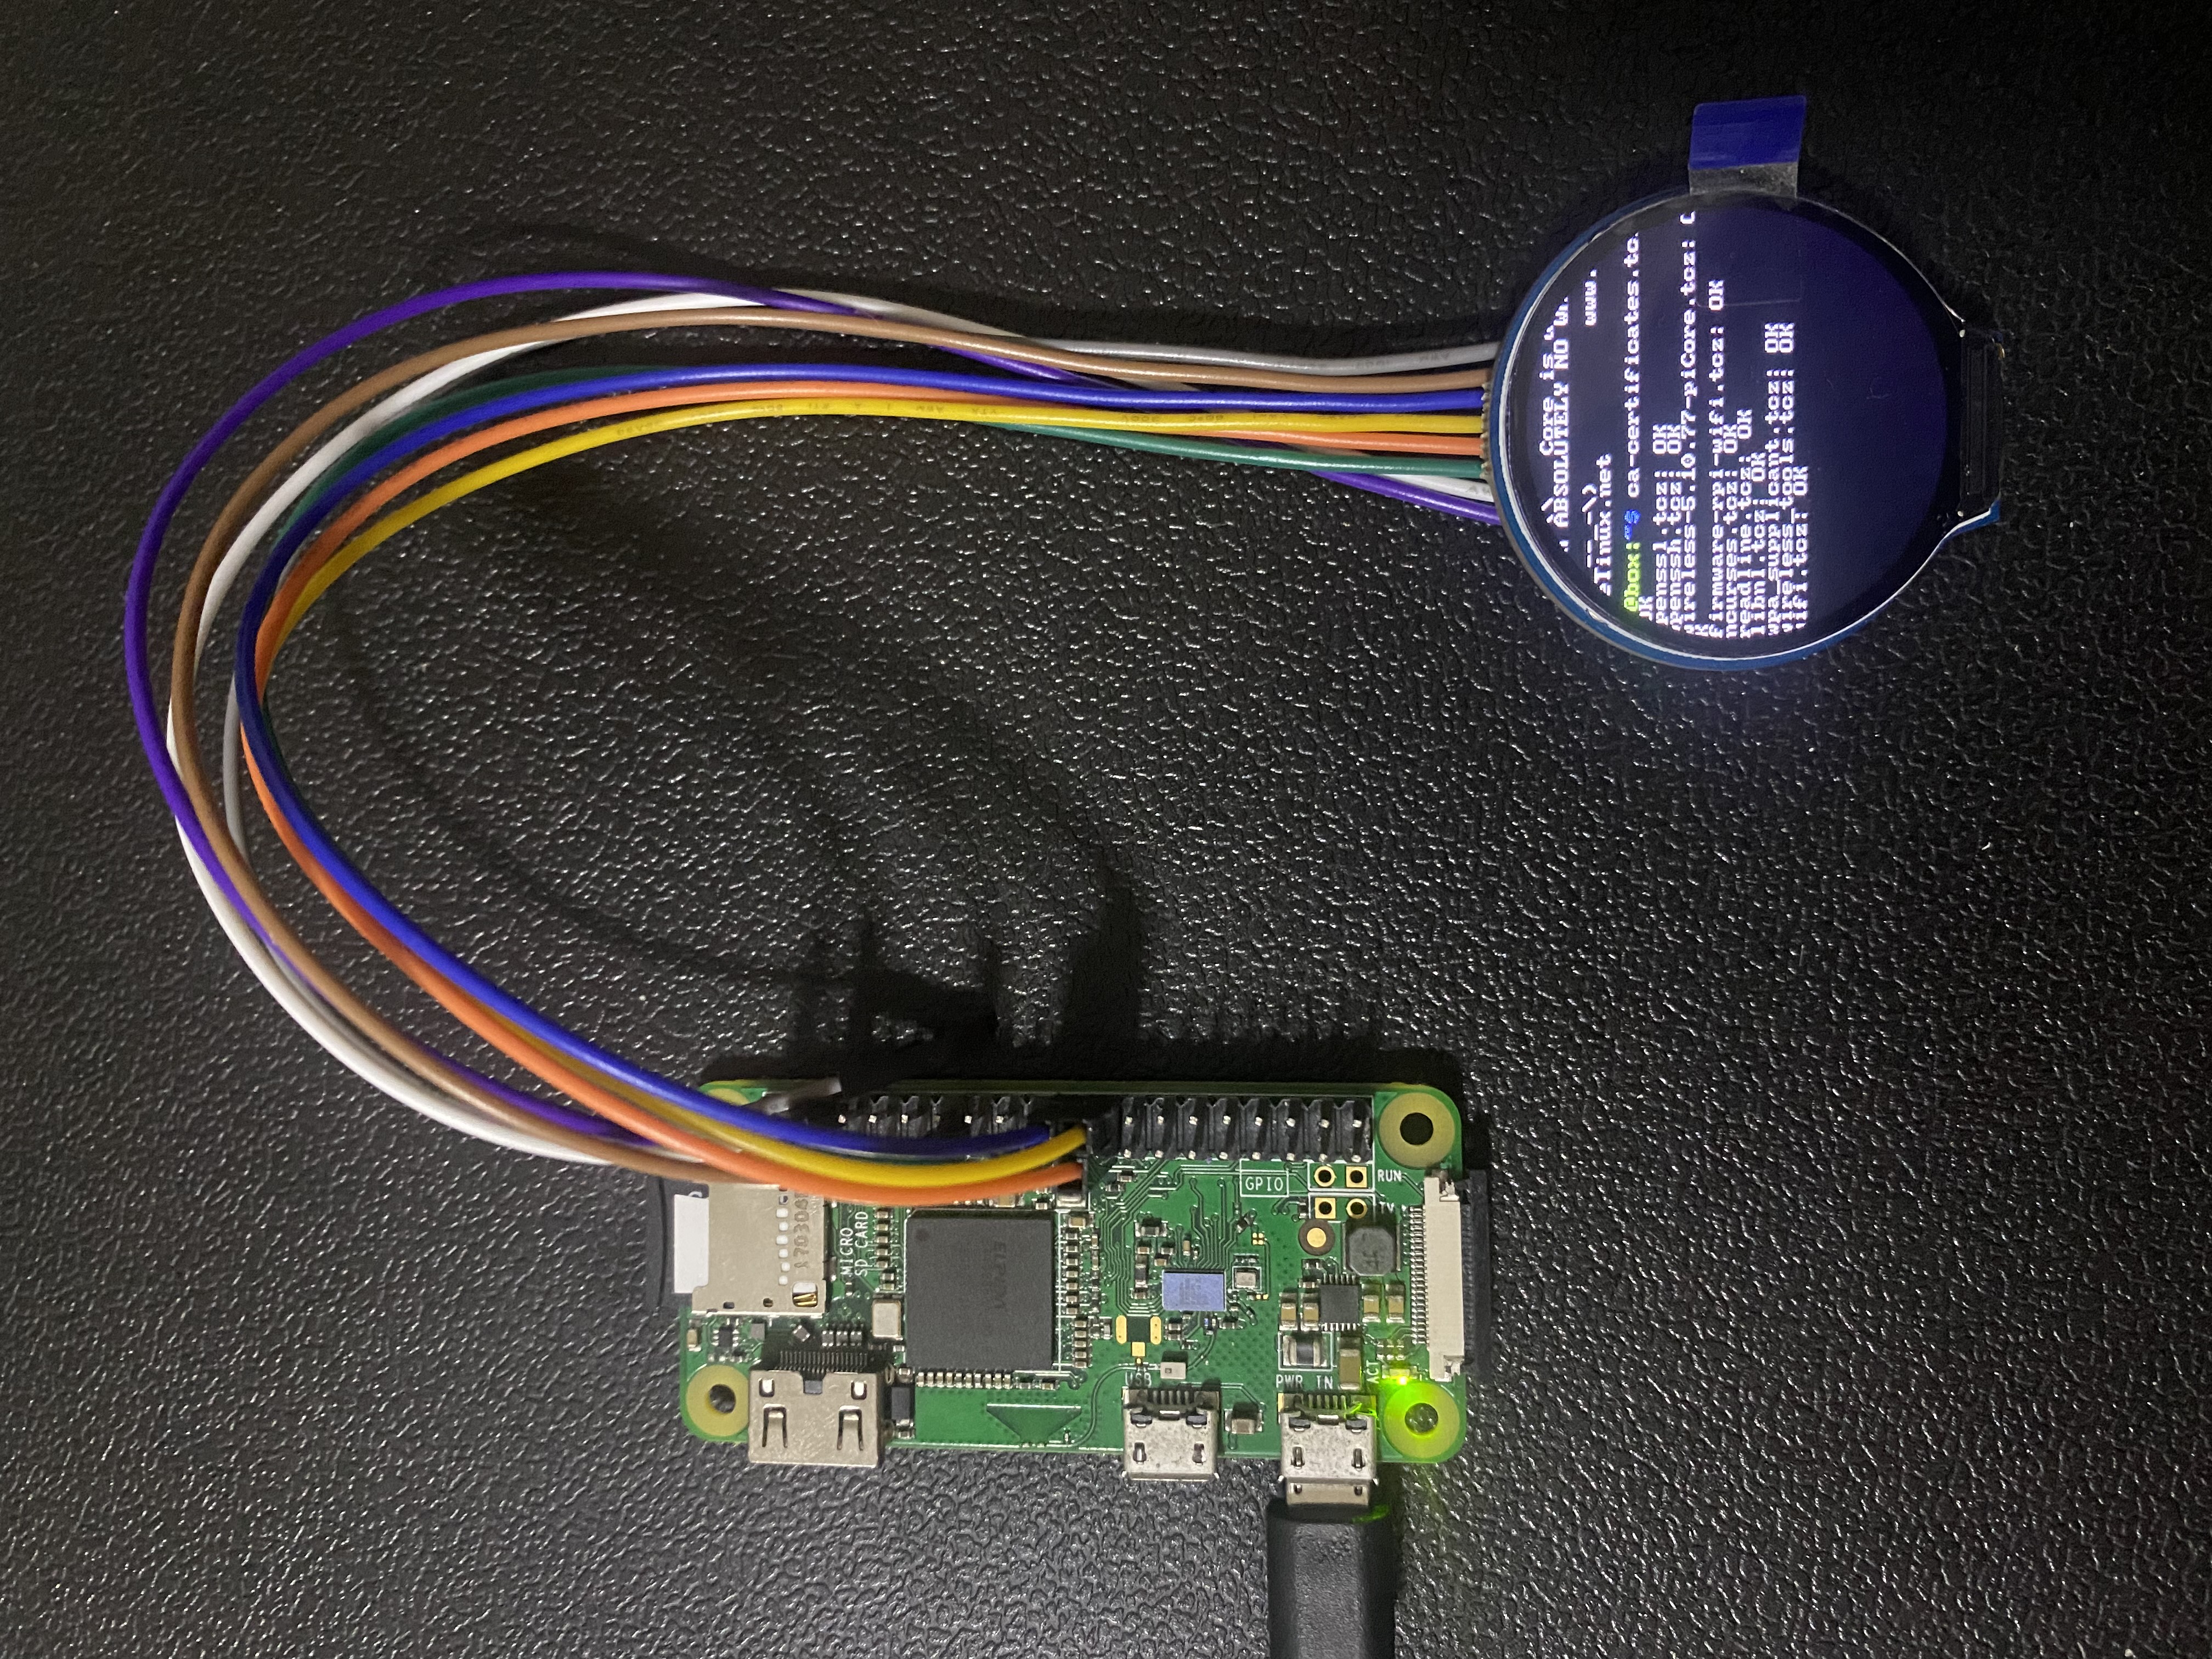
Easy method to use GC9A01 based displays on TinyCoreLinux with tcz extensions (without compiling kernel).
-
Connect the LCD screen to the Raspberry Pi as described here;
-
Download this repository and copy the following to the Raspberry Pi's sdcard:
overlays/gc9a01.dtboto the<sdcard>/overlaysdirectory;tczdirectory,bootlocal.shandonboot.lstto the root of the sdcard;config.txtto the root of the sdcard, but BACKUP THE ORIGINAL ONE. This file is configured to Raspberry Pi Zero W and if you have a different device (or need), copy only the following section to yourconfig.txtfile:
hdmi_force_hotplug=1 #force HDMI output rather than DVI.
dtoverlay=gc9a01 #setup GC9A01 based LCD to '/dev/fb1' on 'spi0'
hdmi_cvt=240 240 60 1 0 0 0 #<width> <height> <framerate> <aspect> <margins> <interlace>
hdmi_group=2 #set DMT group (Display Monitor Timings: the standard typically used by monitors)
hdmi_mode=87 #set DMT mode.
hdmi_drive=2 #force a HDMI mode rather than DVI.
* more info about available parameters at the GC9A01 overlay repository
- Boot into TinyCore. At the terminal, enter the following:
sudo mount /dev/mmcblk0p1
mv /opt/bootlocal.sh /opt/bootlocal.sh.bkp
cp /mnt/mmcblk0p1/bootlocal.sh /opt/
sudo chmod 775 /opt/bootlocal.sh
mv /mnt/mmcblk0p2/onboot.lst /mnt/mmcblk0p2/onboot.lst.bkp
cp /mnt/mmcblk0p1/onboot.lst /mnt/mmcblk0p2/tce/
sudo chmod 664 /mnt/mmcblk0p2/onboot.lst
sudo umount /mnt/mmcblk0p1
sudo filetool.sh -b
sudo reboot
Note that in onboot.lst there's only the necessary extensions to display image on the screen as soon as possible. The remaining extensions will be loaded manually on the bootlocal.sh script file, that was also altered to display image as soon as possible and only afterwards do the remaining tasks such as load wifi firmware and tools.
If you have different needs, it's up to you to alter those files on your own.
@juliannojungle, 2022
