toggl2clockify
Migrate data from toggl to clockify
No warranty that the tools works as expected. Read the following lines CAREFULLY and TEST it on a non productive system!
Migration Guide
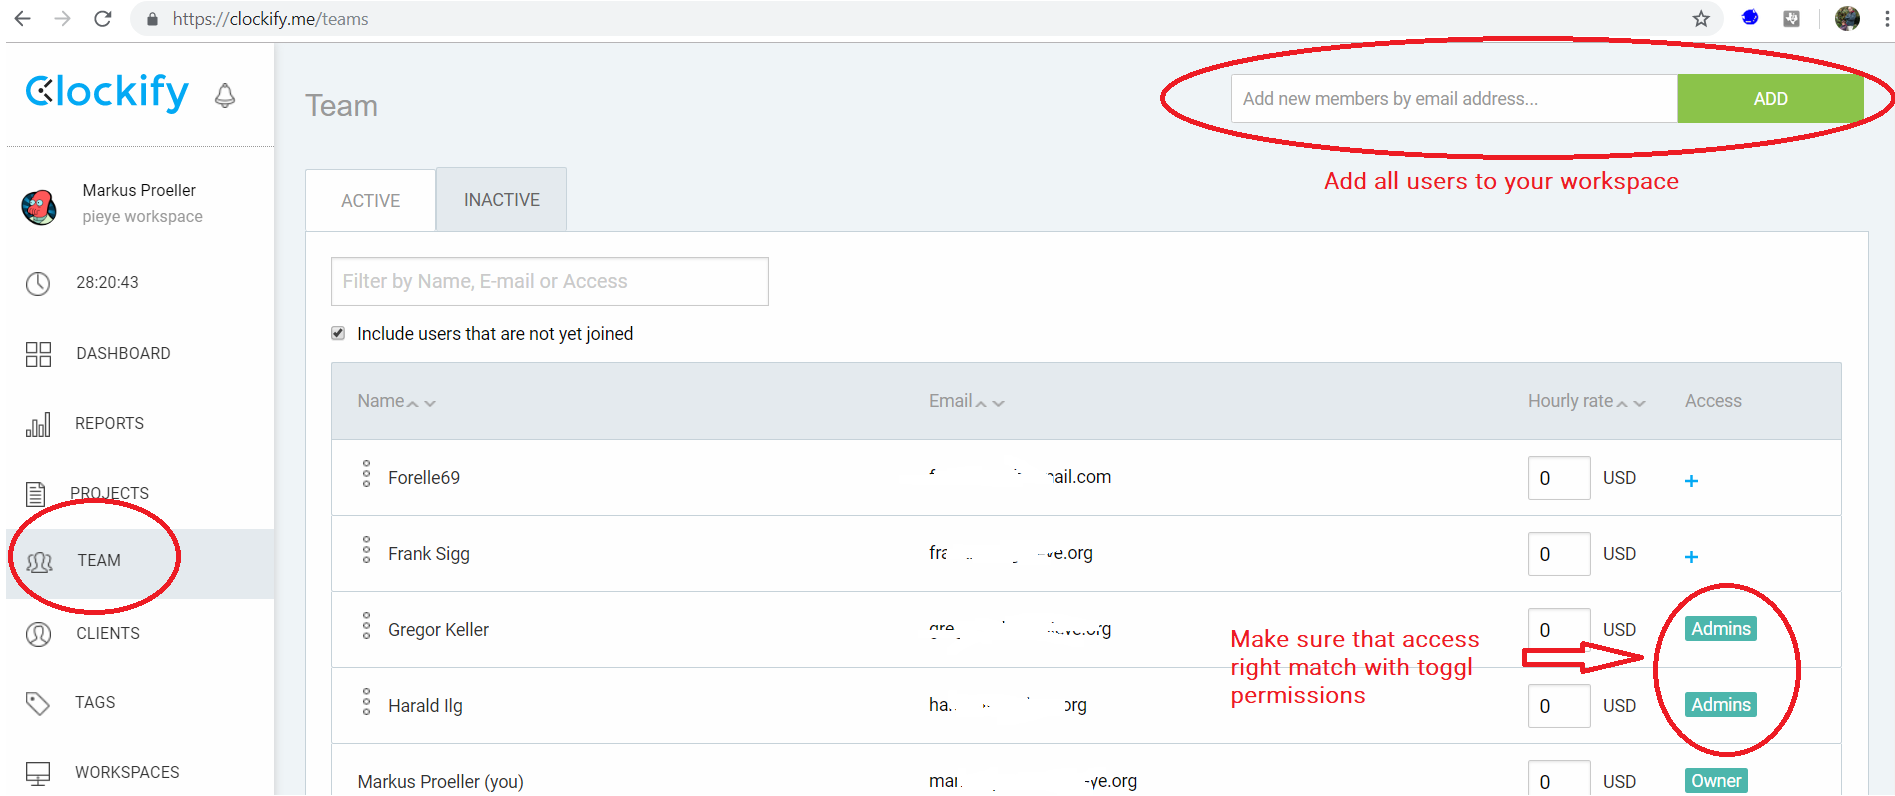
Prepare clockify workspace
Configure import process
Open the file config.json.
Configure toggl and clockify API keys
You need your toggl API key (https://toggl.com/app/profile) and the clockify API keys of all users to be migrated (every clockify user has to open https://clockify.me/user/settings ). Put the keys in the file config.json.
Suppose your toggl API key is ABCDEF and you want to migrate yourself (clockify API key 123456) and a second user (clockify API key XYZCDF).
{
  "TogglKey": "ABCDEF",
  "ClockifyKeys": ["123456", "XYZCDF"]
}
Configure clockify admin mail address
Also you have to enter the mail address of one clokify workspace admin. Suppose you have admin rights on the clockify workspace and your mail is me@info.org
{
  "TogglKey": "ABCDEF",
  "ClockifyKeys": ["123456", "XYZCDF"],
  "ClockifyAdmin": "me@info.org"
}
Configure start time of import
Enter the start time from when you want to import your entries. This string is parsed by python's dateutil parser (details: https://dateutil.readthedocs.io/en/stable/parser.html).
Some valid examples:
- "2012-01-19"
- "2012-01-19 17:21:00"
- "2012-01-19 17:21:00 CST"
{
  "TogglKey": "ABCDEF",
  "ClockifyKeys": ["123456", "XYZCDF"],
  "ClockifyAdmin": "me@info.org",
  "StartTime": "2019-01-19"
}
At the moment there is no support for EndTime. All entries from "StartTime" until now are imported. Feel free to contribute or fill in a bug report.
Configure workspace of import
The last step is to configure the workspace to be imported. You can also give a list of multplie workspaces, but this is an untested feature. Make sure that the toggl and clockify workspace names match exactly (no spaces, UPPER/lower case).
{
  "TogglKey": "ABCDEF",
  "ClockifyKeys": ["123456", "XYZCDF"],
  "ClockifyAdmin": "me@info.org",
  "StartTime": "2019-01-19",
  "Workspaces": ["myWorkspace"]
}
Run the import
Regular import
If you're on windows you can run the file
bin/toggl2clockify.exedirectly or through python by
python toggl2clockify.pymake sure you have a file called config.json in the folder from where you invoke the program.
Run
bin/toggl2clockify.exe --help to get a list of all supported commands.
You can run the tool as often as you whish. All time entries, projects, clients and tags are checked for existance before being added to the clockify workspace
Remarks on archived projects
If you have archived projects in the toggl workspace, use the flag doArchive at the very end when you are sure, that all data has been migrated successfully
Your very last invokatin of the import tool should be
bin/toggl2clockify.exe --skipClients --skipProjects --skipEntries --skipTags --doArchiveWhen you try to add time entries for projects, which are already archived in clockify, the tool gets messed up:
- the entries are added without project reference
- the "entry exists" check doesn't work and the time entries will be added as duplicates on each invokation of the tool
Before you start the migration, you should unarchive all clockify projects first.
Check the log
The tool creates a file log.txt parse the contents for "WARNING" entries. Make sure to understand them or post a bug report if things don't work as expected.
What is migrated
-
All clients of the workspace
-
All tags of the workspace
-
The following project attributes are migrated:
-
name
-
client
-
isPublic
-
billable
-
color
-
membership
-
NOT MIRGATED: tasks, hourlyRate, estimate
-
-
The following time entry attributes are migrated:
-
start
-
billable
-
description
-
projectID
-
userID
-
end
-
tagIds
-
NOT MIRGATED: taskId, timeInterval (not sure what purpose this serves), isLocked
-
What is not migrated
- Tasks
- User groups
