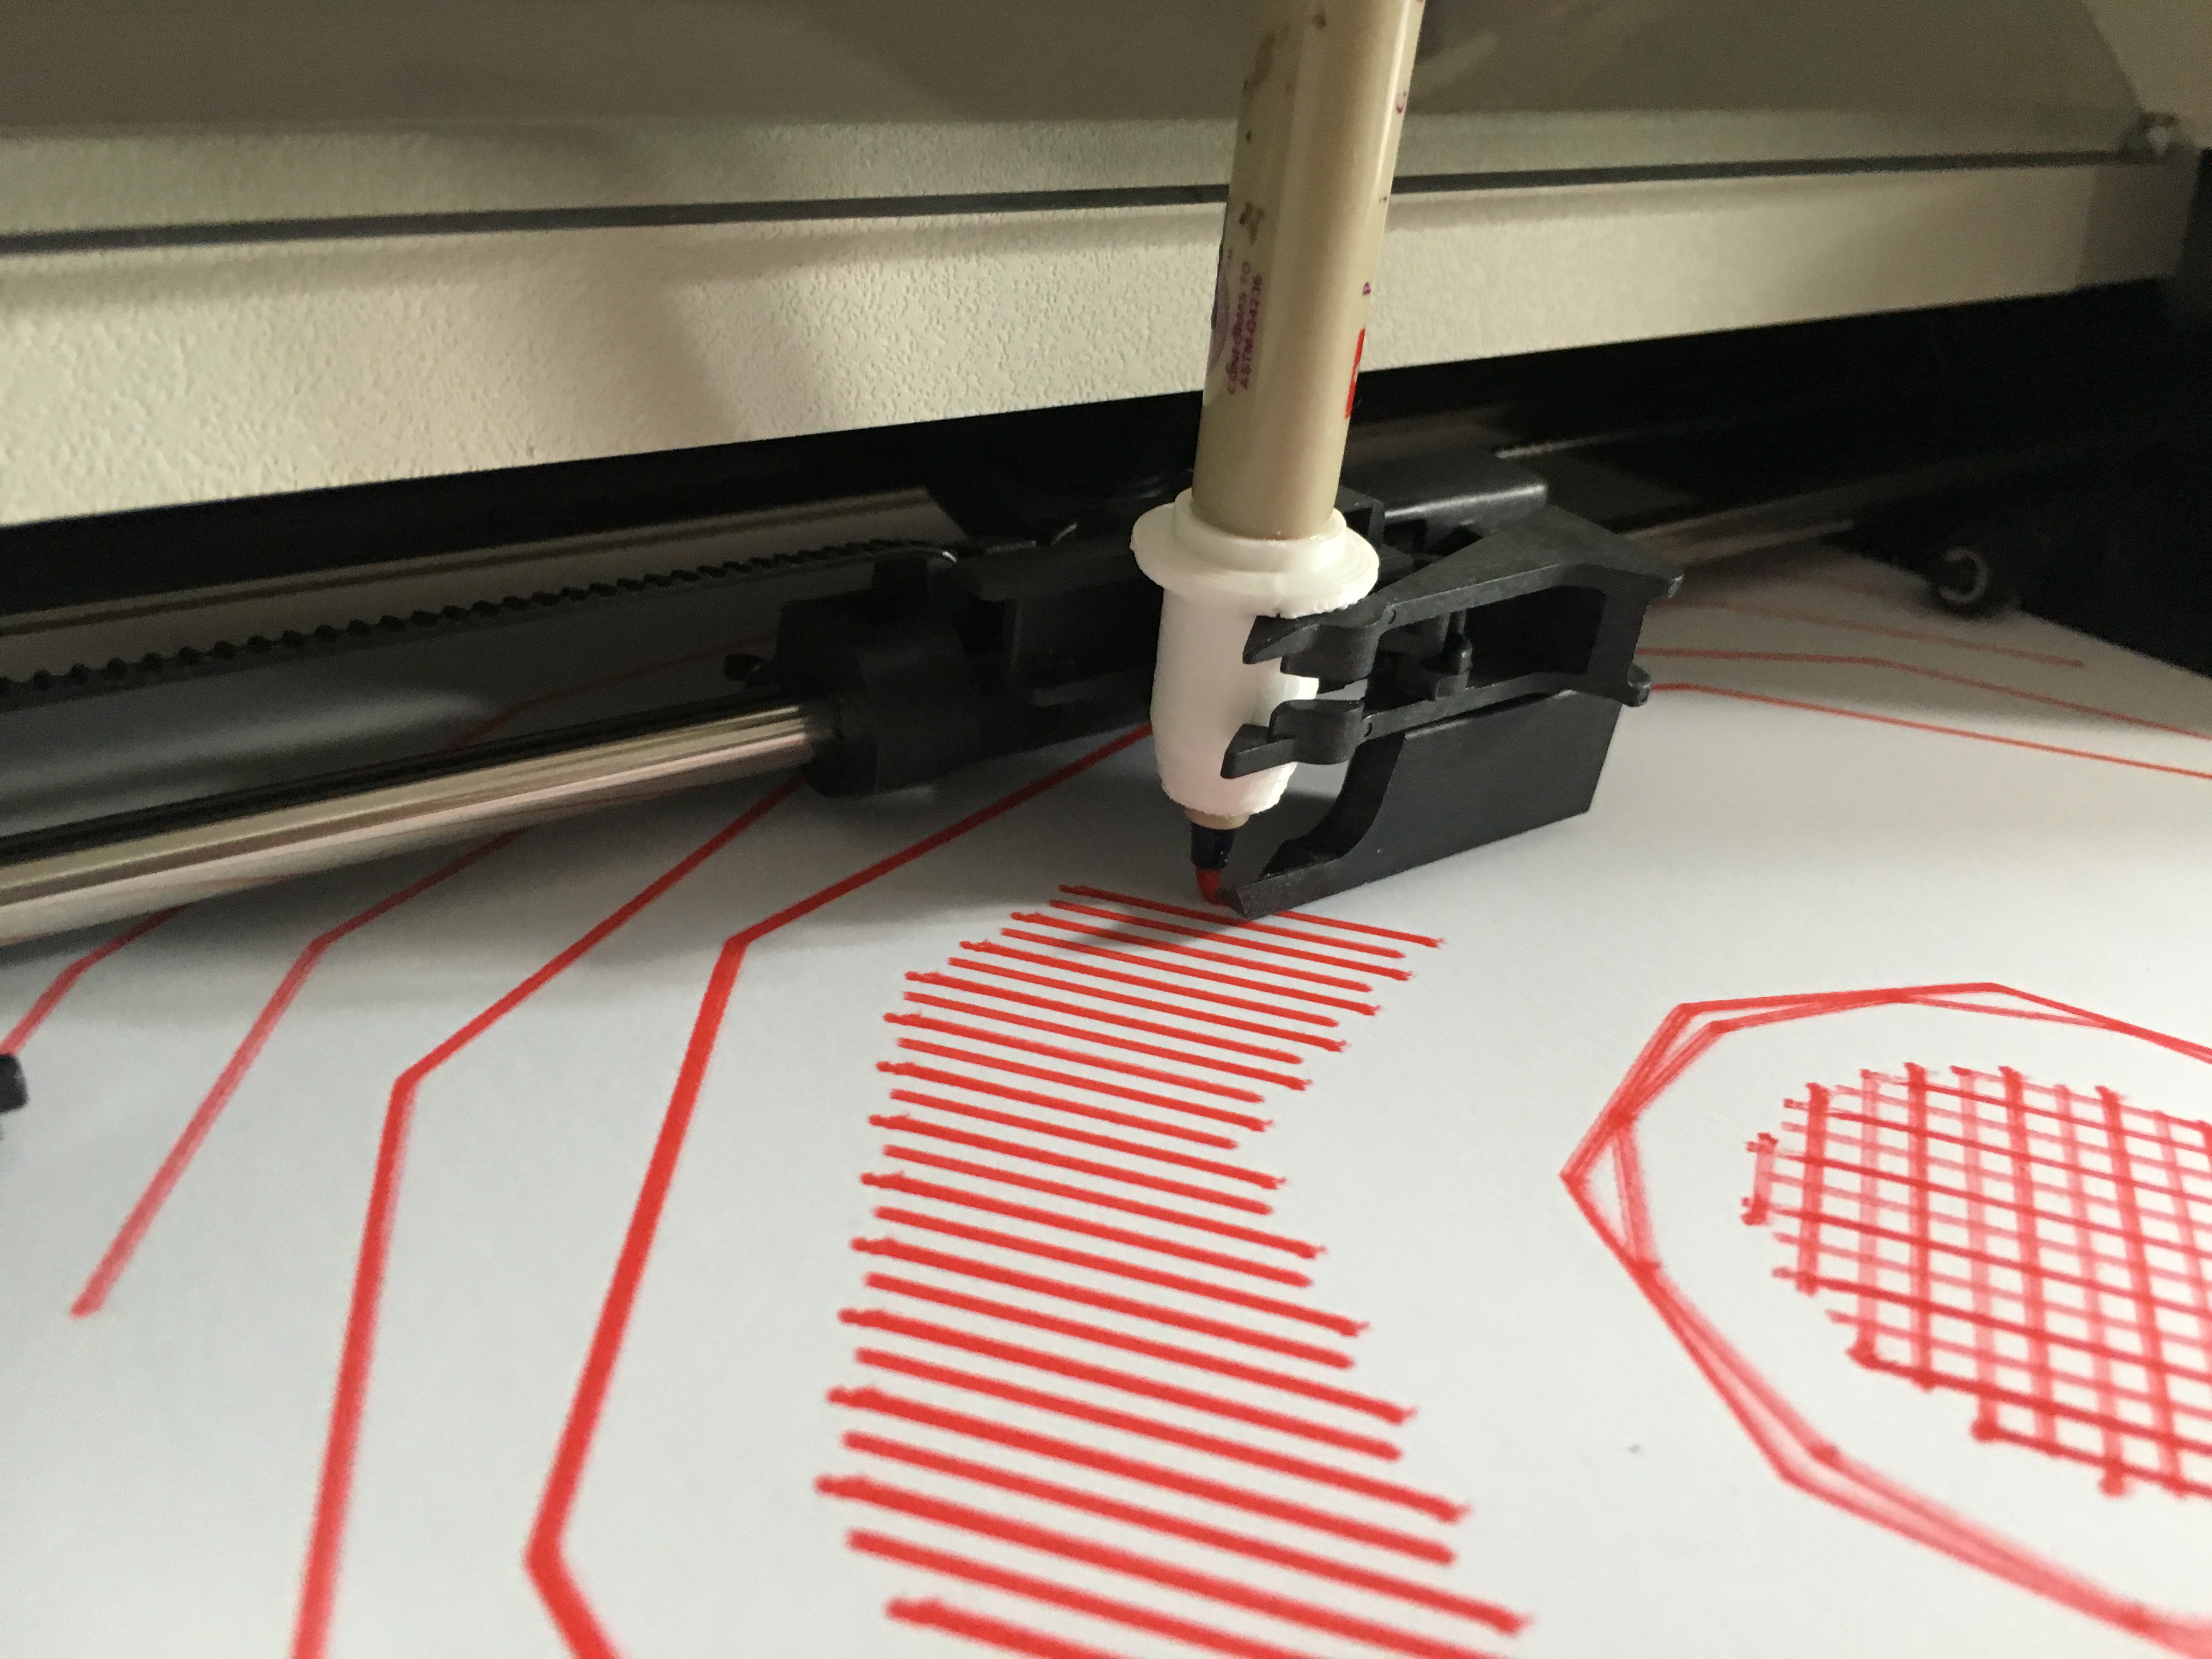
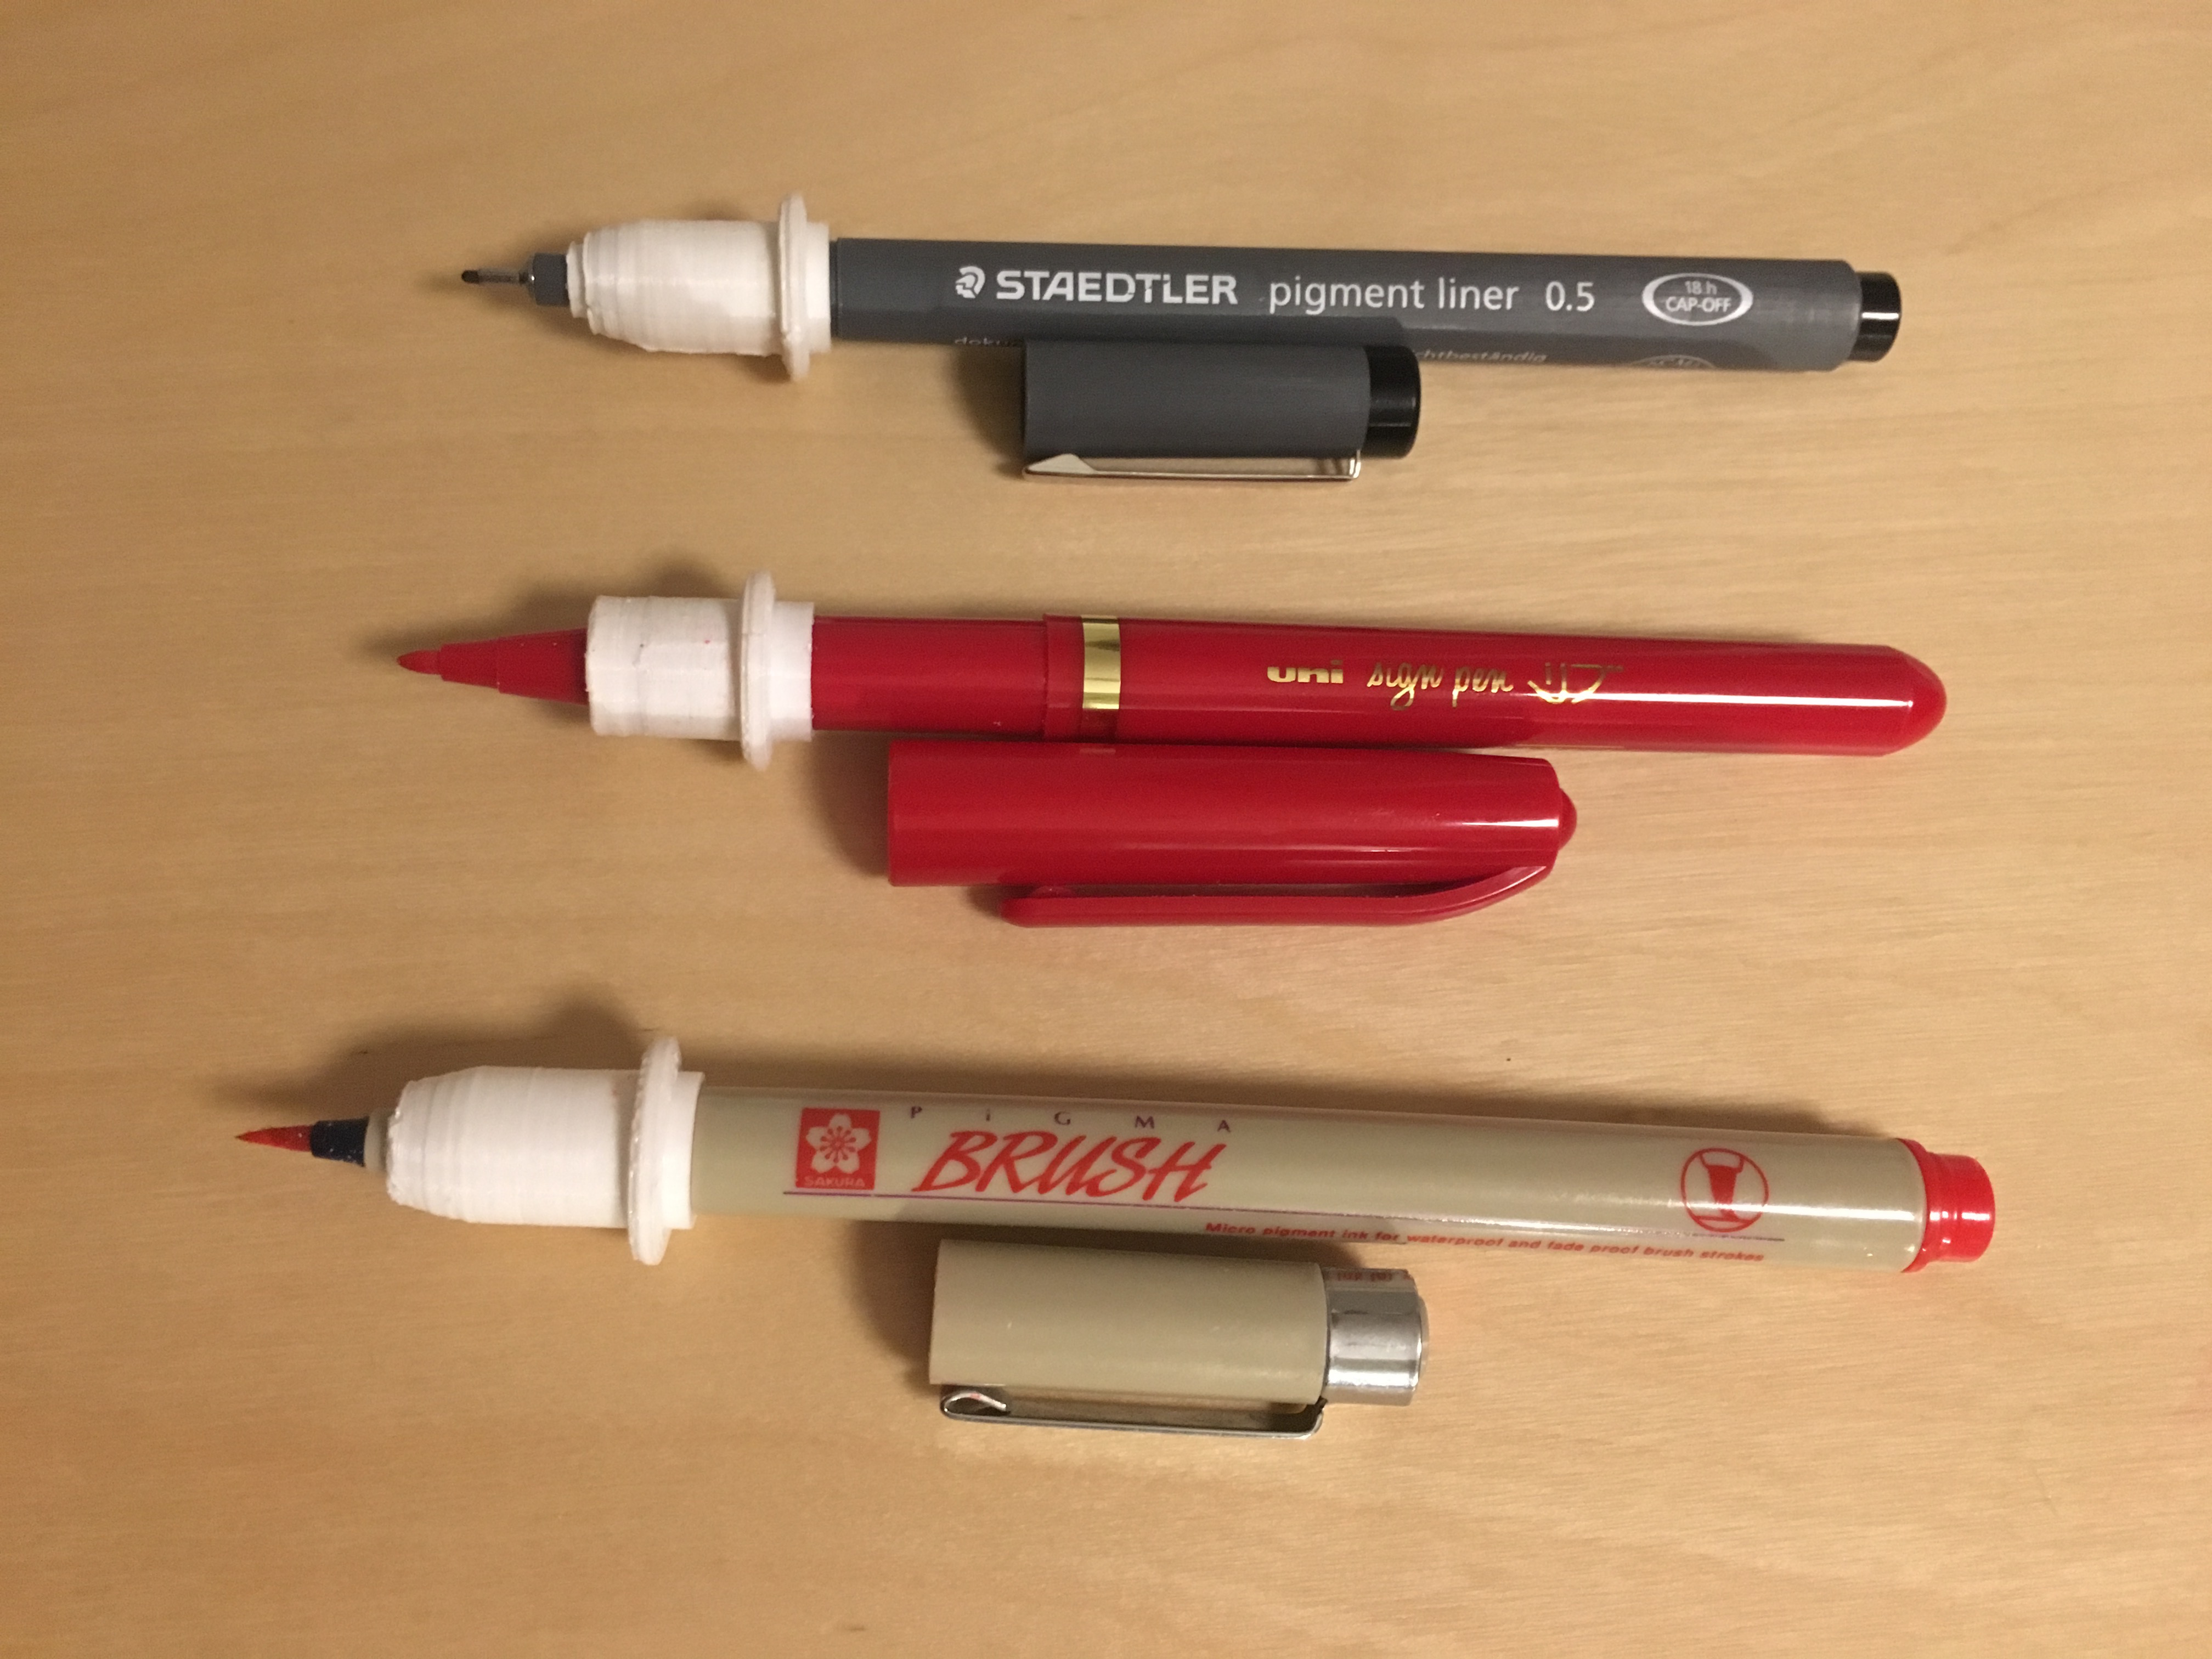
Use your favorite contemporary pens on vintage HP plotters with this parametric OpenSCAD code to create custom adapters.
These adapters allow you to use pens or even directly refills with vintage HP plotters like the HP 7440A, HP 7550A, HP 7475A… and other vintage plotters using the same standard for pens.
This version was created to be quick and simple: 3 measures using a caliper, and in 5 minutes you are ready to print a new adapter (printing itself will take maximum 20 minutes, depending on your settings and printer).
The goal was to be able to create an adapter for any random pen laying around or newly bought without thinking to much about it, trying and see what works best.
If you are interested in vintage plotters but don't know where to start, here's a list of ressources, manuals, articles, posts and artworks: https://workflowy.com/s/Cl4.I8zutkIg5K
You can also check the #plottertwitter hashtag on Twitter.
-
Duplicate one of the existing OpenSCAD adapter files, for example
Staedtler pigment line plotter pen adapter.scad(note that you'll need to keep theplotter_pen_adapters_common.scadfile in the same folder as your new file, as it is imported by your adapter code) -
Select a stop-point near the tip of your pen. It is frequently the cap limit, but sometimes it more practical to use another narrowing along the body of the pen.
-
Measure the maximum diameter of your pen above and below the chosen stop point, and add them to the
pen_top_diameter(bigger) andpen_bottom_diameter(smaller) parameters. -
Measure the distance from the tip (ie. the paper) to the stop-point, and add that value to
height_where_pen_diameter_change.
Note: for proper measuring, it is easier and more precise to use a caliper.
Optionnally, you can also adjust :
-
diameter_spacingIncrease to have lower tolerances (more space) and make it easier to slide the pen in and out. Decrease to have higher tolerances (less space) and have a tigher fit for the pen. -
top_cut_off_heightIt can reasonably be adjusted betweentotal_body_height - 11.5andtotal_body_height - 0(Full height of the top body. Longer printing time). If you cut belowtotal_body_height - 11.5the grip might suffer (to be tested :-) -
simplified_body_shapeBy default, the generator uses a realistic body shape for the adapter outer body, similar to the original HP pens. Addsimplified_body_shape = true ;to your adapter code to use a simplified cylindrical lower body.
You will need to use the simplified lower body if theheight_where_pen_diameter_changevalue for your stop point is low, close to the paper as with the Edding calligraphy pens, and/or if thepen_bottom_diametervalue is high, the pen being wide at the tip. In this cases the realistic body is not wide enough to allow for substracting the lower cylinder, cutting the adapter short or creating a hole in it.
The downside of using the simplified body is that the adapter will no longer fit in a pen plotter rack or carrousel.
The printing shouldn't take more than 20 minutes, maybe less with a better printer that the low-cost (300€!) printer that was used to print the first adapters.
The main obstacle to properly printing these adapters is the flange (or band) around the adapter's body, which overhang.
You might very well be able to print it without support, but the first test were nicely successful by using the supports generated by Slic3r Prusa Edition (not on an Original Prusa i3). The supports were easy to remove, didn't add too much time and helped get a functionnal print.
You can use a very low infill. The first adapters were printed with a 10% cubic infill and are strong enough.
- Code from Sasha Kovar from a design by Brian Boucheron
- Code and measurements by Ed Nisley KE4ZNU April 2015
It differs and merge them in the following ways:
- the whole plotter HP pen model from Ed Nisley is used as a base.
- then we substracts two cylinders. They are used as empty space for the target pen.
- The bottom cylinder is meant to be smaller than the top one, as most pens narrow before the tips.
- The height where the pen diameter change is used as a parametric stop-point, set so the tip of the pen exactly touch the paper.
It's also inspired by these other projects:
-
Emboss the reference or name of the pen around the pen adapter to avoid confusion when you have multiple adapters
-
Add and test a tilt angle parameter to give a slight fixed angle to the tip when touching the paper. The maximum angle possible would need to be tested to avoid collisions. It might help in using highlighters or other asymetrical tips.

