Lessons Learned | Technologies | Environment Setup
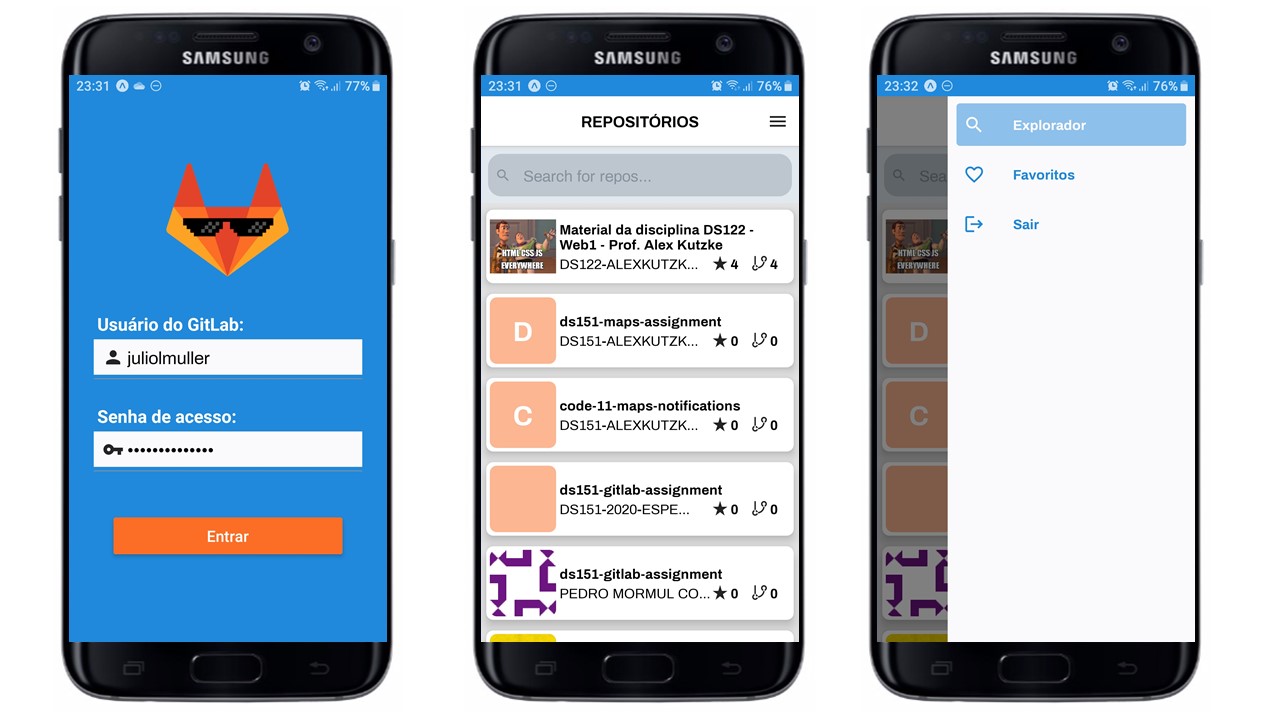
Application developed as an assignment to college, subject Development for Mobile Devices, at UFPR, in order to learn building React Native applications. The project seeks to apply knowledge in functional components, React Navigation, HTTP calls and Context API.
The proposal was to build a simple mobile app to consume GitLab API, implementing an authentication method to be able to navigate inside the app. The application should keep the access token with AsyncStorage, besides implementing a navigation drawer, using React Navigation extension. The usa og a third-party UI library was mandatory. A good-looking app may earn extra points 😍.
🏆 Lessons Learned
- Configuring React Context for authentication flow;
- Using React Native AsyncStorage package 😎;
- React Native Elements UI components 😠;
- Complex navigation with React Navigation (drawer and bottom tabs);
- Holding on splash screen while app is loading resources;
- COnfiguring status bar appearance (Android);
- Fetching data from GitLab API;
🚀 Technologies & Resources
Frontend:
- React Native
- Expo Framework
- Elements UI
- Axios (HTTP client)
- AsyncStorage
Development:
- Visual Studio Code
- NPM routines
🔨 Setting up the Environment
Before starting the development server, you need to set up the environment variables in a .env file, at the project root. For convenience, you can use .env.example as reference, so you'll know all variables available in the application. The most important one is GITLAB_API_URL, which points to the GitLab platform you want to fetch data from.
Make sure to have Node.js 10+ installed in your machine and its npm available in the command line, then use the following routines:
$ npm install   # download all dependencies
$ npm start     # run development server


