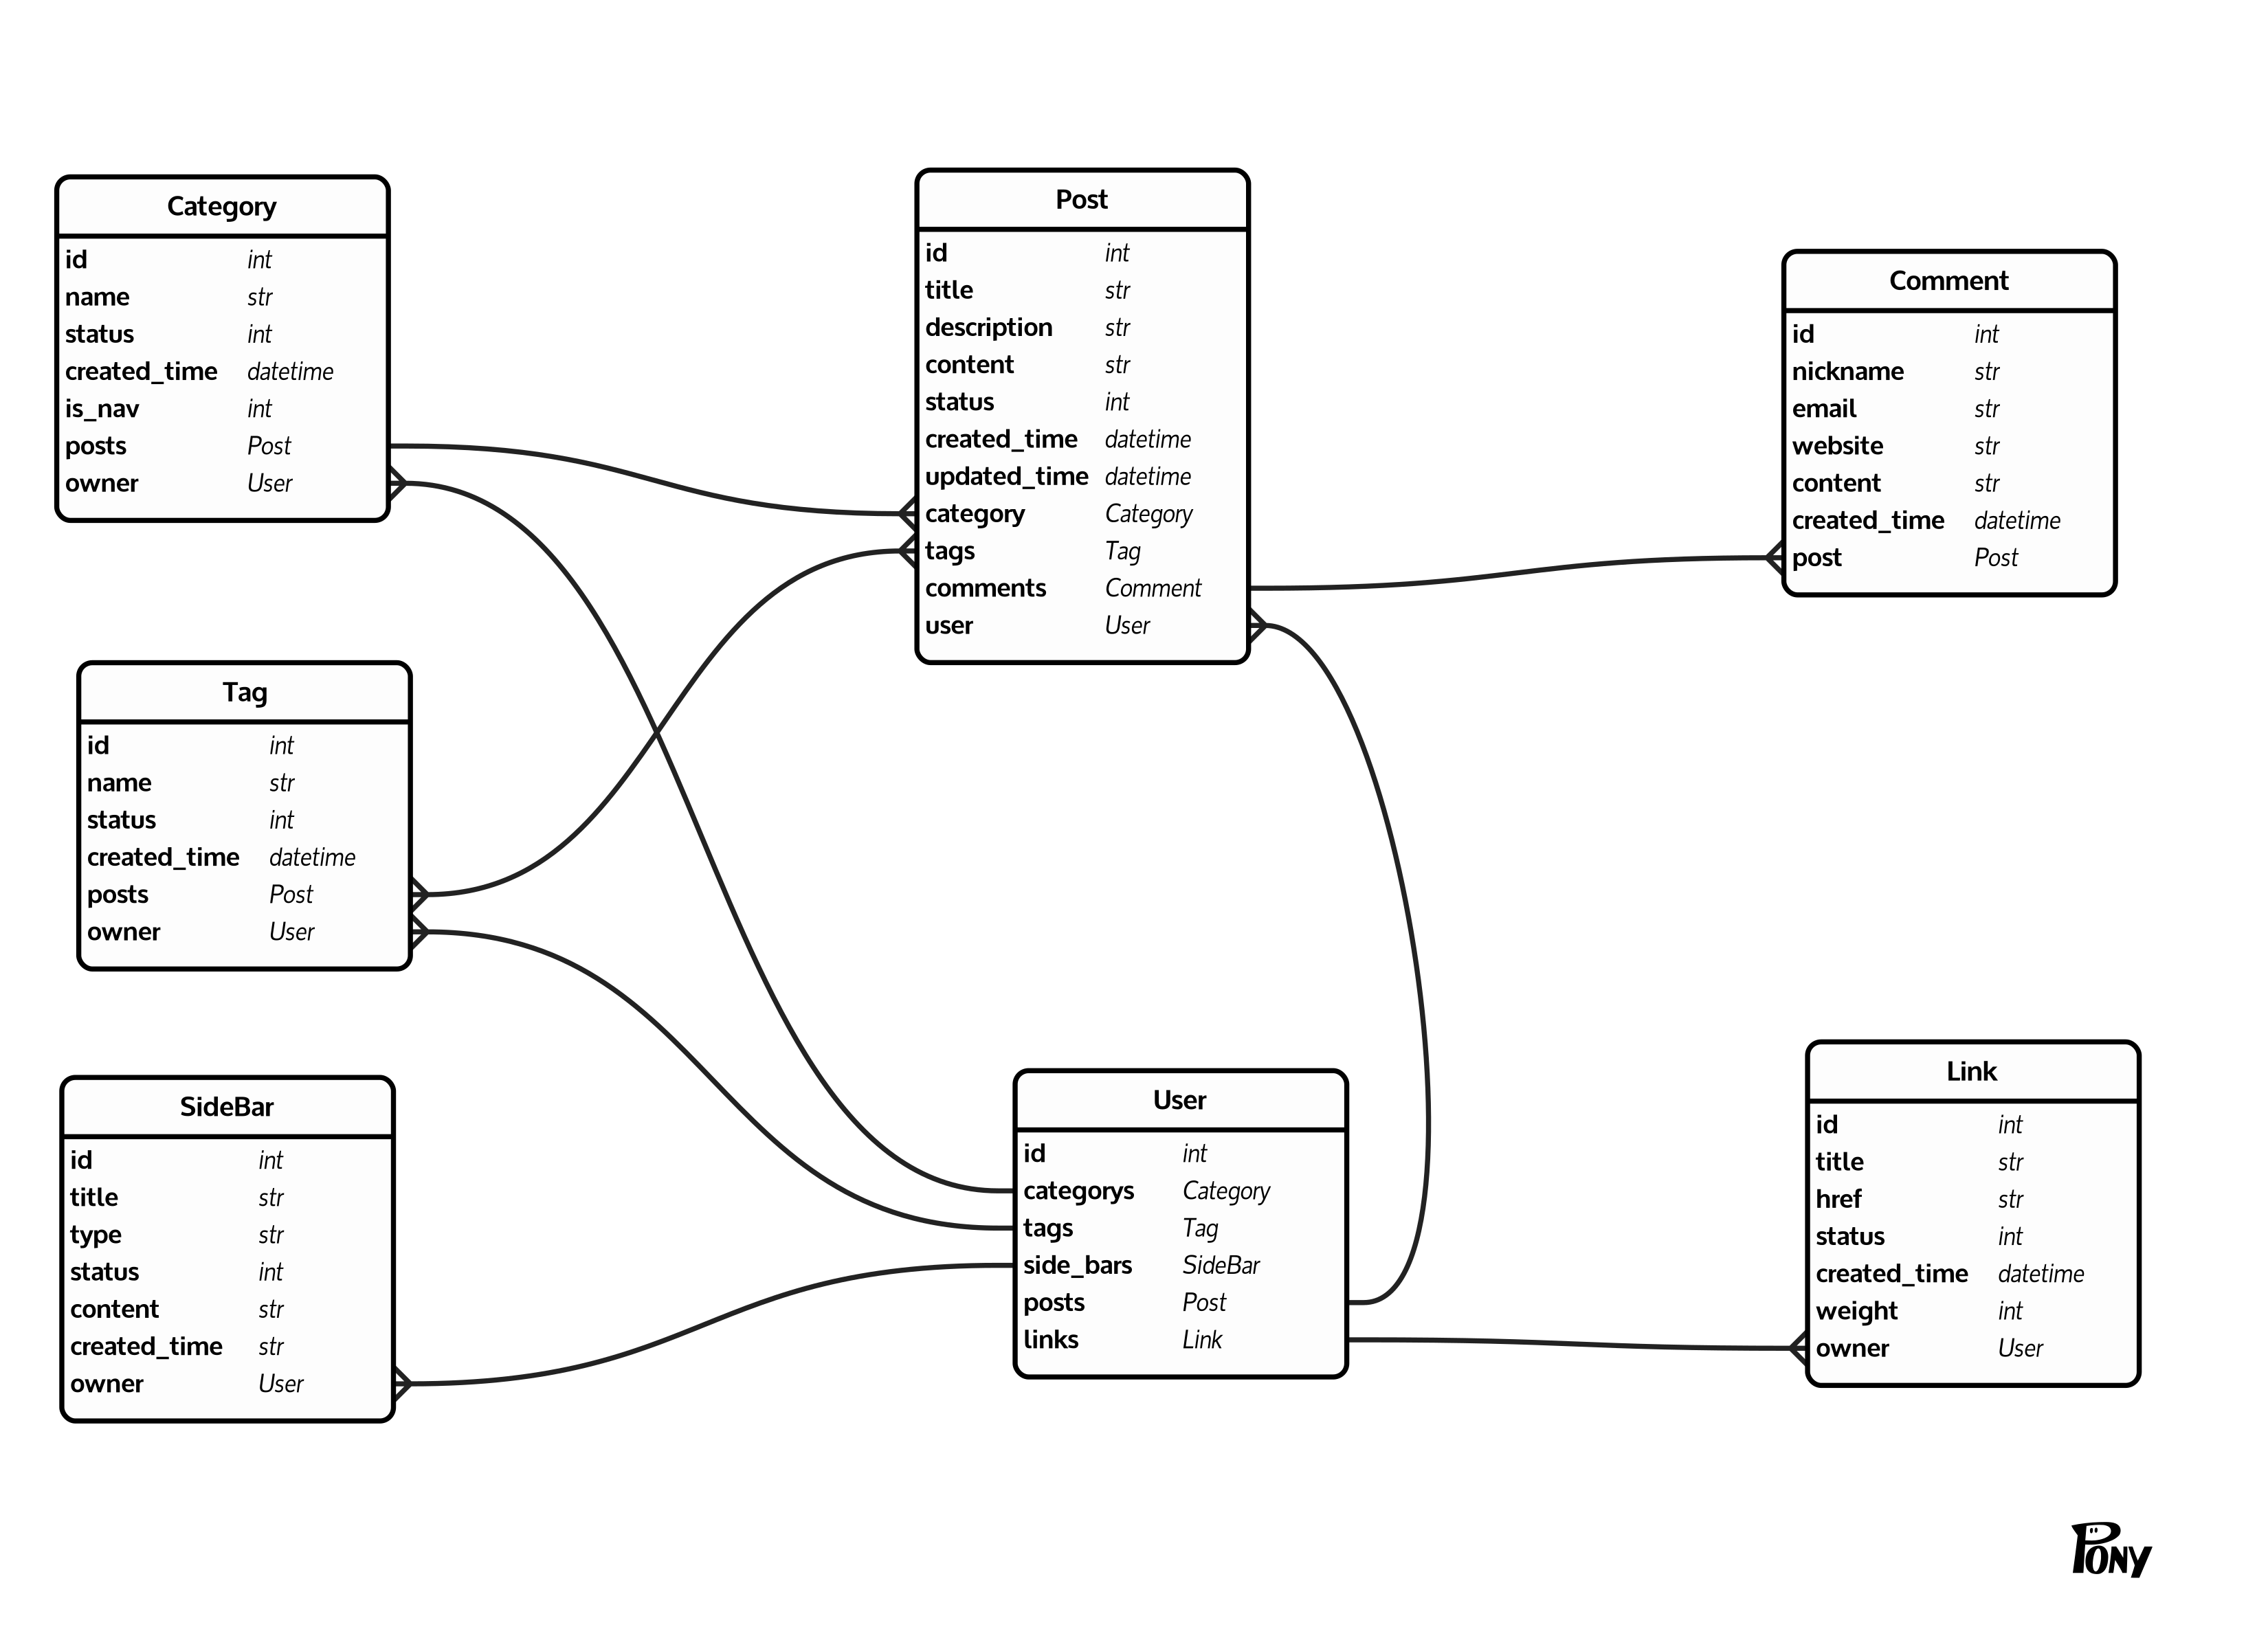
系统源码编写是学习了《Django企业开发实战》一书,作者 the5fire.
-
创建 conda 环境
conda env create -n blog_env -f ./environment.yaml
-
安装 Redis
- 从官网下载源码包,
- 将其移动到合适的位置
- 编译安装
# Linux
sudo make
sudo make test
sudo make install

# Mac
brew install redis
-
迁移建表
django-admin migrate
-
补充你自己的项目密钥
junsircoding/settings/settings.py 的 SECRET_KEY
-
创建管理员账号密码
python manage.py createsuperuser
-
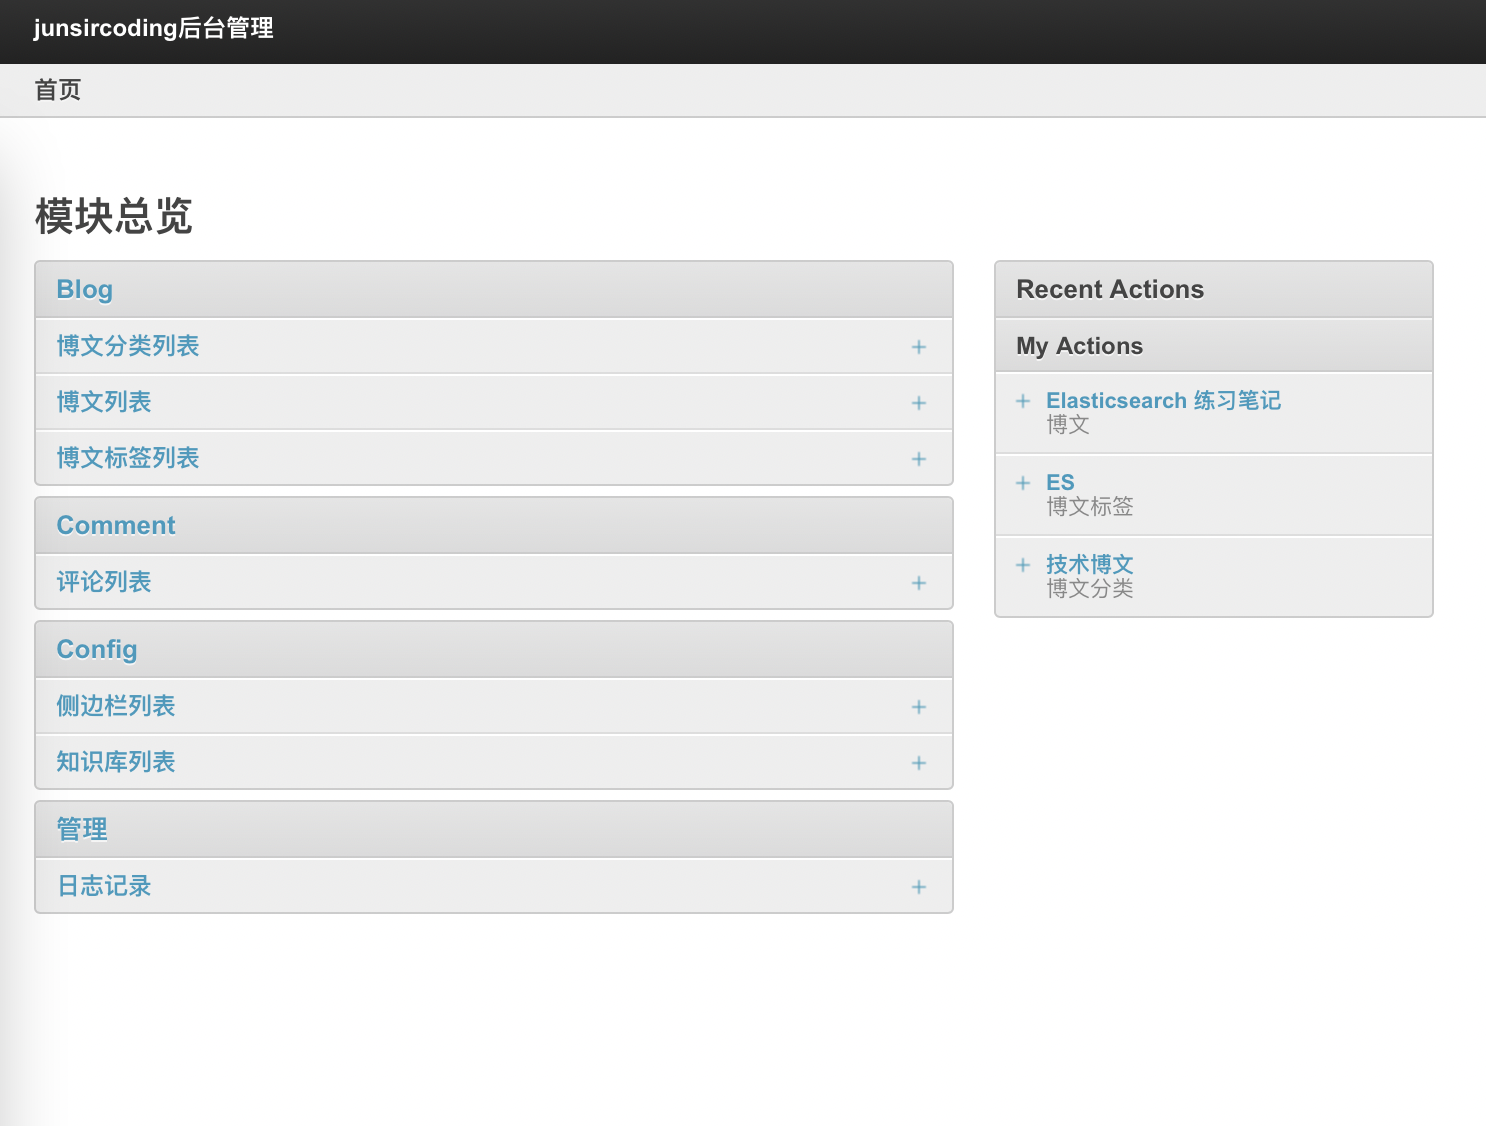
从后台录入文章
http://127.0.0.1:8000/junsiradmin/
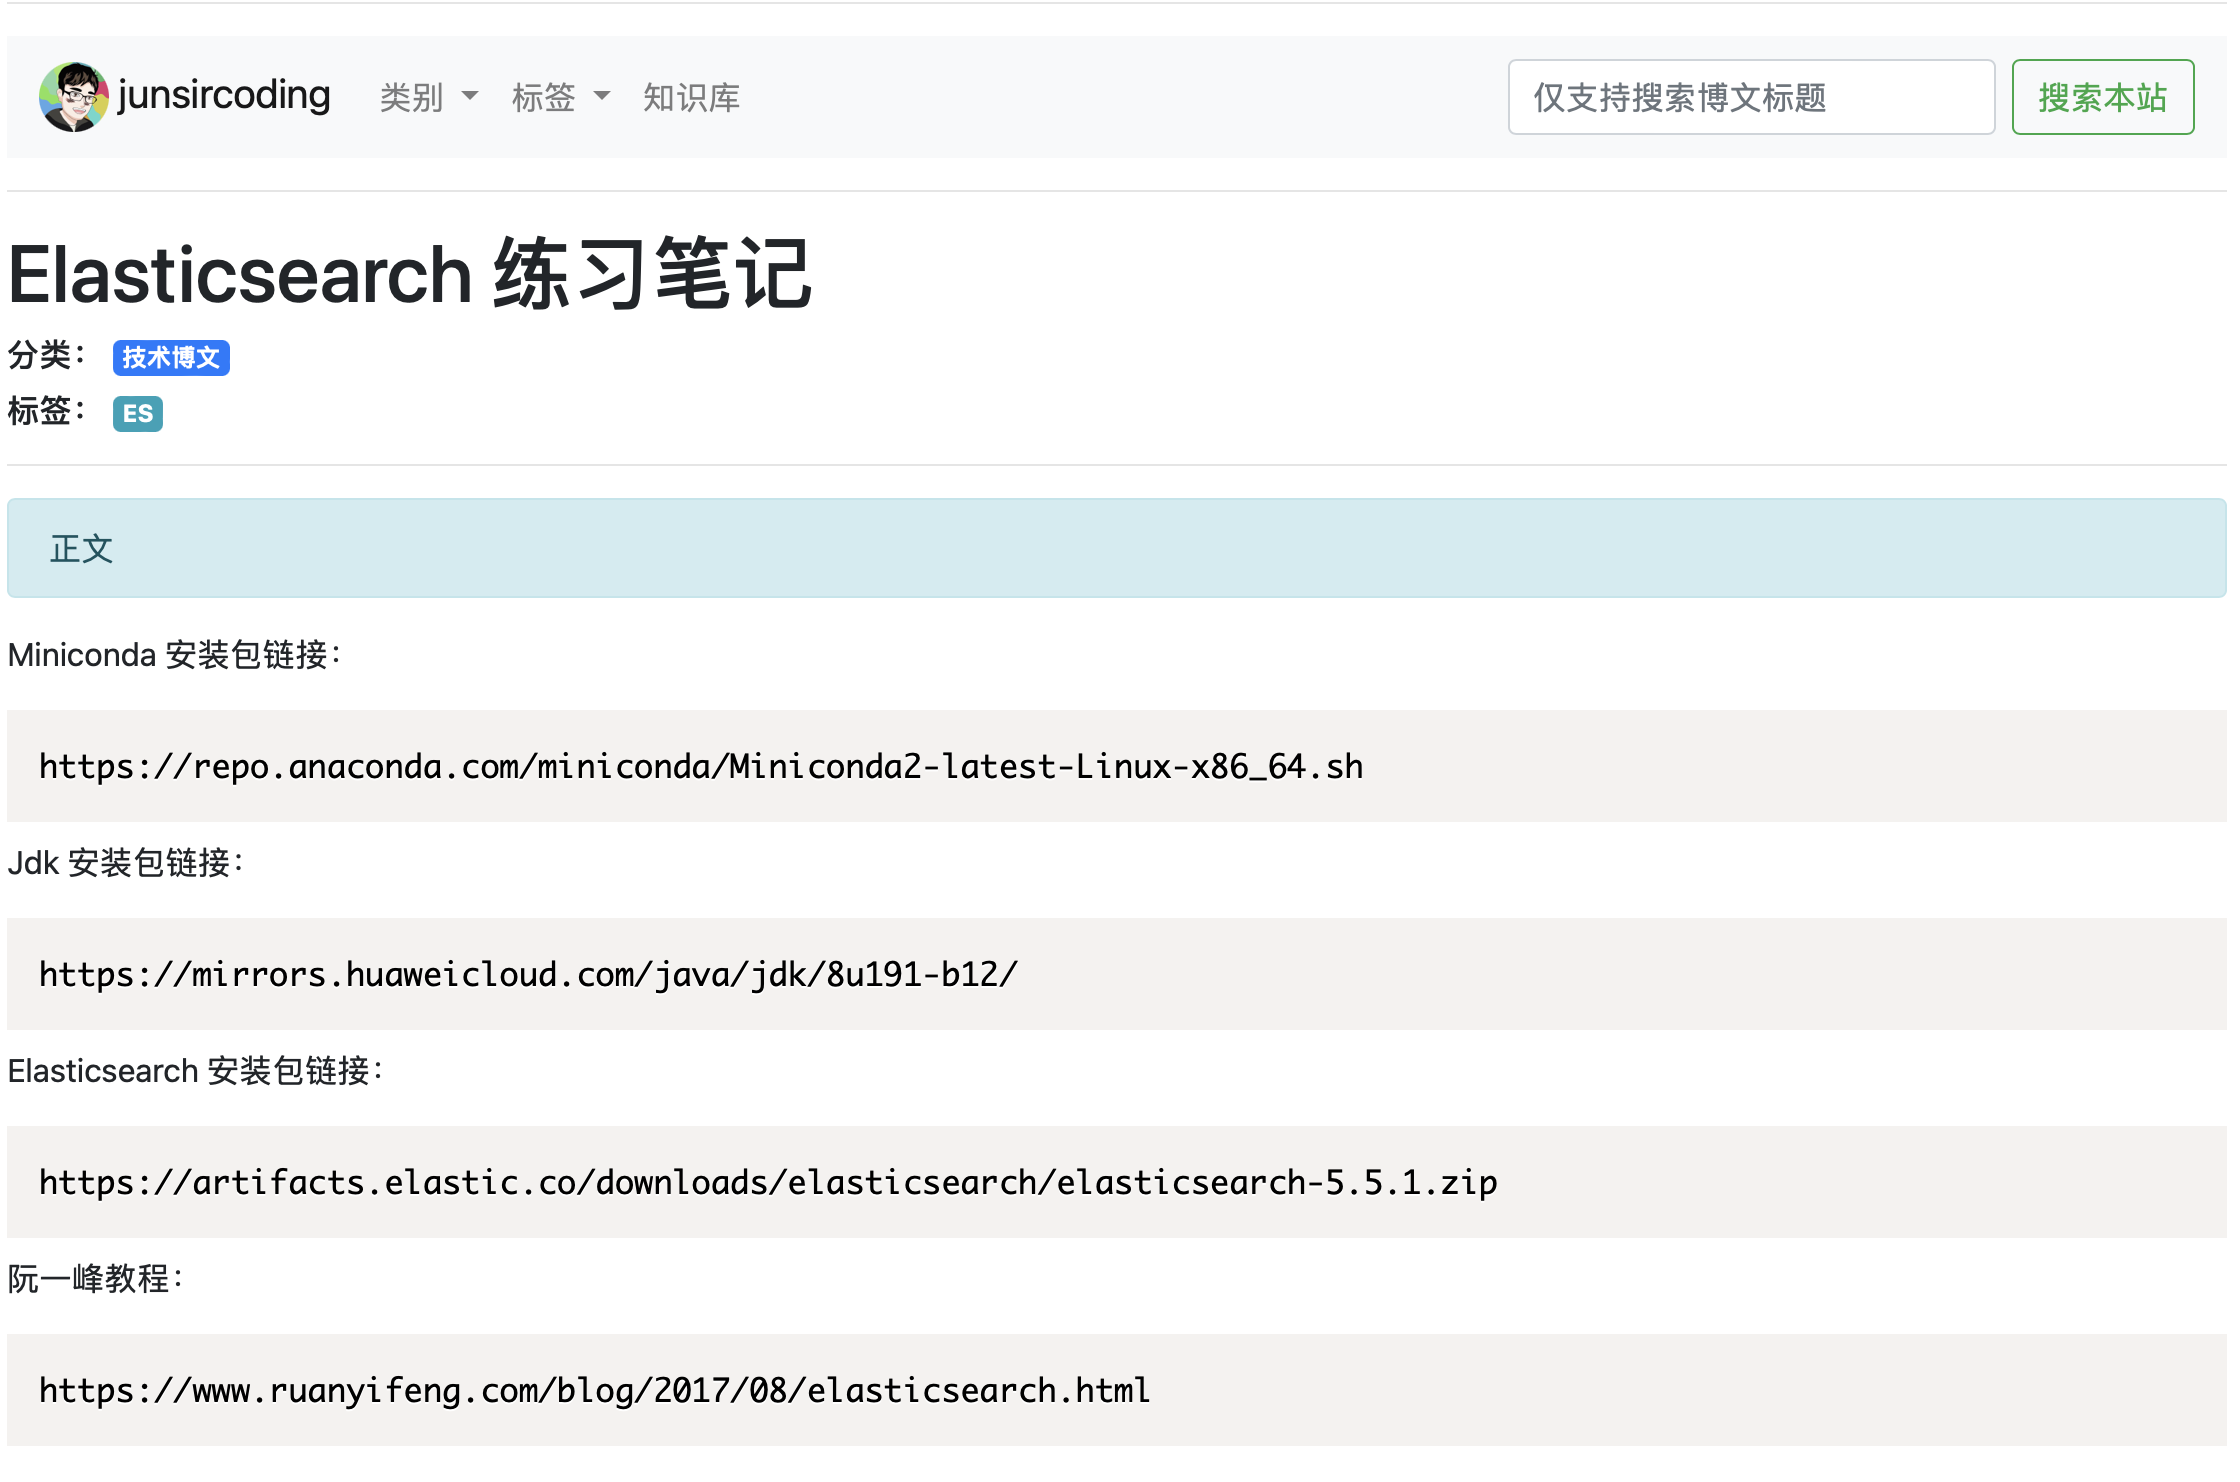
- 博客主界面
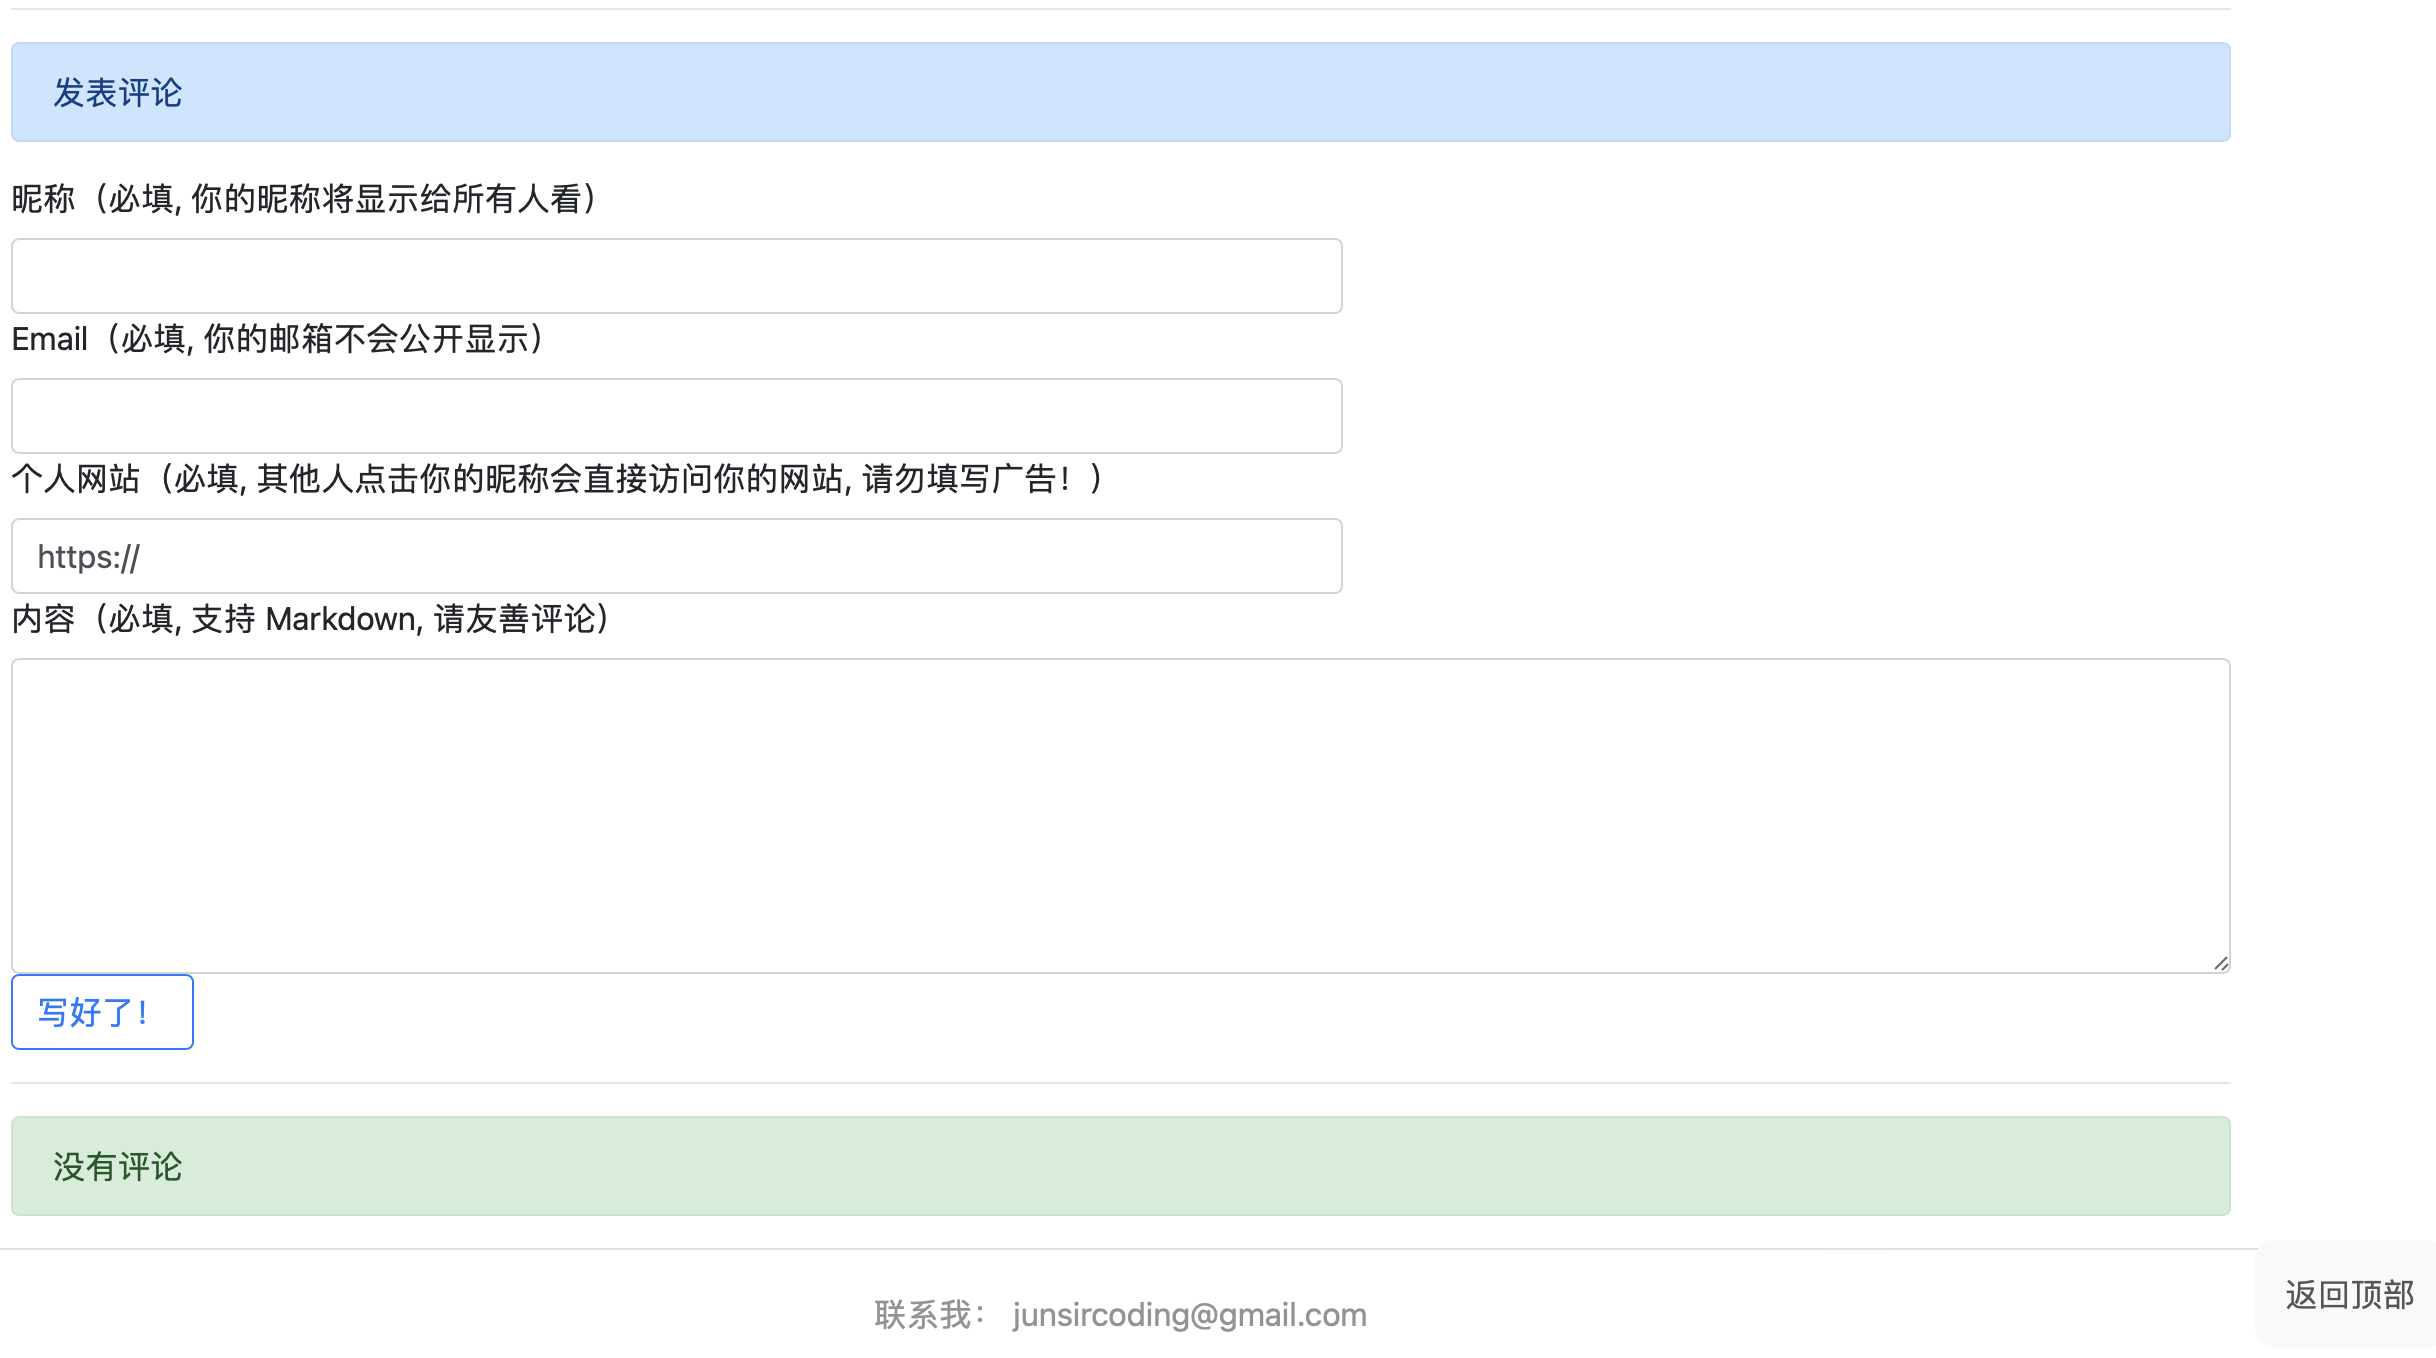
- 底部评论
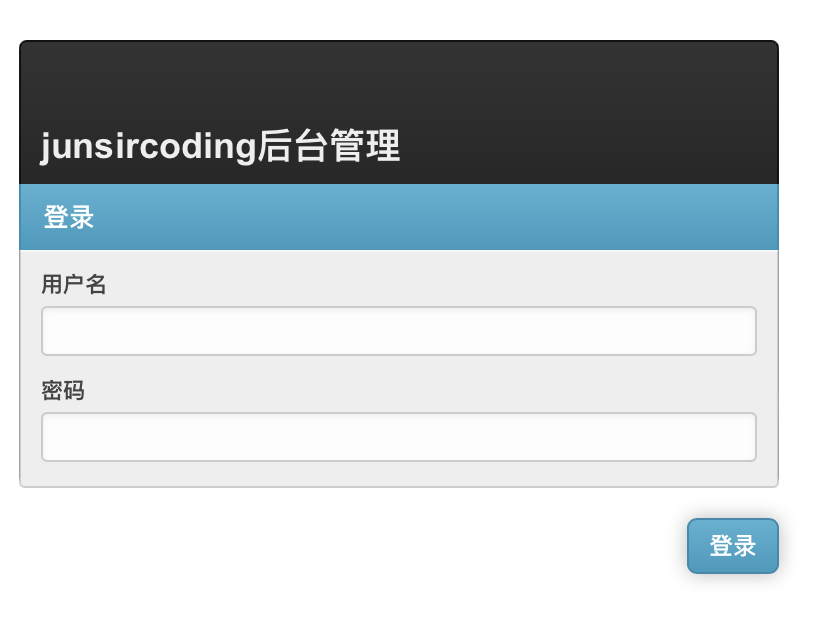
- 后台界面登录
- 录入文章
部署方式是 Gunicorn 在本地运行服务,然后由 Nginx 做代理.
- 1.关闭 Gunicorn 服务
ps -aux | grep gunicorn
kill -9 [gunicorn进程号]
- 2.开启 Gunicorn 服务
cd /path/to/blog/root/floder gunicorn junsircoding.wsgi:application -w 3 -k gthread -b 127.0.0.1:8000 --max-requests=10000 -D - 3.重启 Nginx
cd /usr/sbin/
./nginx -s reload
# grep 出 gunicorn 进程
GUNICORN_PID=$(ps -aux | grep gunicorn | grep -v grep | awk '{print $2}')
echo "Gunicorn pid are "${GUNICORN_PID}

# kill 掉 gunicorn 的进程
kill -9 ${GUNICORN_PID}
echo "Gunicorn process already killed"

# 进入 manage.py 同级目录
cd /path/to/blog/root/floder

# 激活虚拟环境
source /root/miniconda3/bin/activate /root/miniconda3/envs/blog_dev
echo "blog_dev miniconda enviroment already activated"

# 开启 gunicorn 进程
gunicorn junsircoding.wsgi:application -w 3 -k gthread -b 127.0.0.1:8000 --max-requests=10000 -D
echo "Gunicorn process already started"

# 重启 nginx
/usr/sbin/nginx -s reload
echo "Nginx already reload"若要使用将其拷贝至 junsircoding/themes/bootstrap/templates/blog/base.html 即可, 这里为了简洁去掉了侧边栏.
      <div class="col-3">
        {% block sidebar %}
        {% for sidebar in sidebars %}
        <div class="card bg-light mb-3" style="max-width: 18rem;">
          <div class="card-body">
            <h5 class="card-title">{{ sidebar.title }}</h5>
          </div>
          {{ sidebar.content_html }}
        </div>
        {% endfor %}
        {% endblock %}
      </div>