- Mitchell Otley (23475725)
- Jack Blackwood (23326698)
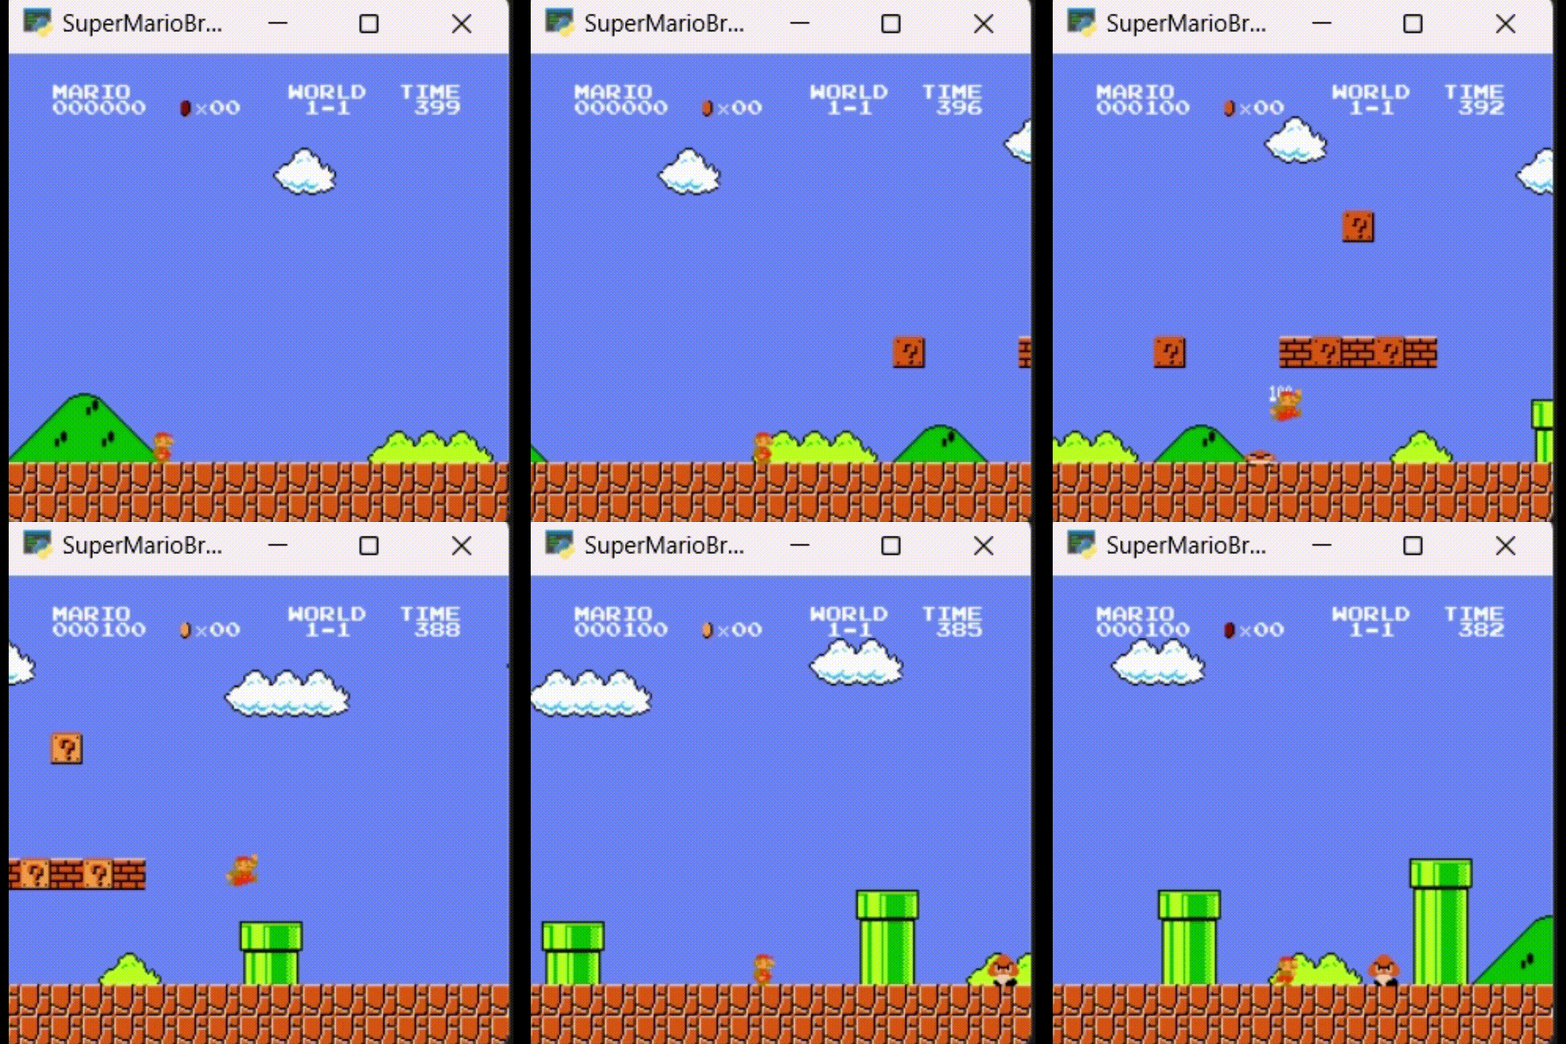
Please refer to the project report for breakdown and analysis of the DQNN and OpenCV agents. This README purely describes how to run the agents.
- Navigate to root directory (where environment.yml file is located)
- In a conda shell, run
conda env create -f env.yml - Once environment is created, run
conda activate mario - Follow steps to run the agents from within the environment
If you plan to train/run any of the RL Agents (DDQN and SB3 PPO) it is reccomended to install PyTorch and it's requirements locally to take advantage of a CUDA GPU https://pytorch.org/get-started/locally/
Running the Agent:
- Navigate to opencv-agent folder
- Edit values inside
run_agent.pyfile to change how agent plays - Execute the command:
python run_agent.py
Variables available to change are:
CVAgent(debug = [None, 'console', 'detect'], level = '1-1')debug:
None - No debugging (default)
'console' - Show console messages
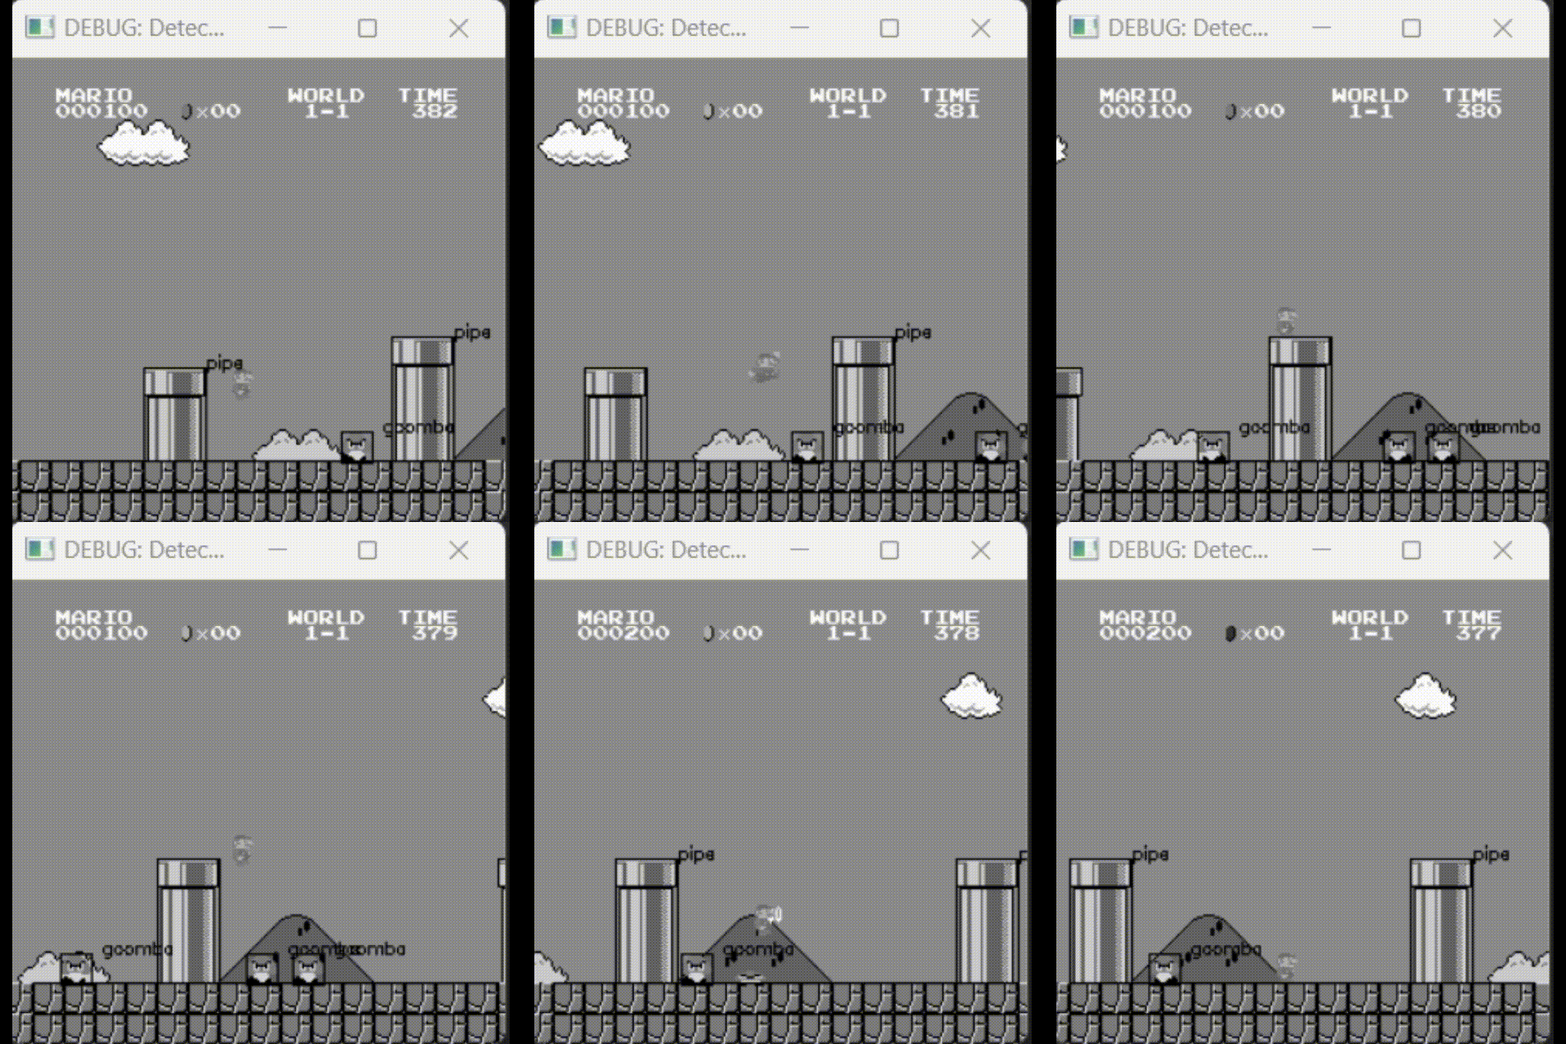
'detect' - Show detection screen and console messageslevel:
The level the agent will play (default is 1-1)
-
agent.STEPS_PER_ACTION
Number of steps taken before another action is chosen -
agent.GOOMBA_RANGE
Range (in pixels) between Mario and a Goomba before Mario will jump -
agent.KOOPA_RANGE
Range (in pixels) between Mario and a Koopa before Mario will jump -
agent.play(metrics=[False, True])- False - Return
Nonewhen iteration is finished - True - Return a dictionary when iteration is finished:
'run-score': total score of iteration,
'run-time': time to complete iteration,
'steps': steps taken in the iteration
- False - Return
Run Analysis
The experiments are ran by the programs run_level_1-1.py and run_level_2-1.py:
run_level_1-1.pytests 847 different simulations of the openCV agent, on level 1-1, with every combination of the following:agent.STEPS_PER_ACTIONin the range (4, 5, 6, 7, 8, 9, 10)agent.GOOMBA_RANGEin the range (30, 35, 40, 45, 50, 55, 60, 65, 70, 75, 80)agent.KOOPA_RANGEin the range (30, 35, 40, 45, 50, 55, 60, 65, 70, 75, 80)
run_level_2-1.pytests the successful combinations of parameters from the above test, on level 2-1.run_level_1-4.pytests the successful combinations of parameters from the above test, on level 1-4. Each combination need only be tested once, as the openCV agent will play the exact same way each time a certain combination is provided. Output data is saved to tab separated files (.tsv) in the experiment-data folder.
To generate an analysis of the experiment data for level 1-1, run python analysis_1-1.py
To generate an analysis of the experiment data for level 2-1, run python analysis_2-1.py
- Navigate to the
manual_ddqn_agentfolder. - Execute the command:
python main.py [--resume]
- The
--resumeflag indicates that we are resuming training from an existing model. - Without this flag, a new model will be created and training will start from scratch.
- The latest Checkpoint will be selected from the working directory.
- The
To influence the training parameters, consider adjusting the following:
-
In
main.py:episodes: This defines the total number of episodes to train the model over.
-
In
agent.py:self.batch_size = 64 # Number of experiences to sample. Options: 32, 48, 64 self.exploration_rate = 1 # Initial exploration rate for epsilon-greedy policy. self.exploration_rate_decay = 0.99999975 # Decay rate for exploration probability. self.exploration_rate_min = 0.1 # Minimum exploration rate. self.gamma = 0.9 # Discount factor for future rewards. Typically between 0.9 and 0.99. self.burnin = 10000 # Number of steps before training begins. self.learn_every = 3 # Frequency (in steps) for the agent to learn from experiences. self.tau = 0.005 # Rate of soft update for the target network. self.sync_every = 1.2e4 # Frequency (in steps) to update the target Q-network with the online Q-network's weights. self.save_every = 50000 # Frequency (in steps) to save the agent's model. `
Run a Model:
- Navigate to manual_ddqn_agent folder
- Execute the command:
python replay.py --checkpoint [CHECKPOINT_NAME] [--render]
- The
--checkpointflag asks for an existing .chkpt that we are testing. - The
--renderflag will signify if we should display the agent while it runs.
- The
This will create a Tester Environment and an additional logging directory. It will attempt to use the specified model with an Epsilon of 0.1 (Indicating defined action and little to no Exploration)
- Navigate to the
sb3-ppo-agentfolder. - Execute the command:
python agentReTrain.py [--resume]
- The
--resumeflag indicates that we are resuming training from an existing model. - Without this flag, a new model will be created and training will start from scratch.
- A File Dialogue will open allowing us to specify a Model rather than the choose the latest.
- The
- Execute the command:
tensorboard --logdir=.
- If Tensorboard is installed, this will allow insight into training metrics of current and historical training.
To influence the training parameters, consider adjusting the following:
- In
agentReTrain.py:total_timesteps: This defines the total number of time steps to train the model over.
        model = PPO("CnnPolicy", env, policy_kwargs=policy_kwargs, verbose=1,
              tensorboard_log=LOG_DIR, learning_rate=0.00001,
              n_steps=512, device="cuda")
#n_steps - how many steps to sample an experience from
#learning_rate - define the learning rate of the agent, a lower value may make less signficant changes but converge faster.
Run a Model:
- Navigate to
sb3-ppo-agentfolder - Execute the command:
python eval.py [--render]
- The script will open a File Dialogue to select a Model to evaluate.
- Multiple Model may be selected to compare.
- The
--renderflag will signify if we should display the agent while it runs.
This will create a Tester Environment and send metrics to the Console, and a logging file. If multiple Model have been selected, it will output the Model that had the highest average distance X.


