Virtualizing macOS with Apple Silicon host.
- Download up to date MacOS ipsw file
- Disconnect any external displays.
- Build and run the
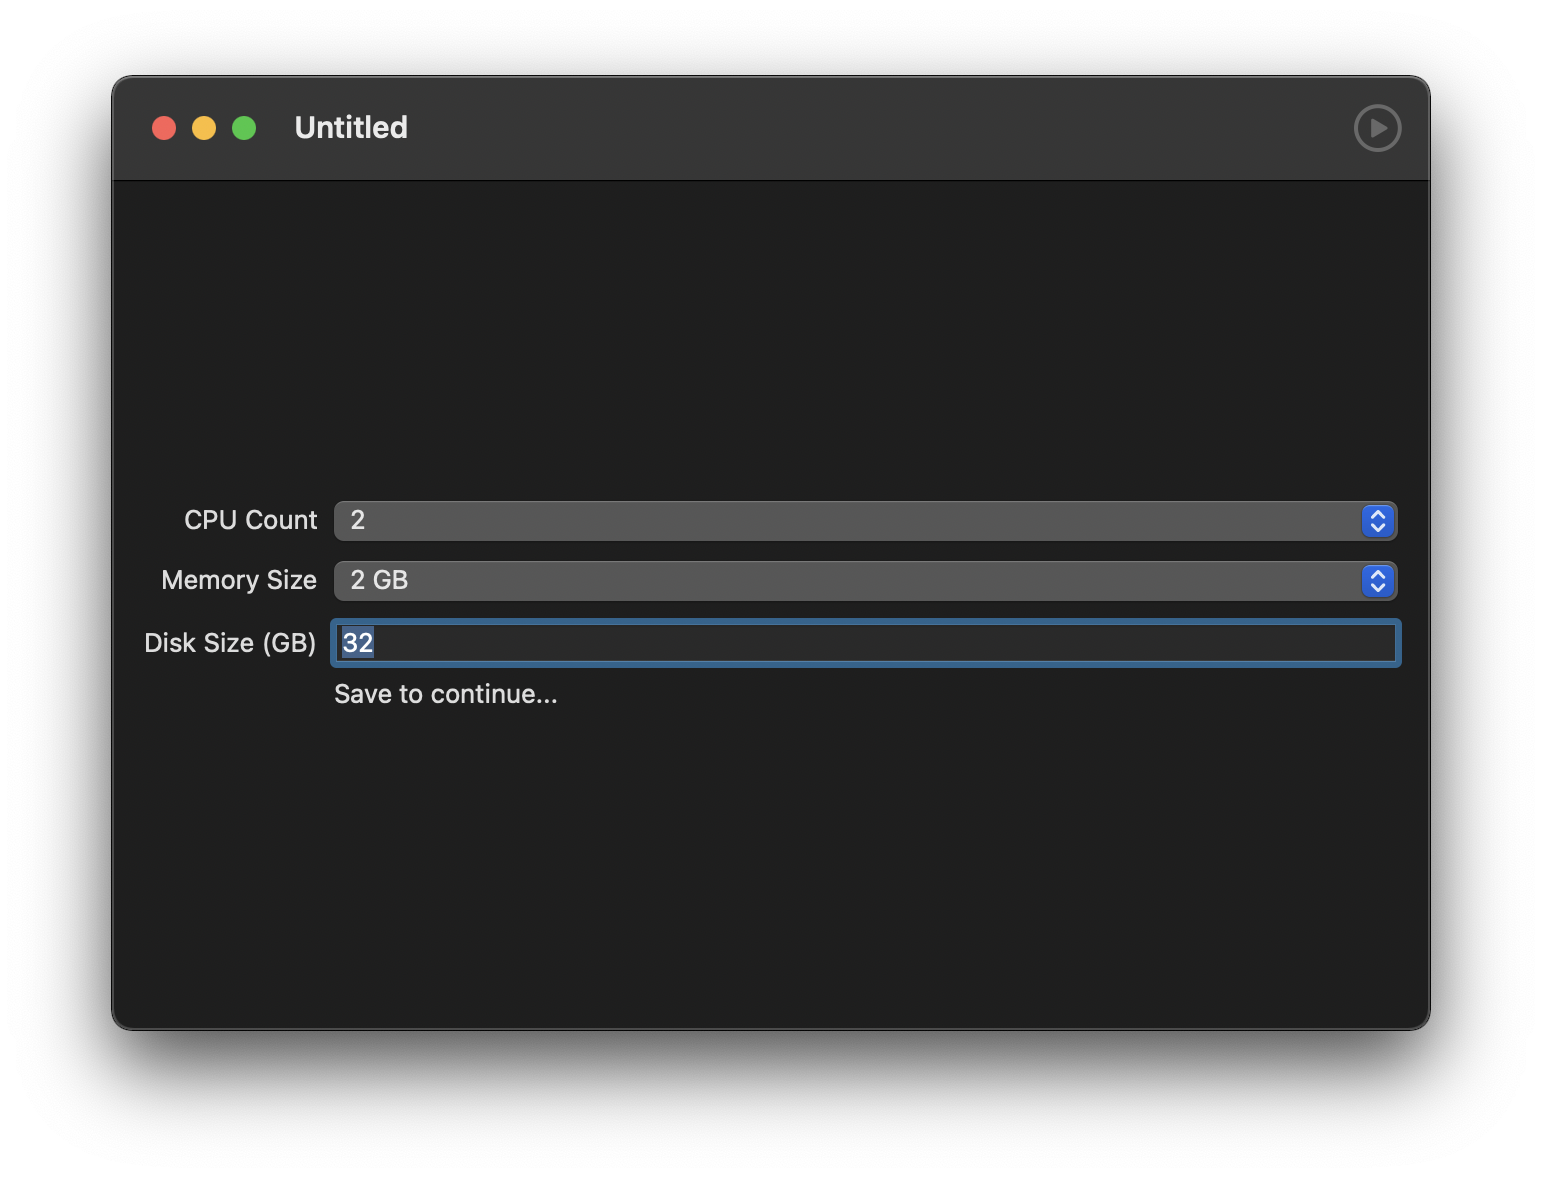
MacVM.xcodeprojXcode project- In the dialog the opens, click "Create New Document"
- Adjust VM parameters as needed
- Save (⌘s or File->Save) with name
MacVM clean.macosvm - Click "Select IPSW and Continue" and select the file you downloaded in step 1.
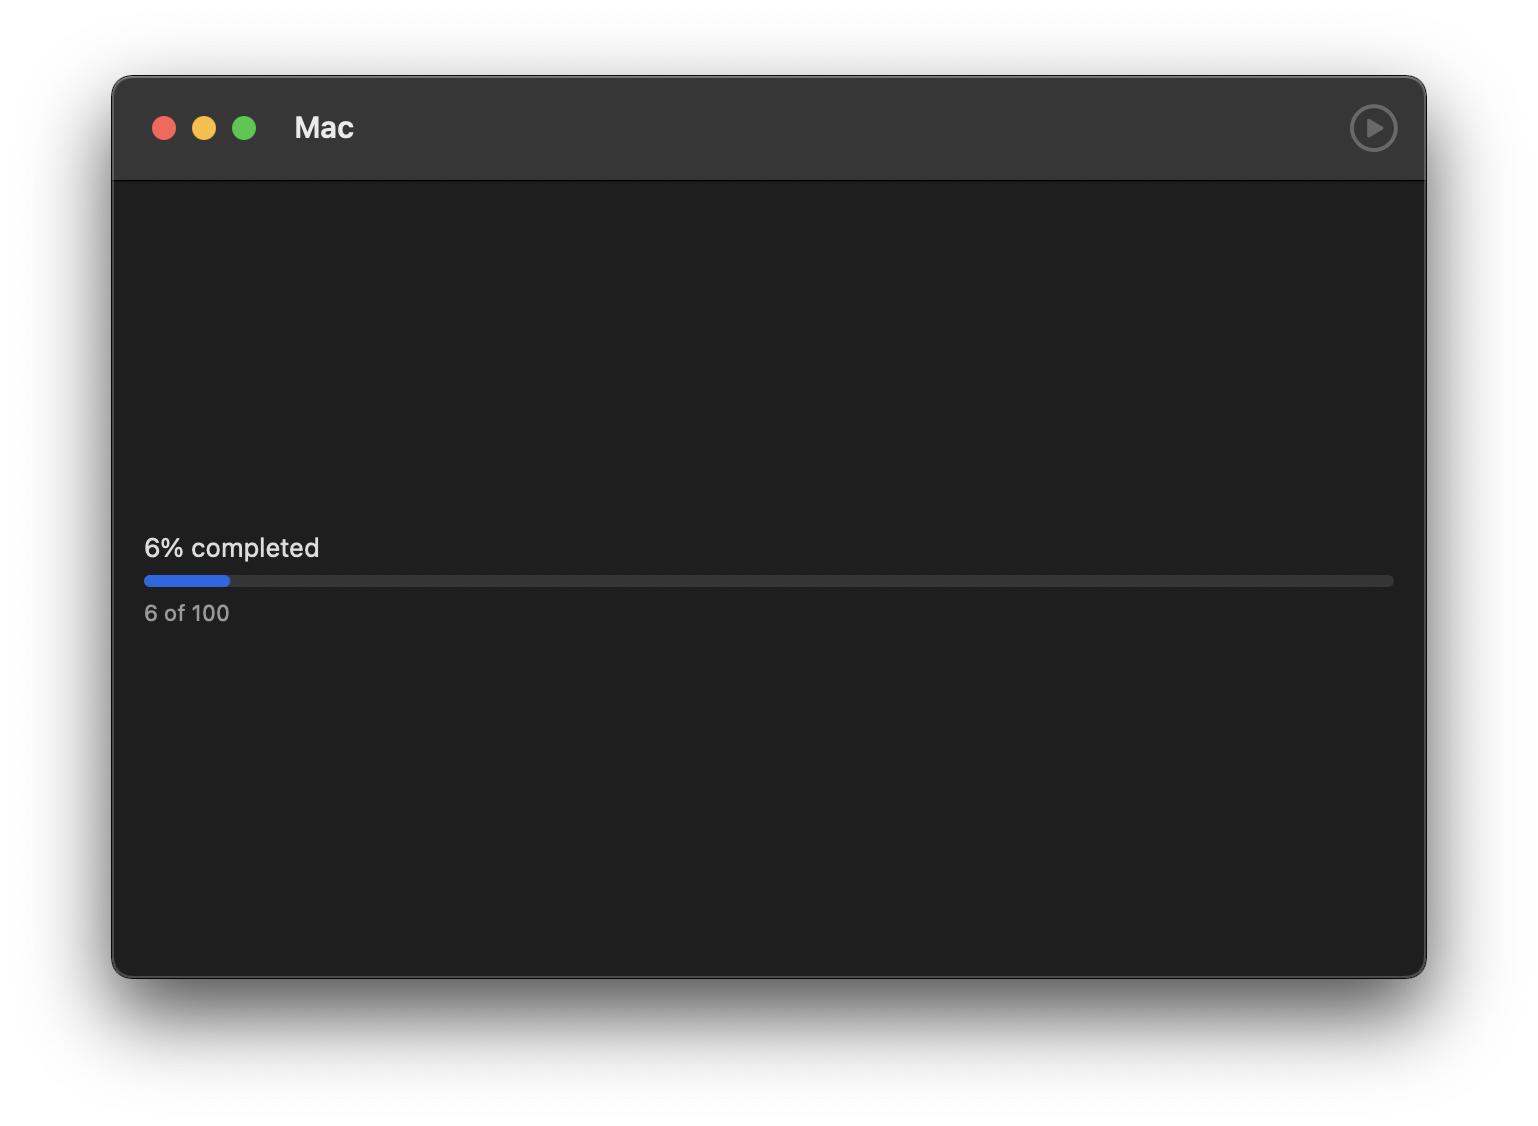
- Click "Install"
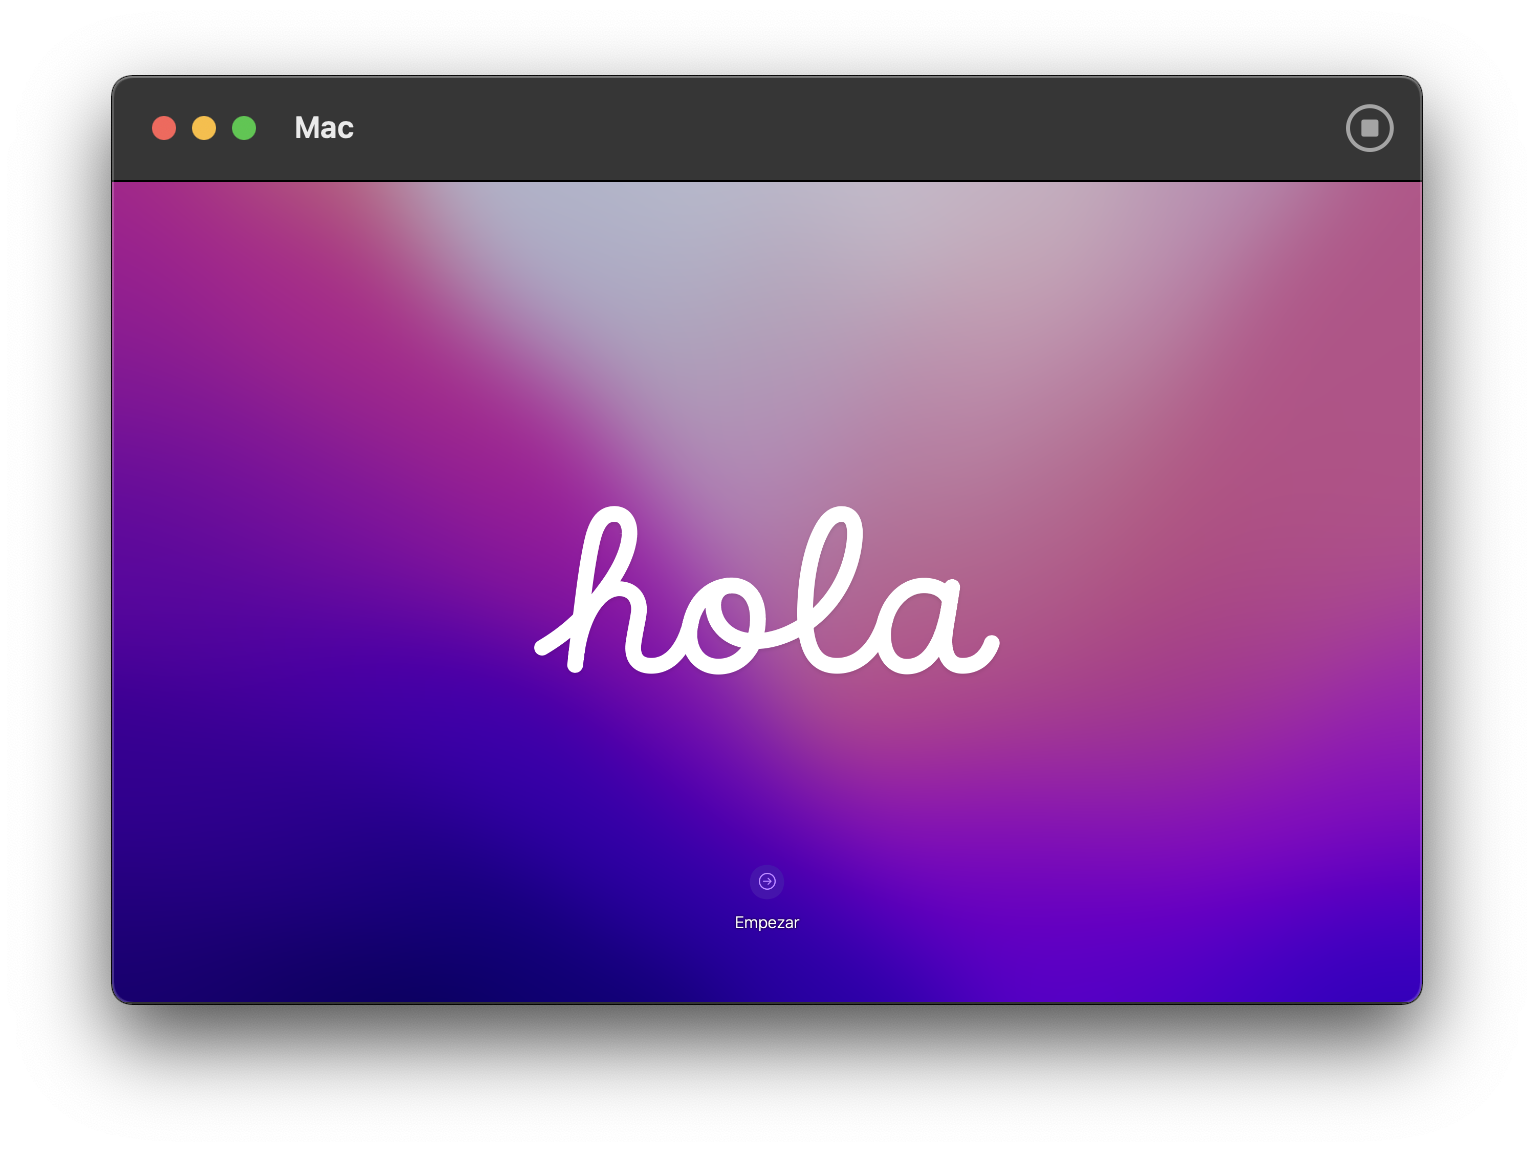
- Tap the Play button in the top right corner to launch the Virtual Machine.
- Setup MacOS to your liking. Stop when you've reached a good rollback point.
- Make sure to enable File Sharing (System Preferences -> Sharing)
- Save to the macosvm file again.
- Continue on to the next section now that you have a rollback point.
- Duplicate
MacVM clean.macosvmand rename itMacVM.macosvm. - Disconnect any external displays.
- Open and run the
MacVM.xcodeprojXcode project. - Select the newly created
MacVM.macosvmwhen prompted or with File -> Open. - Tap the Play button in the top right corner to launch the Virtual Machine.
- Password: {whatever you initially setup in the
MacVM clean.macosvmimage} - At this point it's ok to reconnect external displays.
- Open Finder on host machine -> Virtual Machine -> {shared folder name}
- Upload any necessary files:
- Current Xcode version downloaded from Apple (zipped)
- Command Line Tools for Xcode dmg file
- Environment Setup doc exported to PDF (for easy access to links)
- notes.txt file with any passwords, api keys, GitHub personal access token, etc.
- Upload any necessary files:
- Follow Environment setup doc


