netlify-functions-landingpage
A serverless-less landing page project on Netlify, including a Mailchimp mailing list signup via functions.
Background
I read the interesting article on the Serverless blog about how to create a landing page with Serverless Components, Netlify, AWS and Mailchimp.
I wanted to test Netlify for a while now, but thought that the above example could still be stripped-down to a Netlify-only deployment. The Mailchimp API is still triggered via the included Lambda function for the signup.
The original project can be found at serverless/netlify-landing-page, which was slightly edited to support a Netlify-only setup.
Setup
- Fork the project to your GitHub, GitLab or Bitbucket account
- Sign up for Mailchimp (free account), for being able to create the mailing list funtionality
- Sign up for Netlify (free account), using the OAuth integration to the repo provider you forked the project to.
Having an AWS account is not necessary, as Netlify will provision the lambda automatically.
Mailchimp setup
Signup
Go to the signup page and fill in your info.
List creation
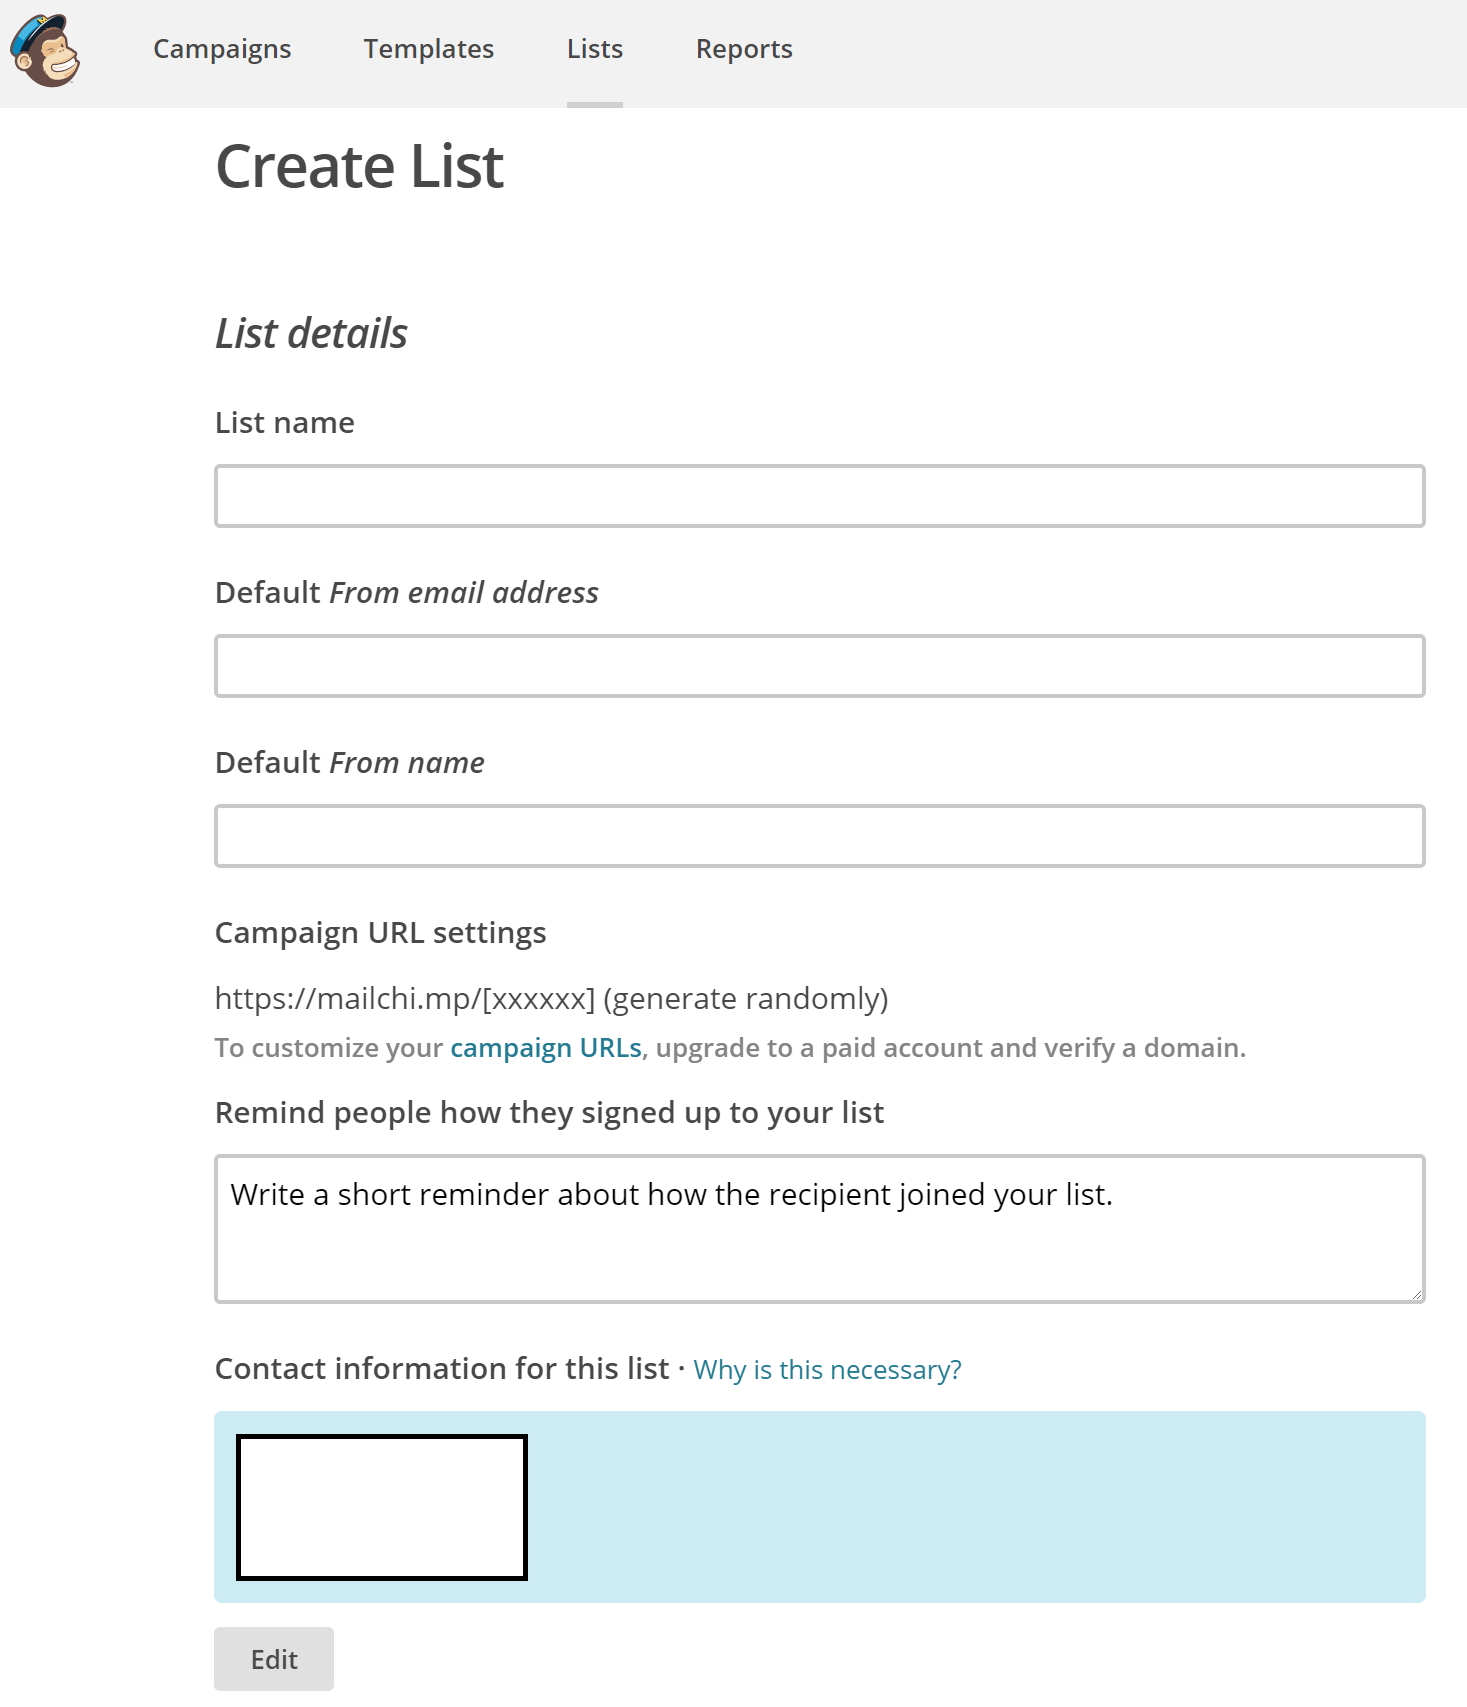
Go to Lists -> Create list and fill in your details:
Step 1:
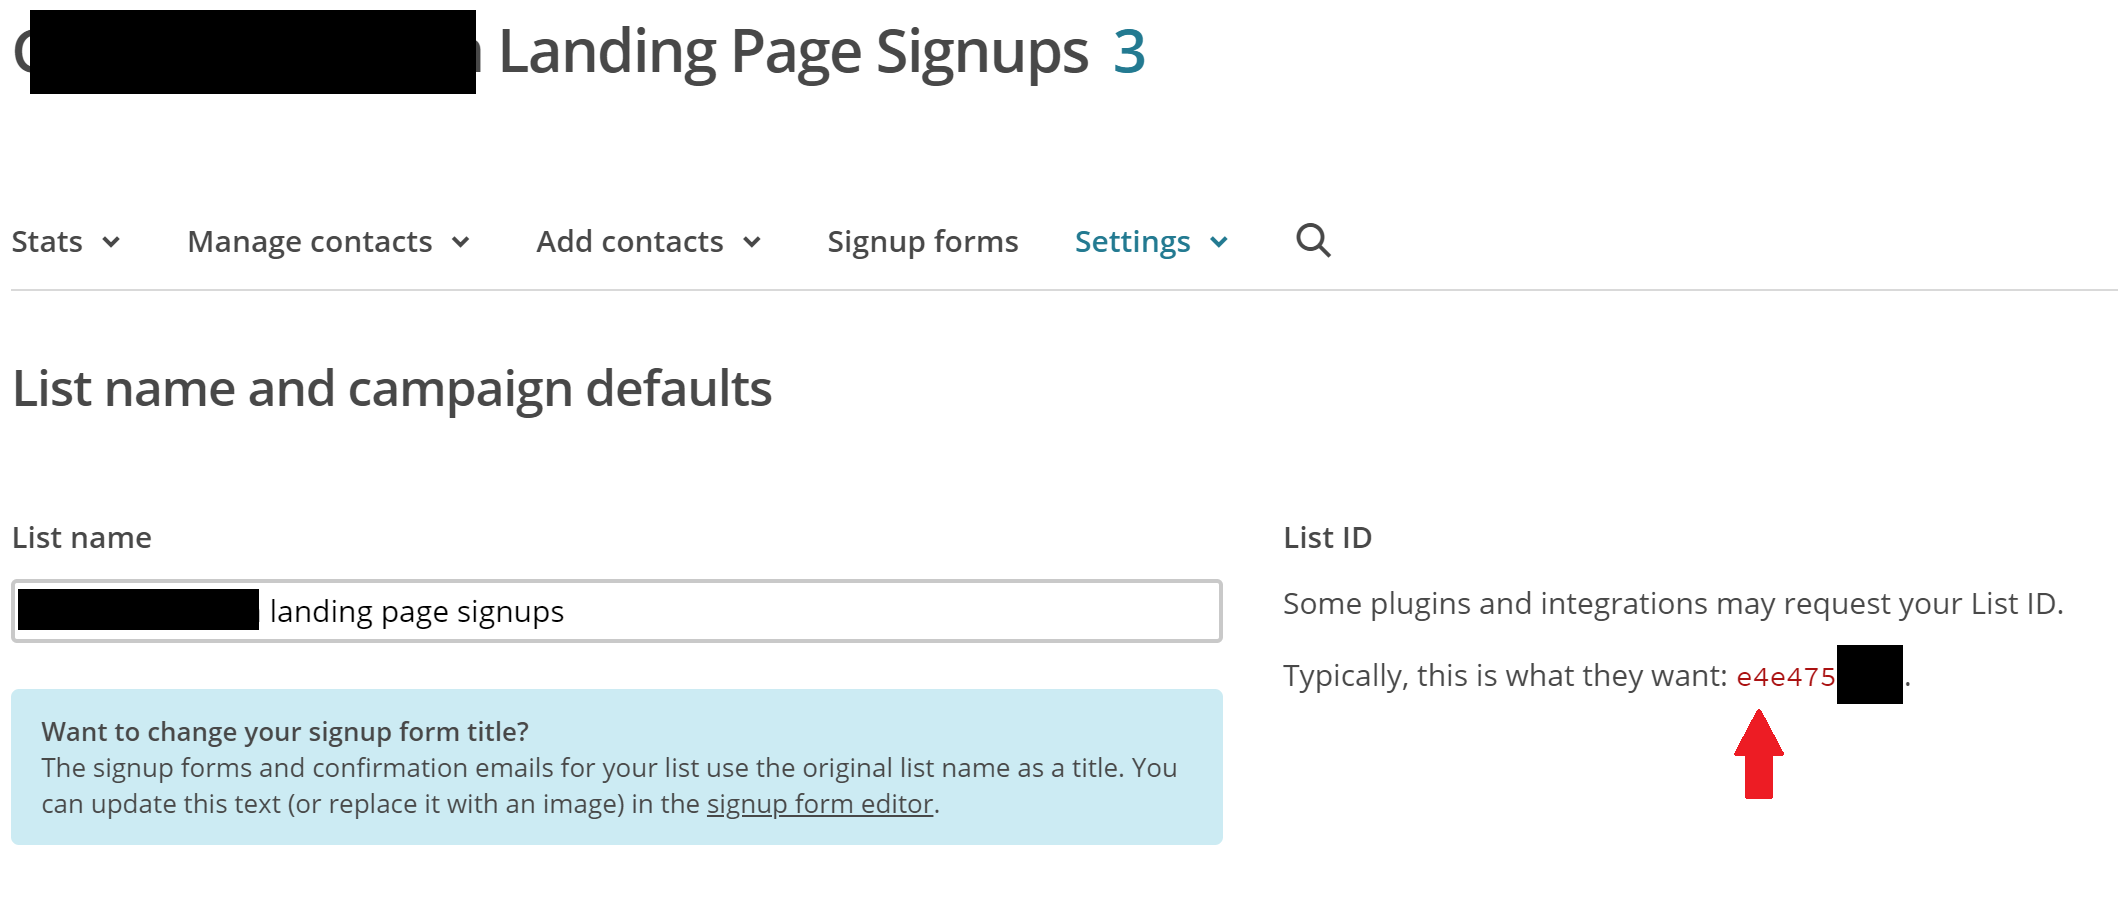
Step 2:
Step 3:
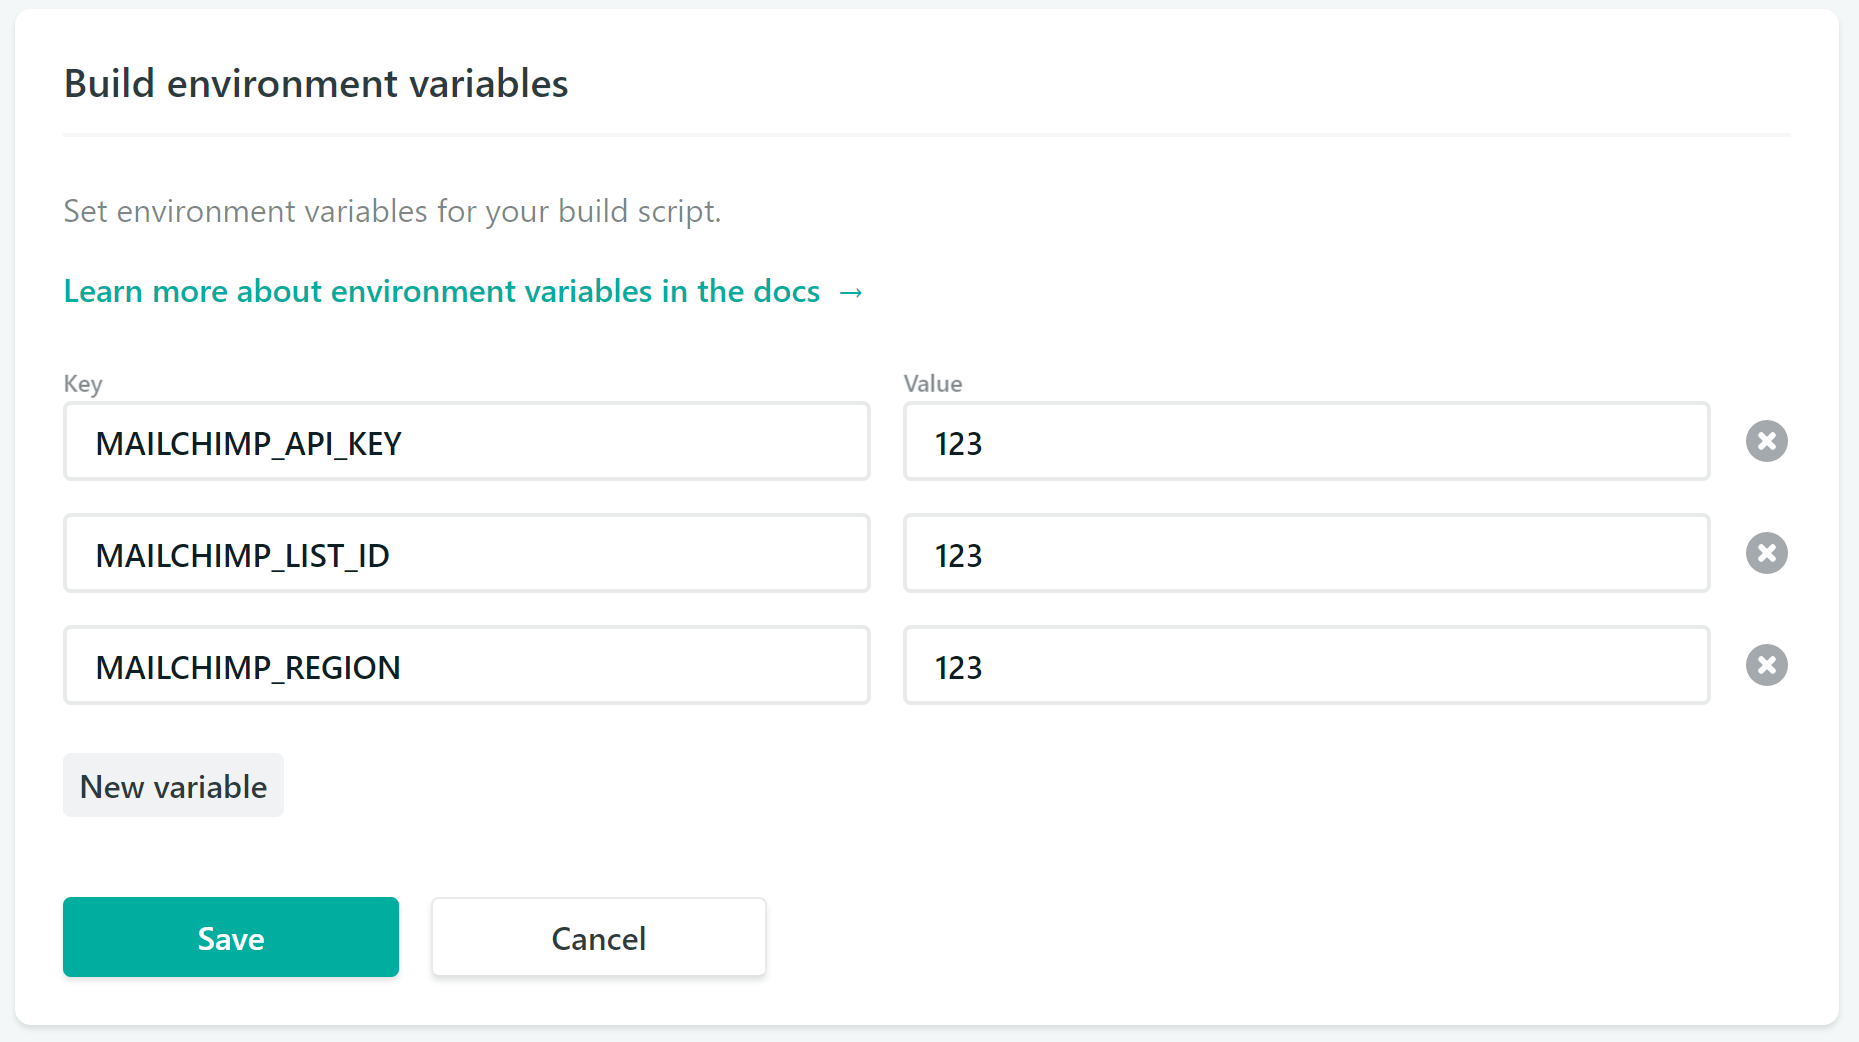
Please note the List ID, because this is later needed as an environment variable for the Netlify builds as MAILCHIMP_LIST_ID.
API key creation
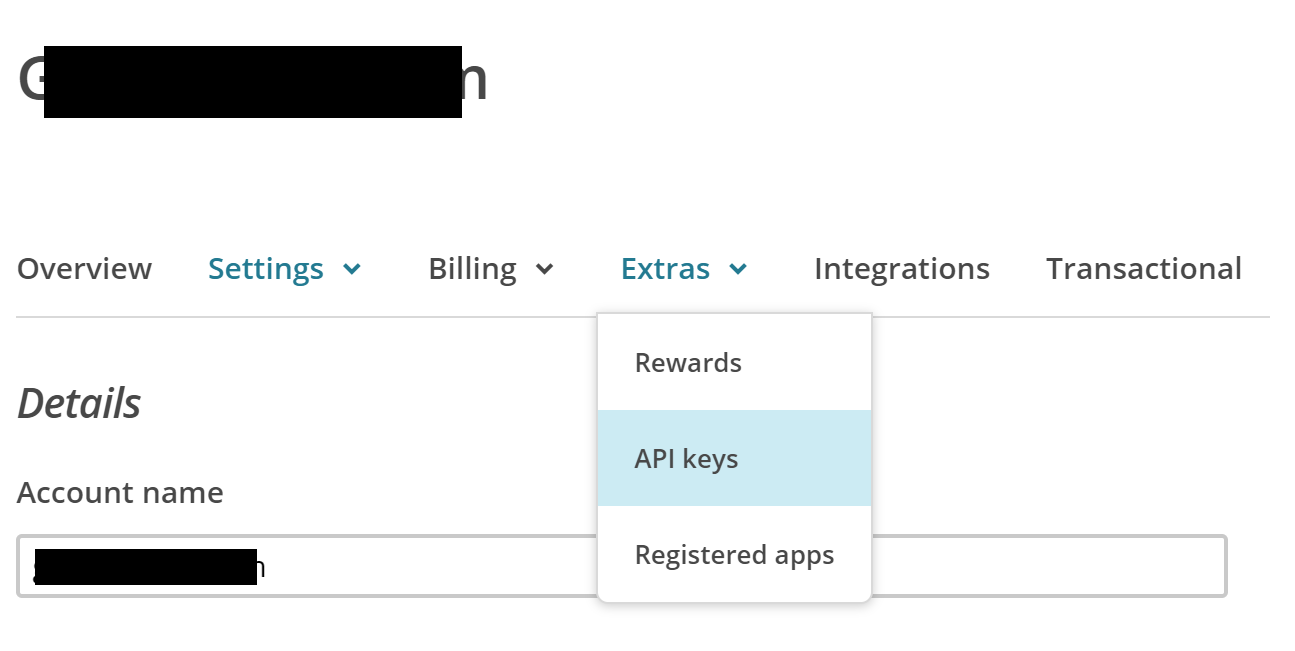
Go to Account (upper right dropdown) -> Extras -> API keys and create an API key as follows:
Step 1:
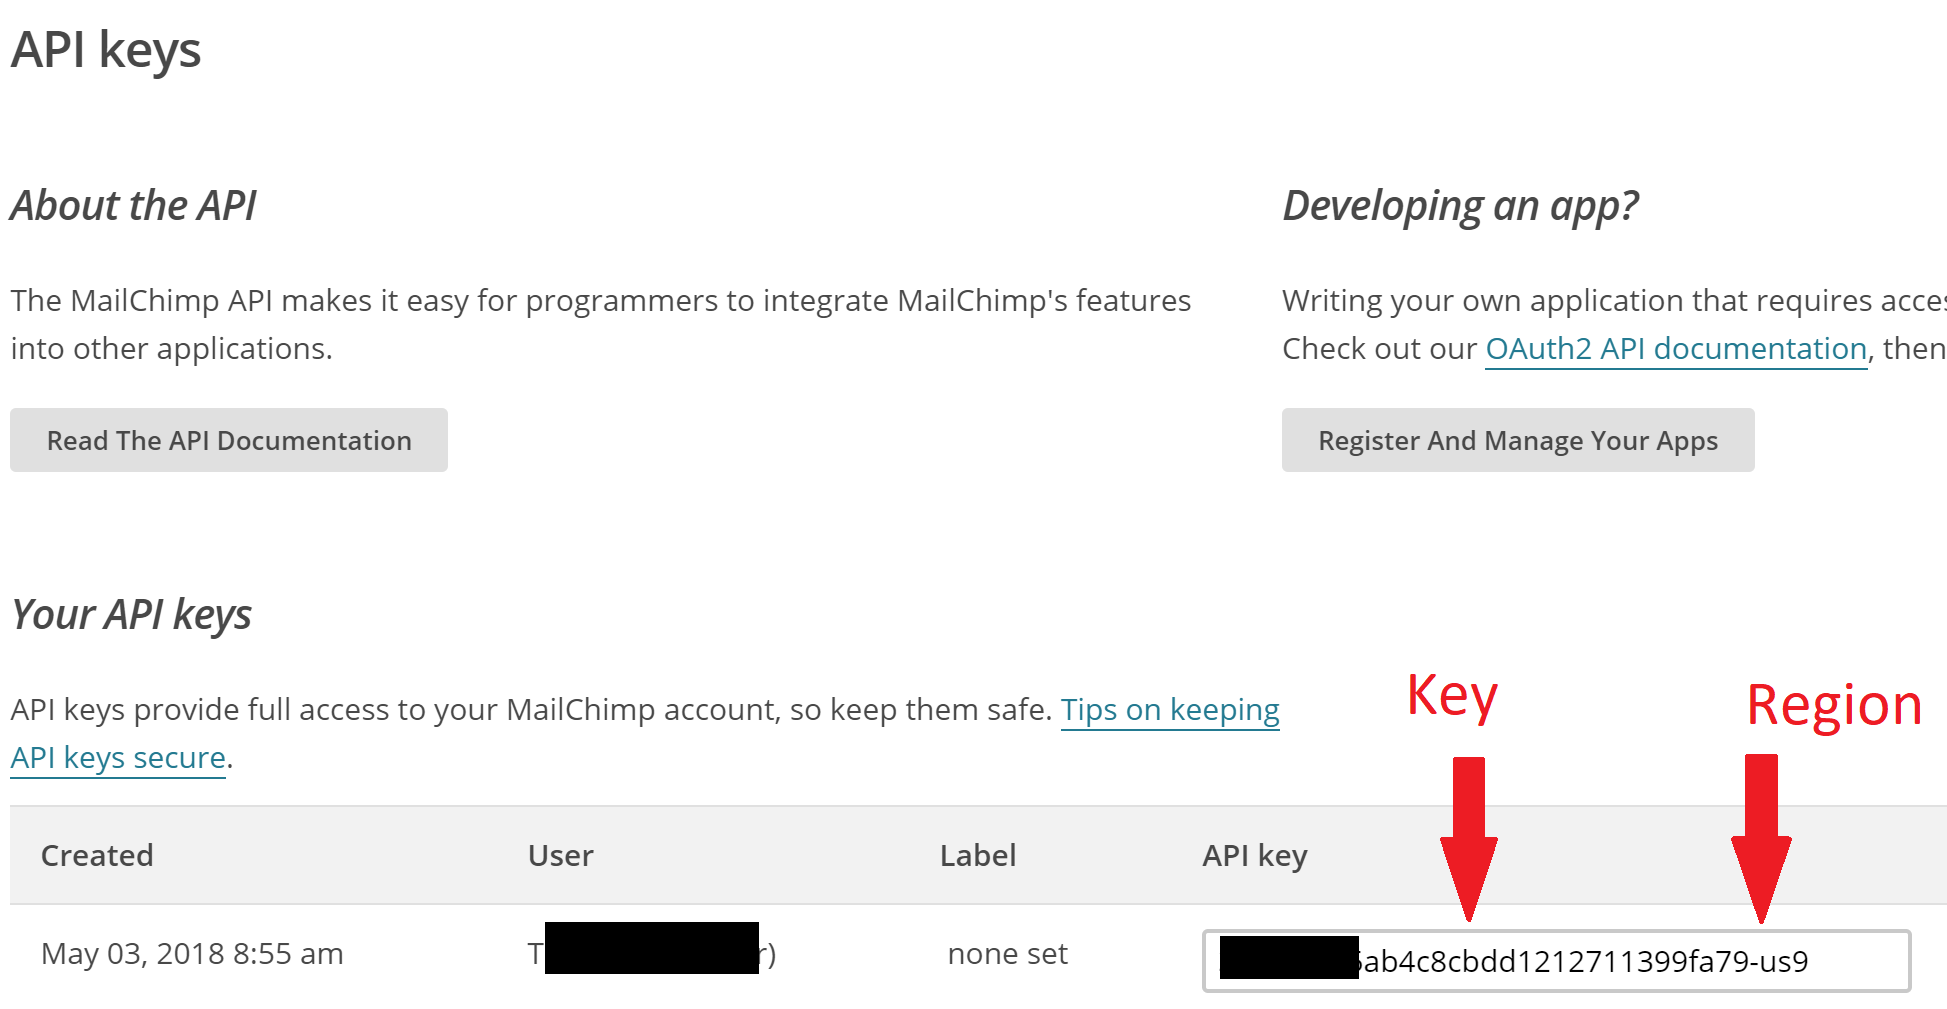
Step 2:
Please note the (full) API key, because this is later needed as an environment variable for the Netlify builds as MAILCHIMP_API_KEY, as well as the region (after the dash), because this will be set as MAILCHIMP_REGION.
Netlify setup
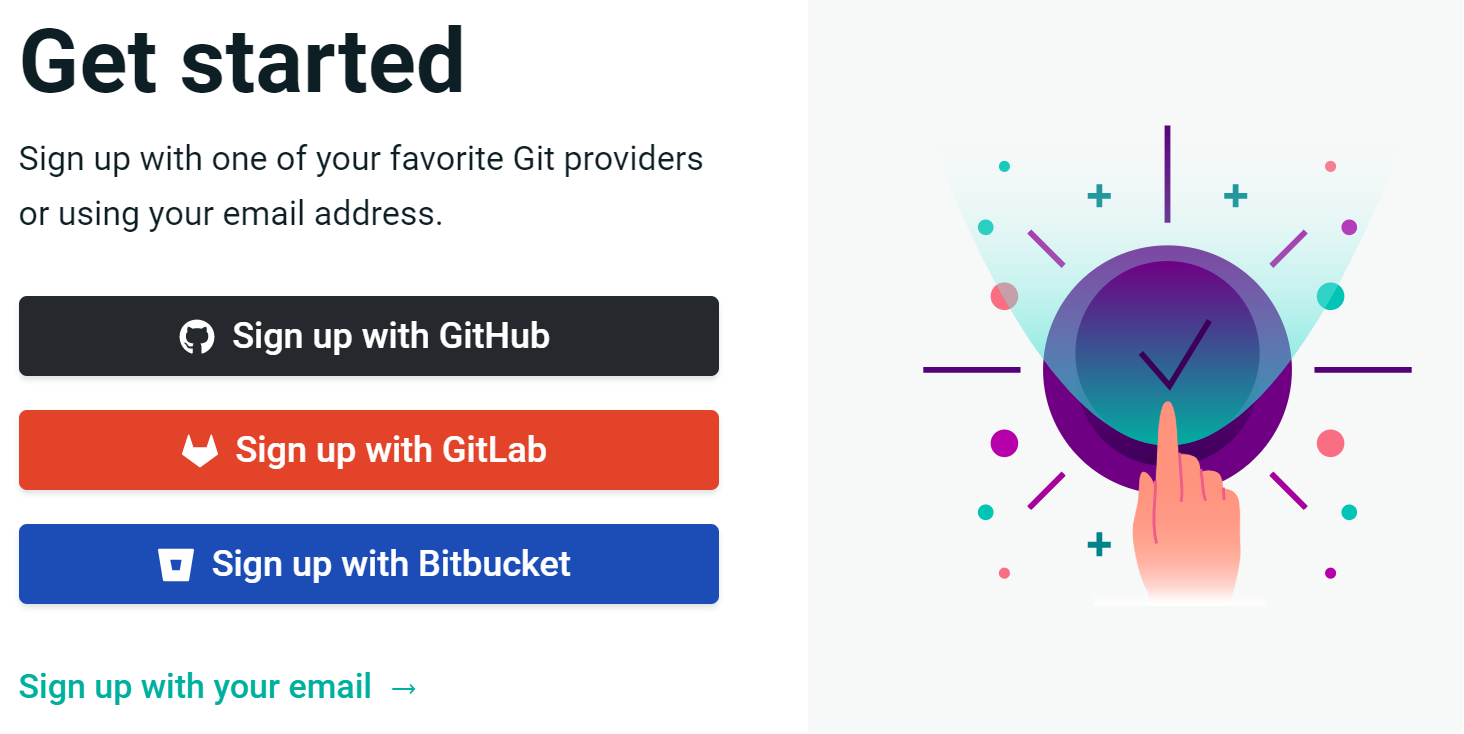
Signup
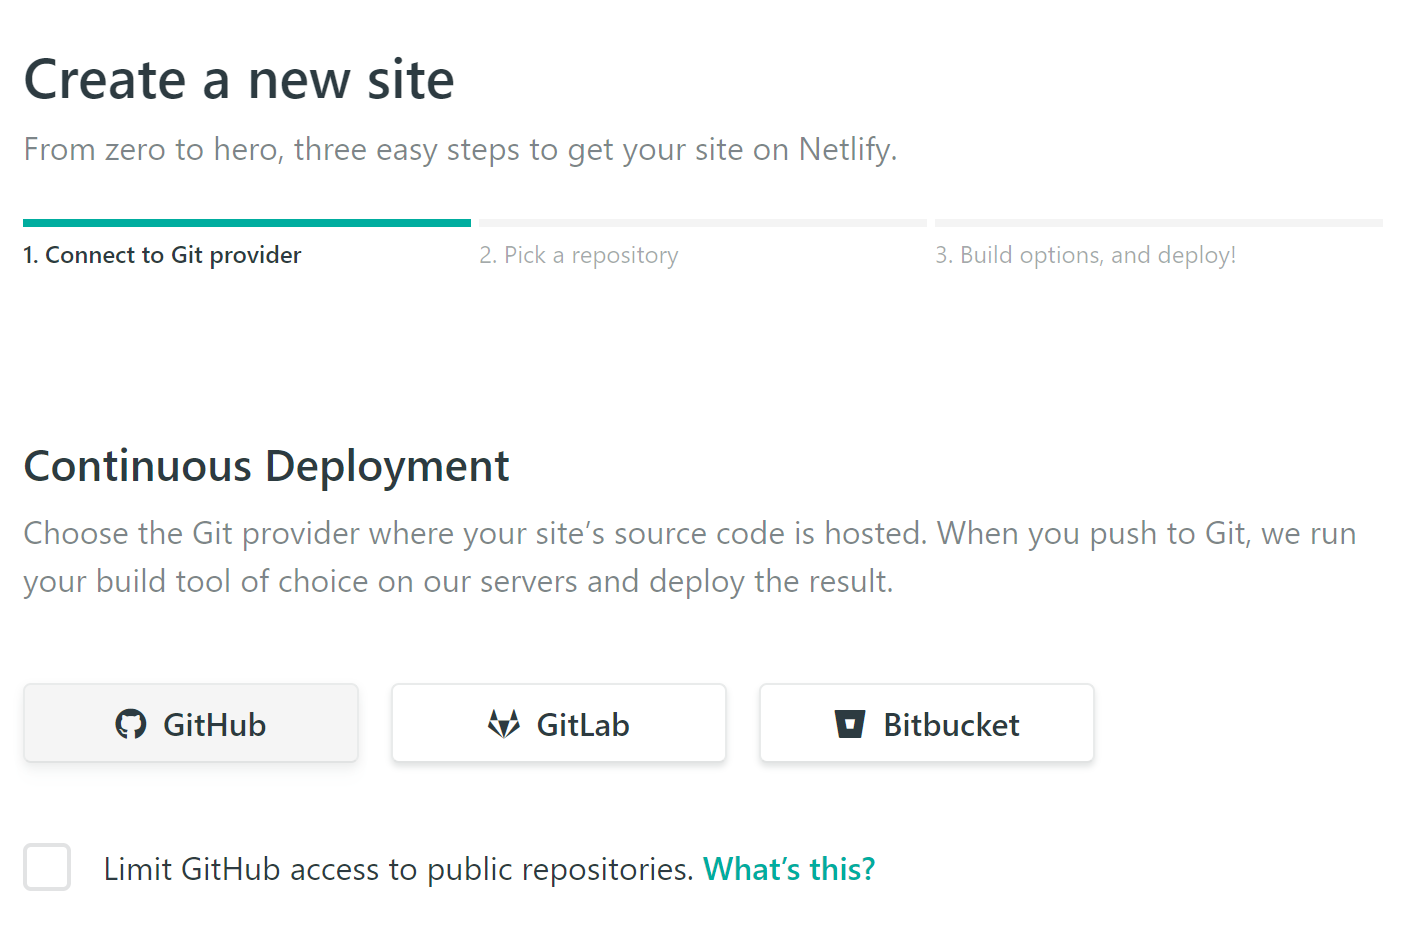
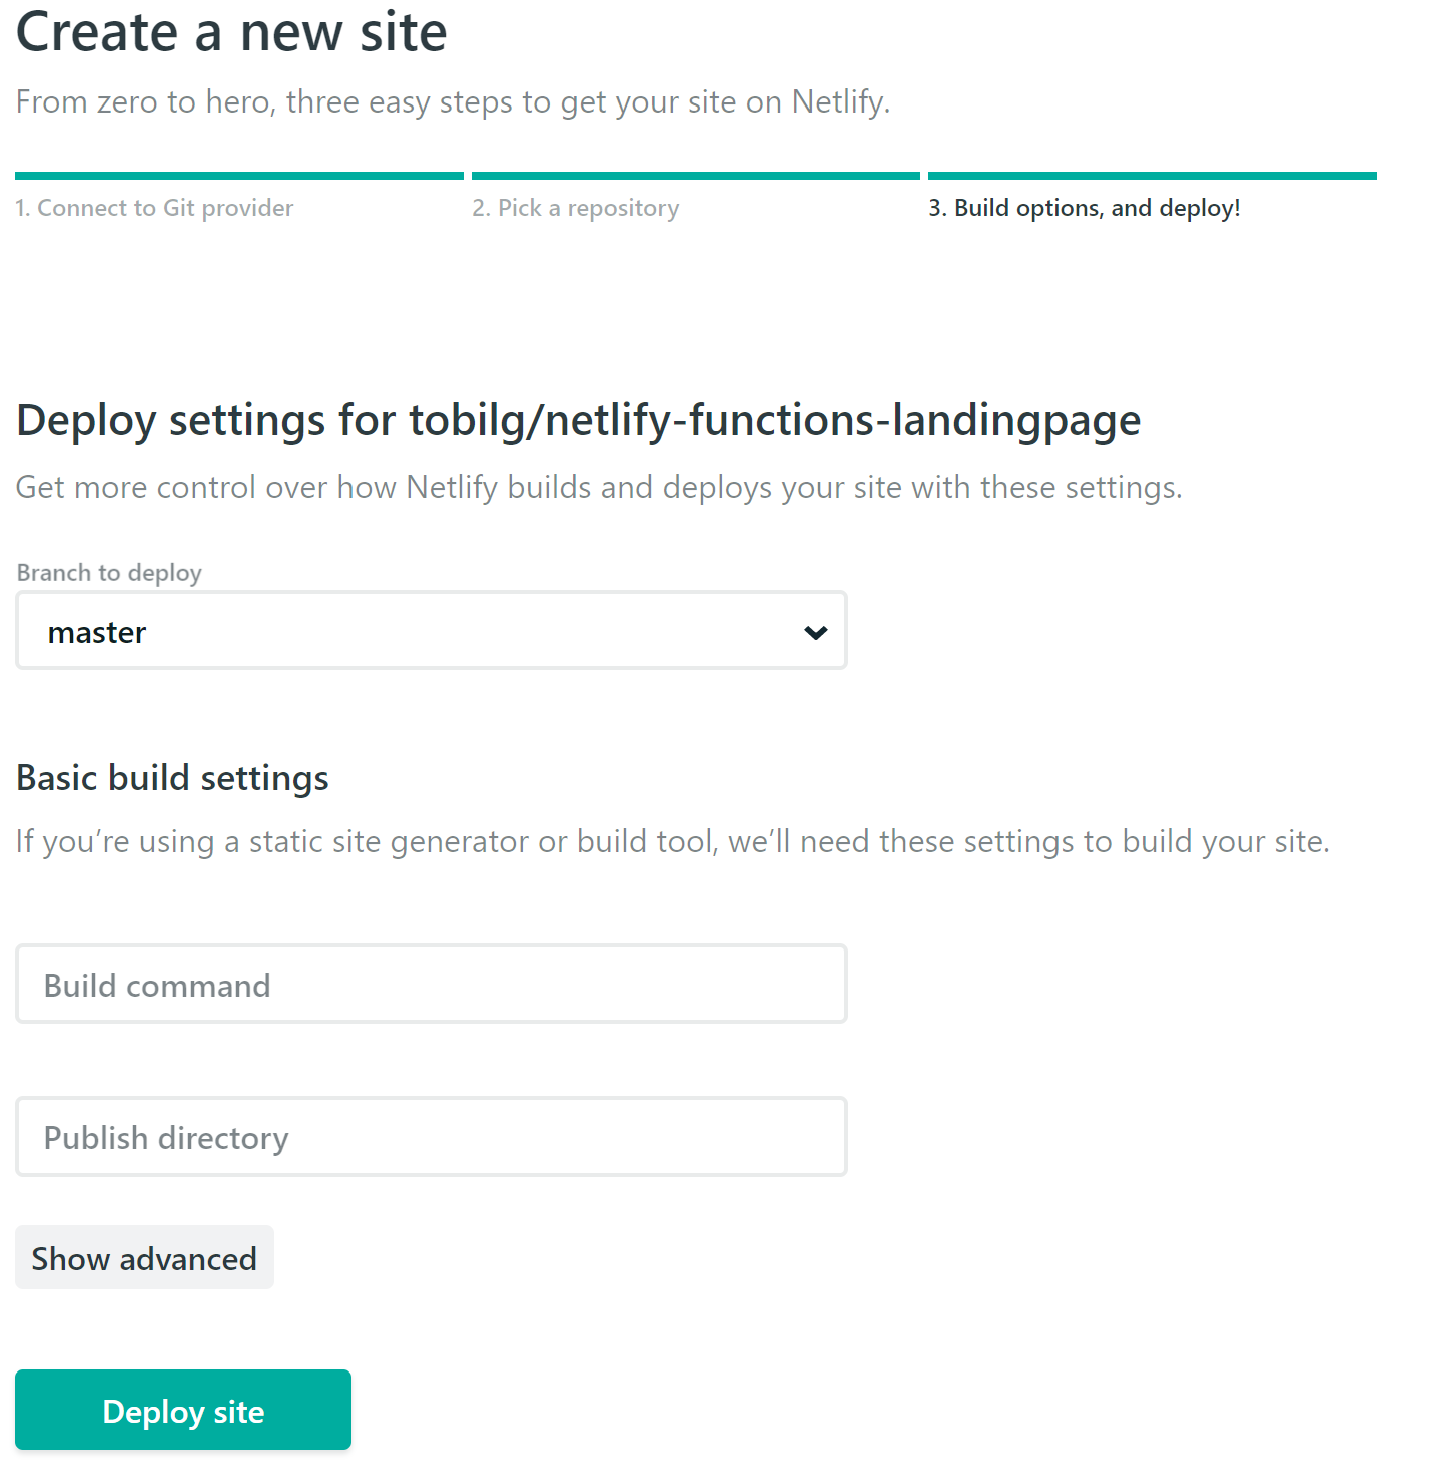
Create new site
Step 1:
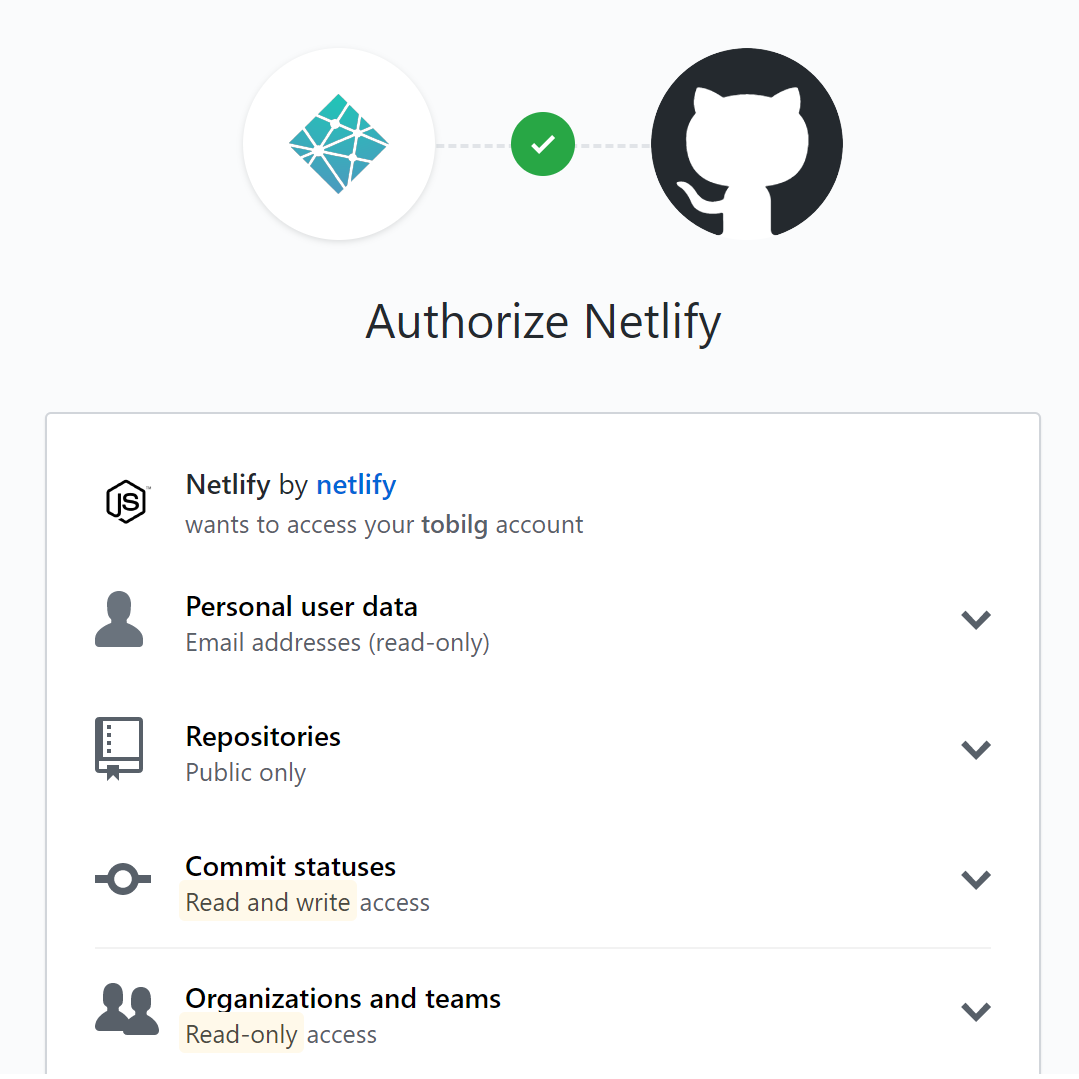
Step 2:
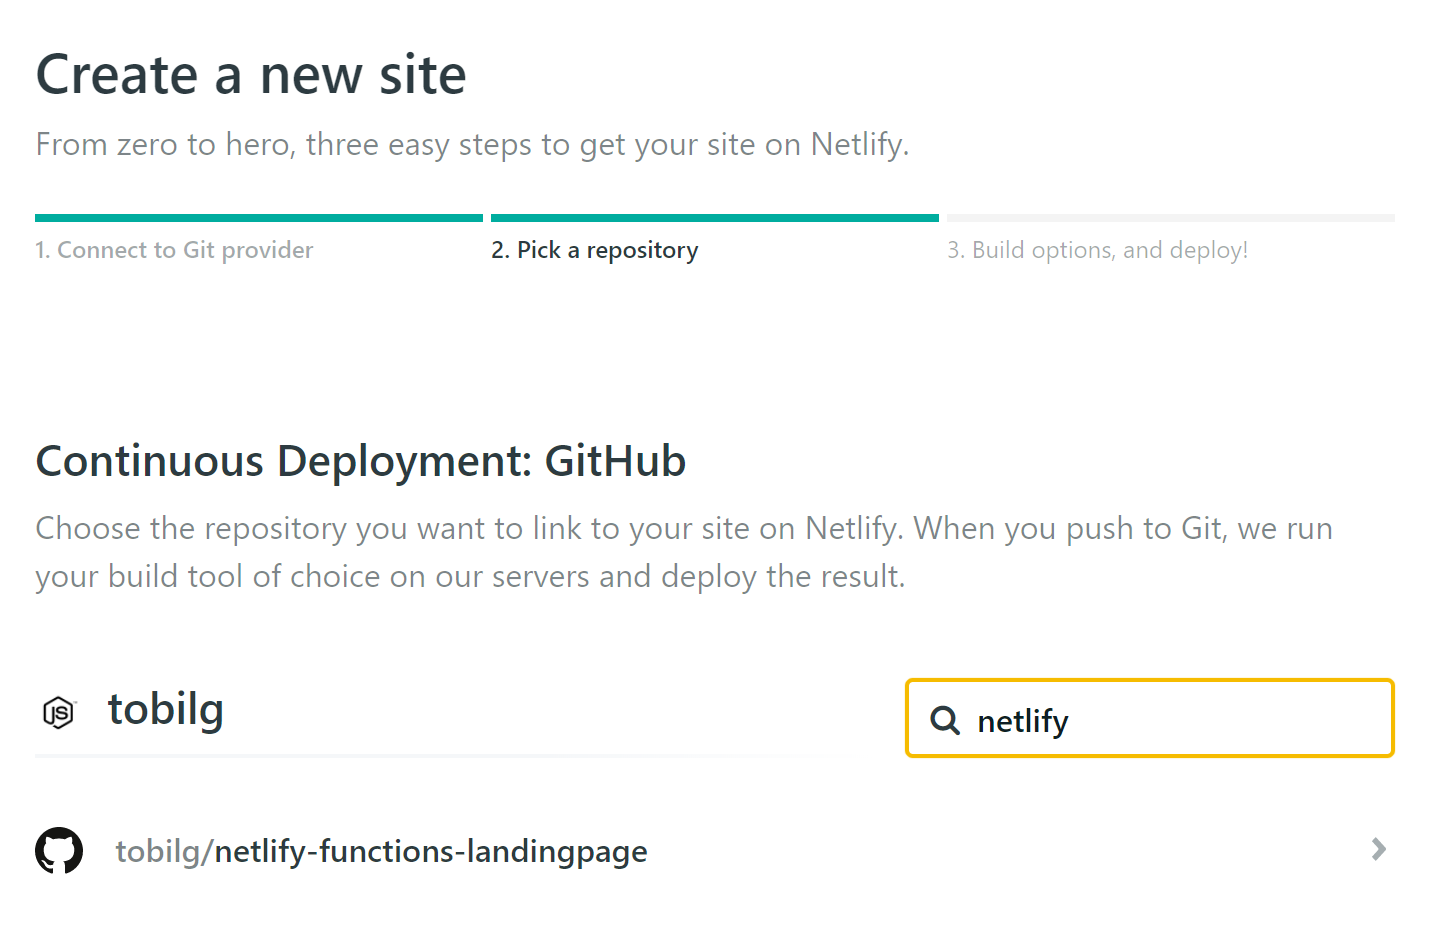
Step 3:
Step 4:
Step 5:
After that, the site should trigger its first deployment automatically.
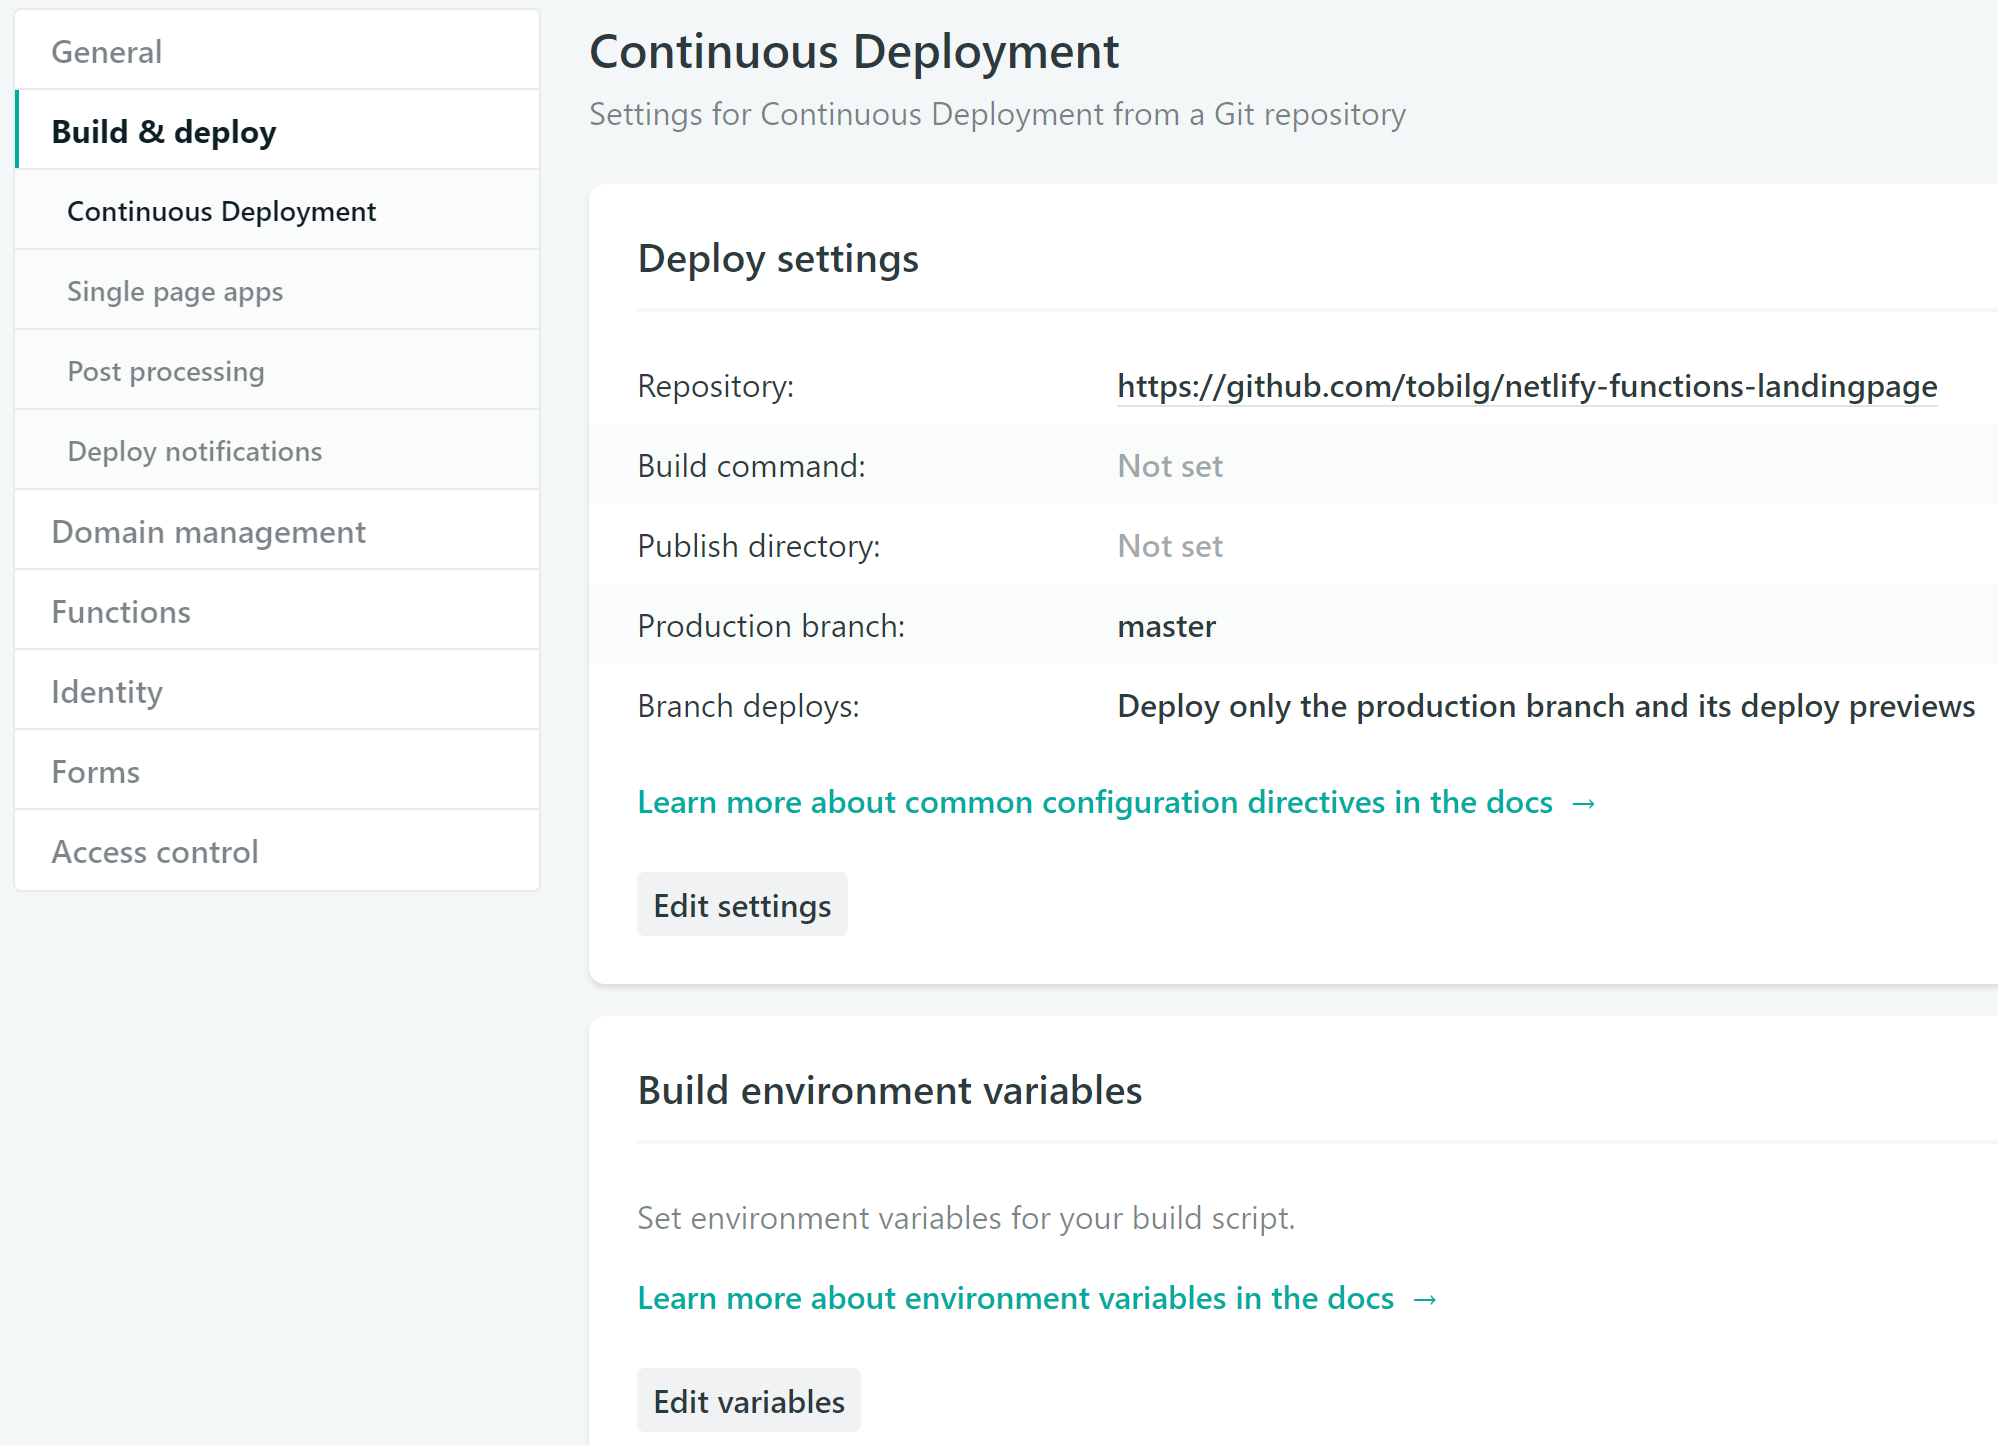
Set environment variables
Step 1:
Step 2:
Fill in the real values that you gathered in the Mailchimp setup steps.
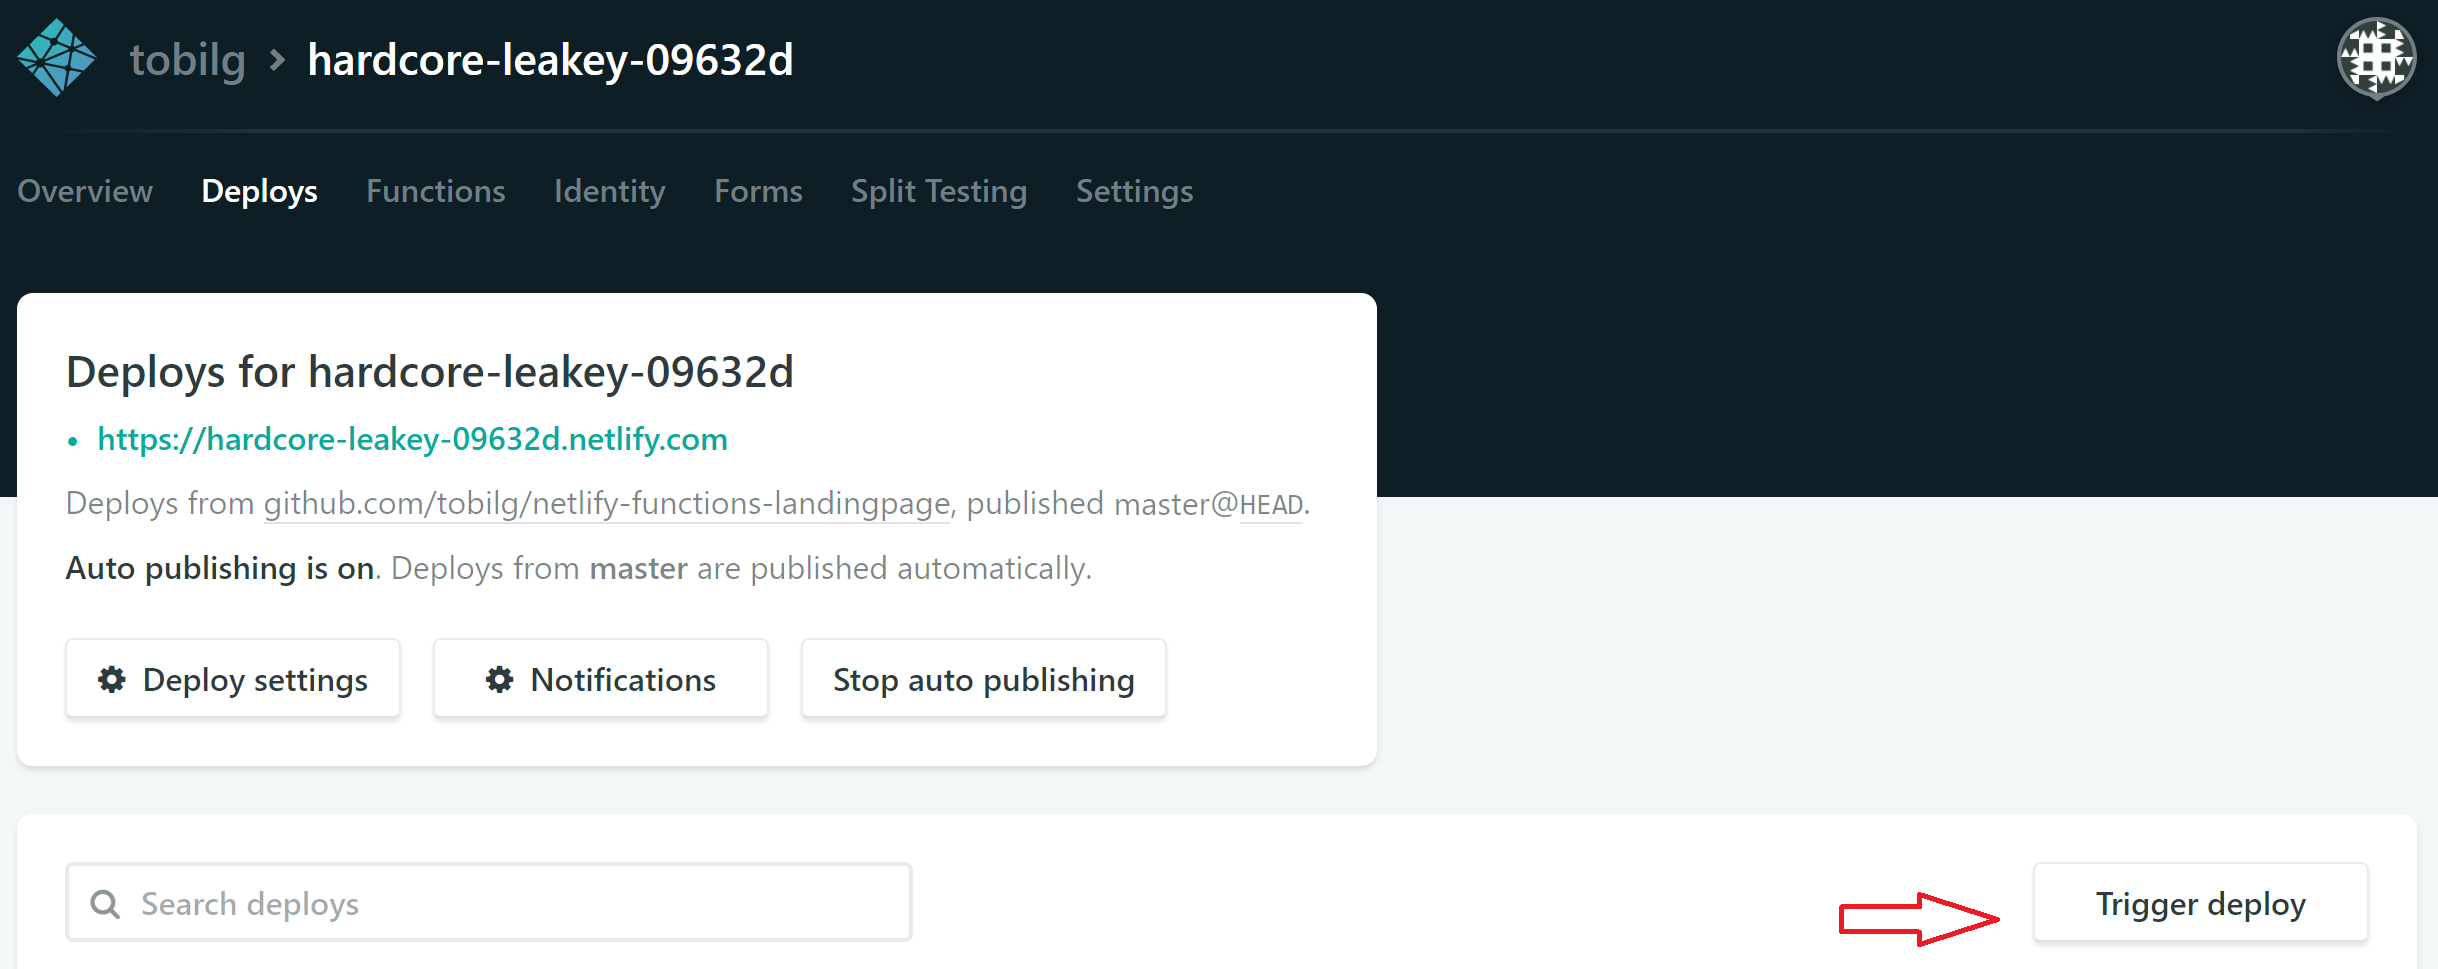
Trigger deployment
After triggering a redeployment via
the site should be redeployed, and be using the provided environment variables for the Mailchimp integration.
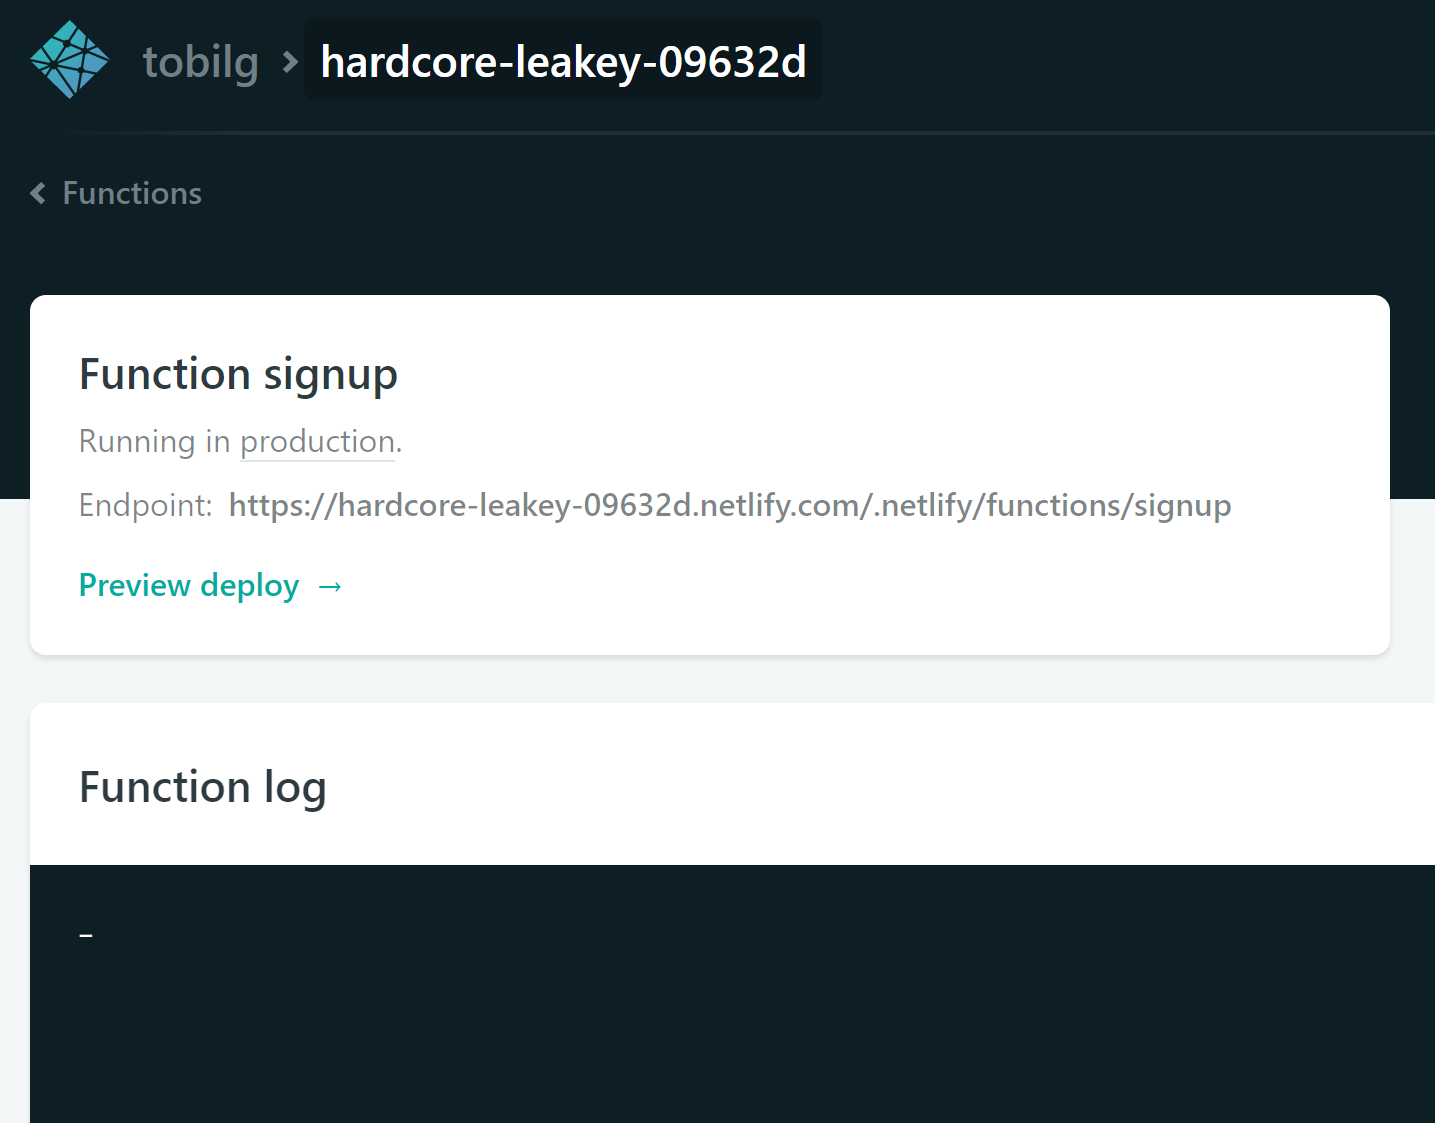
Check function logs
You should then be able to check the function logs
Running locally
Install dependencies
You can run a npm i to install the project's dependencies.
Start signup lambda function
You can start the local lambda function "backend" via MAILCHIMP_API_KEY=yourkey MAILCHIMP_LIST_ID=yourlistid MAILCHIMP_REGION=yourregion npm run start:lambda.
Start application
You can start the application via npm run start. This should work with the before started lambda function out of the box.

