Web-based tools for printing separated colors w/ halftone on a home laser printer
Risograph printers (and other print processes that use halftone color effects) create beautiful layered patterns of colored dots to achieve a full range of colors from just 4 inks -- or even fewer, with creative color mixing. This typically uses color halftone techniques, but sometimes also dithering.
We don't have a risograph printer, but want to do some home publishing, and got a $270 laser printer. Here are some tools to do fun color work with a laser printer!
We use web-based Image Sequencer to generate a color halftone version of any image you drag onto the page. Also check out the amazing https://antiboredom.github.io/p5.riso/ by Sam Lavigne and Tega Brain for ways to do a lot of this in p5js!
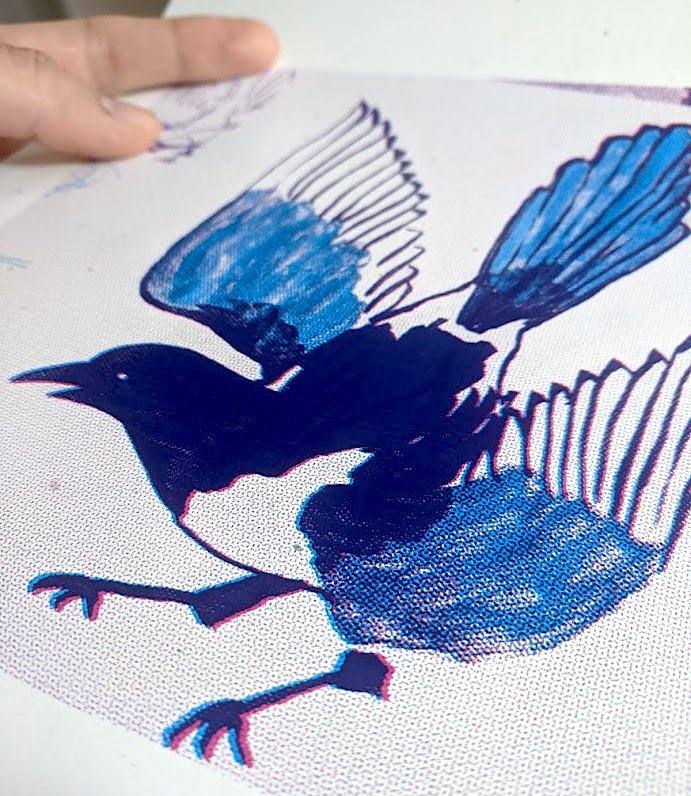
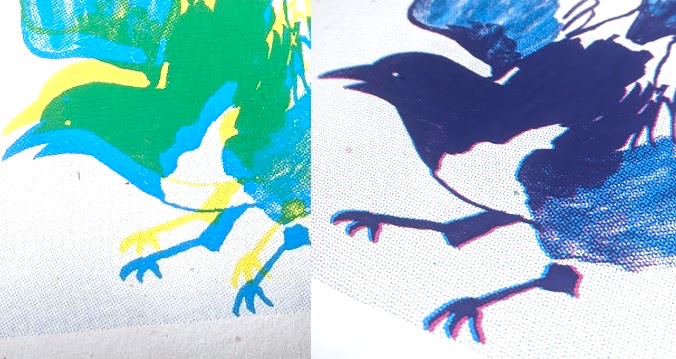
Here's a sample of what this process can look like when printed on a laser printer in multiple passes:
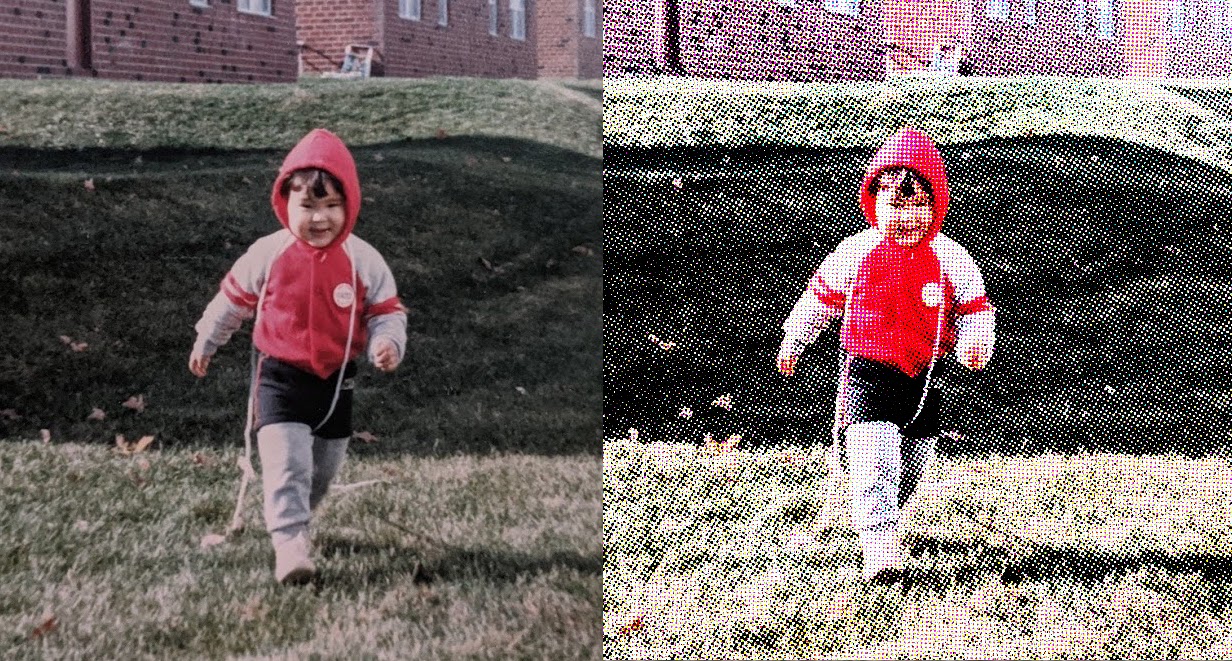
Here's an example of color halftone in a digital image; left is the original picture, and right is the color halftone version:
Each of these four sequences generates a different color plate. Drop your image into each to get 4 different layers to print onto the same page. Print 4 times on the same sheet to get some nice mis-alignment (registration error)!
Alternatively, try this black channel separator to skip halftoning and increase contrast, for example to better capture a clean black text or linework channel:
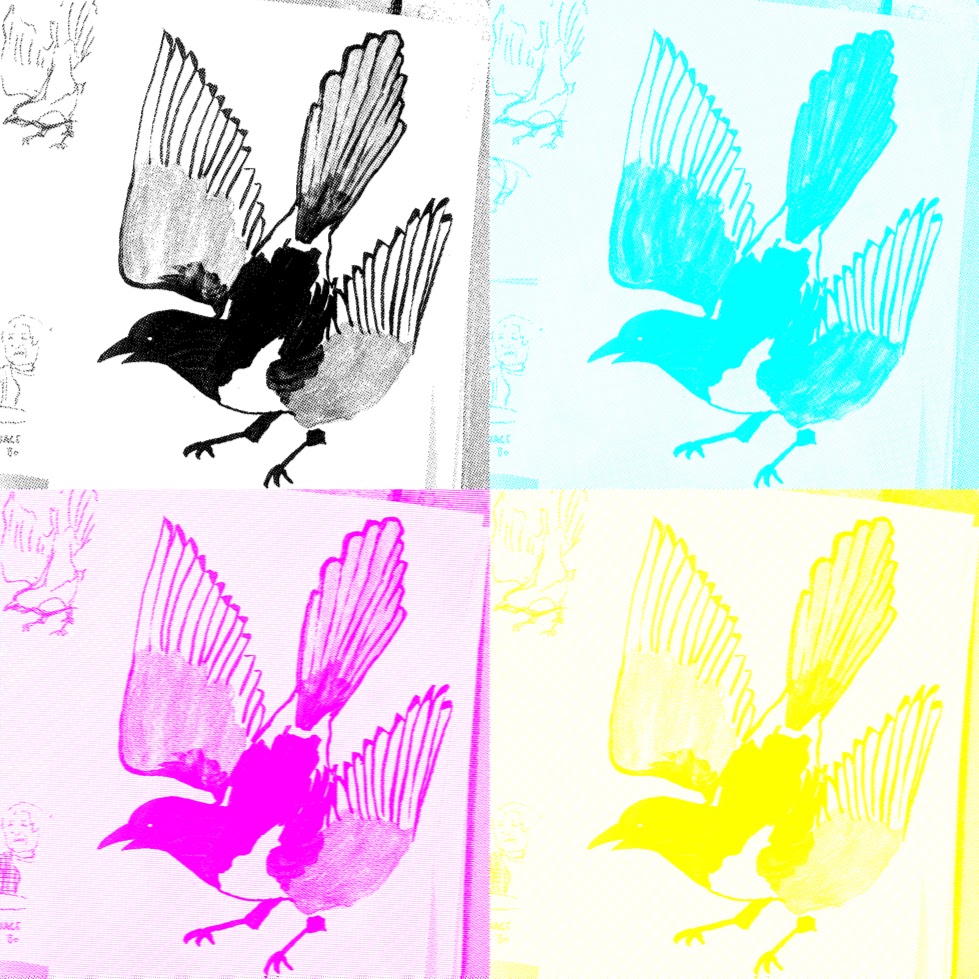
Here's what an image of a magpie looks like separated into these 4 channels (click here to see full res versions):
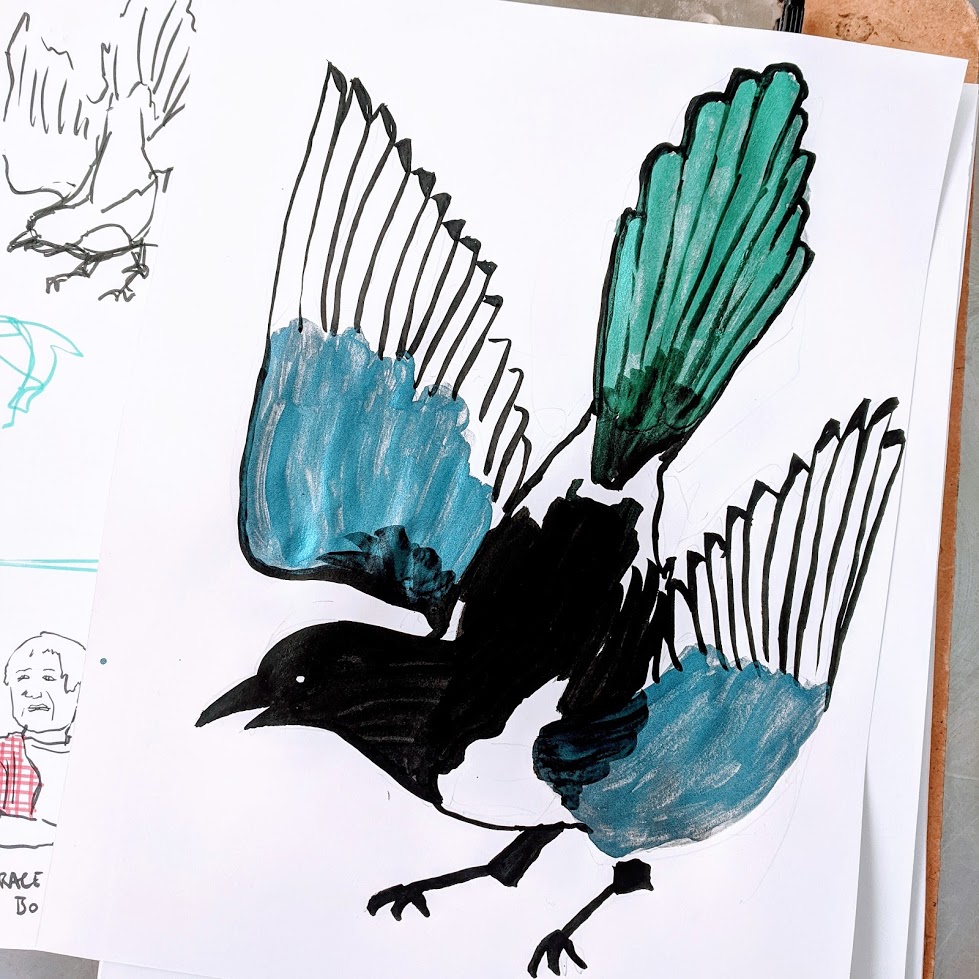
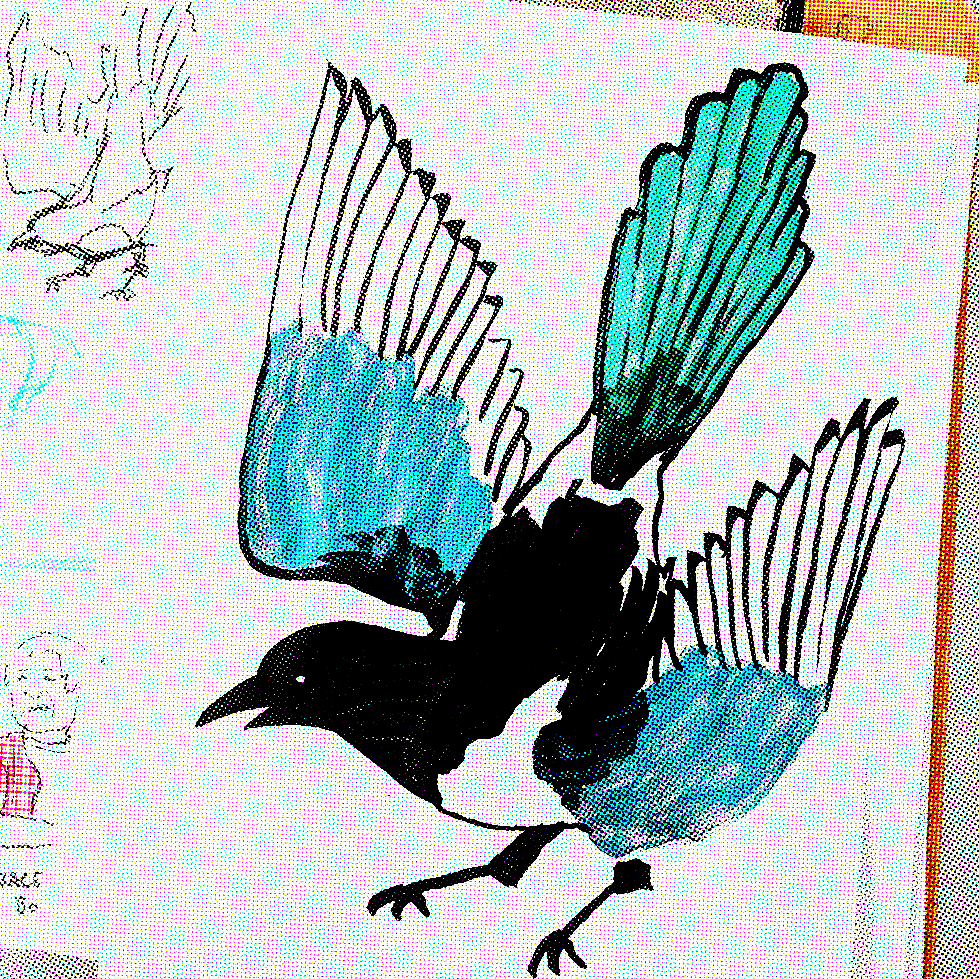
And here's the original magpie painting:
See more photos of this, plus process photos, here: https://photos.app.goo.gl/1P8sER9eWqRHMkZW9
To generate a single image you can print in just one pass, you can just use this sequence, which creates a single RGB image with all four color halftone channels. Because it's an RGB image, you won't get rich (4-color) black, or any color blending in black regions (see below). You also won't get any registration errors. But it's a much faster process, of course!
This ends up looking like this:
Note that the black sequence above just thresholds out any non-black values, to generate a channel that is all values in the image which are completely black. This will essentially be all areas which have C+M+Y all present. Skipping this black channel is OK - C+M+Y will form a very dark shade that reads nicely as black, but if you want to add an extra oomph to your black, you can add this on top.
We're not sure if pre-separating black shades would be cleaner. Could be worth a try! Especially if you have text or linework you don't want to halftone, you could print the black layer solid (no halftoning) to achieve that.
Note that by printing each layer separately, the printer will actually give you composite black (C+M+Y) which is not jet black, or if you print the K channel separately, it can even give you "rich black" which is C+M+Y+K.
If you print the "Quick version" above, anywhere that is composite black (C+M+Y) will get rendered as K by many (most?) printers. That's one reason that the single-pass "Quick" approach is not as nice looking; where all three colors are present, there is actually no mixing happening, as there would be on a real 4-color process, as those regions get converted to flat black.
There are lots of tricks and techniques for printing or not printing black. You can redistribute the black channel among the 3 other colors, for example; we'd love to make a sequence for that too!
Registration errors occur when the color plates don't align, causing beautiful swaths of cyan, magenta, or yellow to spill out around the edges of shapes. It can also cause some interesting moire effects if the halftones aren't angled away from each other enough (usually C, M, and K -- black -- are rotated by specific distinct angles to avoid interference patterns).
To get this effect, we've just run the print through the printer once for each color channel, printing separately. Our laser printer doesn't perfectly align each print, especially when we load through the manual feed tray, so it looks great. We are also thinking of intentionally introducing offset (rotation and translation) so that this can be achieved with a single print pass, but it's a little more contrived and the image sequence would be more complex.
- introduce random registration offsets/rotations between channels for single-image "Quick" version
- try a dithering version
