Welcome to Hypermedia Gateway, this is a server that allows you to upload files to the Hypermedia API.
- Why use Hypermedia Gateway?
- What contains?
- How it is works?
- Installation
- Using Vercel (Recommended)
- Self hosted
The main reason to use Hypermedia Gateway is to avoid exposing your API key to your clients, this is a security measure to avoid that your API key is exposed to the public.
Another reason is to avoid CORS problems, Hypermedia Gateway allows you to set up a list of allowed domains to get the upload information. This is a security measure to avoid that anyone can push files to your Hypermedia account.
We recommend using Hypermedia Gateway in PRODUCTION environments.
If you are using Hypermedia Gateway in development environments, please be sure to add localhost:[PORT] to the list of allowed domains.
The repo contains 2 endpoints: /api/upload-information and /api/upload-completed.
-
upload-information: This endpoint is used to get the upload information from the Hypermedia API, this is the information that you need to upload files using the TUS Protocol.
-
upload-completed: This endpoint is used to notify to the Hypermedia API that the upload has been completed, this is necessary to save the file already uploaded into our database and link it with your account.
Here you can see a diagram of how it works:
sequenceDiagram
Client Uploader ->> Hypermedia Gateway: HEAD /hypermedia-gateway-endpoint <br/> \ REQUEST HEADERS: {origin: client-uploader.domain.com}
Note left of Client Uploader: This is the request <br/> to get the upload <br/> information
Hypermedia Gateway->>Client Uploader: Headers: access-control-allow-origin: <br/> client-uploader.domain.com
Note right of Hypermedia Gateway: Gateway allows the request <br/> because we need to set up <br/> a .env file <br/> into the project with the <br/> ALLOWED_DOMAINS variable <br/> with client-uploader.domain.com <br/> as a value.
Note left of Client Uploader: Browser verifies <br/> we are client-uploader.domain.com <br/> and allows the request
Hypermedia Gateway ->> Hypermedia API: Get upload information using your <br/> HYPERMEDIA_API_KEY into your .env file in your <br/> Hypermedia Gateway project
Hypermedia API ->> Hypermedia Gateway: Returns the upload information
Hypermedia Gateway ->> Client Uploader: Returns the upload information
First of all we need to do a Fork of this repo into your own github account, this is necessary to deploy the server using Vercel. If you don't want to use Vercel, you can deploy the server using any other service.
- Fork this repo into your own github account
- Clone your forked repo into your local machine
- Add the original repo as a remote repo
git remote add upstream
- Verify that the original repo has been added as a remote repo
git remote -v
- Fetch the original repo
git fetch upstream
- Merge the original repo into your forked repo
git merge upstream/main
- Push the changes to your forked repo
git push origin main
- Verify that the changes have been pushed to your forked repo
git log
- Now you can deploy your forked repo using Vercel
For this installation we will have 2 ways to do it, the first one with a button to do it directly using the vercel dashboard or the second one using the Vercel CLI.
This is the URL that you need to paste into @hypermedialabs/uploader.
After deploying the server using Vercel, you need to set up the following environment variables:
HYPERMEDIA_API_KEY: Your API key for Hypermedia services. can be created in Hypermedia Access Keys SectionALLOWED_DOMAINS: A comma-separated list of allowed domains authorized to get the upload information. For example: ["https://my.domain.com"]..
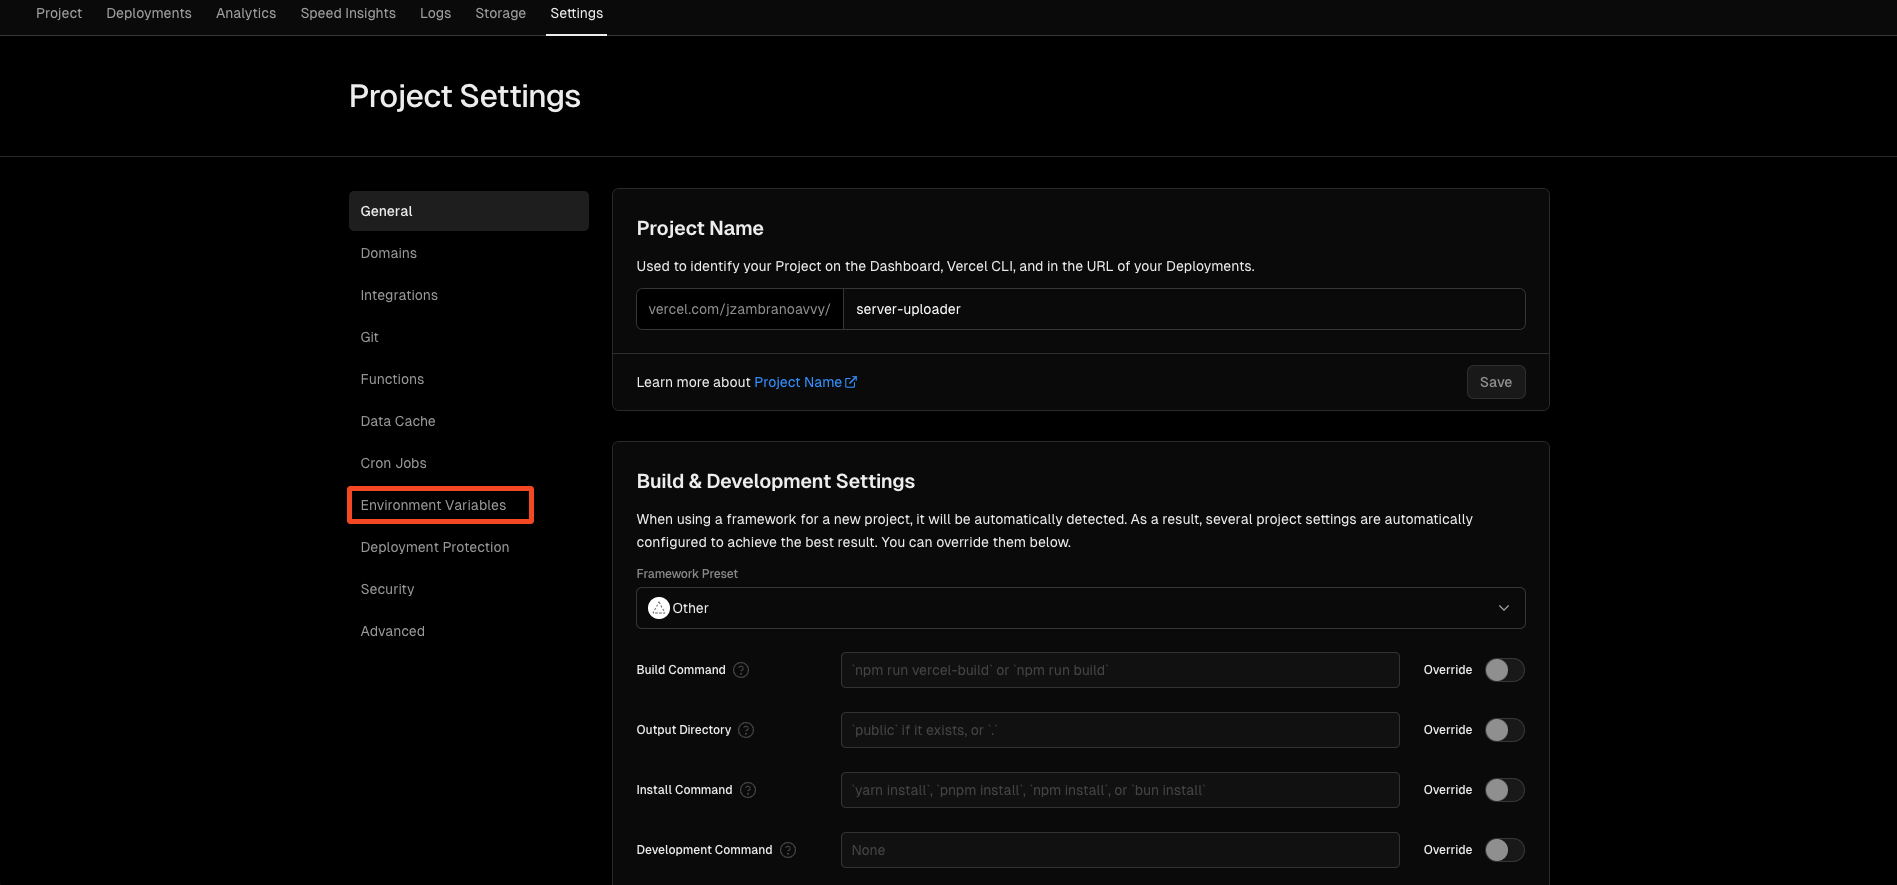
Go to Settings -> Environment Variables Variables and add the variables that we mentioned before.
Please do not add localhost domains in production environments.
At this point your server is ready to return to your client the necessary information to upload files using the TUS Protocol.
Now just go to your client and using the @hypermedialabs/uploader library paste the URL generated by vercel into the code.
Self host is allowed but make sure to follow the next steps:
- Clone this repo into your local machine
- Install the dependencies
npm install
- Create a
.envfile in the root of the project and add the variables that we mentioned before.


