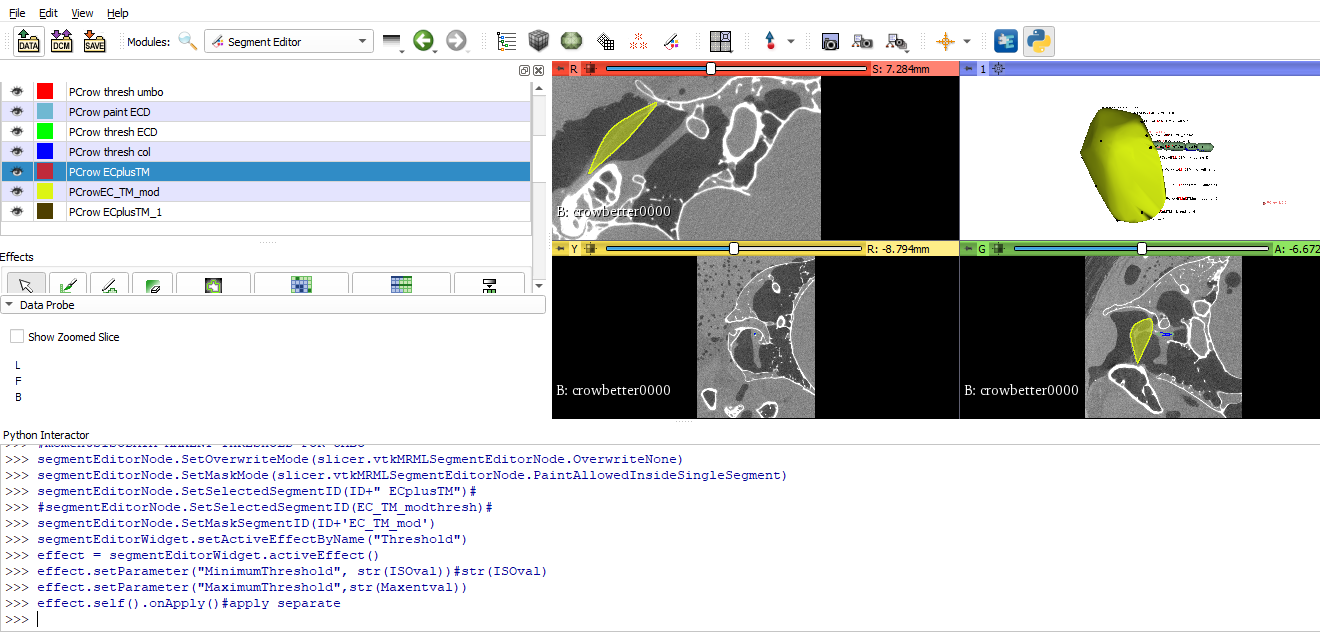
3D Slicer software has a scripts repository for automating procedures using the software's built-in Python interpreter. Using these scripts greatly speeds up repetitive tasks for loading and processing volumes that would otherwires require repetative button-clicking the GUI while working through many files.
This repository is a collection of Python scripts for running tasks in 3D Slicer 4.1 and Slicer 5+.
| FileName | Purpose |
|---|---|
| thickness.py | compute segmentation thickness |
| functions_baffle_planner | model to segmentations and access segmentation logic |
| load_dicom_modified_otsu.py | load dicom and automatically run grayscale model maker using Otsu threshold. Can be run from command line using arguments for DICOM folder |
| mirror.py | use of SurfaceToolbox to transform/rotate model and use of model registration module within IGT |
| elasitxreg_skullstripping_shnode.py | running Elastix registration and skull stripping. organization in folders and export volumes, segmentation, and scene files |
| commandl line_loopfolders_volume rendering.py | using argparse run a custom volume rendering and screenshot export on all files in a folder |
| 2D slice_distance_thresh_outline.py | specifying a current slice (specify red, green, or yellow axis), this hollows a segmentation to get a segmentation outline for two segmentations on that slice. then, extracts the numyp array to calculate the distances between two segmentation. Then, converting back to RAS coordinates, plost the outlines within a given distance of the other |
| Crop volume using ROI.py | automatation of crop volume module. Some investigation of dicom tags |
| AIAA jun 17.py | autosegmentation using nvidia AIAA |
| XRAY batch_jun19.py | apply median filter and mask volume segmentation effects. Draw text using opencv and imageio, save as png/jpg. Combine before and after images, sidebyside |
| diploe_thickness_github.py | apply segmentation effects, then run binary thinning and danielssondistance filters, to create a thickenss map using 'probe model with volume' |
| diploe_pt2.py | slice a model into 3D grid using dynamic modeler and using 'clean' from surface toolbox. Saving mean thickness to a text file. Batch process |
| seg2thickness.py | load segmentation for each folder, along with danielssondistance volume, to create a thickness map for each segmentation and save to a file |
| radiomics2.py | batch-run Radiomics module inside slicer and save results to excel files |
- 1_set up volume and segmentation nodes.py - Populate markup nodes, also named according to unique IDs:
- use fcsv_template() to set up fcsv names
- set resolution on previously saves scene.py - If a scene file has previously been saved with those segmentation and markup nodes, the following script will allow for the python interpreter to have access to the previously created nodes:
- There are several custom functions which are run on volume, which are defined in the 'staticfunction.py' file. This script includes the following functions:
- colthresh() - run threshold on selected segment. -sets the maximum entropy algorithm as minimum-
colkeeplargestisland() - runs the largest island on the thresholded columella- ecd() - sets the threshold on a segmented end of endosseous cochlear duct (uses all values less than maxent) (highlights soft tissues). Also runs keep largest island
- umbo_ME_ISOtest() - runs a threshold test, but doesn't apply it. If the threshold doesn't work, the user can modify manually using the GUI
- umbo_MES_ISO_apply()- runs threshold test and applies it
- computedEC_TMmarkup() - joins together points from multiple fcsv objects, in order to later be used in markup-to-model which will cover an area encompassing points of intereset
- ETmarkuptomodel() - runs the markup to model to create a region of interest using the fcsv input
- opennewvolume() - given the path for a folder, it opens the first volume , or file containing "tif", and also sets the ID and spacing
- writecolvoltofile() - writes the columella volume to a file
- fcsv_display_smaller() - change the display of all the markup nodes and lock for editing
- The 4_markups to models.py file uses the markup-to-models module to create a model from fcsv points. This 3D model can then be converted to a segmentation as a region of interest for further processing.
-it then converts the model to a segmentation, which can be edited using the normal segmentation effects:

These set of scripts are for loading a volume, several fcsv files, and models from a single folder. This allows for loading components of interest without having to load all the segmentations. The scripts also format the color and opacity of the models and fcsv points
- volume.py -
>>* load the volume in the folder.
>>* Also reads from a file the columella footplate or sets the plane to fit between 3 points along the columella.
>>* Exports a png file
>>* moves the plane through 3 points- models.py
>>* load the stl 3D files in the folder and adjust opacity, visibility and colour- fcsv.py
>>* load the fcsv files and make them all black and of the correct size.
>>* Also uses the markups to model module to connect the fcsv points as models (The color and thickness of the models can be adjusted)
- screencapture.py - creates a 3D rotation in the horizonal plane gif.