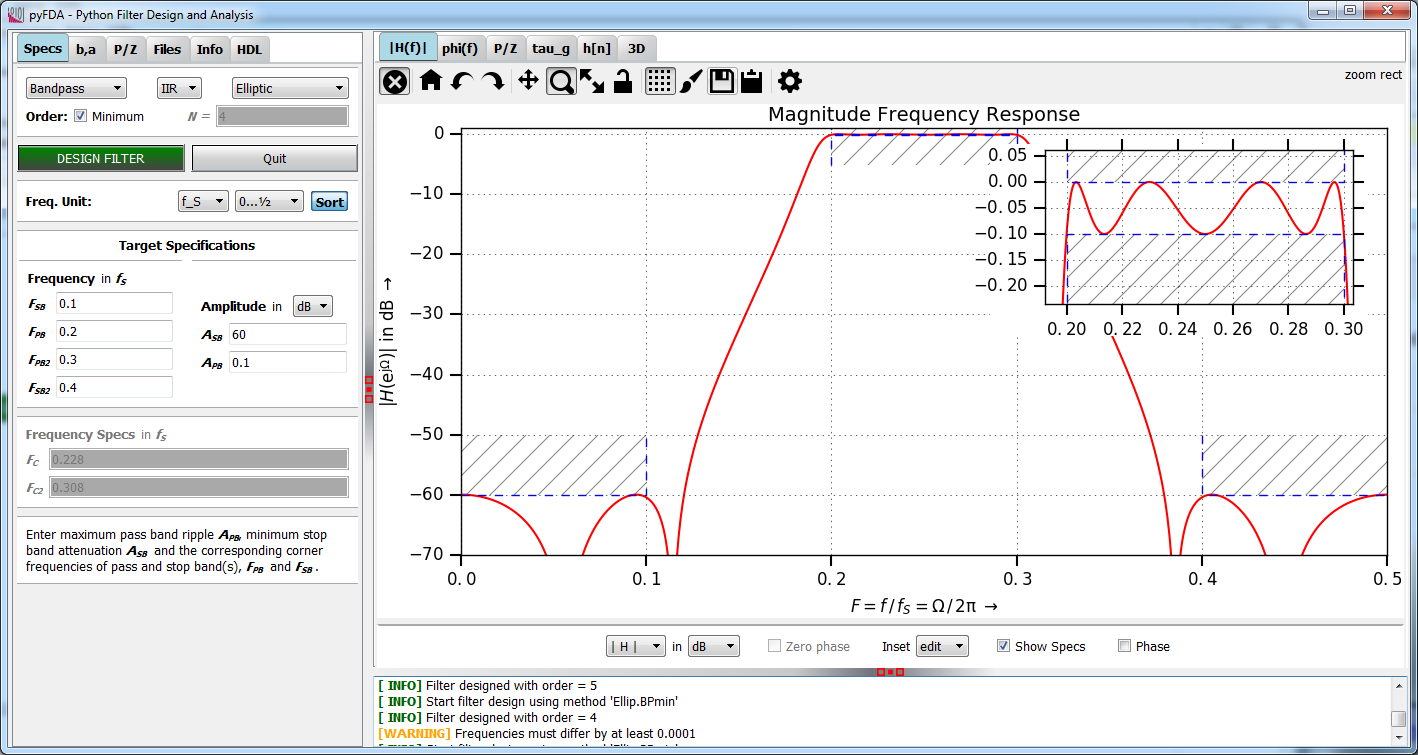
pyFDA is a GUI based tool in Python / Qt for analysing and designing discrete time filters. When the migen module is installed, fixpoint implementations (for some filter types) can be simulated and exported as synthesizable Verilog netlists.
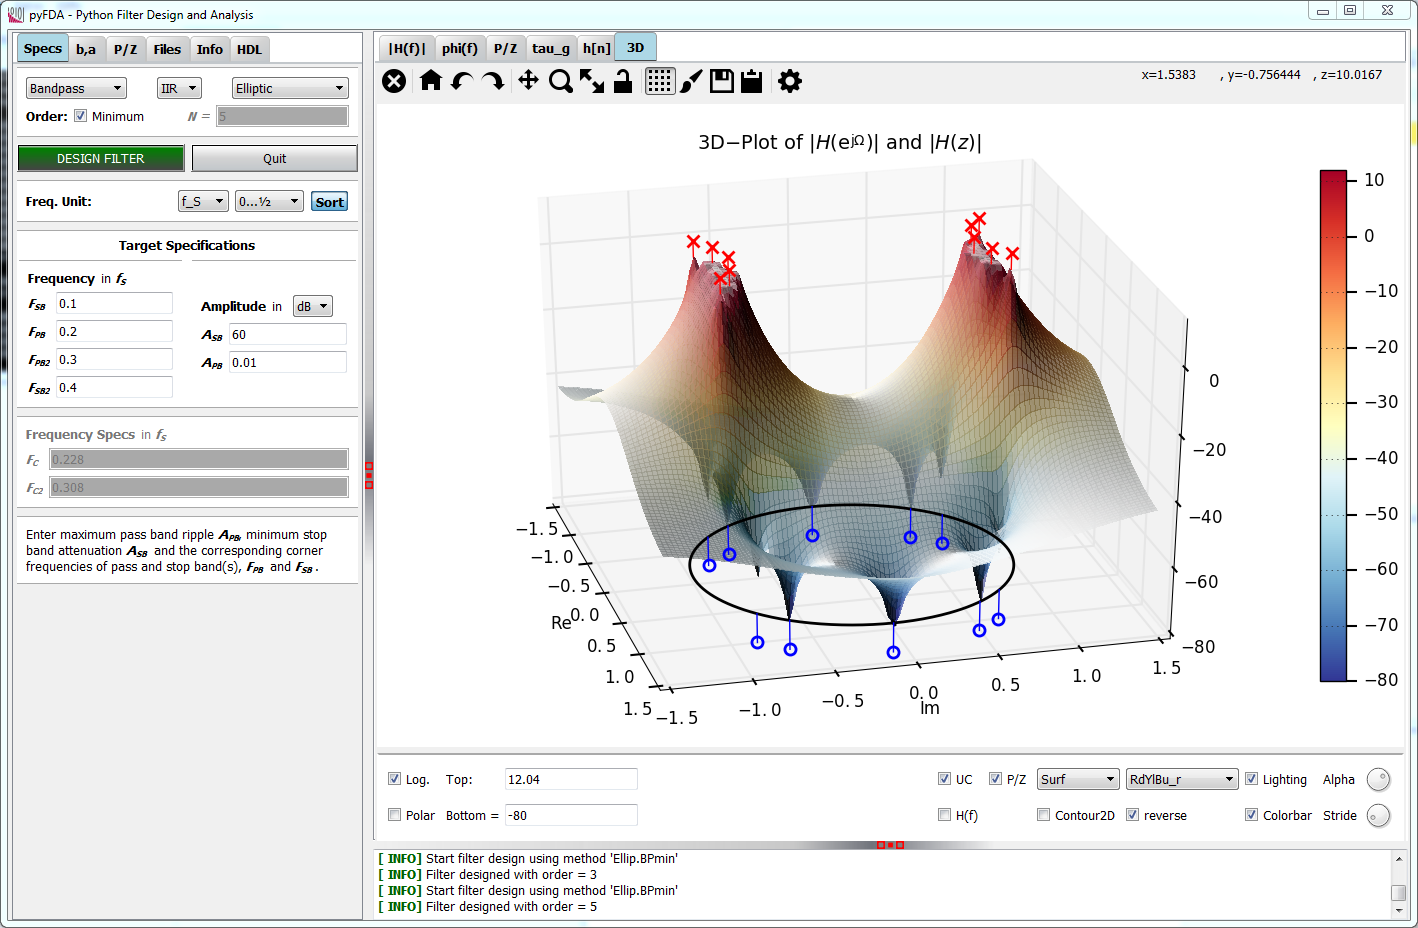
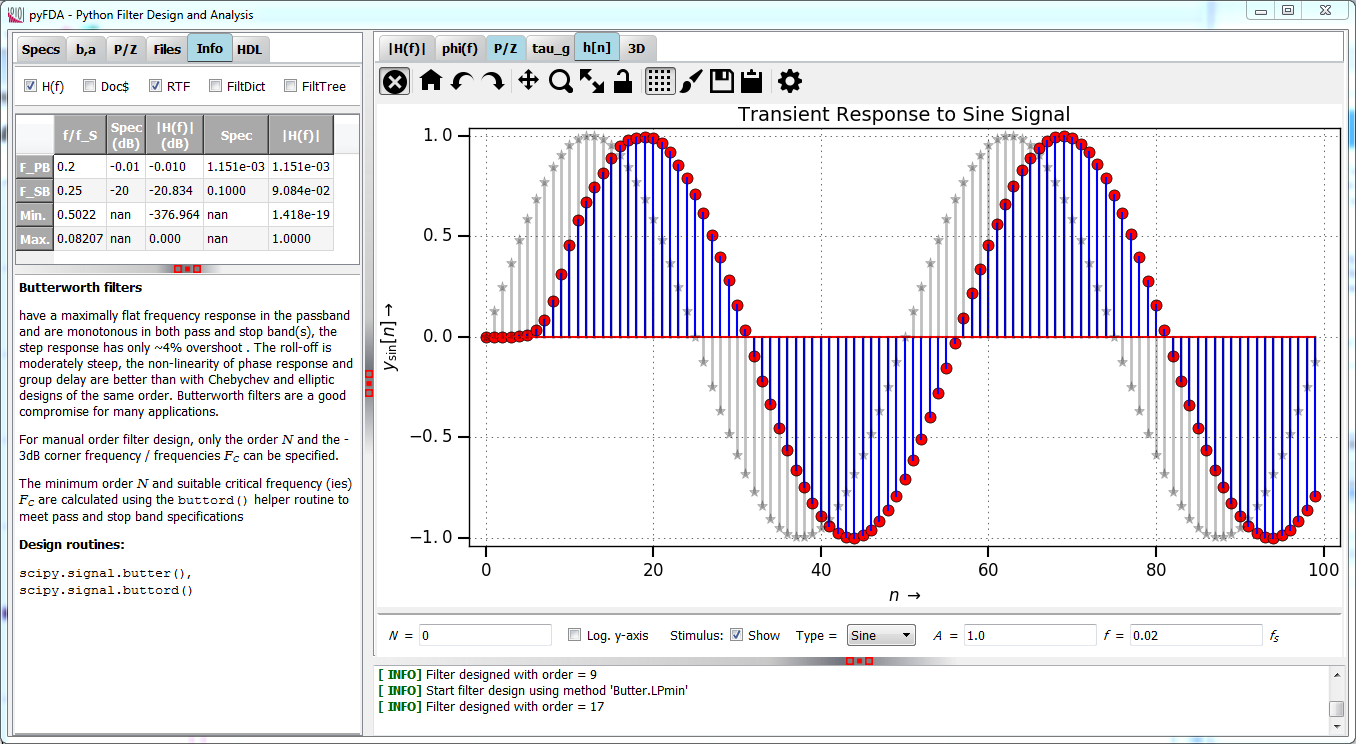
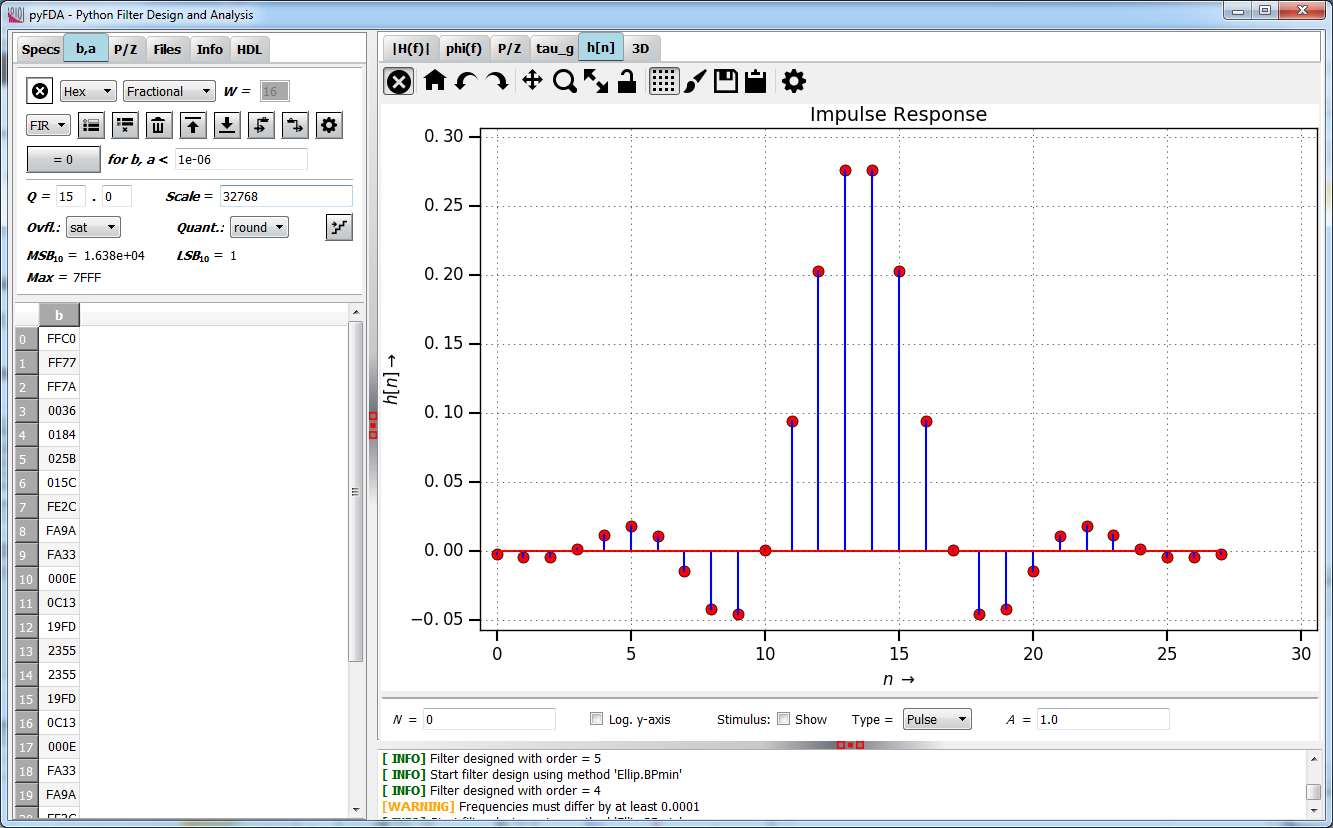
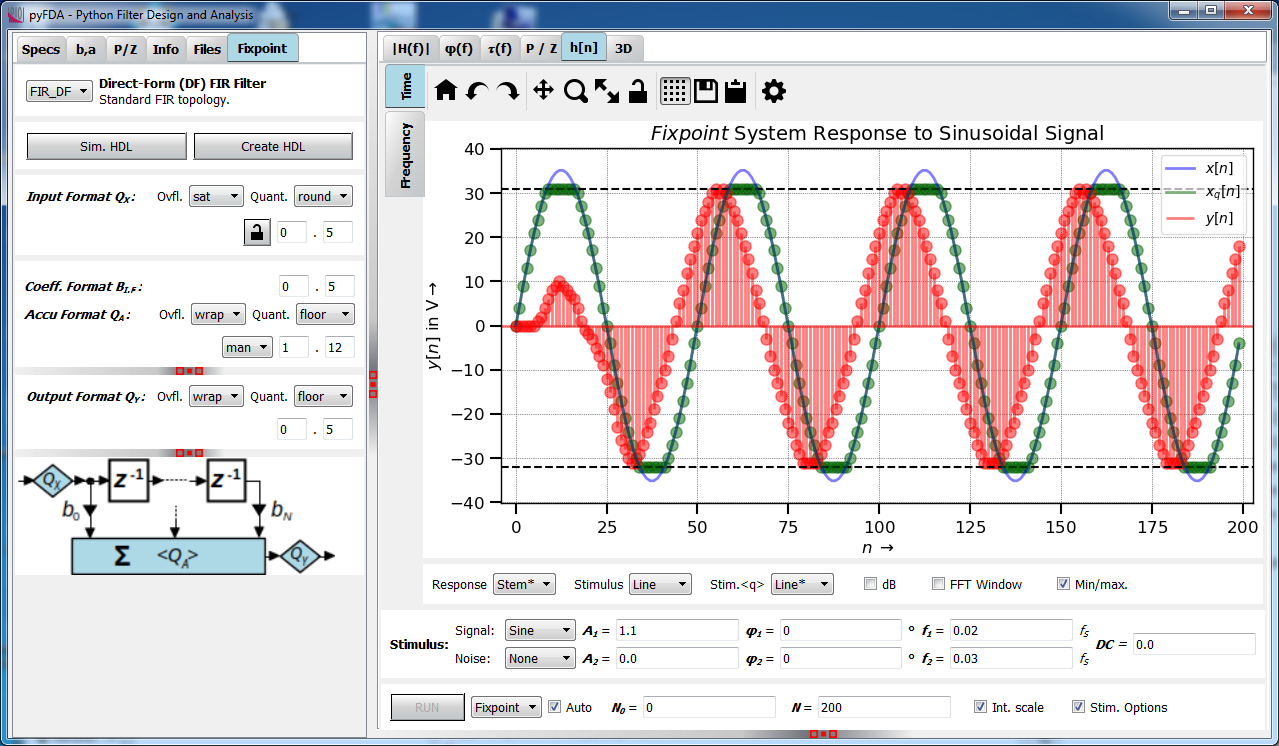
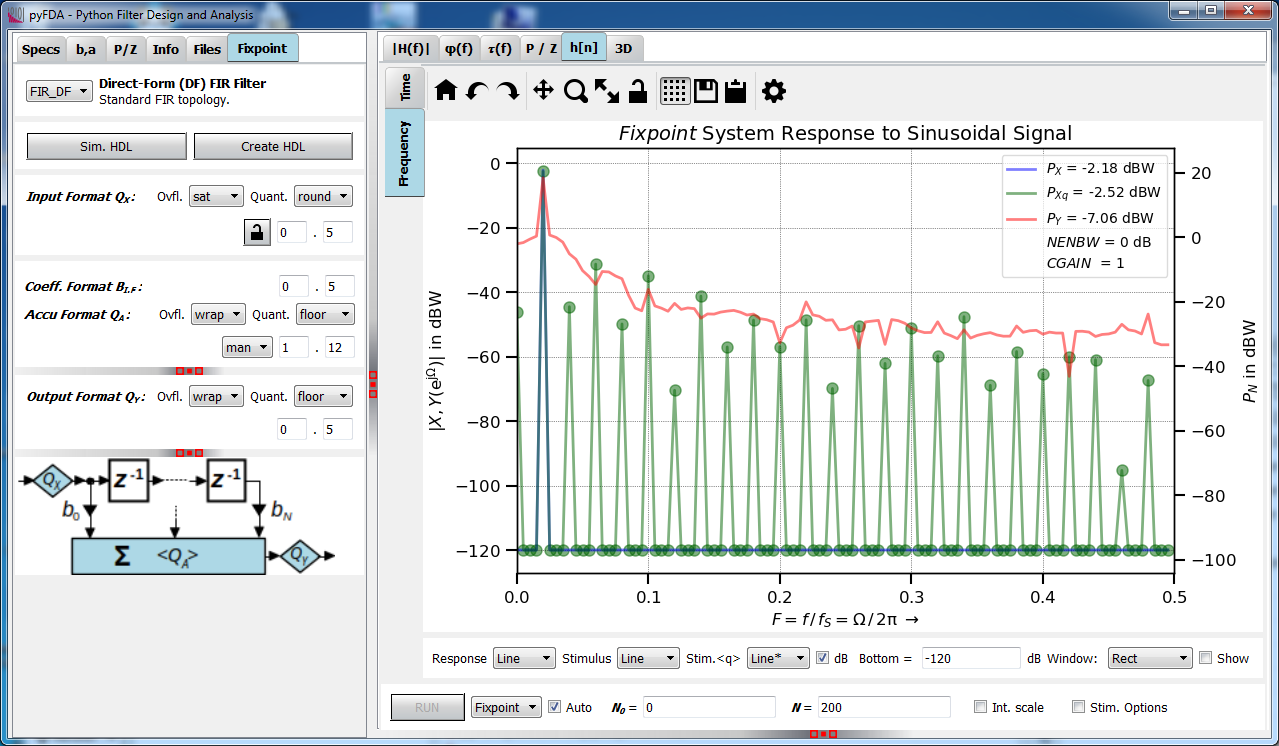
More screenshots from the current version:
 |
 |
 |
 |
 |
 |
 |
 |
 |
Currently, binaries are provided for 64 bit Win 7 ... 10 and for 64 bit Ubuntu (created with 2020.04). The binaries may work with other systems, too (untested). The binaries don't modify the system (except for two ASCII configuration files and a log file), they self-extract to a temporary directory that is automatically deleted when pyfda is terminated (except when it crashes). No additionaly software / libraries need to be installed.
The binaries have been created using pyInstaller, a pyfdax.spec, making it easy to create and distribute binaries for your system by running pyinstaller pyfdax.spec.
- Python versions: 3.3 ... 3.7
- All operating systems - there should be no OS specific requirements.
- Libraries:
- PyQt5
- numpy
- scipy: 1.2.0 or higher
- matplotlib: 2.0 or higher
- migen for fixpoint simulation and Verilog export. When missing, the "Fixpoint" tab is hidden
- docutils for rich text in documentation
- xlwt and / or XlsxWriter for exporting filter coefficients as *.xls(x) files
You need to have a working Python installation on your computer, preferrably including the libraries listed above.
There is only one version of pyfda for all supported operating systems, Python and Qt versions. As pyfda is a pure Python project (no binaries, no compilation required), you don't need to install anything in principle: You can simply download and unpack the zip file from here and start the program from the top project directory using pyfda/pyfdax.py with
> python -m pyfda.pyfdax # Plain Python interpreter
or
In [1]: %run -m pyfda.pyfdax # IPython
For testing purposes, most individual files from pyFDA can be run using e.g.
> python -m pyfda.input_widgets.input_pz # Plain python interpreter
or
In [2]: %run -m pyfda.input_widgets.input_pz # IPython
However, installing pyfda makes life easier by creating a run script in your path. This can be done in different ways:
Installation from PyPI works the usual way, required libraries are installed automatically if missing:
> pip3 install pyfda
or upgrade using
> pip3 install pyfda -U
or install locally (development mode) using
> pip3 install -e <YOUR_PATH_TO_PYFDA>
where the specified path points to pyfda/setup.py but without including setup.py. In this case, you need to have a local copy of the pyfda project, preferrably obtained using git (see below).
To select a specific version (by default, pip selects the latest stable version) use e.g.
> pip3 install pyfda==0.2b3
You can also download the zip file and extract it to a temp directory of your choice. Install it either to your <python>/Lib/site-packages subdirectory (this creates a copy) using
> python setup.py install
or just create a link to where you have copied the python source files (for testing / development) using
> python setup.py develop
If you use the Anaconda distribution, you can install / update pyfda from my Anaconda channel Chipmuenk. However, I'm not updating the files on my channel anymore, I find the process of generating conda packages too cumbersome (and there are few downloads via conda anyway). pip (see above) should play nice with Anaconda as well.
All required libraries are installed automatically if they are missing except for PyQt5: I have not included it in the installation scripts for pyfda to prevent installing it twice accidentally. PyQt5 has to be installed manually either
-
system wide via
pip installpyqt5or -
sytem wide / in an environment via
conda installpyqt.
If you have both installed, you're in trouble: If you do
> conda list qt

pyqt                      5.6.0                    py36_2
PyQt5                     5.8.2                     <pip>
and get a similar result as above, you probably have a corrupted system.
Don't use the base environment for installing pyfda (you shouldn't do this for any software) but rather switch to another environment (conda activate my_fancy_environment) or create a new one (conda create --name my_new_environment).
When you have one of the two installed, you can proceed with
> conda install -c Chipmuenk pyfda
or
> conda update -c Chipmuenk pyfda
For development purposes, you should fork the latest version of pyfda from https://github.com/chipmuenk/pyfda.git and create a local copy using
> git clone https://github.com/<your pyfda fork>
This command creates a new folder "pyfda" at your current directory level and copies the complete pyfda project into it.
The tutorial at https://help.github.com/en/articles/fork-a-repo provides a good starting point. As described above, pyfda can be installed locally using either
> pip3 install -e <YOUR_PATH_TO_PYFDA>
or
> python setup.py develop
Now you can edit the code and test it. If you're happy with it, push it to your repo and create a Pull Request so that the code can be reviewed and merged into the chipmuenk/pyfda repo.
In any case, a start script pyfdax has been created in <python>/Scripts which should be in your path. So, simply start pyfda using
> pyfdax
The location of the following two configuration files (copied to user space) can be checked via the tab Files -> About:
- Logging verbosity can be controlled via the file
pyfda_log.conf - Widgets and filters can be enabled / disabled via the file
pyfda.conf. You can also define one or more user directories containing your own widgets and / or filters.
Layout and some default paths can be customized using the file pyfda/pyfda_rc.py, at the moment you have to edit that file at its original location.
- Filter design
- Design methods: Equiripple, Firwin, Moving Average, Bessel, Butterworth, Elliptic, Chebychev 1 and 2 (from scipy.signal and custom methods)
- Second-Order Sections are used in the filter design when available for more robust filter design and analysis
- Remember all specifications when changing filter design methods
- Fine-tune manually the filter order and corner frequencies calculated by minimum order algorithms
- Compare filter designs for a given set of specifications and different design methods
- Filter coefficients and poles / zeroes can be displayed, edited and quantized in various formats
- Clearly structured User Interface
- only widgets needed for the currently selected design method are visible
- enhanced matplotlib NavigationToolbar (nicer icons, additional functions)
- display help files (own / Python docstrings) as rich text
- tooltips for all control and entry widgets
- Common interface for all filter design methods:
- specify frequencies as absolute values or normalized to sampling or Nyquist frequency
- specify ripple and attenuations in dB, as voltage or as power ratios
- enter expressions like exp(-pi/4 * 1j) with the help of the library simpleeval (included in source files)
- Graphical Analyses
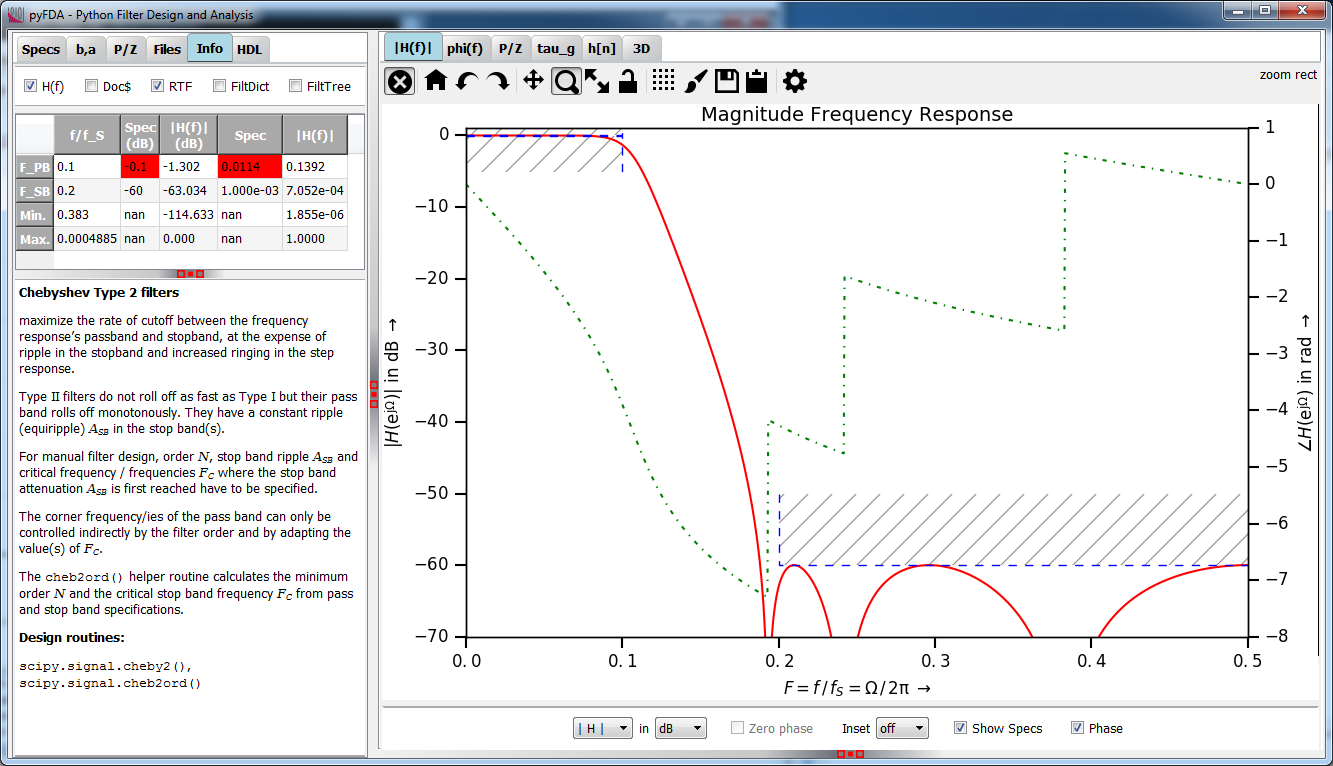
- Magnitude response (lin / power / log) with optional display of specification bands, phase and an inset plot
- Phase response (wrapped / unwrapped)
- Group delay
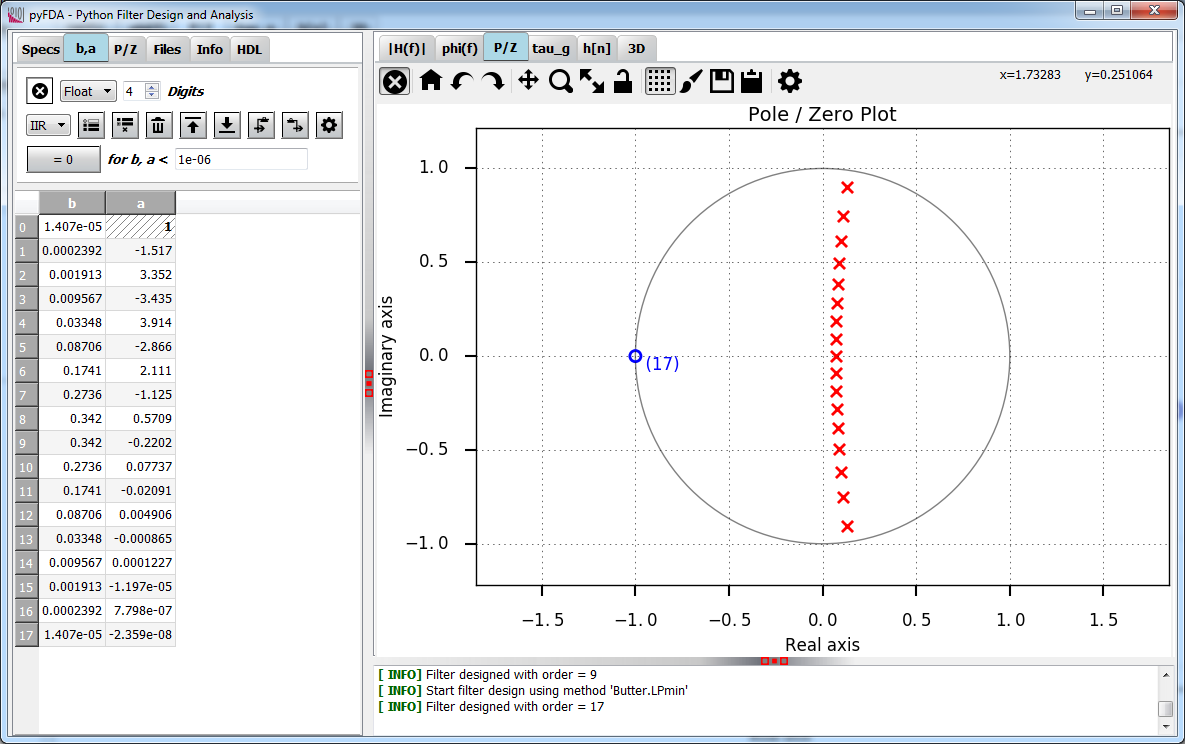
- Pole / Zero plot
- Impulse response and step response (lin / log)
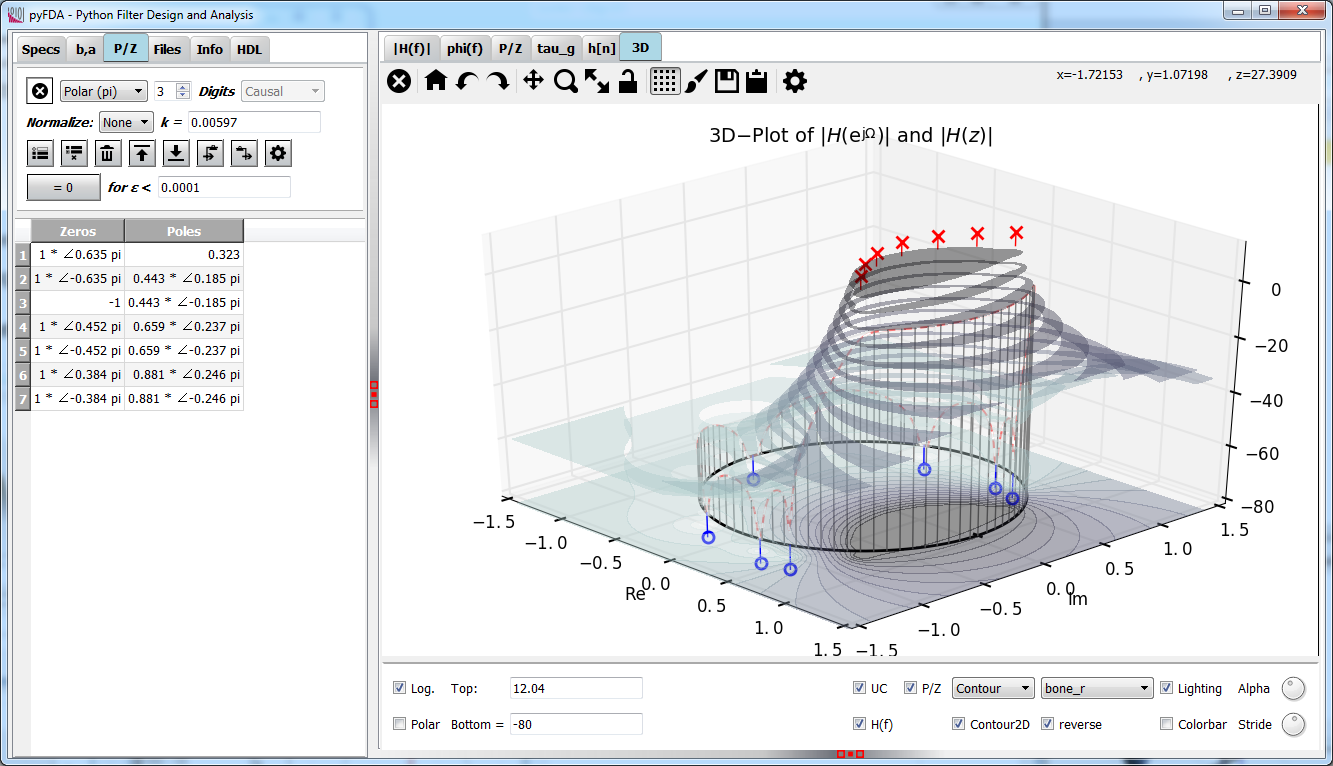
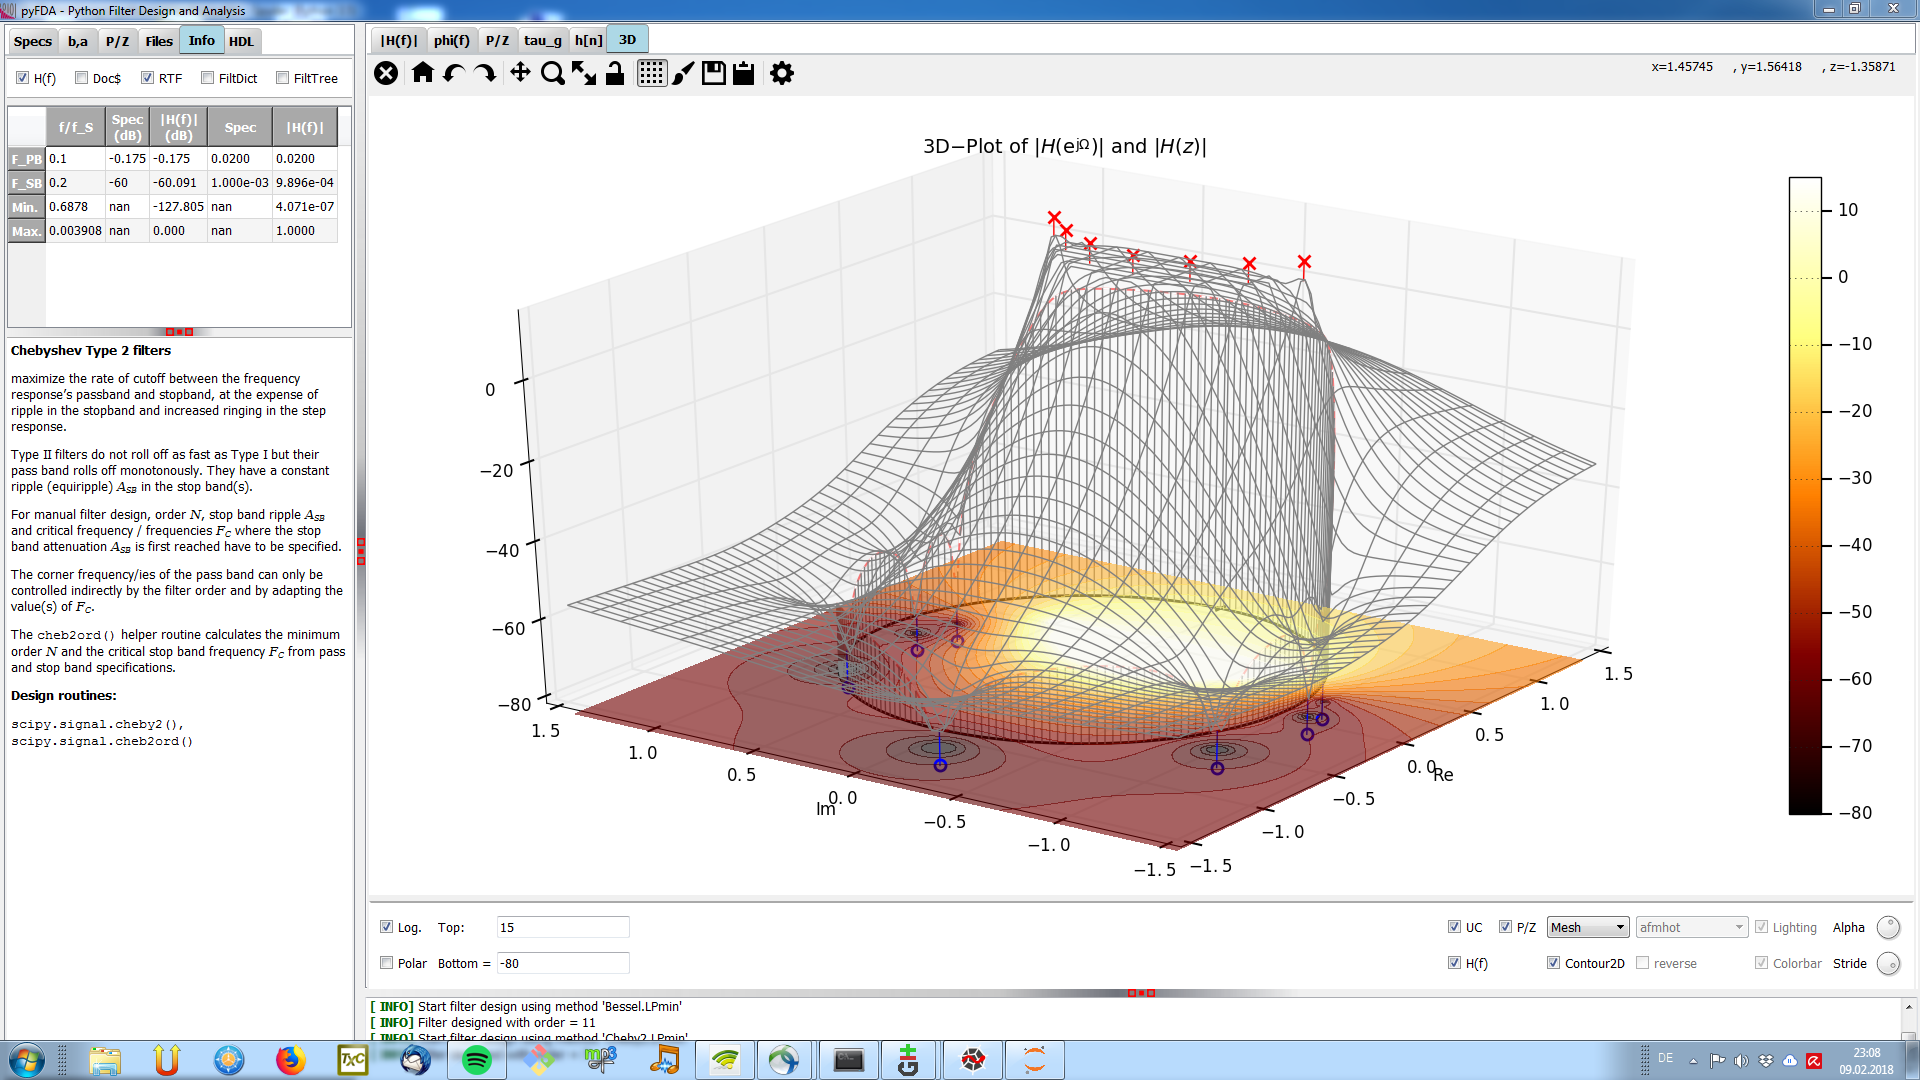
- 3D-Plots (|H(f)|, mesh, surface, contour) with optional pole / zero display
- Modular architecture, facilitating the implementation of new filter design and analysis methods
- Filter design files not only contain the actual algorithm but also dictionaries specifying which parameters and standard widgets have to be displayed in the GUI.
- Special widgets needed by design methods (e.g. for choosing the window type in Firwin) are included in the filter design file, not in the main program
- Saving and loading
- Save and load filter designs in pickled and in numpy's NPZ-format
- Export and import coefficients and poles/zeros as comma-separated values (CSV), in numpy's NPY- and NPZ-formats, in Excel (R) or in Matlab (R) workspace format
- Export coefficients in FPGA vendor specific formats like Xilinx (R) COE-format
- Education: There is a very limited choice of user-friendly, license-free tools available to teach the influence of different filter design methods and specifications on time and frequency behaviour. It should be possible to run the tool without severe limitations also with the limited resolution of a beamer.
- Show-off: Demonstrate that Python is a potent tool for digital signal processing applications as well. The interfaces for textual filter design routines are a nightmare: linear vs. logarithmic specs, frequencies normalized w.r.t. to sampling or Nyquist frequency, -3 dB vs. -6 dB vs. band-edge frequencies ... (This is due to the different backgrounds and the history of filter design algorithms and not Python-specific.)
- Fixpoint filter design for uCs: Recursive filters have become a niche for experts. Convenient design and simulation support (round-off noise, stability under different quantization options and topologies) could attract more designers to these filters that are easier on hardware resources and much more suitable e.g. for uCs.
- Fixpoint filter design for FPGAs: Especially on low-budget FPGAs, multipliers are expensive. However, there are no good tools for designing and analyzing filters requiring a limited number of multipliers (or none at all) like CIC-, LDI- or Sigma-Delta based designs.
- HDL filter implementation: Implementing a fixpoint filter in VHDL / Verilog without errors requires some experience, verifying the correct performance in a digital design environment with very limited frequency domain simulation options is even harder. The Python module migen allows to describe and test fixpoint behaviour within the python ecosystem. providing easy stimulus generation and plotting in time and frequency domain. When everythin works fine, the filter can be exported as synthesizable Verilog code.
Initial release
-
Rework of signal-slot connections
- Clearer structure: only one RX / TX signal connection per widget
- More flexibility: transport dicts or lists via the signals
- Much improved modularity - new functionality can be easily added
-
Reorganization of configuration files
- Specify module names instead of class names for widgets, class names are defined in the modules
- More flexibility in defining user directories
- List suitable fixpoint implementations for each filter design as well as the other way around
-
HDL synthesis (beta status, expect bugs)
- Use migen to generate synthesizable Verilog netlists for basic filter topologies and do fixpoint simulation
- When migen is missing on your system, pyFDA will start without the fixpoint tab but otherwise fully functional
-
Didactic improvements
- Improved display of transient response and FFT of transient response
- Display poles / zeros in the magnitude frequency response to ease understanding the relationship
-
Documentation using Sphinx / ReadTheDocs Could be more and better ... but hey, it's a start!
-
Filter Manager
- Store multiple designs in one filter dict
- Compare multiple designs in plots
-
Filter coefficients and poles / zeros
- Display and edit second-order sections (SOS) in PZ editor
-
Apply filter on audio files (in the impz widget) to hear the filtering effect
- Add a tracking cursor
- Graphical modification of poles / zeros
- Export of filter properties as PDF / HTML files
- Design, analysis and export of filters as second-order sections
- Multiplier-free filter designs (CIC, GCIC, LDI, SigmaDelta-Filters, ...)
- Export of Python filter objects
- Analysis of different fixpoint filter topologies (direct form, cascaded form, parallel form, ...) concerning overflow and quantization noise


