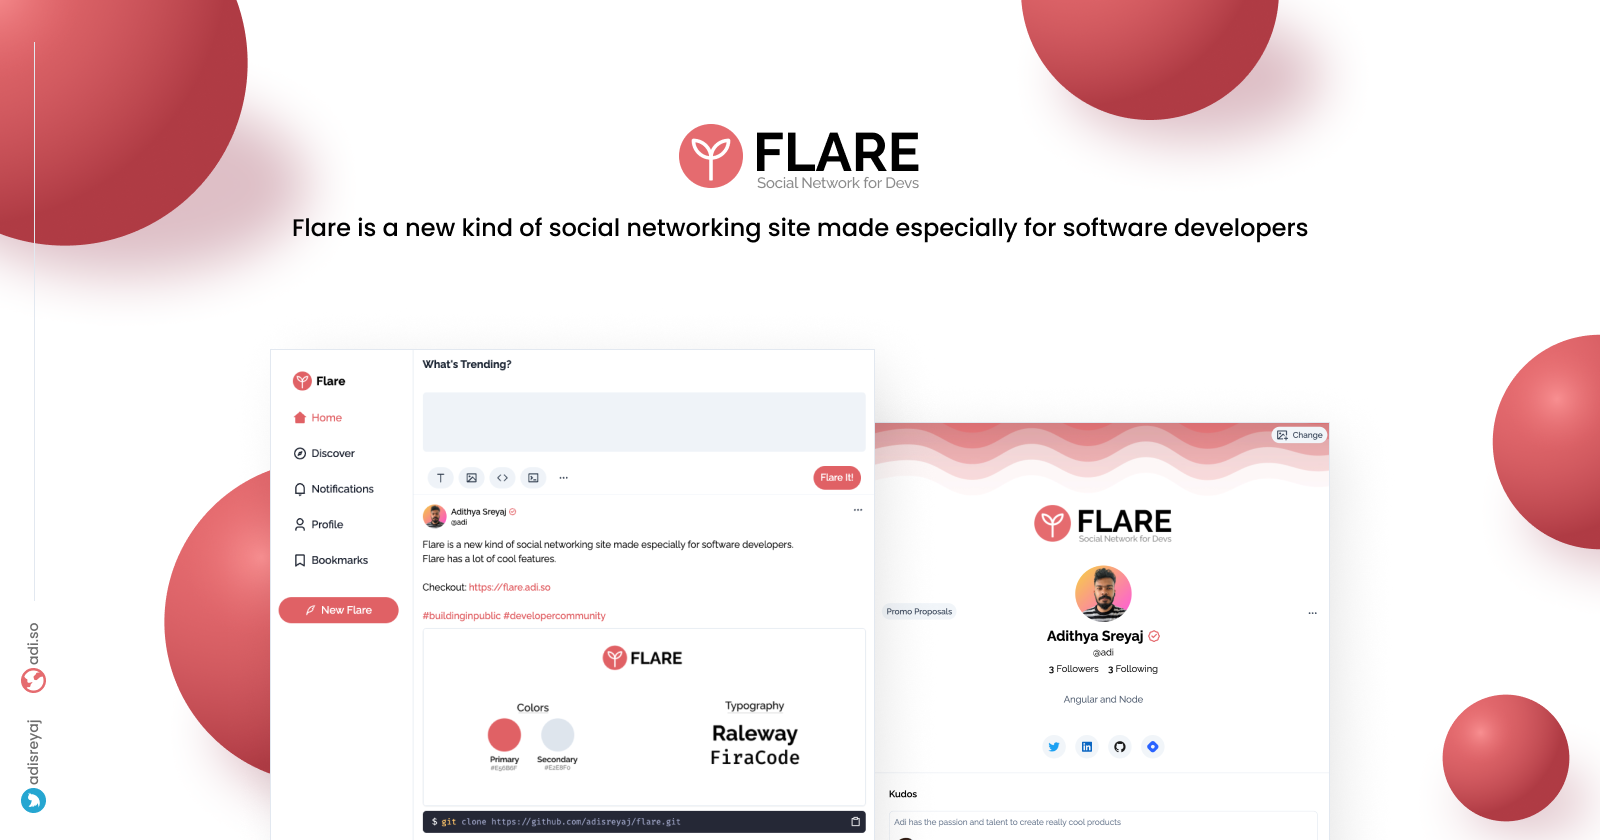
The social networking developers have been longing for.
View Demo
·
Report Bug
·
Request Feature
Flare is my take on a social network for developers. It's built entirely around the needs and interests of software developers. Flare is my entry for the Netlify x Hashnode Hackathon 🔥
TL;DR: Flare is a new kind of social networking site made especially for software developers. Twitter is a really great place where developers hang out and share insightful tweets. But there is something that is lacking there.
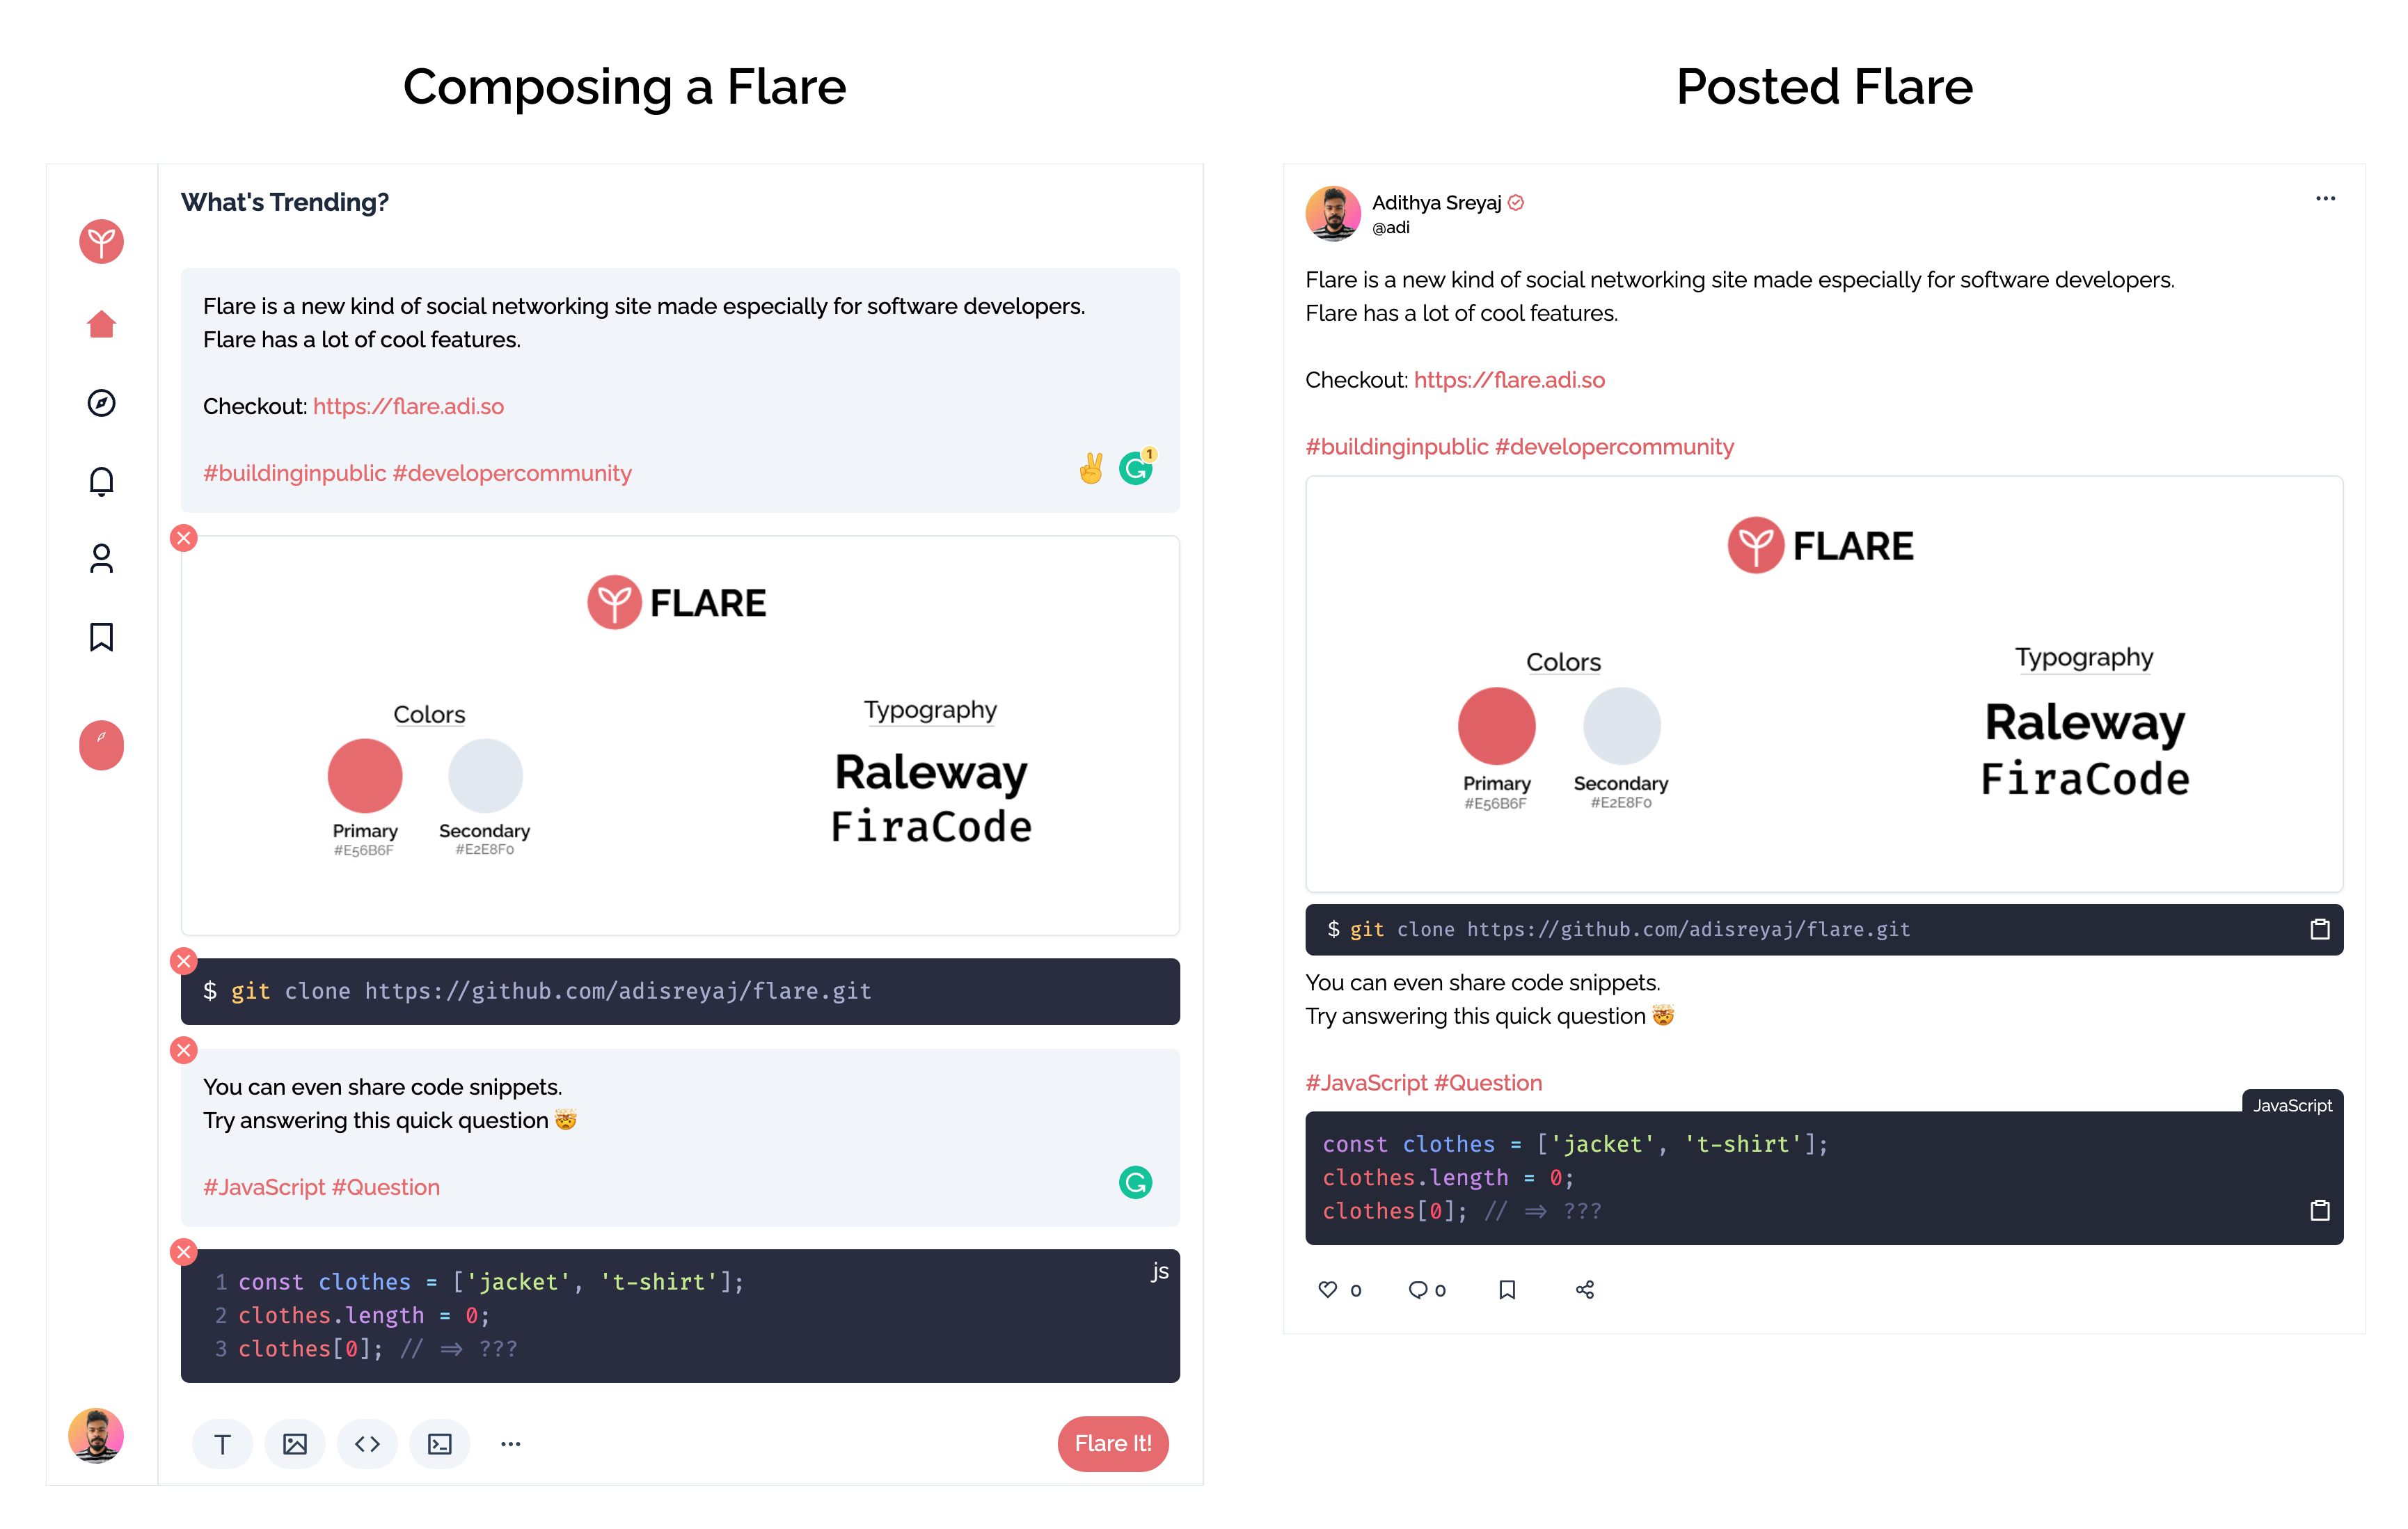
Here are some features that I planned for Flare. The ones implemented right now are marked. The fundamental idea is to support writing small posts within Flare. So the concept of blocks came. Blocks are used to create a flare, you can have text, code, images, etc in a single flare. Each of these smaller items that make up a flare is called a block.
- Share Code snippets ✅
- Share terminal scripts ✅
- Share Images ✅
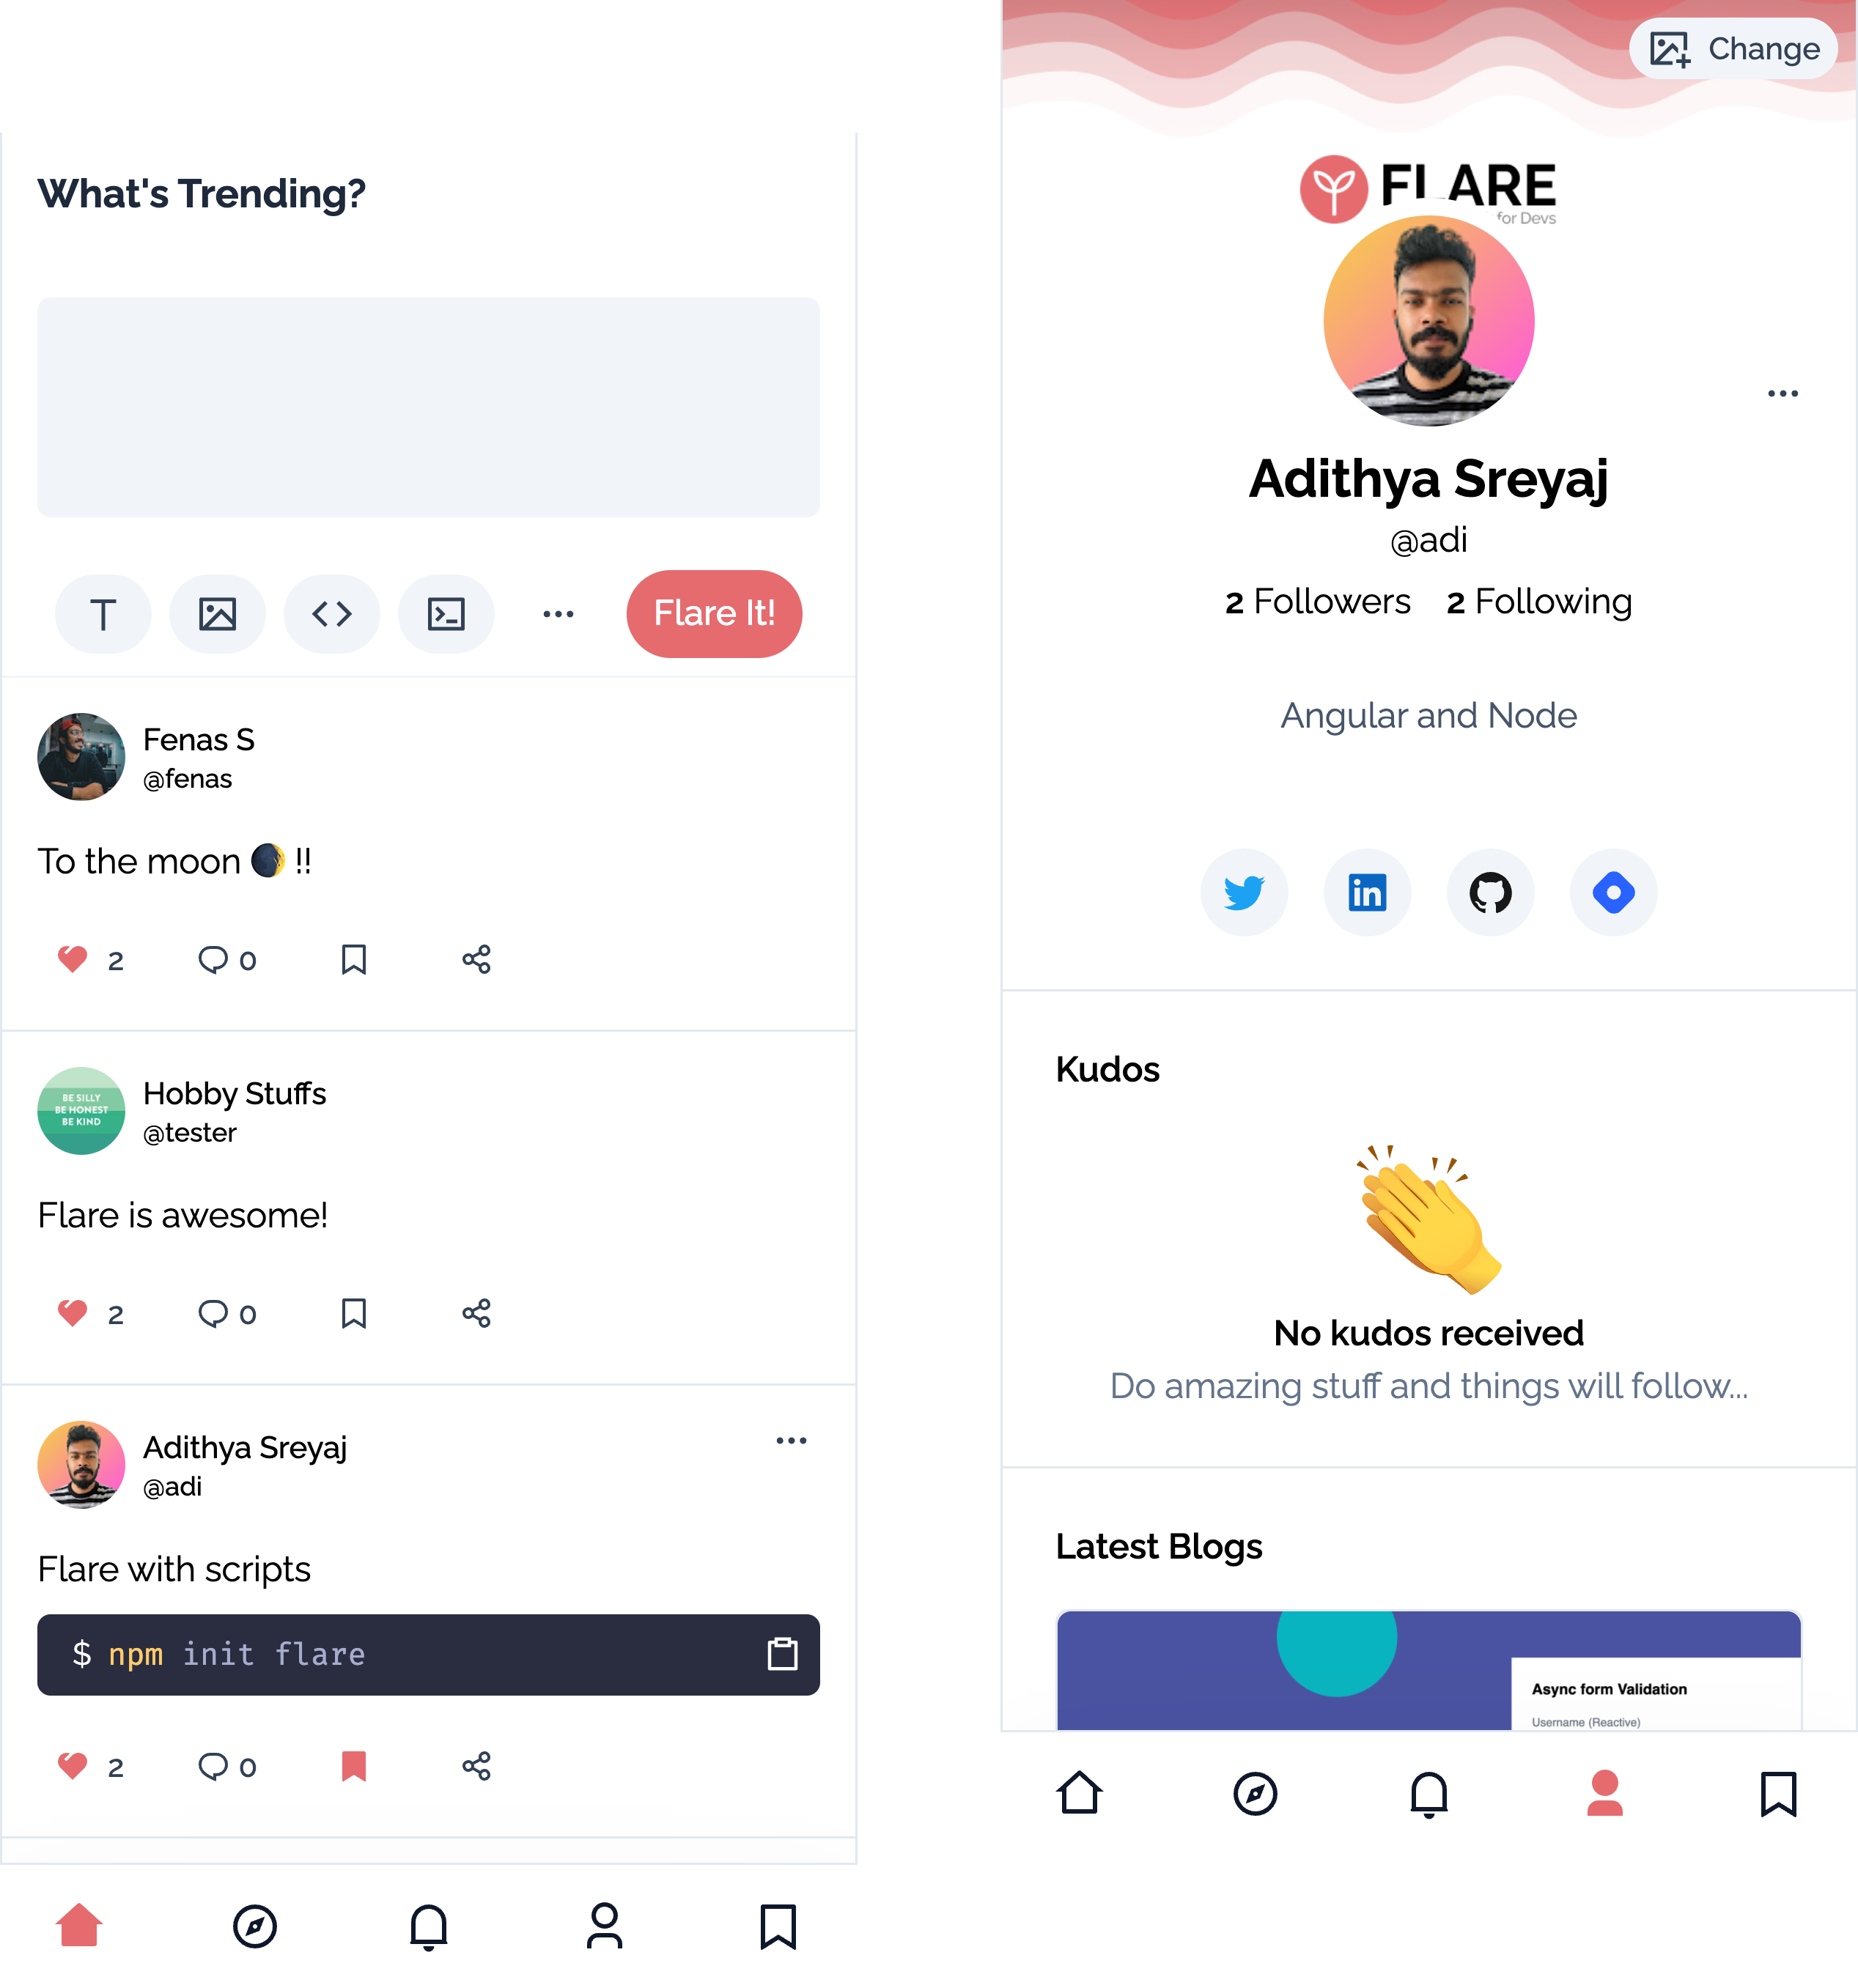
- Comments ✅
- Bookmarks ✅
- Show Spotify last played songs ✅
- Header Image promotions ✅
- Kudos ✅
- Connect Hashnode blog ✅
git clone https://github.com/adisreyaj/flare.gitI created a small UI component library called Zigzag that is used in the project as a submodule.
git submodule update --initnpm installSet up all the required environment variables required for the back-end:
NODE_ENV=development
DATABASE_URL=mysql://root:root@localhost:3307/flare
FRONT_END_CALLBACK_URL=http://localhost:4200/auth/callback

# JWT sign secret
JWT_SECRET=veryverysecretkey
JWT_EXPIRY="3d"
COOKIE_SECRET=veryverysecretsessionkey

# Google OAuth Details
GOOGLE_CLIENT_ID=
GOOGLE_CLIENT_SECRET=
GOOGLE_CALLBACK_URI=http://localhost:3333/api/auth/google/callback

# Github OAuth Details
GITHUB_CLIENT_ID=
GITHUB_CLIENT_SECRET=
GITHUB_CALLBACK_URI=http://localhost:3333/api/auth/github/callback

# Queue
REDIS_HOST=localhost
REDIS_PORT=6379
REDIS_PASSWORD=

# Object Storage
S3_ENDPOINT=
S3_REGION=
S3_BUCKET=
S3_ACCESS_KEY_ID=
S3_SECRET_ACCESS_KEY=
Use docker-compose to spin up MySQL and Redis databases.
version: '3.1'
services:
  db:
    image: mariadb
    restart: always
    environment:
      MYSQL_ROOT_PASSWORD: root
      MYSQL_DATABASE: flare
    ports:
      - '3307:3306'
    volumes:
      - /Users/<username>/Desktop/code/db:/var/lib/mysql
  cache:
    image: redis
    restart: always
    ports:
      - '6379:6379'
    volumes:
- /Users/<username>/Desktop/code/cache:/var/lib/redisRun the command to populate the DB with tables:
npm run prisma:migrateRun the command to generate the required types:
npm run generate:gqlFor UI:
npm startFor Back-end
npm start apiUI: http://localhost:4200 & GQL: http://localhost:3333
You are all set for exploring Flare locally.
| Title | Link | Description |
|---|---|---|
| Angular | https://angular.io/ | Front-end framework |
| NestJs | https://docs.nestjs.com/ | Back-end framework based on NodeJs |
| Netlify | https://www.netlify.com/ | Deployment for UI |
| Prisma | https://www.prisma.io/ | Node.js and TypeScript ORM |
| Tailwind CSS | https://tailwindcss.com/ | Utility first CSS framework |
| Nx | https://nx.dev/#getting-started | Build system with monorepo support |
| PM2 | https://app.pm2.io/ | Advanced, production process manager for Node.JS |
| Upstash | https://upstash.com/ | Serverless Redis DB |
| Backblaze | https://www.backblaze.com/ | Cloud Storage |
See the open issues for a list of proposed features (and known issues).
Distributed under the Apache 2.0 License. See LICENSE for more information.
Please ⭐️ this repository if this project helped you!


