| services | platforms | author |
|---|---|---|
active-directory |
python |
danielxu-msft |
This Python sample application demonstrates how to Read and Write AAD users in tenant of Microsoft Azure Active Directory with using the Microsoft Graph API, which is a new RESTful interface that allows programmatic access to AAD user data in tenant. The Graph API is now GA. Graph service enables developers to incorporate new capabilities with existing applications and to build new applications that leverage directory data access to Microsoft Azure AD.
Please refer to AAD Graph team blog on MSDN to learn more about Microsoft Azure Active Directory Graph Service.
This sample performs HTTP requests and reads JSON format responses from Graph service. More details about HTTP requests and JSON responses from Graph service, please refer to http://blogs.msdn.com/b/aadgraphteam/archive/2013/01/15/understanding-azure-active-directory-graph-operations.aspx.
The main logic code in this sample is written in app/auth_helper.py, app/task_helper.py and app/views.py files.
The auth_helper.py file contains the code for authentication from Microsoft Graph service, and the task_helper.py file contains the code which builds the request for involing the Graph REST APIs.
The route functions are all written in app/views.py.
connectfunction demonstrates how to apply for an access token from Microsoft Graph and save it in session.usersfunction demonstrates how to query all users' (or specific user with user's id) info in tenant and list them on the page.add_userfunction demonstrates how to create a new user in tenant.edit_userfunction demonstrates how to update a user's info in tenant.del_userfunction demonstrates how to delete a user in tenant.
You can refer to Graph REST API reference to understand more details.
The Graph API is compatible with OData V3 and enables applications to construct more complex queries. The sample application is authenticated with Graph API by presenting a token that is issued by Microsoft Azure Access Control Service using OAuth 2.0. The sample application is authorized in Service to Service Calls Using Client Credentials flow to read user information from a demonstration Azure AD company. To execute Write Operations for your company's data (Create, Delete, Update), it's required to use your own Azure AD company and upgrade the role of the AD application that you are using with an administrator permission (the PowerShell script shown as below is guiding us to know how to do it).
#use the administrator account to sign in
    Connect-MsolService
    $ClientIdWebApp = '{your_AD_application_client_id}'
    $webApp = Get-MsolServicePrincipal -AppPrincipalId $ClientIdWebApp
#use Add-MsolRoleMember to add it to "Company Administrator" role).
    Add-MsolRoleMember -RoleName "Company Administrator" -RoleMemberType ServicePrincipal -RoleMemberObjectId $webApp.ObjectId
-
Before running this code sample, please open config.py in the app directory.
Here it's needed to use tenant ID, client ID and secret key for setting up a correct configuration. Login Azure Manage Portal, click the ACTIVE DIRECTORY on the left navigation bar, find your AD tenant on the right side list.
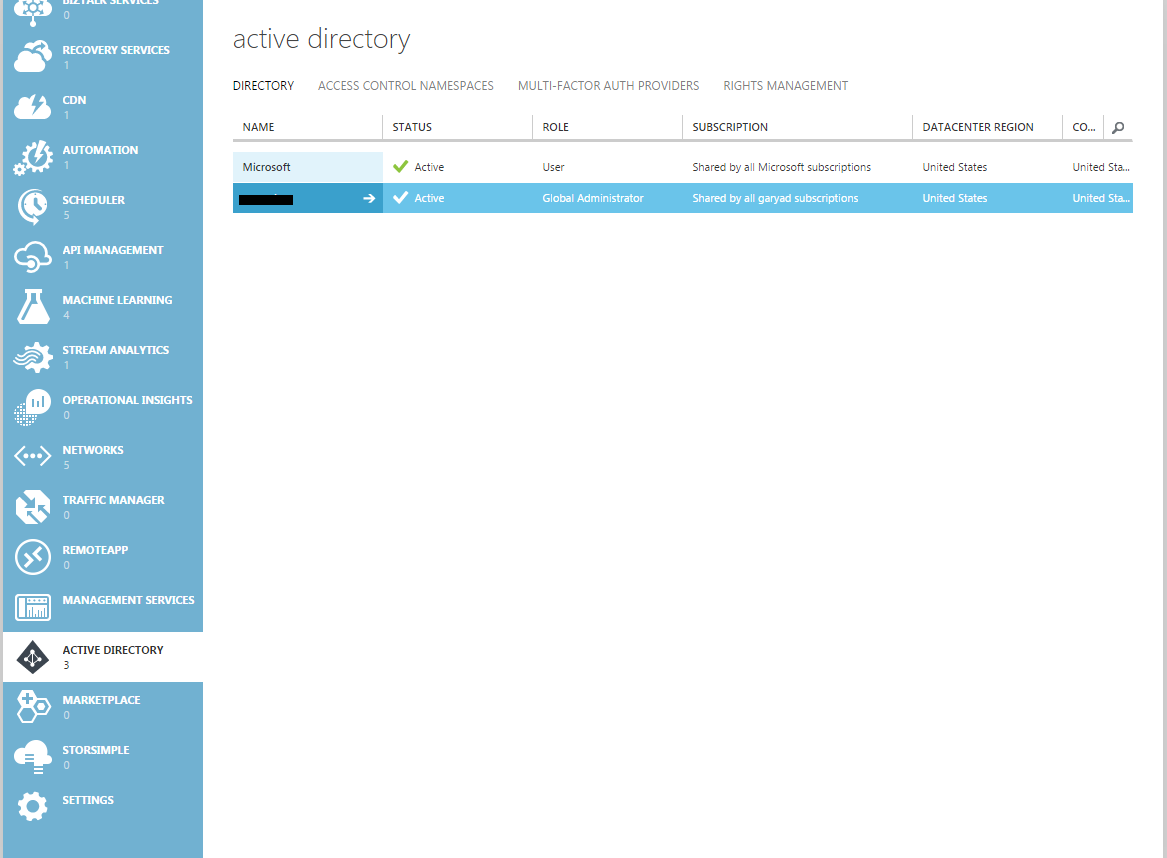
-
Replace ENTER_YOUR_TENANT_ID with your Azure AD tenant ID in config.py.
Click the APPLICATIONS button on the top navigation bar. Find the VIEW ENDPOINTS at bottom, get something like xxxxxxxx-xxxx-xxxx-xxxx-xxxxxxxxxxxx
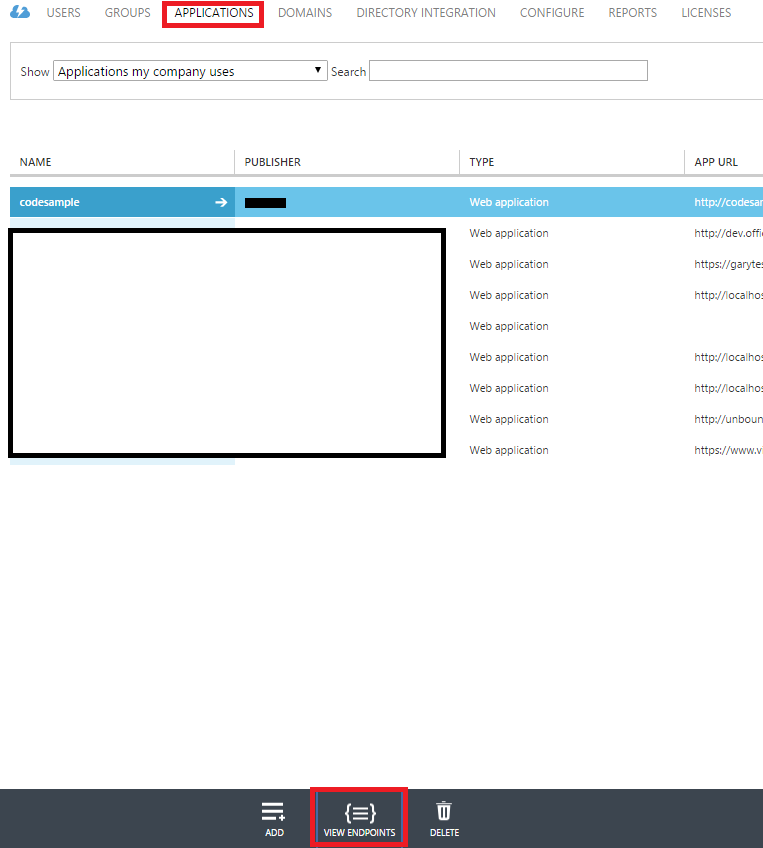
-
Replace ENTER_YOUR_CLIENT_ID with the client ID of your registered Azure application in config.py.
Click the application name you will use in the list. Then click the CONFIGURE tab at top. Under the properties section, get the CLIENT ID.
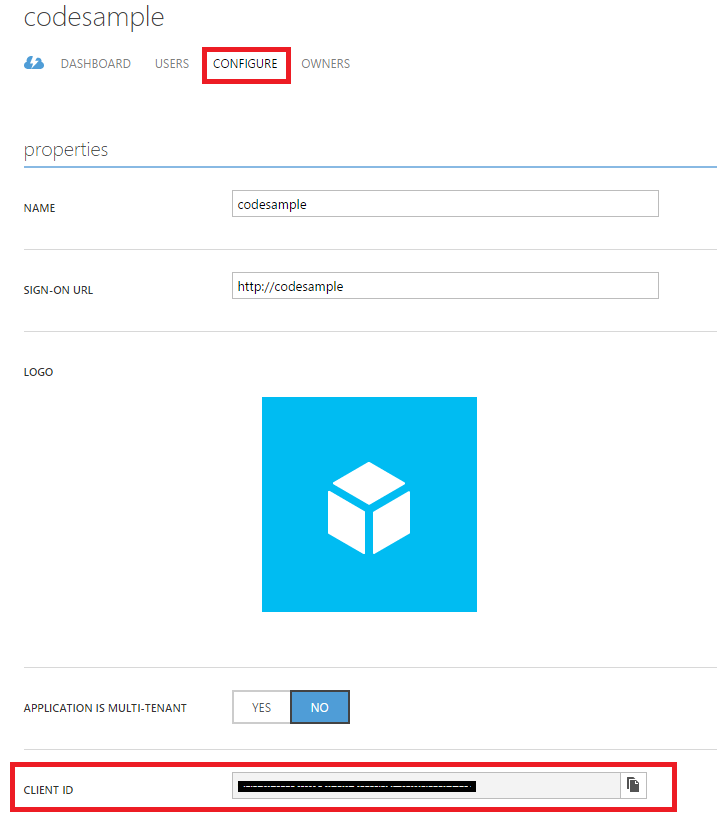
-
In config.py, replace ENTER_YOUR_SECRET with a key generated on the Configure page of your app in the Microsoft Azure Management Portal.
Scroll down to the key section. Select an option of the Select duration select, click the SAVE button on the bottom. After AD saved configurations, you can get the secret key.

-
Right click the Python Environments section under the solution, click install from requirements.txt to install the dependencies required, or click the Add Virtual Environment.

Select the python version, mark Download and install packages, click Create button to create a new virtual enviroment under your solution directory.
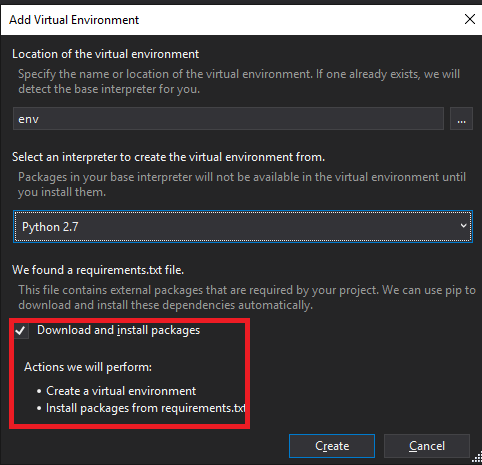
-
Then you can press F5 to run the sample in Visual Studio.


Option 2: Use your other favorite IDEs to modify the scripts and use node.js command to run the sample
- Modify the configurations of AAD (via the same steps method above) in config.py.
- Install dependencies via requirements.txt by running
pip install -r requirements.txt. - Start the development server by running
python manage.py runserver. - Navigate to http://127.0.0.1:8000/ in your web browser.
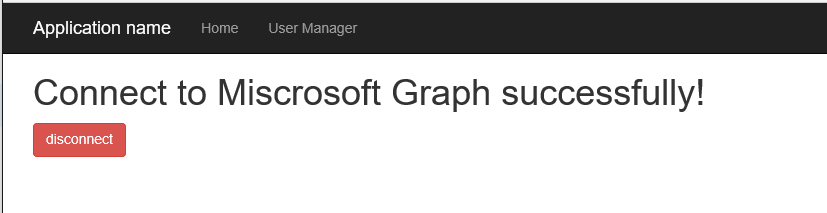
- Click the connect button in the home page to get the access token from Microsoft Graph.

- Click the User Manager button on the top nav bar to redirect to the page that contains the users' list.

-
Perform CURD operations for these users' info.
-
Add user
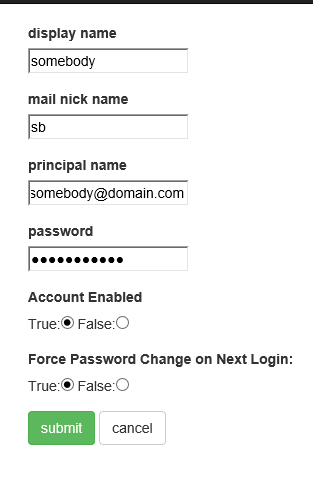
-
Edit user
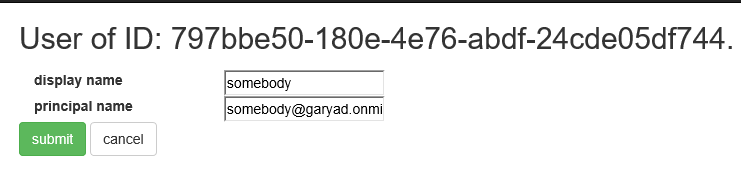
-
-
Click the disconnect button in the home page to remove the access token cookies.


- Overview of Microsoft Graph: http://graph.microsoft.io/en-us/docs/overview/overview
- Microsoft Azure Active Directory GitHub repository: https://github.com/AzureAD
- Python web app framework, Django: https://www.djangoproject.com
- The main python module use in this sample, Requests: HTTP for Humans: http://docs.python-requests.org/en/master/